
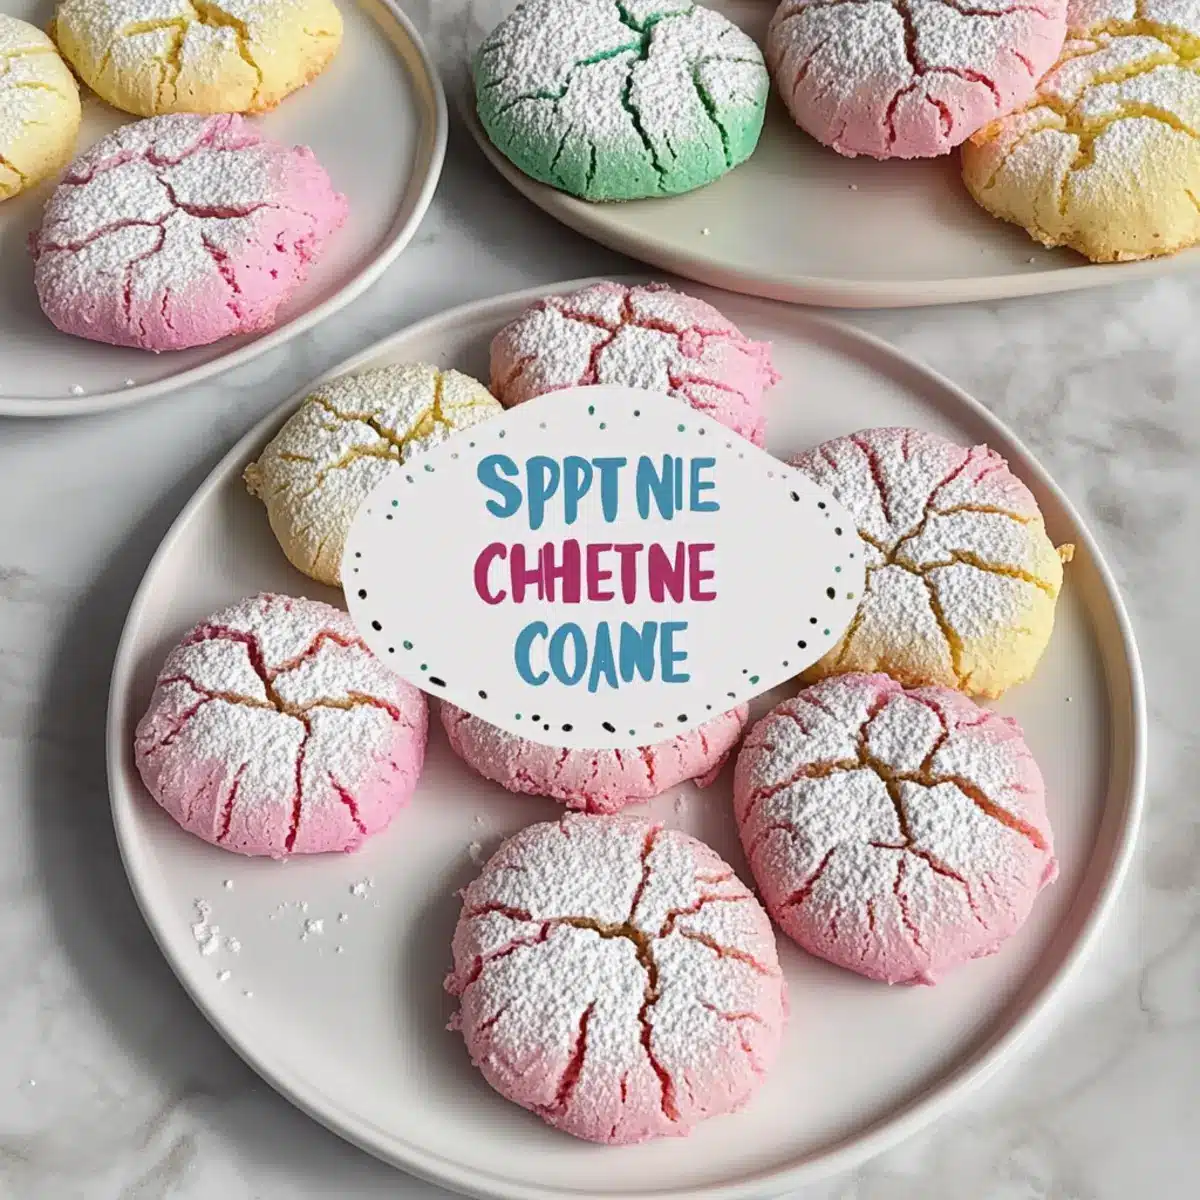
Spring is in the air, and nothing captures the essence of the season quite like a batch of colorful Spring Crinkle Cookies in Pastel Colors. As I mixed the dough, the soft hues pulled me back to delightful childhood memories of Easter egg hunts and sunlit gardens. These cookies aren’t just a feast for the eyes; they’re easy to whip up and pack a charming surprise with each bite, making them the perfect addition to your next gathering. Plus, you can easily adapt the recipe to suit various dietary needs—whether you’re looking for gluten-free, vegan, or nut-free options, this recipe has got you covered. Curious to find out how to bring these delightful treats to life? Let’s get started!
Why Make Spring Crinkle Cookies?
Delightful spring flavors: Enjoy the essence of the season with every soft and chewy bite.
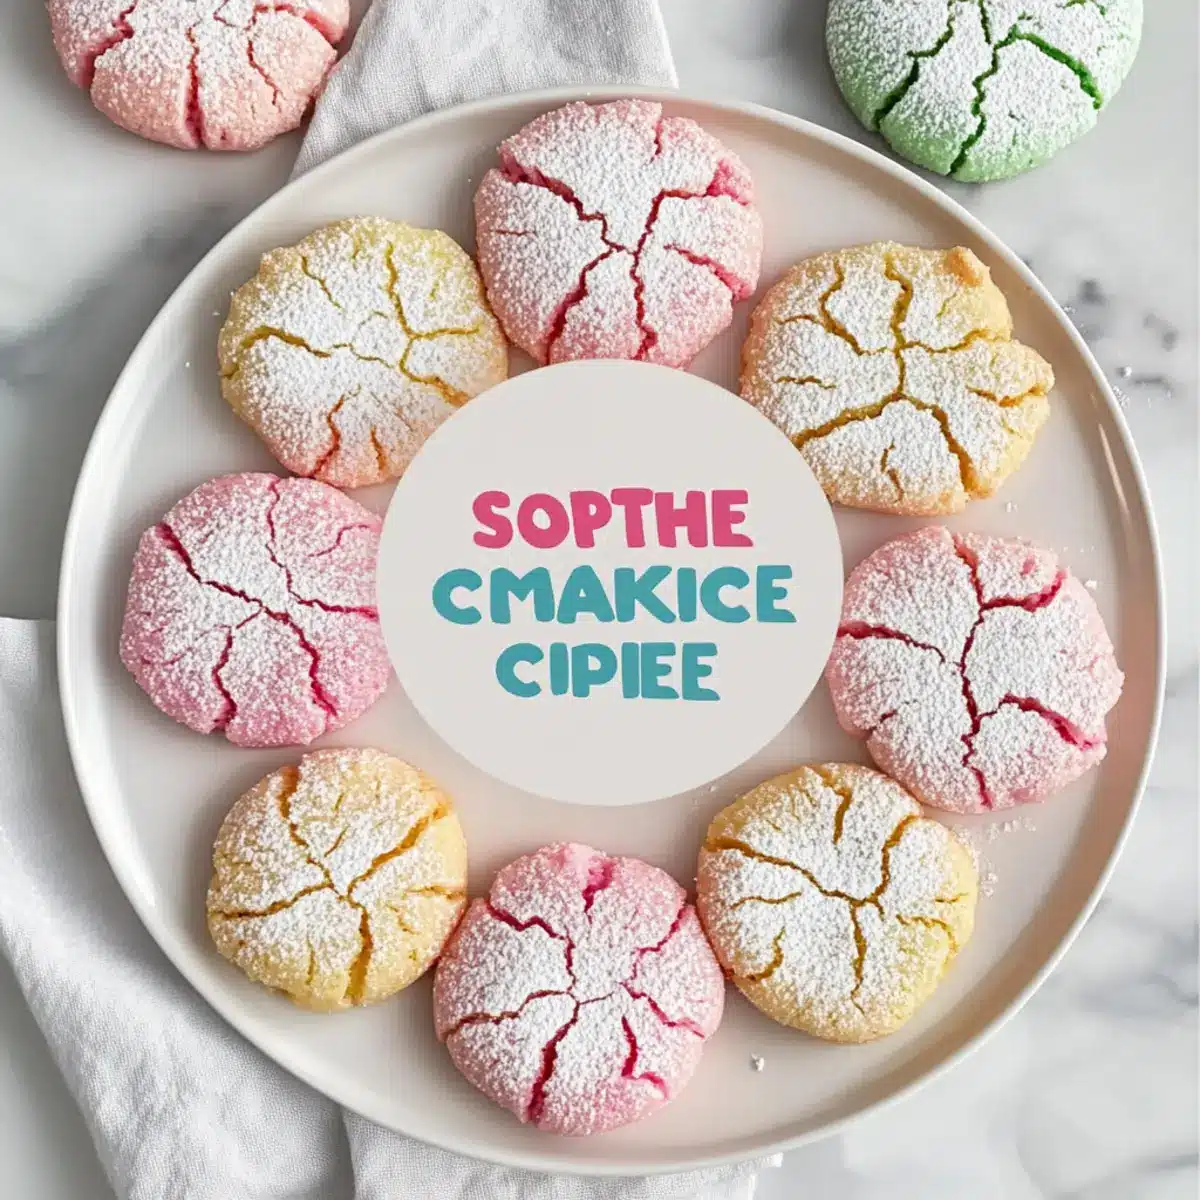
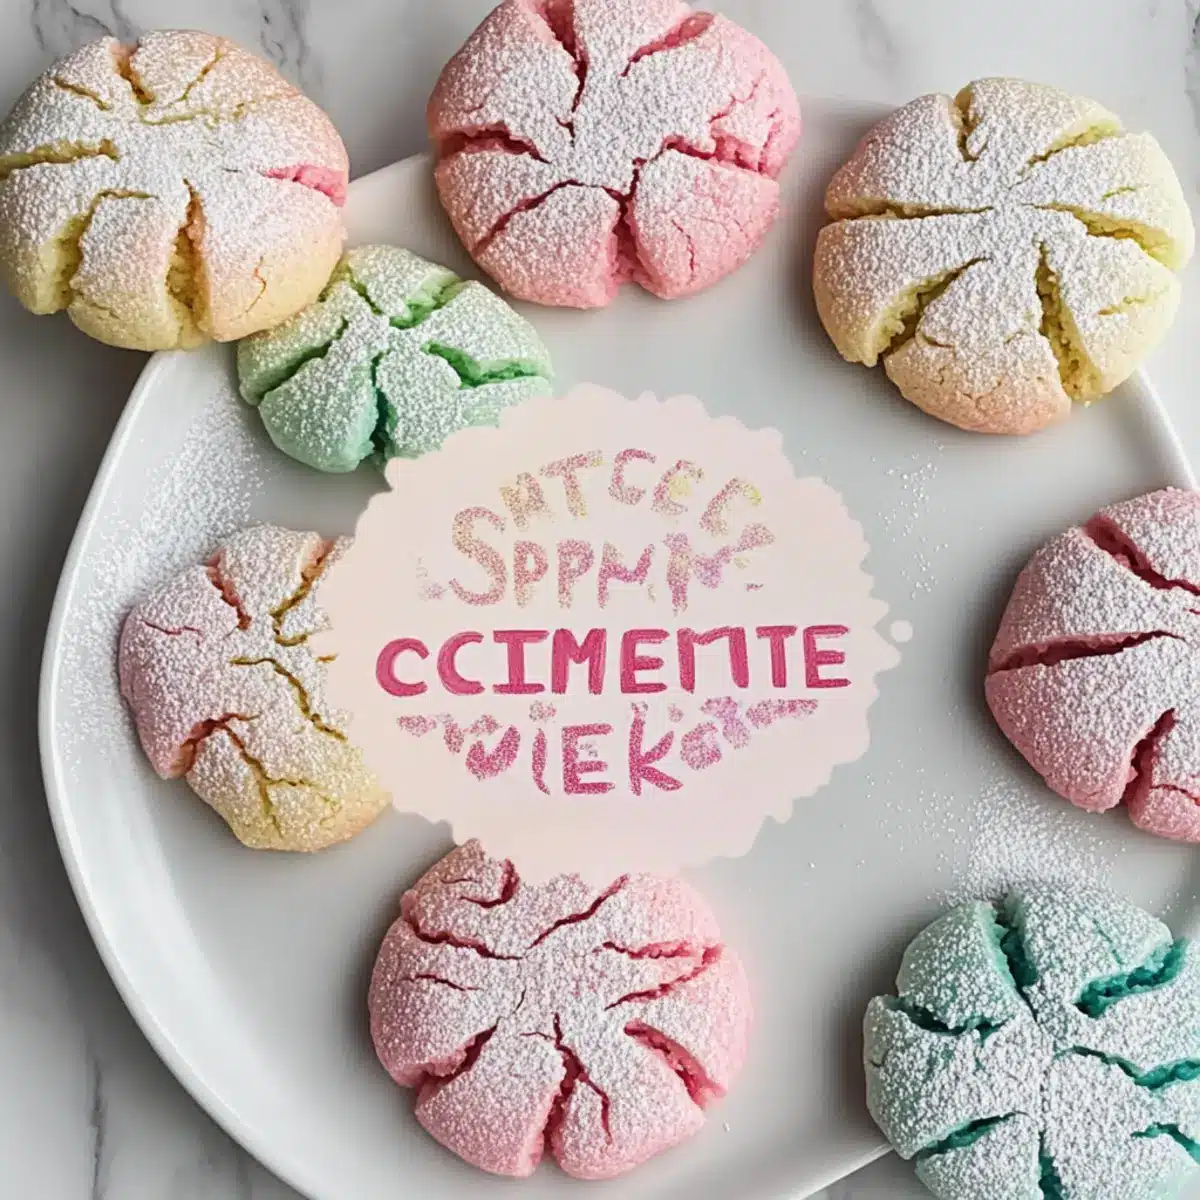
Colorful appeal: Their pastel hues make them a stunning centerpiece for any gathering.
Easy to adapt: This recipe offers variations for gluten-free, vegan, and nut-free diets, ensuring everyone can indulge.
Quick preparation: In just a few simple steps, you can whip up a batch that’s sure to impress!
Crowd-pleaser: Perfect for parties or afternoon tea, these cookies are a guaranteed hit among friends and family. For more sweet ideas, try my Meringue Cookies Homemade or Pecan Snowball Cookies.
Spring Crinkle Cookies Ingredients
• Discover the delightful components for these whimsical treats!
For the Batter
- Flour – The backbone of the cookies; opt for all-purpose or a gluten-free blend for a gluten-free version.
- Baking Powder – Acts as a leavening agent, ensuring these cookies rise perfectly and remain airy.
- Salt – Balances the sweetness and enhances the overall flavor profile.
- Unsalted Butter – Adds a rich, creamy texture; remember to soften it at room temperature for optimum mixing.
- Granulated Sugar – Sweetens the dough, contributing to the tender crumb texture you’ll love.
- Eggs – These act as binders, providing necessary moisture and structure. If necessary, substitute with flax or chia seeds for an egg-free version.
- Vanilla Extract – Enriches the flavor with aromatic notes; consider using almond extract for a delightful twist.
For Coloring and Coating
- Gel Food Coloring – Essential for achieving those vibrant pastel shades; gel colors provide more consistency than liquid versions.
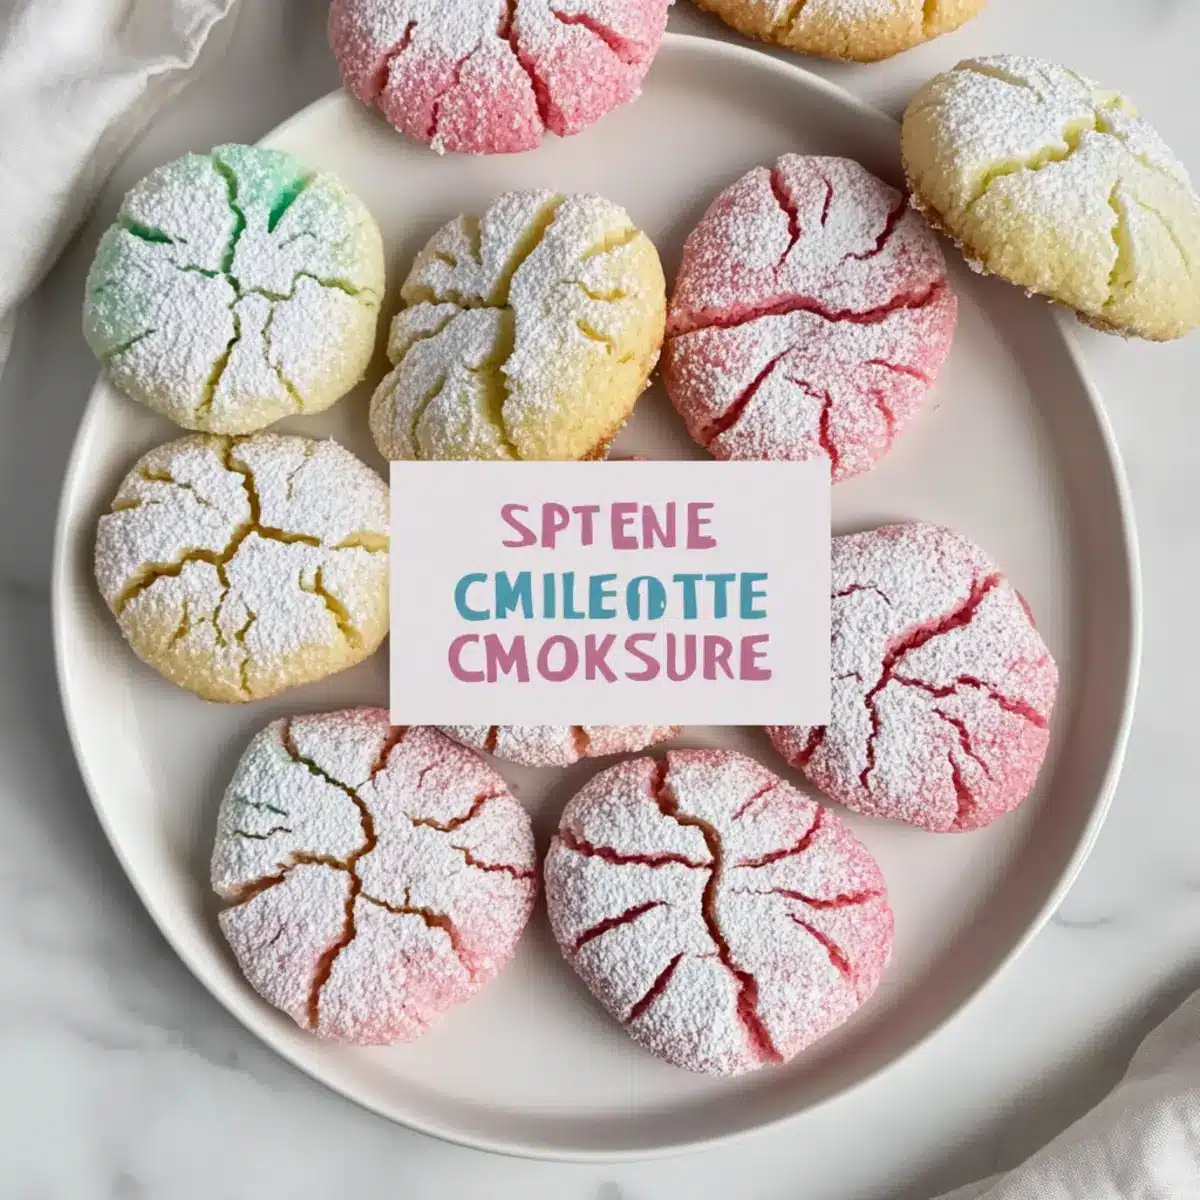
- Powdered Sugar – Dust the cookies before baking to create that signature crackled top that looks as delightful as it tastes.
Dietary Variations
- Going gluten-free, vegan, or nut-free? Use a gluten-free flour blend, coconut oil or vegan butter, and a dairy-free milk to adjust this Spring Crinkle Cookies recipe to fit your needs!
Feel free to explore how these joyful Spring Crinkle Cookies in Pastel Colors can light up your kitchen and gatherings!
Step‑by‑Step Instructions for Spring Crinkle Cookies In Pastel Colors
Step 1: Prepare Dry Ingredients
In a mixing bowl, sift together 2 cups of all-purpose flour, 2 teaspoons of baking powder, and a pinch of salt. This step is crucial as it aerates the flour and ensures an even texture in your Spring Crinkle Cookies in Pastel Colors. Once sifted, set this mixture aside while you gather your wet ingredients.
Step 2: Cream Butter and Sugar
In a separate bowl, beat together ¾ cup of softened unsalted butter and 1 cup of granulated sugar using an electric mixer on medium speed. Mix until the mixture is smooth and creamy, about 2-3 minutes. This process helps to incorporate air, resulting in tender cookies. Once creamy, set it aside to combine with the eggs.
Step 3: Combine Wet Ingredients
Add 2 large eggs and 1 teaspoon of vanilla extract to the creamed butter and sugar mixture. Mix gently until all the ingredients are fully incorporated, ensuring no traces of egg remain visible. The mixture should become a light, fluffy batter that is invitingly aromatic, ready to merge with the dry ingredients.
Step 4: Mix Dry and Wet Ingredients
Gradually stir the sifted dry ingredients into the wet mixture using a rubber spatula or wooden spoon. Combine until just incorporated, avoiding over-mixing to maintain a soft texture. The batter will come together, and you’ll know it’s ready when there are no lumps or dry spots; it should look slightly thick and cohesive.
Step 5: Color the Dough
Divide your dough into three or four equal portions, depending on how many colors you wish to create. Add gel food coloring to each portion and knead gently until the desired pastel hues are achieved. Visualize cheerful light pinks, yellows, or greens as you shape them, ensuring the colors are evenly distributed throughout for a beautiful final appearance.
Step 6: Chill Dough
Wrap each colored dough portion in plastic wrap and chill in the refrigerator for at least 30 minutes. This step is essential for improving the texture and ensuring that your Spring Crinkle Cookies achieve those charming crinkles during baking. While the dough chills, you can preheat your oven for the upcoming baking session.
Step 7: Preheat Oven
Preheat your oven to 350°F (175°C) and line two baking sheets with parchment paper. This ensures a non-stick surface as your colorful cookies bake to perfection. It’s important to allow the oven to fully heat before placing the cookies in, so they rise evenly and develop that beautiful crinkly top.
Step 8: Form Cookies
Once the dough is chilled, scoop out tablespoon-sized balls and roll them into smooth spheres. Roll each ball in powdered sugar until fully coated, creating that signature crackled look. Place the dough balls on the prepared baking sheets, leaving about 2 inches of space between them for spreading during baking.
Step 9: Bake
Bake the cookies in your preheated oven for 10-12 minutes, or until the edges are set and the tops are crackled. Check after 10 minutes to ensure they don’t over-bake; they should appear slightly soft in the center. The delightful aroma will fill your kitchen, signaling that spring is in the air!
Step 10: Cool
After baking, allow the cookies to cool on the baking sheets for about 5 minutes before transferring them to a wire rack. This cooling time lets them firm up slightly while retaining a soft, chewy center that everyone will love. Once they’re fully cooled, your charming Spring Crinkle Cookies in Pastel Colors are ready for serving!
What to Serve with Spring Crinkle Cookies in Pastel Colors
Delight in the joy of hosting with these charming treats by pairing them with delightful accompaniments that satisfy every craving.
-
Refreshing Lemonade: The zesty brightness of lemonade perfectly contrasts the sweetness of the cookies, leaving your taste buds invigorated.
-
Rich Chocolate Milk: Indulge in creamy chocolate milk that adds a delightful richness, making each cookie bite even more satisfying.
-
Herbal Tea: A warm cup of chamomile or mint tea provides a soothing counterpart to the playful flavors of the crinkle cookies.
-
Fruity Yogurt Parfait: Layer with fresh fruits and granola to create a textured, colorful dessert that balances the cookie’s sweetness beautifully.
-
Mini Fruit Tarts: These light, fruity tarts add a refreshing touch, complementing the pastel colors and enticing your guests’ eyes and taste buds alike.
-
Ice Cream Sandwiches: Sandwich mini scoops of vanilla or strawberry ice cream between two cookies for a delightful twist that adds a creamy, dreamy element.
-
Festive Fruit Salad: A vibrant fruit salad with seasonal berries and melon adds freshness, enhancing the cookie experience with fruity bursts.
-
Chocolate Dipped Strawberries: These luscious, sweet strawberries beautifully pair with the cookies—offering a contrast of textures while being an elegant addition to any dessert table.
Make Ahead Options
These Soft and Chewy Spring Crinkle Cookies in Pastel Colors are perfect for meal prep enthusiasts looking to save time! You can prepare the cookie dough up to 24 hours in advance, just refrigerate it after coloring. Simply wrap each colored portion tightly in plastic wrap to maintain freshness. When you’re ready to bake, take the dough out and roll it into balls, coat with powdered sugar, and bake as directed. Alternatively, you can freeze the formed dough balls for up to 3 months. Just ensure to thaw them in the refrigerator overnight before baking to enjoy cookies that are just as delightful as freshly made!
Spring Crinkle Cookies In Pastel Colors: Variations & Substitutions
Feel free to get creative with your Spring Crinkle Cookies and make them uniquely yours!
- Gluten-Free: Substitute regular flour with a gluten-free flour blend to ensure everyone can enjoy these delightful treats.
- Vegan: Use coconut oil or a vegan butter alternative and swap eggs for flaxseed meal or applesauce for a plant-based version.
- Nut-Free: Omit any extracts that contain nuts and ensure you’re using nut-free butter substitutes if needed, keeping allergies at bay.
- Citrus Zest: Add a teaspoon of lemon or orange zest to the dough for a refreshing burst of flavor that complements the pastel colors beautifully.
- Chocolate Chip Boost: Fold in mini chocolate chips for a sweet surprise that adds a delightful texture and flavor twist.
- Sour Cream Substitute: For an extra moist cookie, swap some butter with sour cream or yogurt, which enhances the tenderness.
- Spice It Up: Try adding a pinch of cinnamon or cardamom in the flour mix for a warm, aromatic twist that deliciously elevates the flavors.
- Honey or Maple Sweetener: Replace granulated sugar with honey or maple syrup for a more natural sweetener, adding a lovely hint of caramel flavor.
These variations can elevate your Spring Crinkle Cookies to new heights! For more delightful treats, check out my 4-ingredient gluten-free chocolate oat cookies or indulge in my Chocolate Oat Cookies.
Expert Tips for Spring Crinkle Cookies
- Chilling Importance: Ensure your dough is properly chilled for at least 30 minutes; this helps achieve those delightful crinkles during baking more effectively.
- Oven Check: Every oven varies; do a test batch after 10 minutes to avoid over-baking. Perfectly baked Spring Crinkle Cookies should have set edges and soft centers.
- Sugar Coating: Ensure your cookie balls are generously coated in powdered sugar before baking. This creates the signature crackle effect that adds charm and sweetness.
- Color Mixing: When adding gel food coloring, start with a small amount and gradually increase to reach the desired pastel shades without overwhelming the dough.
- Adaptability Reminder: This recipe is versatile! Feel free to explore gluten-free, vegan, or nut-free options to cater to various dietary needs, ensuring everyone can enjoy these delightful cookies.
How to Store and Freeze Spring Crinkle Cookies
Room Temperature: Store cookies in an airtight container at room temperature for up to 5 days to keep them soft and chewy.
Fridge: For longer freshness, you may refrigerate the cookies, which can extend their life to a week. Make sure to seal them well to prevent drying out.
Freezer: Freeze baked cookies in a single layer on a baking sheet, then transfer to a freezer-safe bag for up to 3 months. Reheat directly from the freezer, warming them in a 350°F (175°C) oven for about 5-7 minutes.
Dough Freezing: Freeze shaped cookie dough balls before baking. Store them in a zip-lock bag for up to 3 months. When ready to bake, simply add a couple of extra minutes to the baking time for perfectly fresh Spring Crinkle Cookies in Pastel Colors!
Spring Crinkle Cookies in Pastel Colors Recipe FAQs
How do I know if my flour is fresh enough to use?
Absolutely! When selecting flour, look for a clean, unopened package. If it’s opened, smell it—fresh flour should have a neutral scent. If you detect a sour or off odor, it might be time to toss it. If stored properly in a cool, dry place, all-purpose flour typically stays fresh for up to a year, while whole wheat flour lasts around six months.
What’s the best way to store my Spring Crinkle Cookies?
Very! Ensure you place your cookies in an airtight container at room temperature for up to 5 days. If you want them to last longer, consider layering them with parchment paper between cookies to maintain their texture. You can also refrigerate them in a sealed container for up to a week, although this might slightly alter their consistency.
Can I freeze my Spring Crinkle Cookies, and if so, how?
Absolutely! To freeze, first let the baked cookies cool completely. Then, place them in a single layer on a baking sheet and freeze for about 2 hours or until solid. Transfer the cookies to a freezer-safe bag, removing as much air as possible. They can be frozen for up to 3 months! When you’re ready to enjoy, reheat them directly from the freezer in a 350°F (175°C) oven for about 5-7 minutes.
What should I do if my dough is too soft to roll into balls?
No worries! If your dough feels too soft to handle, it’s most likely due to room temperature. Simply pop it back in the fridge for 10-15 minutes until it firms up. This will make it easier to roll into balls and help achieve those beautiful crinkles during baking.
Are there any allergy considerations I should keep in mind?
Yes! If you have dietary restrictions, feel free to substitute the conventional ingredients. For a nut-free version, use a nut-free vegan butter substitute. Make sure to choose gluten-free baking powder and flour for gluten-free needs. Additionally, if you want an egg-free cookie, a popular alternative is using 1 tablespoon of ground flaxseed mixed with 2.5 tablespoons of water per egg, allowing it to sit until it becomes gel-like before mixing it into your dough.
Can I customize the flavors of my Spring Crinkle Cookies?
Very! Feel free to experiment with different extracts and zests. Almond extract offers a nutty surprise, while citrus zests like lemon or orange can add a bright twist to your pastel cookies. Just remember to keep the balance in sweetness for the best results!
Delightful Spring Crinkle Cookies In Pastel Colors Recipe
Ingredients
Equipment
Method
- In a mixing bowl, sift together the flour, baking powder, and salt, then set aside.
- In another bowl, beat the softened butter and granulated sugar until smooth and creamy.
- Add in the eggs and vanilla extract, mixing until fully incorporated.
- Gradually stir the dry ingredients into the wet mixture until just combined.
- Divide the dough and add gel food coloring to create pastel shades.
- Wrap dough portions in plastic wrap and chill in the refrigerator for at least 30 minutes.
- Preheat the oven to 350°F (175°C) and line baking sheets with parchment paper.
- Scoop and roll dough into balls, then coat with powdered sugar.
- Bake for 10-12 minutes until edges are set and tops are crackled.
- Allow cookies to cool on baking sheets before transferring to a wire rack.
Leave a Reply