
As the aroma of freshly brewed coffee wafts through the air, there’s an undeniable allure that draws me toward the kitchen. Today, I’m thrilled to share my go-to recipe for Rich and Creamy Coffee Cheesecake, a dessert that flawlessly melds the luxurious creaminess of cheesecake with the bold, energizing essence of espresso. This crowd-pleaser is not only a delightful indulgence for any gathering but also surprisingly easy to prepare, allowing even novice bakers to shine. Whether it’s a birthday celebration or a cozy get-together, this cheesecake promises to enchant every palate. Curious about how to elevate this dessert and make it your own? Let’s dive into the delicious details!
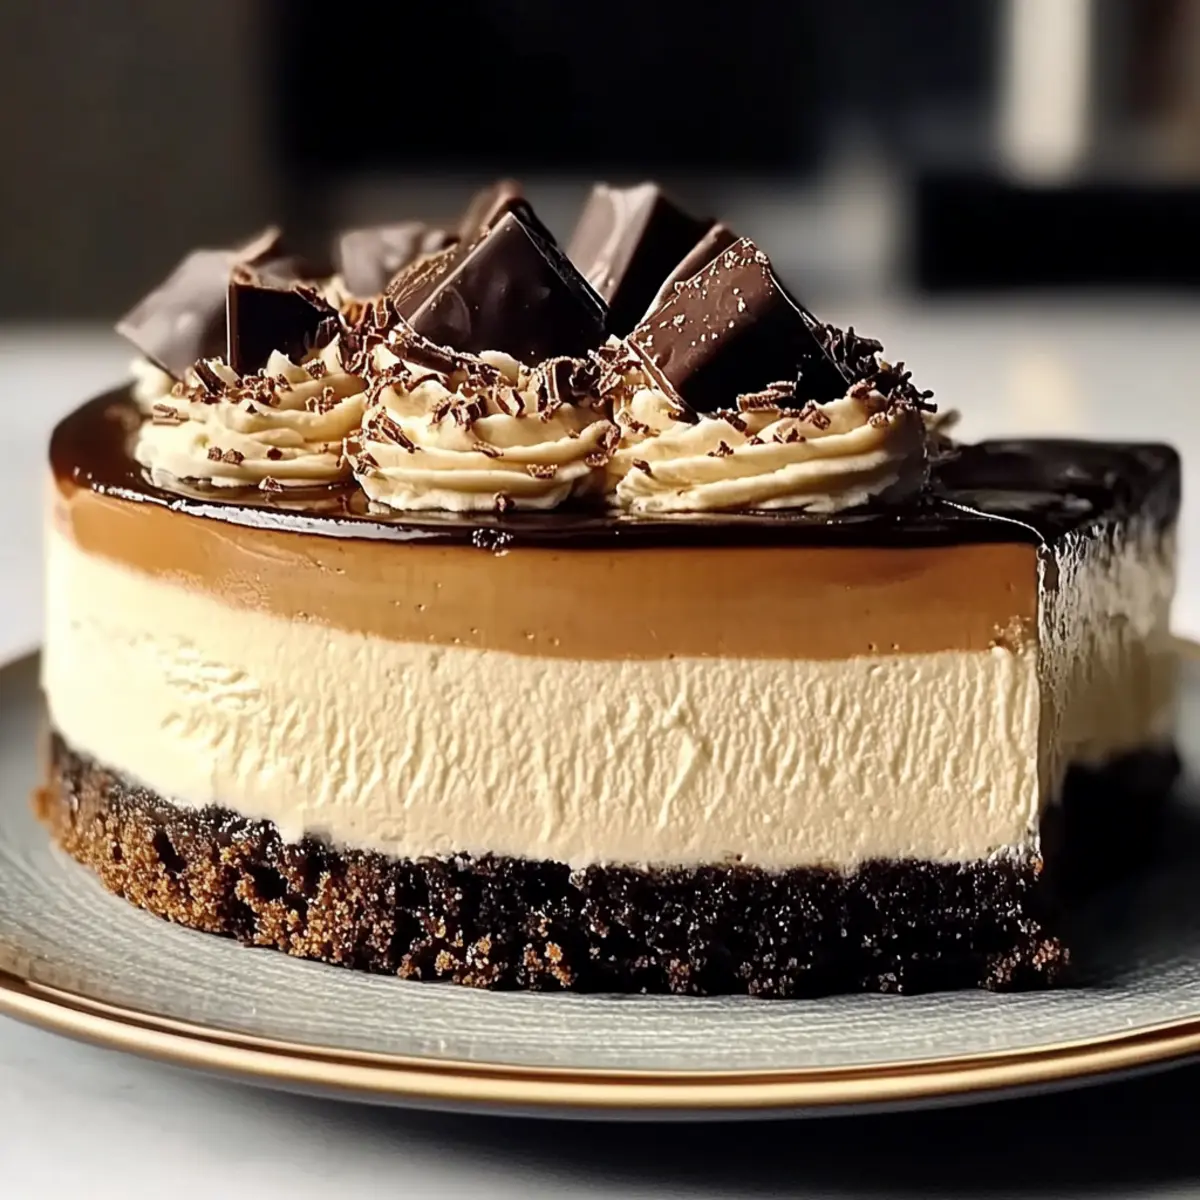
Why Is Coffee Cheesecake So Irresistible?
Indulgence Awaits: The rich and creamy texture makes every bite a luscious experience.
Coffee Lovers Rejoice: Elevated flavors of espresso will have caffeine enthusiasts falling in love.
Easy to Make: With just a few simple ingredients, even beginners can master this dessert!
Perfect for Any Occasion: This cheesecake shines at parties or cozy family dinners, bringing everyone together.
Customizable: Add your twist with toppings like chocolate ganache or fresh berries, turning it into something uniquely yours. For more scrumptious ideas, check out my Apple Crumble Cheesecake or my richly delightful Sugar Cookie Cheesecake!
Coffee Cheesecake Ingredients
-
For the Cheesecake Filling
• Cream Cheese – provides the main creamy texture; ensure it’s at room temperature for better mixing.
• Granulated Sugar – balances the bitterness of coffee; can substitute with a sweetener of choice if preferred.
• Eggs – binds the cheesecake, adding richness; use large eggs at room temperature.
• Espresso Powder – offers intense coffee flavor; decaf coffee can be used as a substitute for a lower caffeine kick.
• Chocolate Chips – enhances flavor with chocolatey richness; you can use dark or semi-sweet chocolate or omit for a simpler cheesecake.
• Vanilla Extract – adds warmth and depth to the flavor; fresh vanilla or a different flavored extract can be used. -
For the Crust
• Butter – used in the crust for richness; melted unsalted butter is standard; margarine can be a substitute.
• Graham Cracker Crumbs – forms the cheesecake crust; can substitute with cookie crumbs or gluten-free alternatives for a gluten-free crust.
This Coffee Cheesecake is sure to impress with its rich flavors and creamy texture! Enjoy making it your own!
Step‑by‑Step Instructions for Coffee Cheesecake
Step 1: Preheat and Prepare
Begin by preheating your oven to 325°F (162°C). While the oven heats up, lightly grease a 9-inch springform pan with non-stick spray to ensure easy release later. This creates the perfect environment for baking the Coffee Cheesecake, inviting that rich aroma to fill your kitchen.
Step 2: Mix the Cream Cheese and Sugar
In a large mixing bowl, combine the room-temperature cream cheese and granulated sugar. Using a hand mixer or stand mixer, beat them together on medium speed until the mixture is perfectly smooth and creamy, about 3-4 minutes. Ensure there are no lumps, as this will create a decadent texture in your Coffee Cheesecake.
Step 3: Add Eggs Gently
Next, incorporate the large eggs into the creamy mixture, one at a time. Mix on low speed, just until combined after each addition to avoid overmixing, which can introduce air bubbles and lead to cracking. This process should take about 1-2 minutes total, resulting in a silky-smooth batter.
Step 4: Incorporate Coffee Flavors
Now, it’s time to add the espresso powder, chocolate chips, and vanilla extract to the batter. Gently fold these ingredients in with a spatula until fully incorporated, ensuring you don’t lose that fluffy texture you’ve created. The rich coffee flavor will make this Coffee Cheesecake irresistible!
Step 5: Prepare the Crust
For the crust, take a separate bowl and combine the graham cracker crumbs with melted unsalted butter. Mix until the mixture resembles wet sand. Press this crumb mixture firmly into the bottom of your prepared springform pan, creating an even layer. This crust will add a delightful crunch to your creamy cheesecake.
Step 6: Combine Cheesecake Filling and Crust
Pour the luscious cheesecake filling over the prepared crust in the springform pan. Using a spatula, gently smooth the top for an even finish. To prevent cracks during baking, you may place the springform pan in a larger baking dish filled with hot water—a water bath that makes all the difference for your Coffee Cheesecake.
Step 7: Bake to Perfection
Place the springform pan in your preheated oven and bake for approximately 60-70 minutes. You’ll know it’s done when the center is set but has a slight jiggle when gently shaken. The edges should be firm and pull away slightly from the pan. This ensures a creamy, velvety texture that defines your Coffee Cheesecake.
Step 8: Cool Gradually
Once baked, turn off the oven and let the Coffee Cheesecake cool inside for about 1 hour. This gradual cooling helps prevent sudden changes in temperature, reducing the chances of cracking. Afterward, transfer it carefully to the refrigerator and chill for at least four hours, or ideally overnight, to fully set the flavors.
Step 9: Serve and Delight
After chilling, remove the cheesecake from the springform pan. Serve slices alongside a dollop of whipped cream or fresh berries for a delightful contrast. Enjoy the rich and creamy layers of your Coffee Cheesecake, savoring each bite of this indulgent treat.
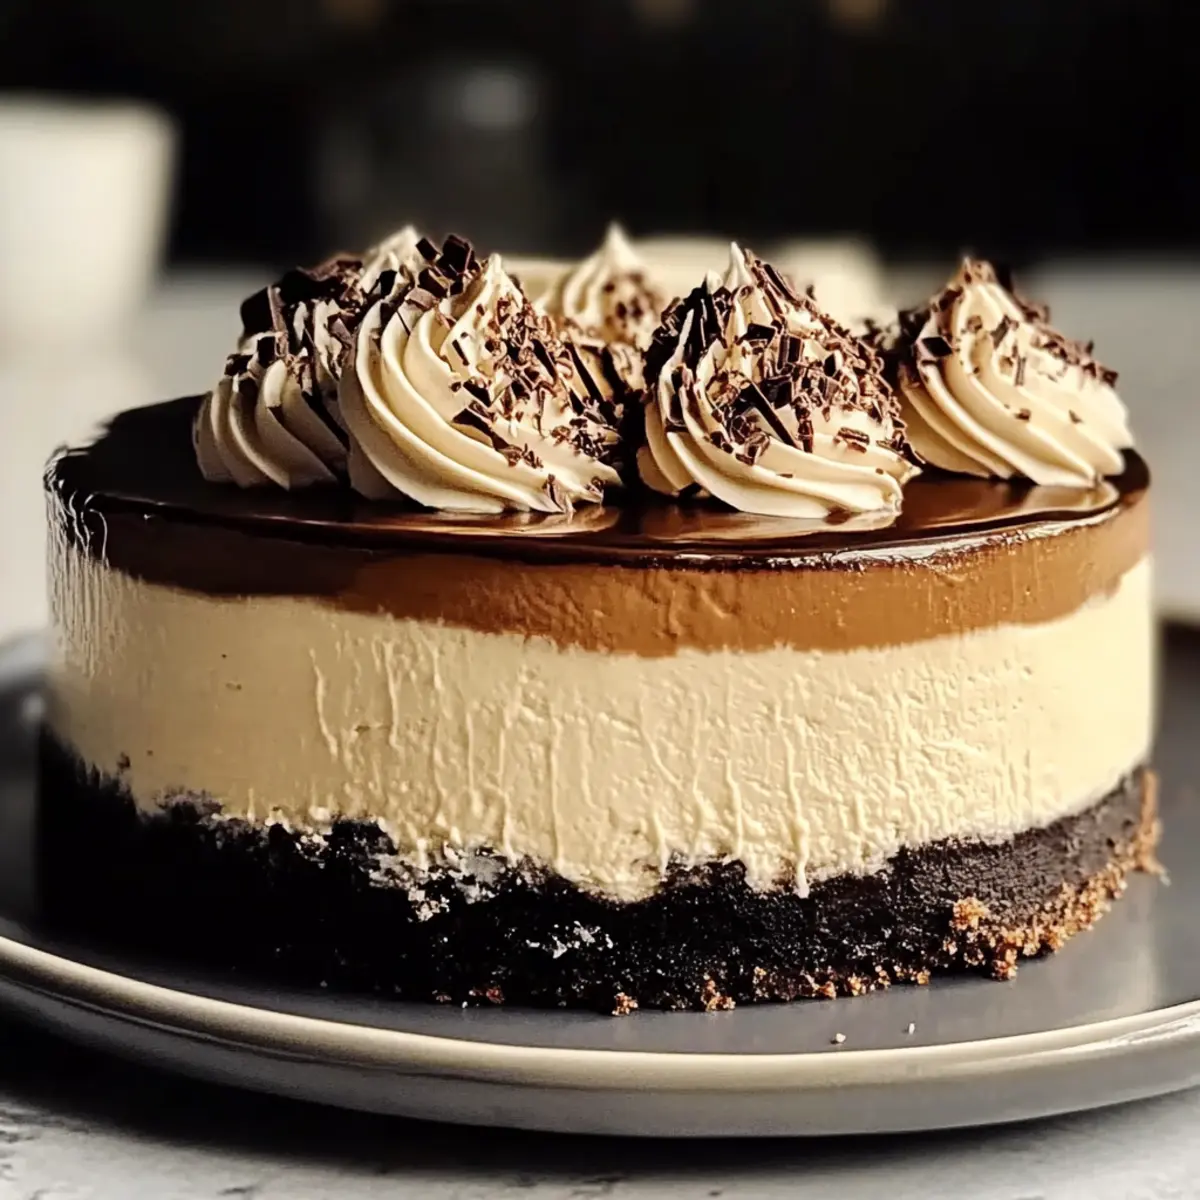
Expert Tips for Coffee Cheesecake
-
Room Temperature Ingredients: Starting with room temperature cream cheese and eggs creates a smoother batter, preventing lumps that could disrupt your cheesecake’s velvety texture.
-
Mix Gently: Avoid overmixing your batter after adding in the eggs. Mixing too vigorously can introduce air bubbles, leading to cracks in your Coffee Cheesecake as it bakes.
-
Use a Water Bath: Baking your cheesecake using a water bath helps maintain moisture and prevents cracking. It creates a stable baking environment, ensuring your dessert comes out perfectly creamy.
-
Cool Gradually: Once baked, let your Coffee Cheesecake cool in the oven with the door ajar for about an hour. This slow cooling process minimizes temperature shock, crucial for a crack-free surface.
-
Check for Doneness: To ensure the cheesecake is perfectly baked, the center should be set with a slight jiggle, indicating it’s firm but not overcooked.
What to Serve with Rich and Creamy Coffee Cheesecake
As the rich aromas of coffee and creamy cheesecake meld with each other, a harmonious meal awaits to be created alongside this delightful dessert.
-
Vanilla Ice Cream: Adds a creamy and sweet contrast to the rich cheesecake, enhancing each bite seamlessly. The coolness of the ice cream beautifully offsets the warmth of the coffee flavor.
-
Chocolate Ganache: A luxurious chocolate topping that offers a rich and indulgent experience. The chocolate elevates the dessert, providing a perfect balance to the coffee’s boldness.
-
Whipped Cream: Light and airy, whipped cream complements the dense texture of the cheesecake with a fluffy touch. It also adds a visual appeal, making every plate look inviting.
-
Fresh Berries: Strawberries or raspberries provide a refreshing pop of color and tartness. Their natural sweetness balances the depth of the coffee flavor and adds a fruity brightness.
-
Espresso: Brewed espresso can enhance the coffee experience. Serving this alongside the cheesecake allows coffee lovers to indulge their cravings fully with a rich flavor profile.
-
Chocolate-Covered Strawberries: These elegant treats add a touch of romance and indulgence to your dessert table. The combination of coffee and chocolate delights the senses in every bite.
-
Fruit Salad: A light fruit salad can cleanse the palate between bites of the rich cheesecake. Choose seasonal fruits for the freshest flavors and vibrant colors.
-
Decadent Chocolate Mousse: Offering a velvety and rich texture, this dessert pairs perfectly with the coffee cheesecake, especially for chocolate lovers.
-
Hazelnut Liqueur: For an adult twist, a glass of hazelnut liqueur can enhance the coffee flavors, making the experience even more luxurious and indulgent.
These complementary elements will elevate your serving of Rich and Creamy Coffee Cheesecake into a full dining experience that will impress your guests and make every gathering memorable!
Coffee Cheesecake Variations to Explore
Feel free to get creative with your Coffee Cheesecake—there are so many delightful ways to personalize this dessert!
-
Dairy-Free: Substitute cream cheese with a dairy-free alternative, such as cashew cream, for a rich and vegan-friendly treat.
-
Nutty Crunch: Add crushed walnuts or pecans into the crust or filling for a satisfying crunch that contrasts perfectly with the creamy cheese.
-
Decadent Chocolate: Mix in a generous amount of cocoa powder or increase chocolate chips for extra chocolatey goodness. Your cheesecake will transform into a chocolate lover’s dream!
-
Fruity Twist: Top with fresh berries, like raspberries or strawberries, for a refreshing tartness that complements the rich coffee flavor beautifully.
-
Flavor Infusion: Swap espresso powder for flavored coffee grounds, such as hazelnut or vanilla, to create a uniquely aromatic cheesecake that surprises and delights.
-
Spicy Warmth: Incorporate a hint of cinnamon or nutmeg into the filling for a warm spice note that elevates your dessert experience, making it even cozier.
-
Gourmet Toppings: Try drizzling with homemade caramel sauce or chocolate ganache to create an indulgent topping that makes every slice feel like a celebration!
-
Chocolate Oat Cookies Crust: For a twist on the traditional crust, use crushed Chocolate Oat Cookies to bring a brilliant flavor and a new texture, perfect for cookie lovers.
These variations will surely make your Coffee Cheesecake even more divine, so embrace the customization and create something your family and friends will cherish!
How to Store and Freeze Coffee Cheesecake
Refrigerator: Keep your Coffee Cheesecake covered in the refrigerator for up to 5 days. This will maintain its creamy texture and rich flavor for your enjoyment!
Freezer: If you want to save some for later, wrap individual slices tightly in plastic wrap and aluminum foil. It can be frozen for up to 3 months while preserving its delightful taste.
Thawing: For best results, thaw the Coffee Cheesecake in the refrigerator overnight before serving. This will keep it creamy and ready to impress your guests.
Serving After Storage: After storing, you can rejuvenate the cheesecake by adding a fresh dollop of whipped cream or your favorite toppings to enhance its appeal!
Make Ahead Options
These Coffee Cheesecakes are perfect for meal prep enthusiasts! You can prepare the crust and filling up to 24 hours in advance, allowing you to save time on busy days. Simply complete steps 1 through 6 of the recipe, then cover the filled springform pan tightly with plastic wrap and refrigerate. This helps maintain the cheesecake’s creamy texture, ensuring every slice is just as delicious when you serve it. When you’re ready to bake, simply proceed with step 7, allowing for a few extra minutes in the oven if needed due to the chilled ingredients. With this make-ahead method, you’ll have a fantastic dessert ready for any gathering with minimal last-minute effort!
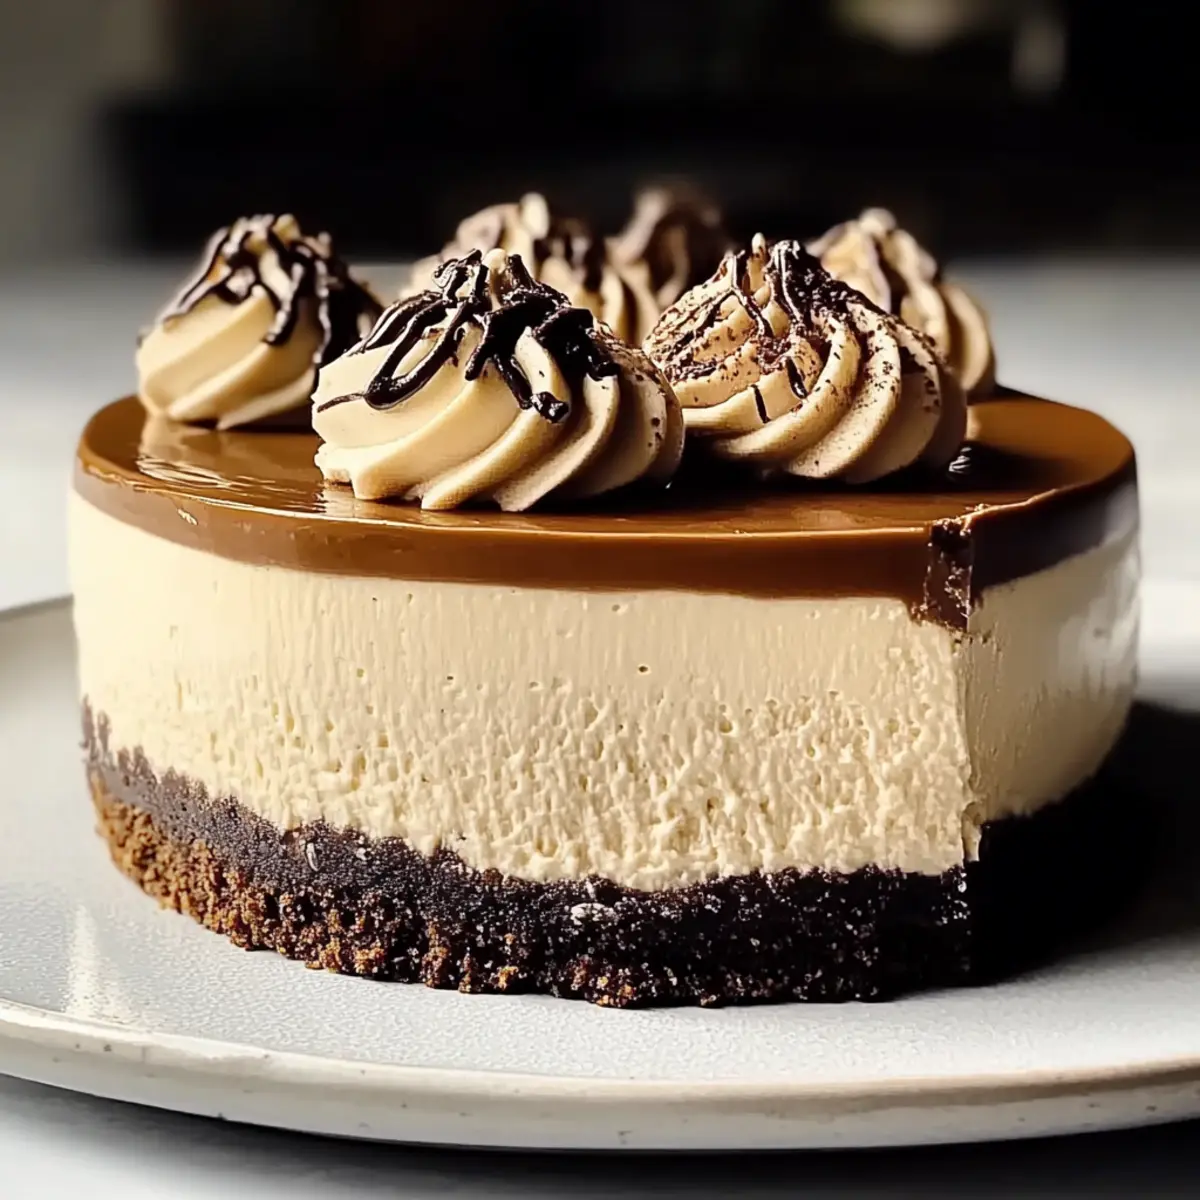
Coffee Cheesecake Recipe FAQs
How do I choose the best cream cheese for my Coffee Cheesecake?
Absolutely! For the richest and creamiest texture, opt for full-fat cream cheese, preferably block-style rather than spreadable. Make sure it’s at room temperature for easy mixing—this small step can make a huge difference in the final product!
How should I store my leftover Coffee Cheesecake?
You can keep your Coffee Cheesecake covered in the refrigerator for up to 5 days. I recommend using an airtight container or tightly wrapping it in plastic wrap to maintain its freshness. Just a little tip: place a piece of parchment paper over the surface before wrapping to prevent any sticking!
Can I freeze Coffee Cheesecake? How?
Yes, you can! To freeze your Coffee Cheesecake, first let it cool completely. Wrap individual slices tightly in plastic wrap, followed by aluminum foil, to protect them from freezer burn. This will keep them delicious for up to 3 months. When you’re ready to indulge again, simply thaw them overnight in the refrigerator.
What should I do if my Coffee Cheesecake cracks during baking?
Very! To prevent cracking, avoid overmixing your batter and make sure to use a water bath during baking, which helps maintain moisture. If cracks do occur, don’t worry too much—it can be covered with toppings like whipped cream or a chocolate ganache to disguise them beautifully!
Can I make this Coffee Cheesecake dairy-free?
Certainly! You can try using dairy-free cream cheese and coconut cream instead of regular cream cheese, along with your choice of non-dairy milk. Just make sure to check that all your ingredients are dairy-free, especially the chocolate chips. With the right substitutes, your dairy-free version will still be deliciously creamy and satisfying!
How long does Coffee Cheesecake need to chill before serving?
It’s best to chill your Coffee Cheesecake for at least 4 hours, but overnight is even better! This allows the flavors to meld beautifully and achieves that ideal creamy texture. Believe me, the wait will be worth it!
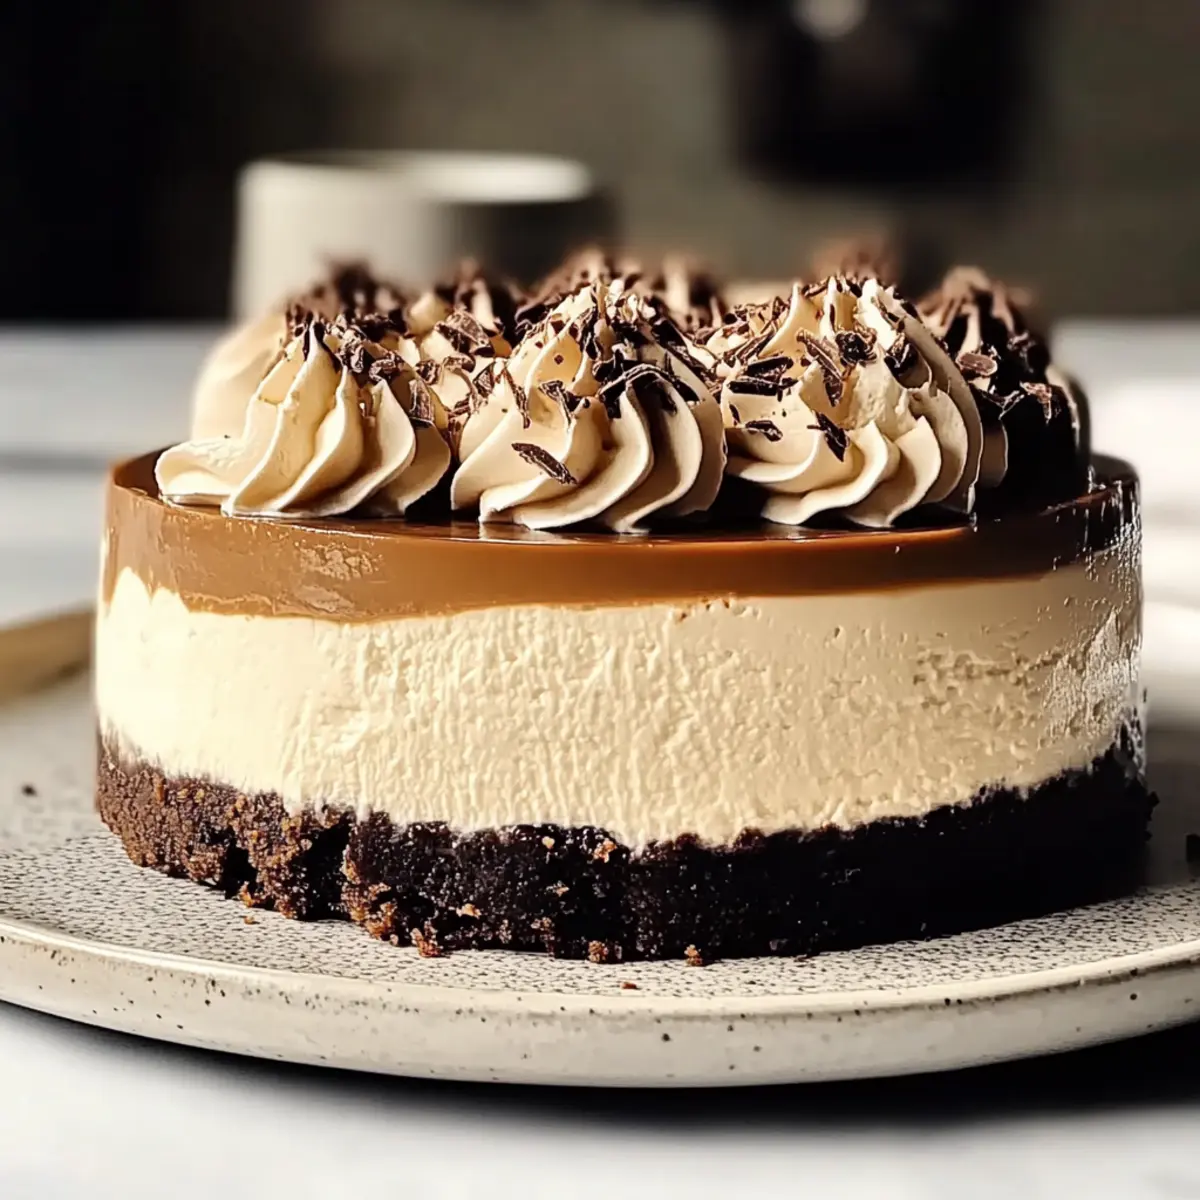
Indulge in Rich and Creamy Coffee Cheesecake Bliss
Ingredients
Equipment
Method
- Preheat your oven to 325°F (162°C) and grease a 9-inch springform pan.
- In a large mixing bowl, beat together cream cheese and sugar until smooth and creamy (3-4 minutes).
- Add eggs one at a time, mixing on low speed until combined.
- Fold in espresso powder, chocolate chips, and vanilla extract until incorporated.
- Combine graham cracker crumbs with melted butter and press into the bottom of the springform pan.
- Pour the cheesecake filling over the crust and smooth the top.
- Bake for 60-70 minutes until the center is set with a slight jiggle.
- Cool in the oven for 1 hour, then refrigerate for at least 4 hours or overnight.
- Serve chilled with whipped cream or fresh berries.
Leave a Reply