
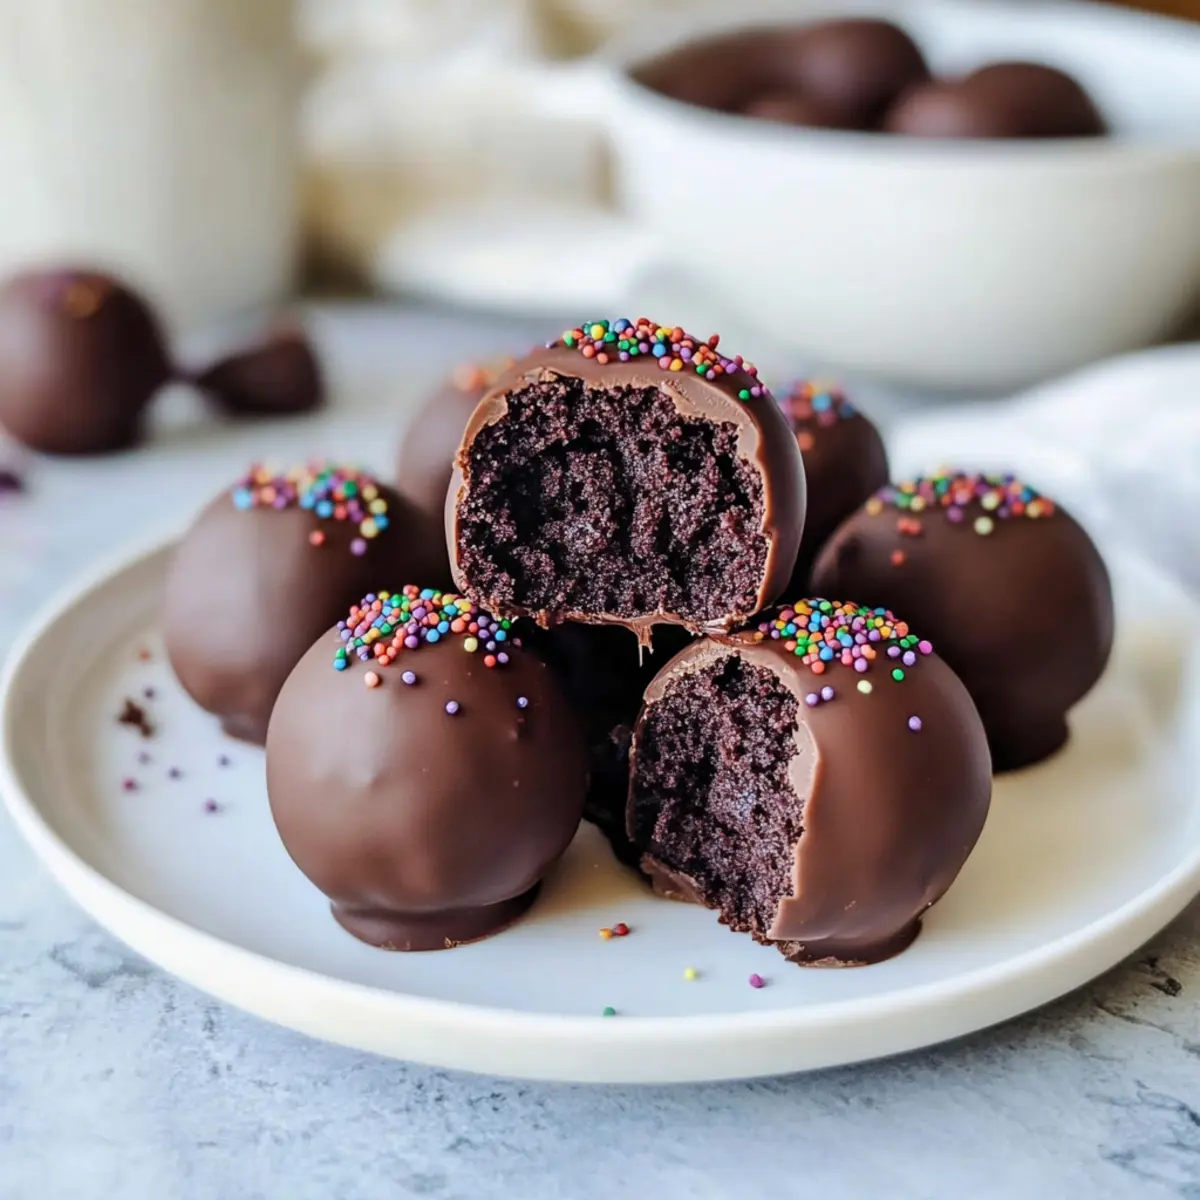
As I rummaged through my pantry last weekend, I stumbled upon a half-used box of Devil’s Food cake mix, just waiting to be transformed into something extraordinary. This inspired me to whip up some irresistibly delicious Chocolate Cake Balls! These delightful morsels not only satisfy those chocolate cravings but also serve as a customizable treat that’s perfect for any occasion. Easy to make and adorable to serve, they are ideal for impressing guests or simply indulging yourself. With a fudgy cake center wrapped in silky chocolate, these Chocolate Cake Balls are sure to be a hit with everyone around the table. Ready to take your dessert game to the next level? Let’s dive into this sweet adventure together!
Why are Chocolate Cake Balls Irresistible?
Decadent Flavor: The rich combination of chocolate cake and smooth candy coating creates an irresistible taste that chocolate lovers can’t resist.
Customizable Delights: Make them your own! Add unique flavors like peanut butter or peppermint for a twist.
Perfect for Any Occasion: These treats are great for parties, celebrations, or just-because moments. Serve alongside a cup of coffee or with a slice of Ingredient Yogurt Cake for a delightful spread!
Easy to Make: With just a few simple ingredients and straightforward steps, you’ll have these little bites ready in no time.
Crowd-Pleasing Treats: Everyone loves chocolate! These Cake Balls are sure to impress guests and become a favorite at gatherings.
Indulge in these delightful bites, and you might find yourself making them time and time again.
Chocolate Cake Balls Ingredients
For the Cake Mixture
- Devil’s Food Cake Mix – This provides a rich chocolate flavor and structure; feel free to use any chocolate cake mix.
- Chocolate Frosting – Adds moisture and sweetness to your cake balls; just be careful not to overdo it—about half a standard container should work.
For the Coating
- Chocolate Candy Coating – Gives each cake ball a shiny, irresistible finish; try white chocolate or almond bark if you want a fun variation.
For Topping (Optional)
- Sprinkles – These make your treats even more festive; go for seasonal sprinkles to match any occasion or theme.
These easy-to-make Chocolate Cake Balls are perfect for indulging your sweet cravings or impressing loved ones! Enjoy the process of customizing them to fit any event or personal taste.
Step‑by‑Step Instructions for Chocolate Cake Balls
Step 1: Preheat and Bake
Begin by preheating your oven to 350°F (175°C). Prepare a 9×13 inch baking pan according to the package instructions for your Devil’s Food cake mix. Once the oven is ready, pour your batter into the pan and bake for about 30-35 minutes, or until a toothpick inserted in the center comes out clean. Trust your kitchen’s delicious chocolate aroma guide you!
Step 2: Cool the Cake
After baking, remove the cake from the oven and let it cool in the pan for about 10 minutes. Then, transfer the cake to a cooling rack, allowing it to cool completely—this is key for making your Chocolate Cake Balls. A fully cooled cake ensures that your cake mixture will form well without becoming too mushy when combined with frosting.
Step 3: Crumble the Cake
Once the cake is completely cool, use your hands or an electric mixer to crumble the cake into a large mixing bowl. Aim for small, even crumbs to help the mixture bind. This process should take about 5-7 minutes. Make sure to break it down well, which is essential for the next step in creating those irresistible Chocolate Cake Balls!
Step 4: Mix in the Frosting
Add about half a container of chocolate frosting into your crumbled cake and mix until well combined. Use your hands or a spatula to blend, ensuring the mixture holds together without becoming overly wet—this should take about 2-3 minutes of mixing. The texture should be moist but firm enough to roll into balls.
Step 5: Form the Cake Balls
With your chocolate cake and frosting mixture ready, scoop out portions and roll them into 1-inch balls. Place each formed ball on a parchment-lined cookie sheet, ensuring they are evenly spaced apart. You should yield approximately 20-24 balls, perfect for sharing or keeping all to yourself!
Step 6: Freeze the Cake Balls
Once you’ve rolled all the cake balls, pop them in the freezer for about 45 minutes. This step is crucial as it firms up the cake balls, making them easier to dip in chocolate later. Check that they are solid enough to hold their shape before moving on to the tasty coating.
Step 7: Melt the Chocolate Coating
While the cake balls are chilling, prepare your chocolate candy coating. In a microwave-safe bowl, heat the chocolate in 30-second intervals, stirring in between each until it becomes smooth and creamy. This process typically takes about 1-2 minutes total. Keeping the chocolate warm will ensure a lovely, glossy finish for your Chocolate Cake Balls.
Step 8: Dip the Cake Balls
Once the chocolate is melted and at a good dipping consistency, use a fork to dip each chilled cake ball into the melted chocolate. Ensure each ball is completely coated, shaking off any excess chocolate before transferring them back to the parchment paper. This step adds that rich layer of chocolate goodness.
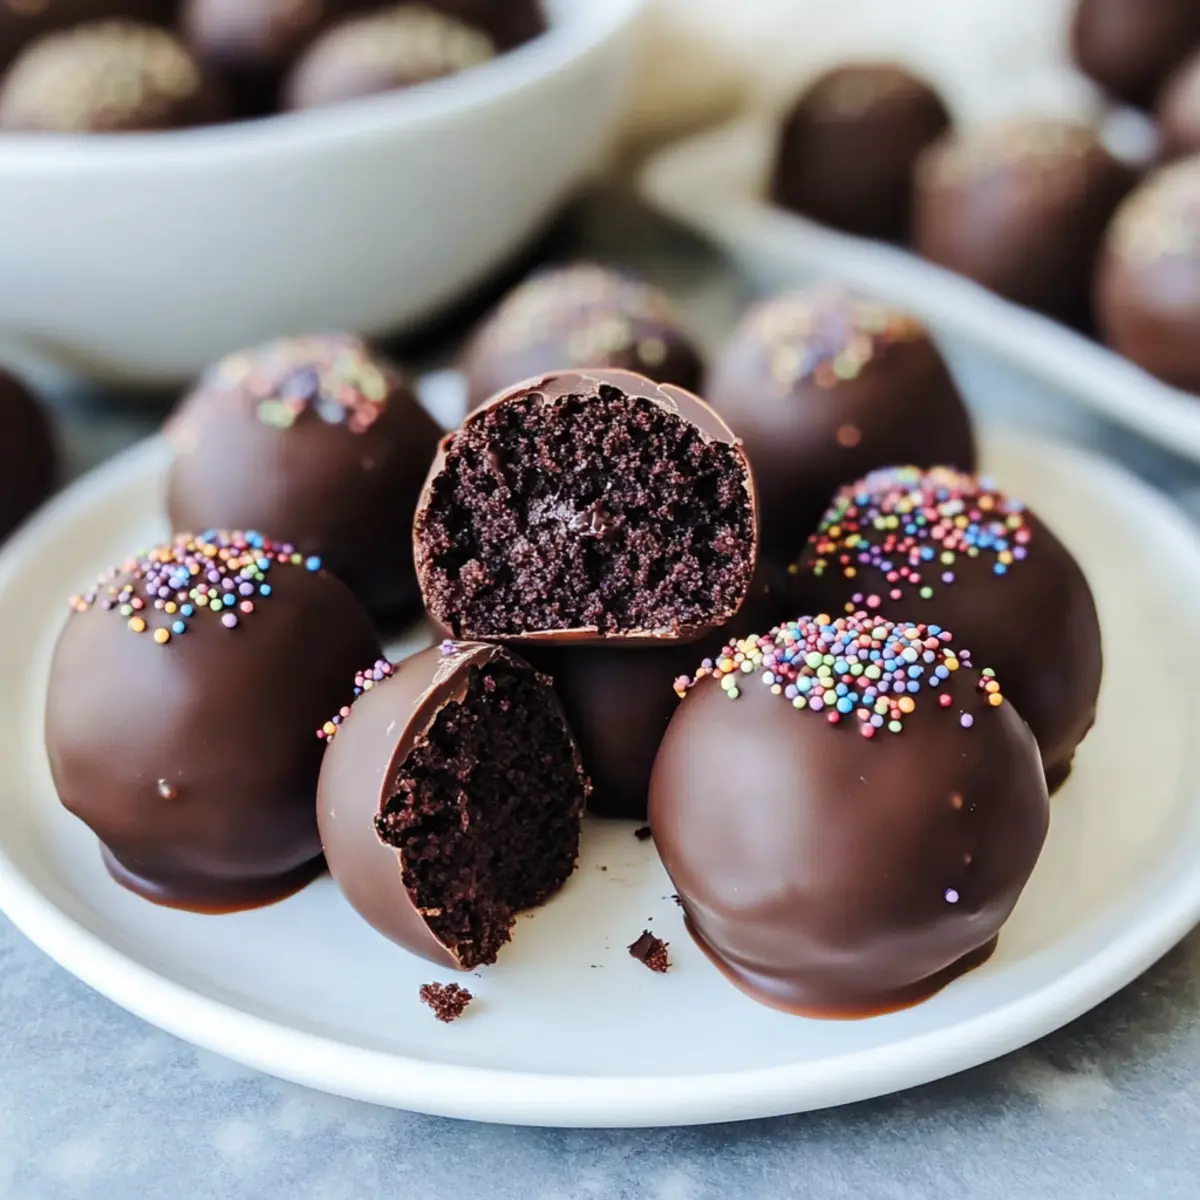
Step 9: Add Toppings and Set
After dipping, sprinkle your favorite toppings—like colorful sprinkles—onto each cake ball while the chocolate is still wet. Return the coated balls to the parchment-lined sheet and let them set at room temperature or in the fridge. This typically takes around 30 minutes, and you’ll see the chocolate harden to create a delightful shell.
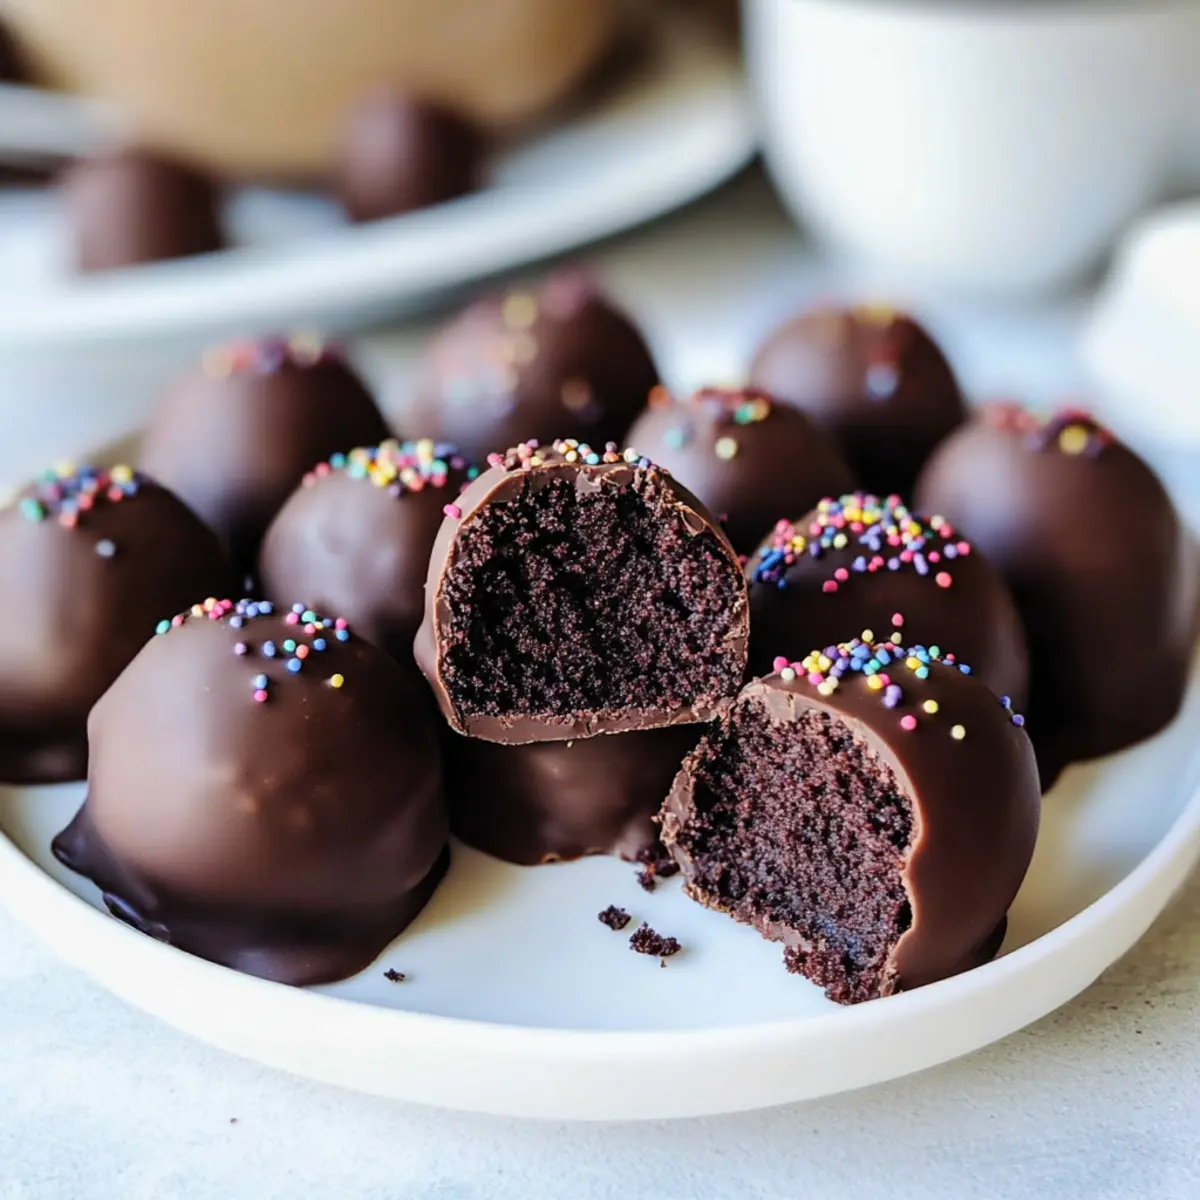
Step 10: Serve and Savor
Once the chocolate has fully set, your Chocolate Cake Balls are ready to serve! Arrange them on a platter for sharing at your next gathering, or delight yourself with a treat. These delightful bites are perfect for any occasion, and you may find folks asking for seconds!

Storage Tips for Chocolate Cake Balls
- Room Temperature: Keep your Chocolate Cake Balls in an airtight container at room temperature for up to 4 days to maintain their delicious taste and texture.
- Fridge: Store them in the refrigerator for up to 1 week. This helps to preserve freshness, but be sure to use a sealed container to prevent them from drying out.
- Freezer: For longer storage, freeze your cake balls for up to 3 months. Place them in a single layer on a parchment-lined baking sheet until firm, then transfer to an airtight container or freezer bag.
- Reheating: There’s no need to reheat these treats! Simply take them out of the fridge or freezer and enjoy as-is for a satisfying sweet bite anytime.
Make Ahead Options
These Chocolate Cake Balls are a fantastic choice for meal prep, making them perfect for busy weeknights or last-minute gatherings! You can prepare the cake mixture and refrigerate it for up to 3 days before rolling it into balls; this will help develop the flavors while keeping everything fresh. To prevent any moisture loss or browning, store the mixture in an airtight container. When you’re ready to finish the recipe, simply roll the chilled mixture into balls, freeze them for about 45 minutes until firm, and then dip them in melted chocolate. This way, you can enjoy restaurant-quality Chocolate Cake Balls with minimal fuss, saving you precious time!
What to Serve with Chocolate Cake Balls
Indulging in these delightful morsels is only the beginning; let’s build a complete dessert experience that will keep everyone coming back for more.
- Coffee: A rich cup of coffee balances the sweetness of the cake balls, enhancing their chocolate flavor while offering a cozy touch.
- Whipped Cream: Light and airy, whipped cream adds a contrasting texture that complements the fudginess of the cake balls beautifully.
- Fresh Berries: The tartness of strawberries or raspberries cuts through the richness, refreshing your palate and bringing a burst of color.
- Ice Cream: A scoop of vanilla or chocolate ice cream elevates these bites to a dreamy dessert sundae, perfect for chocolate lovers.
- Fruit Salad: A bright and juicy fruit salad introduces a rainbow of flavors, offering a vibrant and fresh contrast to the cake balls.
- Milk: A tall glass of cold milk is a classic combination, enhancing the chocolate indulgence and making each bite extra satisfying.
- Red Wine: A smooth bottle of red wine can create a sophisticated pairing, perfect for an adults’ gathering and complimenting the chocolate richness.
- Chocolate Sauce: Drizzling extra chocolate sauce over the cake balls amps up the indulgence, inviting you to dive into decadence with every bite.
Chocolate Cake Balls Variations & Substitutions
Feel free to get creative and personalize these Chocolate Cake Balls to suit your taste buds and dietary preferences!
-
Gluten-Free: Substitute Devil’s Food cake mix with a gluten-free chocolate cake mix for a deliciously safe option.
-
Dairy-Free: Use dairy-free frosting and chocolate candy coating for a plant-based twist. Your taste buds won’t know the difference!
-
Nutty Addition: Mix in a handful of finely chopped nuts for a crunchy texture. Chopped pecans or walnuts will add a lovely earthy flavor.
-
Fruity Flavor: Incorporate a touch of pureed fruit, like raspberry or cherry, into the cake mix for a fresh flavor boost! The tangy notes will contrast beautifully with the richness of chocolate.
-
Spicy Kick: For a warm spiciness, add a pinch of cinnamon or a dash of cayenne pepper into the cake mixture. It’s an unexpected surprise that can really elevate the flavor.
-
Cookie Dough Twist: Swap out some frosting for cookie dough for a dreamy combination of textures! Use an edible cookie dough recipe for safe enjoyment.
-
Themed Sprinkles: Change your sprinkles according to the season or your occasion! Halloween-themed sprinkles for October or red and green for Christmas can make them even more festive.
If you’re eager to try new flavors, consider pairing these delightful bites with a delicious coffee or a slice of Chocolate Bake Layered cake. Enjoy the journey of baking and make it your own!
Expert Tips for Chocolate Cake Balls
- Frosting Quantity: Use only half a container of chocolate frosting to avoid making the mixture too wet, which can hinder the rolling process.
- Crumbling Technique: Ensure the cooled cake is crumbled evenly into small bits; this helps with binding and achieving that perfect cake ball texture.
- Freezing Time: Don’t skip the freezing step; it solidifies the cake balls, making them easier to coat without losing shape.
- Coating Consistency: Melt chocolate in short intervals to prevent it from overheating. A smooth consistency is key for a beautiful finish on your Chocolate Cake Balls.
- Fun Toppings: Have fun with toppings! Experiment with different sprinkles, nuts, or even drizzle contrasting chocolate for extra visual appeal and flavor.
Chocolate Cake Balls Recipe FAQs
How do I choose ripe ingredients for Chocolate Cake Balls?
Absolutely! When selecting ingredients, ensure your chocolate frosting is fresh and not past its expiry date. If using eggs in a homemade cake mix variant, select eggs that are not cracked and have a clean, unblemished shell. For optimum taste, use high-quality chocolate candy coating—look for a shiny, smooth texture without any white spots, which can indicate age or improper storage.
How should I store Chocolate Cake Balls, and how long do they last?
You can store your Chocolate Cake Balls in an airtight container at room temperature for up to 4 days. If you want to keep them fresher for longer, they can be refrigerated for up to 1 week. Just be sure to seal them well to prevent them from drying out. Place a piece of parchment paper between layers to avoid sticking!
Can I freeze Chocolate Cake Balls, and if so, how?
Very! To freeze your Chocolate Cake Balls, first, place them on a parchment-lined baking sheet in a single layer. Freeze until firm, about 1-2 hours. Once solid, transfer the balls to an airtight container or freezer bag, ensuring to label with the date. They can be frozen for up to 3 months. When you’re ready to enjoy, simply remove them from the freezer and let them sit at room temperature for about 15-20 minutes before serving.
What should I do if my cake mixture is too wet?
If you find your cake mixture too moist and difficult to form, don’t worry! Start by adding crushed cookies or graham crackers slowly, mixing until the texture is manageable. You can also refrigerate the mixture for about 30 minutes, as chilling helps solidify the texture, making it easier to roll into balls.
Are Chocolate Cake Balls safe for peanut allergies?
It’s important to check your ingredients! If you want to avoid allergens, use allergy-friendly products, and skip any toppings like nuts. Always read labels carefully and opt for certified peanut-free chocolate and frosting. If you offer these treats to others, be sure to clearly disclose all ingredients used in your Chocolate Cake Balls to prevent any allergic reactions.
Irresistible Chocolate Cake Balls for Sweet Cravings
Ingredients
Equipment
Method
- Preheat your oven to 350°F (175°C) and prepare a 9x13 inch baking pan for Devil's Food cake mix. Bake for 30-35 minutes.
- Let the cake cool in the pan for 10 minutes, then transfer to a cooling rack until completely cooled.
- Crumble the cooled cake into small, even crumbs in a large mixing bowl.
- Mix in half a container of chocolate frosting until well combined.
- Roll portions of the mixture into 1-inch balls and place them on a parchment-lined cookie sheet.
- Freeze the cake balls for about 45 minutes until firm.
- Melt the chocolate coating in a microwave-safe bowl, stirring in short intervals until smooth.
- Dip each chilled cake ball into the melted chocolate until completely coated.
- Add sprinkles while the chocolate is still wet and let the cake balls set at room temperature or in the fridge.
- Serve your Chocolate Cake Balls and enjoy!
Leave a Reply