
As I pulled a tray of golden, crispy bite-sized blooming onions from the oven, the warm, inviting aroma filled my kitchen, instantly making my mouth water. This delightful twist on a classic fair favorite, the Blooming Onions Recipe, is bound to steal the show at any gathering. Not only are they surprisingly easy to whip up, but baking them also ensures a lighter, guilt-free snack perfect for sharing. Whether you’re hosting friends or just treating your family, these crispy onion petals paired with your favorite dipping sauce promise to be a hit. Are you ready to bring a crunchy, delicious twist to your next party? Let’s dive into this fun-to-make dish and highlight some scrumptious variations!
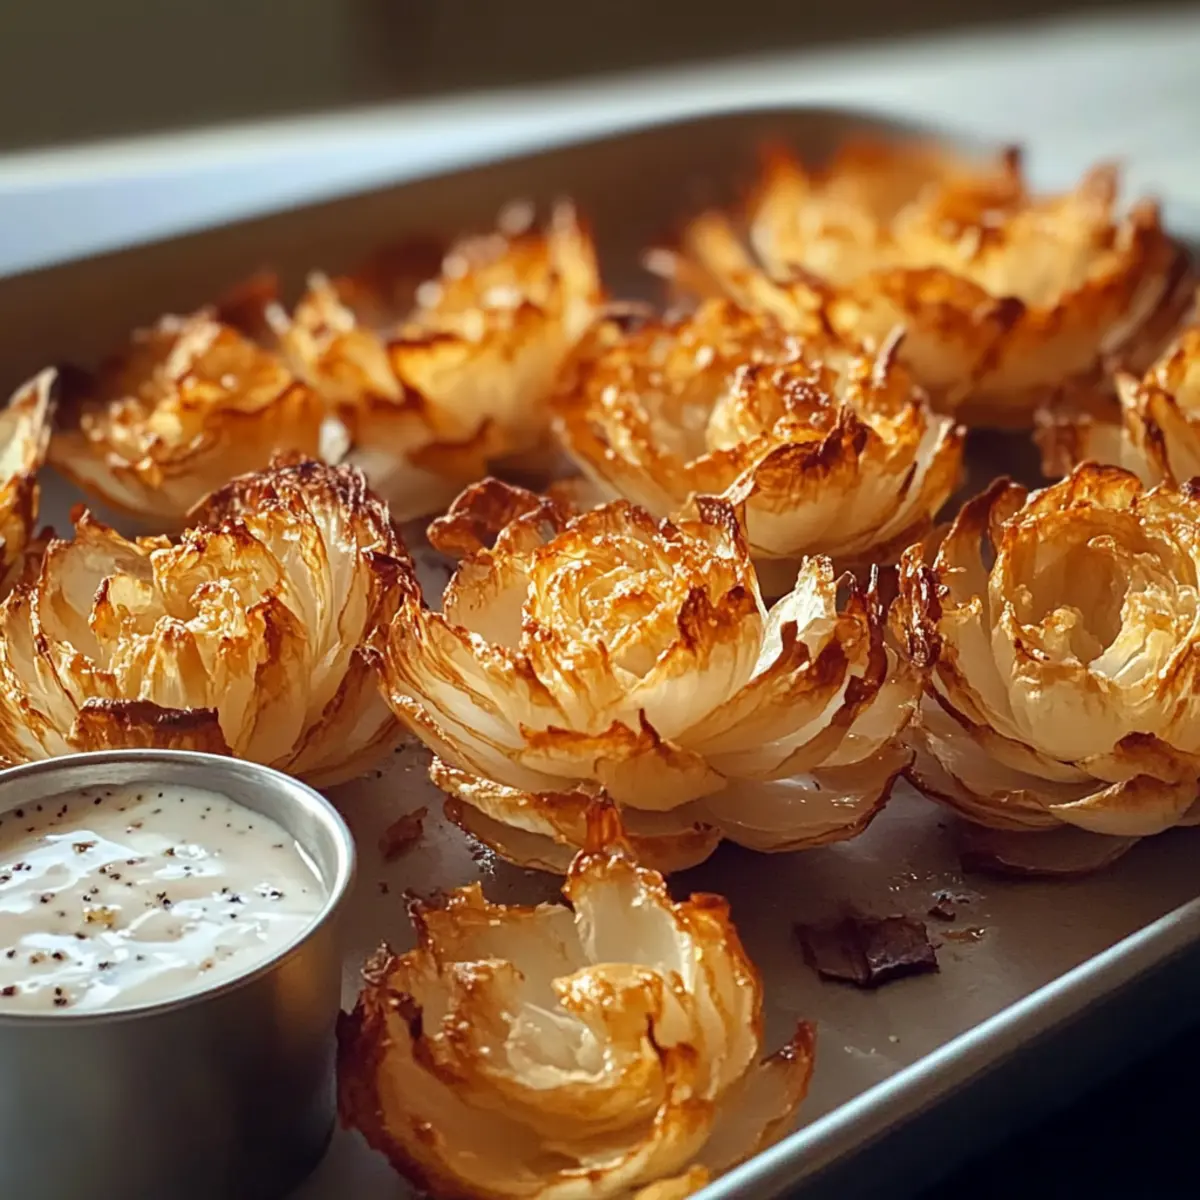
Why Are You Going to Love This?
Crispy Texture: Every bite delivers that satisfying crunch you crave, making them a delightful mouthful.
Versatile Option: Adjust spices or dips to cater to any palate, ensuring everyone at your gathering enjoys.
Easy Preparation: With simple steps and common ingredients, these blooming onions come together in no time—perfect for busy hosts!
Fun to Share: Their bite-sized design makes them a fantastic talking point and snack to share among friends or family.
Healthier Twist: Baked rather than fried, these onions are a guilt-free alternative to traditional fair favorites. So enjoy pairing them with delicious sauces like ranch or sriracha-yogurt and create a memorable appetizer experience!
Blooming Onions Recipe Ingredients
For the Battered Petals
- Sweet Onions – Use larger varieties for bigger, more flavorful petals.
- All-Purpose Flour – Provides that essential crunch; substitute with a gluten-free flour blend for the perfect gluten-free option.
- Egg (or Flax Egg for Vegan) – Binds the coating to the onion petals; a flax egg works great for vegan adaptations.
- Spices (e.g., paprika, garlic powder, salt) – Enhance flavor and elevate your blooming onions; feel free to adjust according to your taste preferences.
- Oil (cooking spray or olive oil) – Spritz lightly to achieve a fantastic golden-brown color while baking.
For the Dipping Sauce (optional)
- Ranch Dressing – A classic pairing that complements the crispy texture beautifully.
- Spicy Mayo – Add a kick to your blooming onions for those who enjoy a little heat!
- Sriracha-Yogurt – Creamy with a punch; a delicious way to enhance the flavor of your blooming onions recipe.
Step‑by‑Step Instructions for Blooming Onions Recipe
Step 1: Preheat the Oven
Begin by preheating your oven to 400°F (200°C). This step is crucial for achieving that perfect golden brown and crispy exterior on your blooming onions. While the oven heats, gather your ingredients and prepare the workspace, ensuring you have a clean area to assemble your flavorful appetizer.
Step 2: Prepare the Onions
Carefully cut off the root ends of the sweet onions, then slice each onion in half from top to bottom. Next, make 4-5 vertical cuts in each half, ensuring you don’t cut all the way through. The goal is to create petal-like sections that will bloom during baking. Once cut, gently pull apart the petals to give them a beautiful flower shape as needed.
Step 3: Soak in Ice Water
To enhance the blooming effect, soak the prepared onion halves in a bowl of ice water for about 15 minutes. This soaking helps the onion petals open up and crisp up beautifully during baking. After soaking, carefully remove the onions and pat them dry with a clean kitchen towel to remove any excess moisture—this will help the coating stick better.
Step 4: Set Up Dipping Station
While the onions dry, set up your breading station. Arrange a shallow dish with all-purpose flour and another with a beaten egg (or flax egg for a vegan option). The flour provides structure, while the egg acts as a binder. This two-step procedure ensures each petal is thoroughly coated, enhancing the flavor and crunch of your blooming onions.
Step 5: Double-Dip the Petals
Begin by dipping each onion petal into the flour, ensuring it is evenly coated. Next, dip it into the egg mixture, letting any excess drip off, and then return it to the flour for a second coating. This double-dipping technique is key to achieving that extra-crispy texture in your blooming onions, making them irresistible to snack on.
Step 6: Arrange on Baking Sheet
Line a baking sheet with parchment paper for easy cleanup and place the coated blooming onion petals on it. Make sure to space them apart to allow for even airflow during baking—this prevents them from steaming. Visually, you want each piece to feel like a delicate flower, ready to puff up and crisp in the oven.
Step 7: Bake to Golden Perfection
Lightly spritz your coated blooming onions with cooking spray or drizzle with olive oil for added crispiness. Place the baking sheet in the preheated oven and bake for 20-25 minutes. Keep an eye on them; they should turn a lovely golden brown and become crunchy as the time progresses, releasing a delightful aroma throughout your kitchen.
Step 8: Serve with Dipping Sauces
Once baked, remove the blooming onions from the oven and let them cool slightly. They should now be perfectly crispy and ready for dipping. Serve them warm with your favorite sauces, such as ranch, spicy mayo, or sriracha-yogurt. This delicious blooming onions recipe is sure to impress and delight your guests, making it a hit at any gathering!
Make Ahead Options
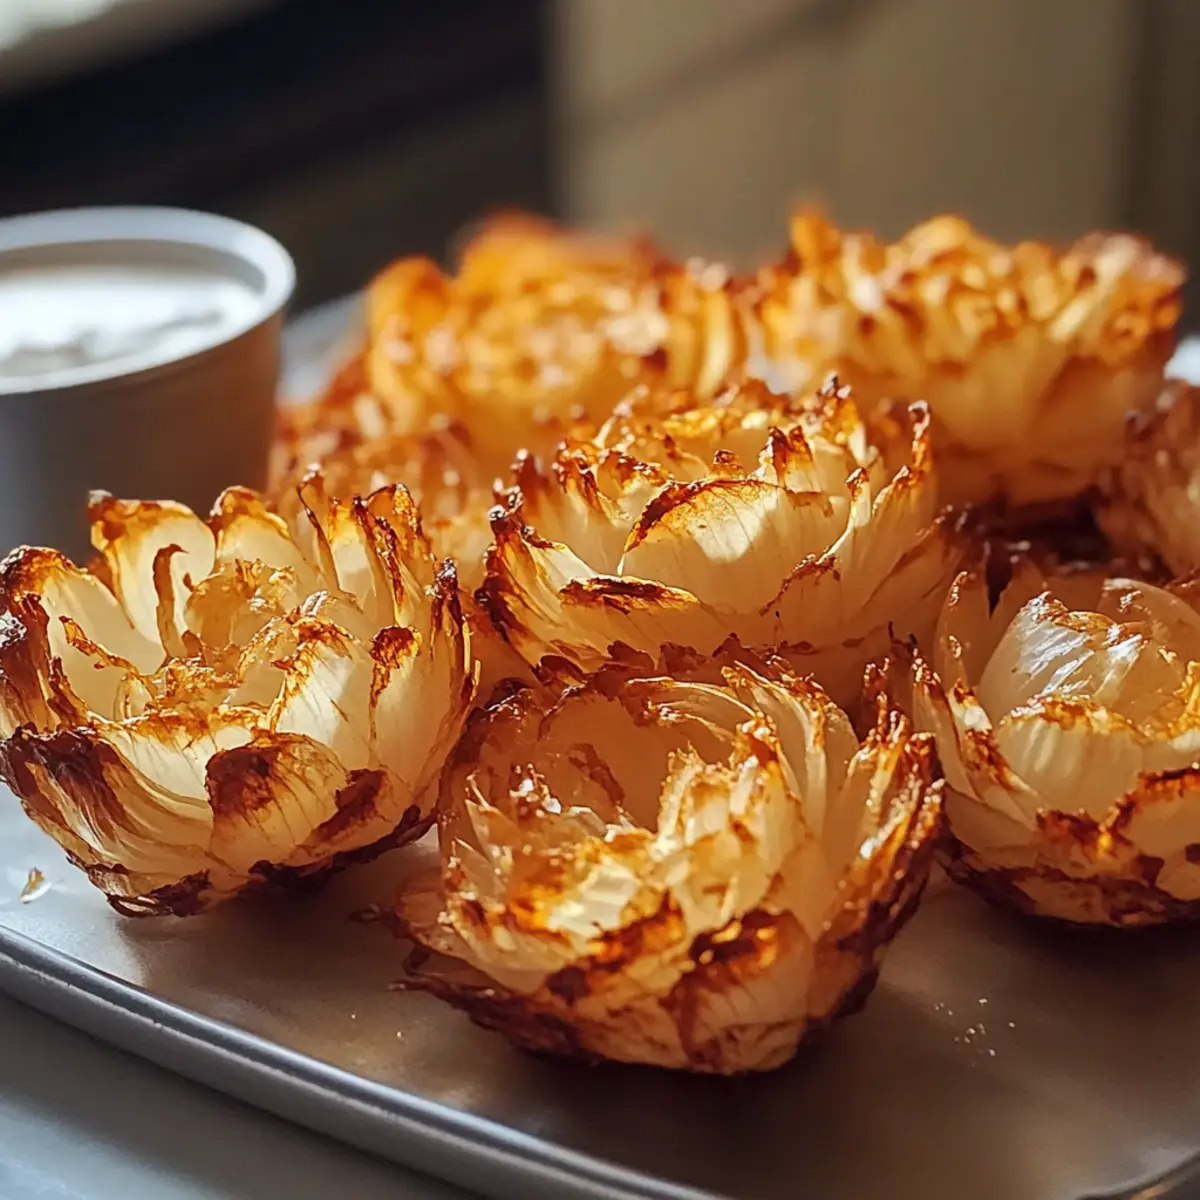
These delightful bite-sized blooming onions are perfect for meal prep enthusiasts! You can prep the coated onions up to 2 hours in advance, allowing you to chill them in the refrigerator until it’s time to bake. To maintain their quality, ensure that the petals are spread out on a baking sheet to prevent them from sticking together. When you’re ready to serve, simply follow the baking instructions, spritz with oil, and pop them into the oven for 20-25 minutes until golden brown and crispy. With this method, you can enjoy restaurant-quality blooming onions with minimal last-minute effort, making it a breeze for busy weeknights or gatherings!
Storage Tips for Blooming Onions Recipe
Fridge: Store leftover blooming onions in an airtight container for up to 3 days. Reheat them in the oven or air fryer to restore their crispy texture.
Freezer: For longer storage, freeze baked blooming onions on a baking sheet until solid, then transfer to a freezer-safe bag for up to 2 months.
Reheating: When ready to enjoy, reheat your frozen blooming onions directly from the freezer at 400°F (200°C) for about 15-20 minutes until crispy again.
Prep Ahead: If you want to save time, you can coat the onions and refrigerate them for up to 2 hours before baking, enhancing flavor while making your meal prep easier.
Expert Tips for Blooming Onions
- Dry Thoroughly: Ensure onions are completely dried after soaking; excess moisture can prevent the coating from adhering properly.
- Separate Hands: Use one hand for wet ingredients and the other for dry to minimize mess and streamline the process.
- Double-Dip for Crispiness: Don’t hesitate to double-dip your petals for an extra crunchy finish, especially with the blooming onions recipe.
- Watch Your Oven: Ovens can vary in temperature; check on your onions to ensure they turn golden brown without overbaking.
- Use a Wire Rack: For even crispiness, consider placing the coated onions on a wire rack instead of directly on parchment paper while baking.
Blooming Onions Recipe Variations
Feel free to let your creativity shine with these delightful twists on the classic blooming onions recipe!
- Gluten-Free: Substitute all-purpose flour with a gluten-free flour blend for a light, crunchy, and gluten-free treat.
- Dairy-Free: Swap any cheese with nutritional yeast for a cheesy flavor without dairy; it’s rich in flavor and perfect for vegan diets.
- Cheesy Crunch: Add Parmesan cheese to the coating mix for an extra layer of flavor and crunch. The savory notes will elevate your blooming onions to a whole new level.
- Spicy Kick: Incorporate cayenne pepper or finely chopped jalapeños into your spice mix for an added heat dimension. A touch of heat can make these appetizers irresistibly addictive!
- Herb-Infused: Boost the freshness by adding minced herbs like parsley or dill to your flour mixture; this will add a vibrant touch and flavor profiles that will surprise your guests.
- Onion Varieties: Experiment with shallots or red onions for different flavor profiles; each variety will yield a unique taste experience, keeping things interesting!
- Sweet and Spicy Sauce: Create a dipping sauce using honey and sriracha for a sweet-and-spicy combo that pairs perfectly with these blooming onions.
- Savory Seasonings: Mix in your favorite seasonings, like taco seasoning or Italian herbs, to the flour for a twist that reflects your taste preferences.
And if you’re looking to explore more easy appetizer options, check out my recipes for Food Court Bourbon or Delicious Keto Crunchwraps Indulgence that will also enhance your gathering treats. Enjoy customizing your blooming onions recipe to fit every occasion!
What to Serve with Bite-Sized Blooming Onions
These crispy, golden delights are a fantastic start to any gathering; let’s explore perfect side dishes and drinks to elevate your meal.
- Creamy Ranch Dip: The classic creamy ranch sauce offers a cool contrast to the warm, crispy onion petals, enhancing their flavor.
- Zesty Spicy Mayo: A delightful kick of spice complements the mellow sweetness of the onions, creating a dynamic flavor experience.
Whether you’re enjoying them as an appetizer or part of a feast, these sides heighten the appeal.
- Fresh Salad: A light, crisp salad with mixed greens and a tangy vinaigrette brings refreshing contrast and cleanses the palate.
- Tender Sliders: Mini burgers or pulled pork sliders add a savory element, making for a satisfying spread that guests will love.
Pair your bite-sized blooming onions with these options to create a delightful dining experience!
- Chilled White Wine: A glass of chilled Sauvignon Blanc or a crisp Chardonnay will balance the warm, crunchy texture of the onions beautifully.
- Sparkling Lemonade: This refreshing beverage adds a touch of sweetness and fizz, perfect for mingling and enjoying a party atmosphere.
- Homemade Coleslaw: Creamy or vinegar-based slaw introduces crunch and tang, enhancing the overall flavor profile of your gathering.
Bite-Sized Blooming Onions Recipe FAQs
How do I know if my onions are ripe?
Absolutely! When selecting sweet onions for your blooming onions recipe, look for firm bulbs that feel heavy for their size. The skin should be dry and smooth, without any dark spots or blemishes. If you notice any soft areas or localized dampness, it likely indicates that the onion is past its prime.
What’s the best way to store leftovers?
Very! Store any unused blooming onions in an airtight container in the refrigerator for up to 3 days. When reheating, place them in a preheated oven or air fryer to retain their crispy texture—a quick and easy way to enjoy your delicious appetizer all over again!
Can I freeze the blooming onions before baking?
Of course! To freeze your blooming onions, bake them until golden brown, then let them cool completely. Once cooled, place them on a baking sheet lined with parchment paper and freeze until solid. After that, transfer them to a freezer-safe bag, and they can be stored for up to 2 months. When you’re ready to enjoy, bake them directly from frozen at 400°F (200°C) for about 15-20 minutes until crispy.
What if the coating isn’t sticking to my onions?
Ah, it happens! If you find that the coating isn’t sticking well to the petals, it may be due to excess moisture. Make sure to dry the onions thoroughly after soaking them in ice water. You can also try double-dipping: first dip in flour, then the egg mixture, and back in the flour for added coverage. This method really helps enhance that crispy finish you’re after.
Are these blooming onions suitable for those with dietary restrictions?
Absolutely! This blooming onions recipe can easily accommodate various dietary needs. For a gluten-free option, simply swap the all-purpose flour with a gluten-free flour blend. If you’re looking for a vegan alternative, replace the egg with a flax egg; mix one tablespoon of ground flaxseed with three tablespoons of water and let it sit for a few minutes before using. Enjoying a delicious snack shouldn’t be limited by dietary preferences, and these adaptations make it possible for everyone!
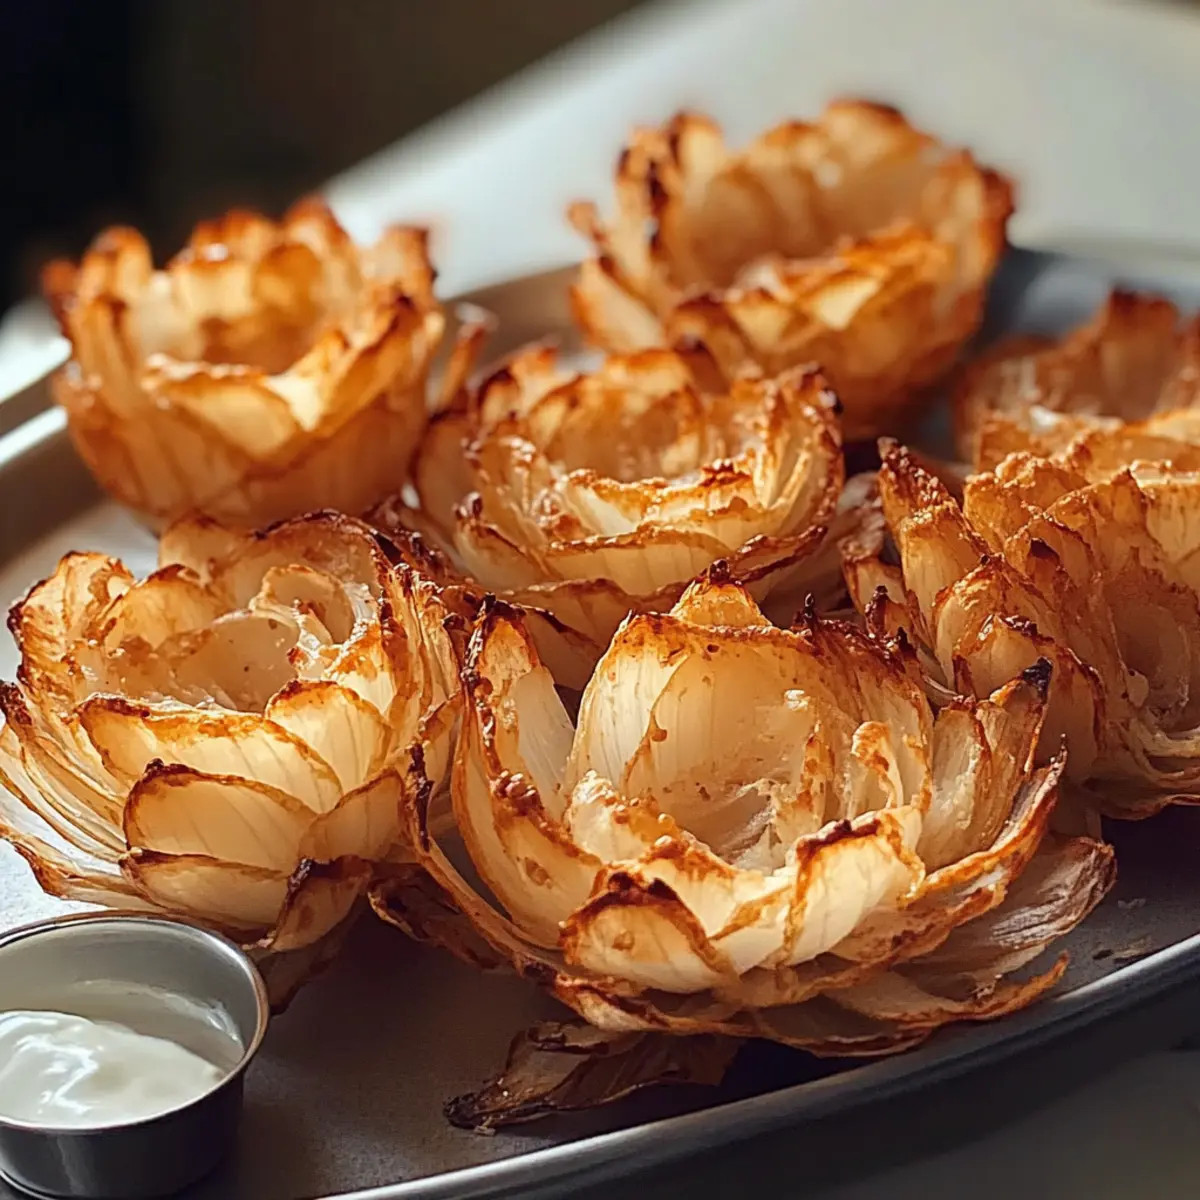
Bite-Sized Blooming Onions Recipe for a Crispy Delight
Ingredients
Equipment
Method
- Preheat your oven to 400°F (200°C) and prepare your workspace.
- Cut off the root ends of the sweet onions and slice each in half from top to bottom. Make 4-5 vertical cuts in each half, making sure not to cut all the way through.
- Soak the prepared onion halves in a bowl of ice water for about 15 minutes, then pat dry.
- Set up your breading station with flour and a beaten egg (or flax egg).
- Dip each onion petal into the flour, then the egg mixture, and back to the flour for a second coating.
- Arrange the coated petals on a parchment-lined baking sheet, spaced apart.
- Spritz the petals with cooking spray or drizzle with olive oil. Bake for 20-25 minutes until golden brown.
- Let cool slightly and serve warm with dipping sauces.
Leave a Reply