
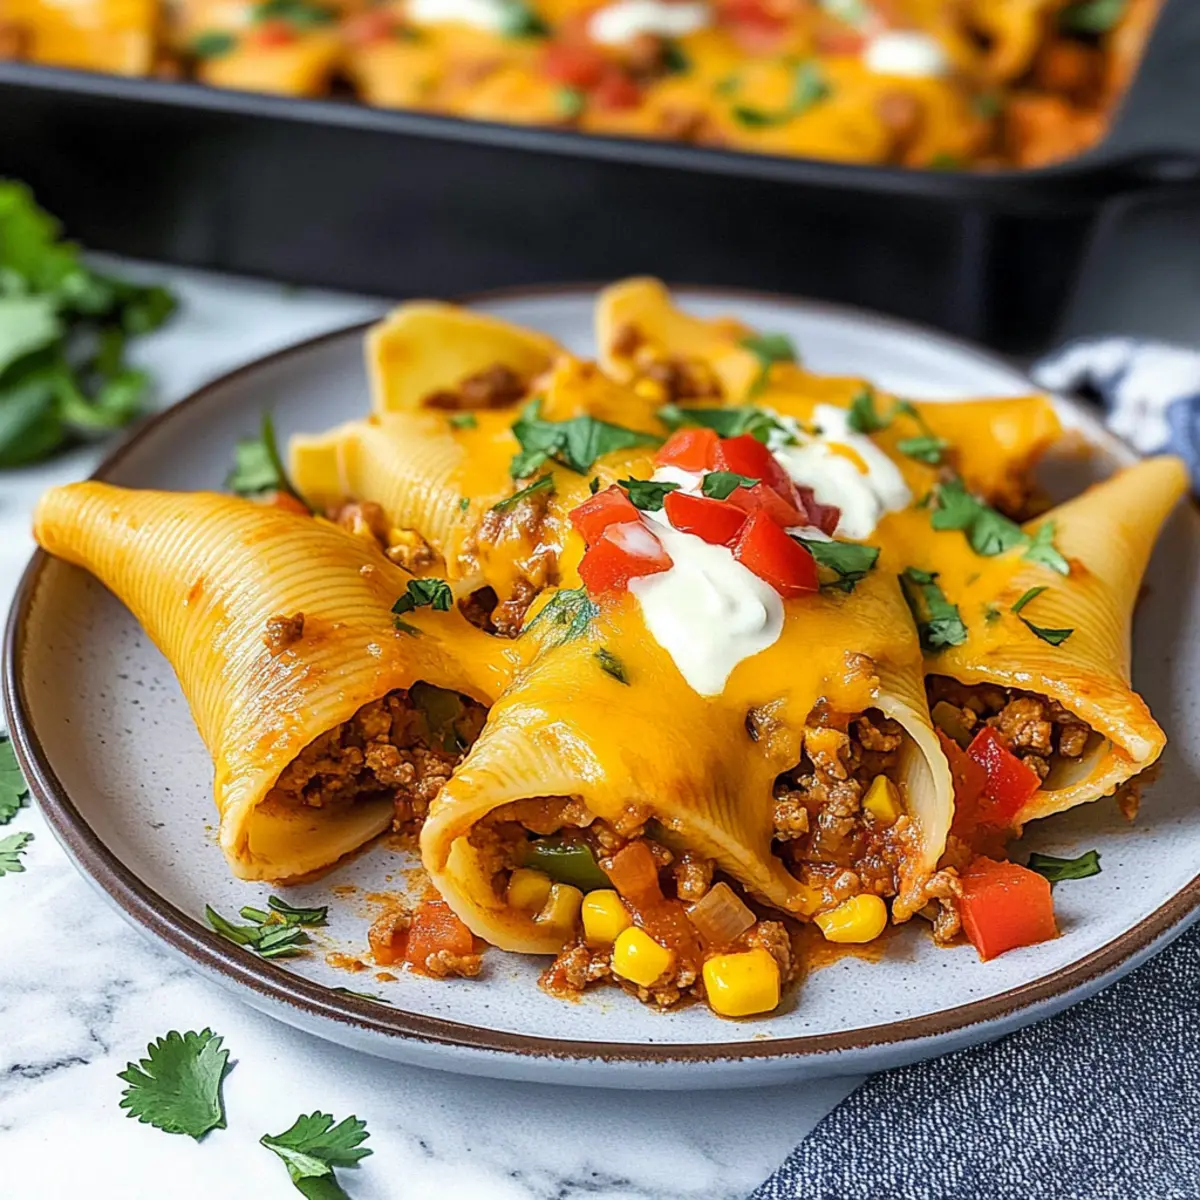
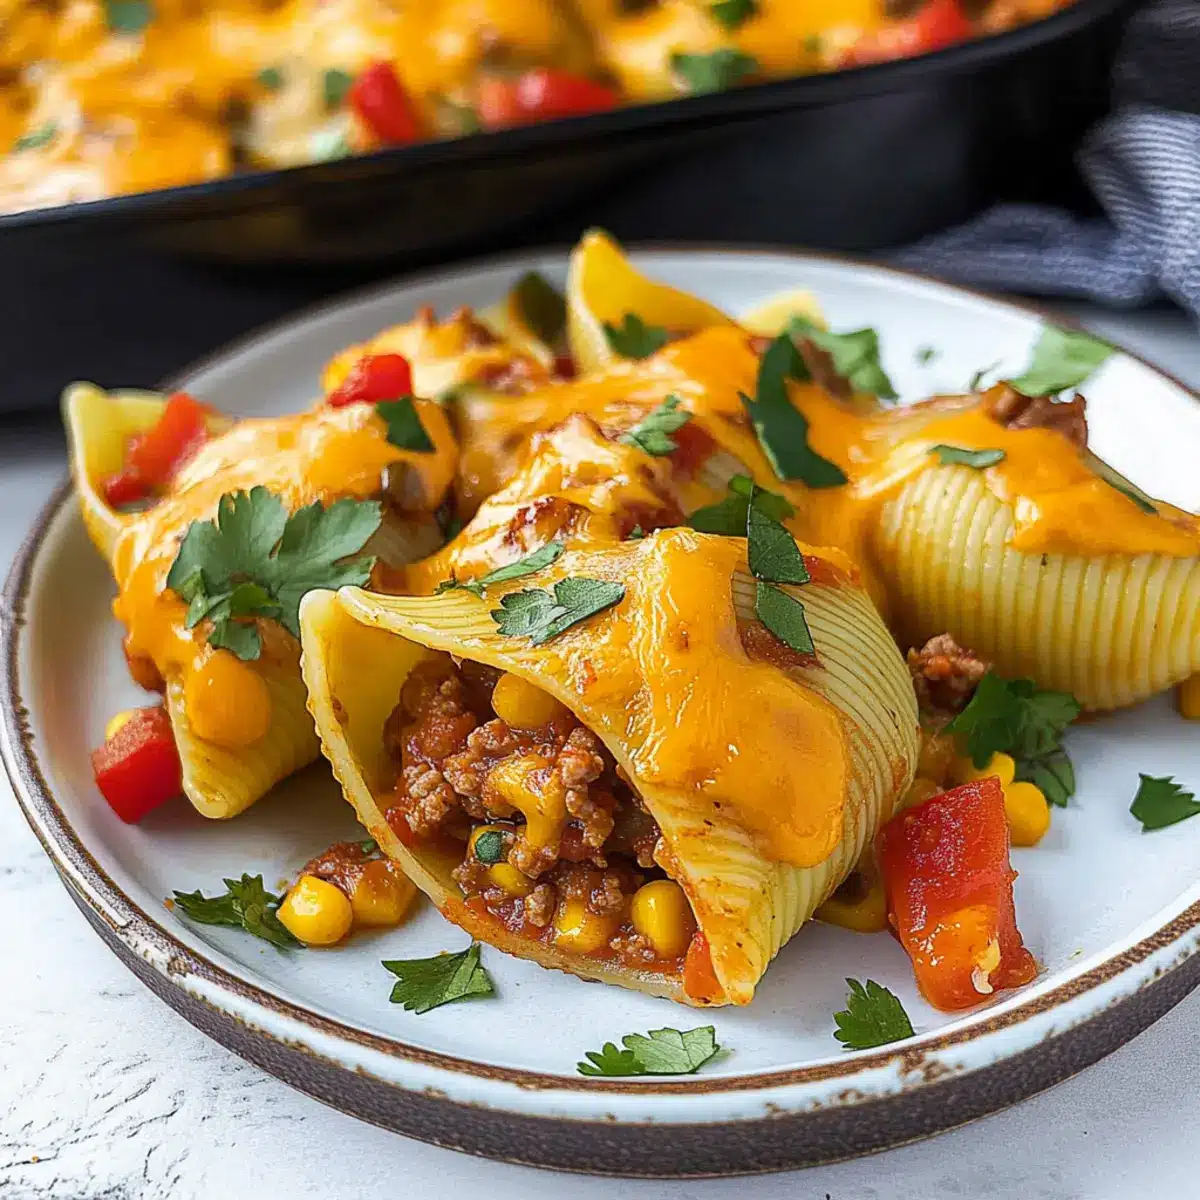
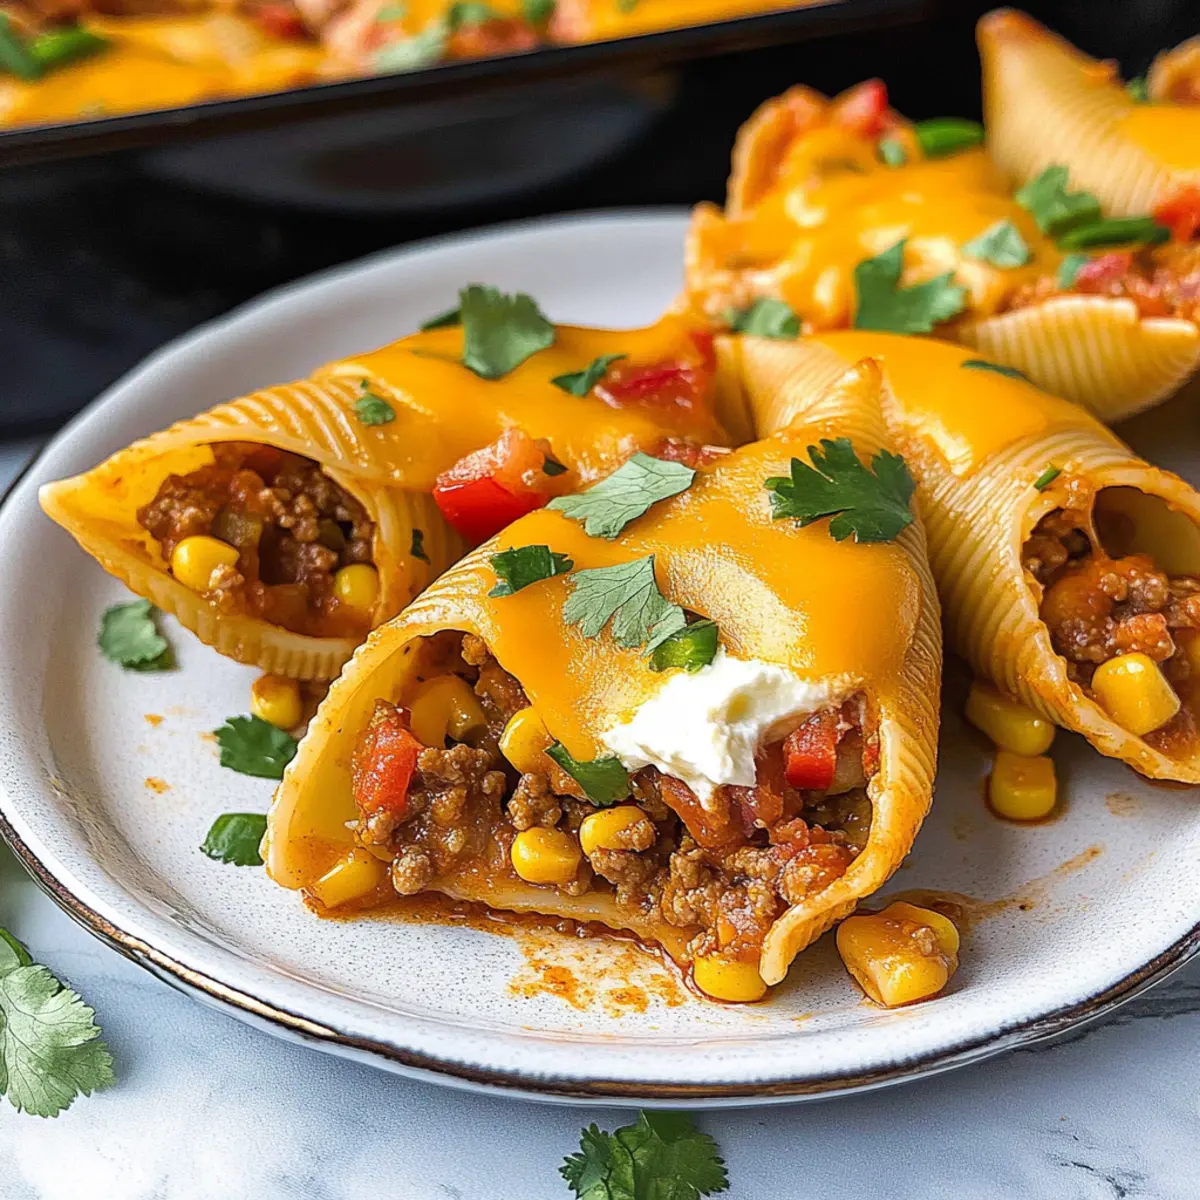
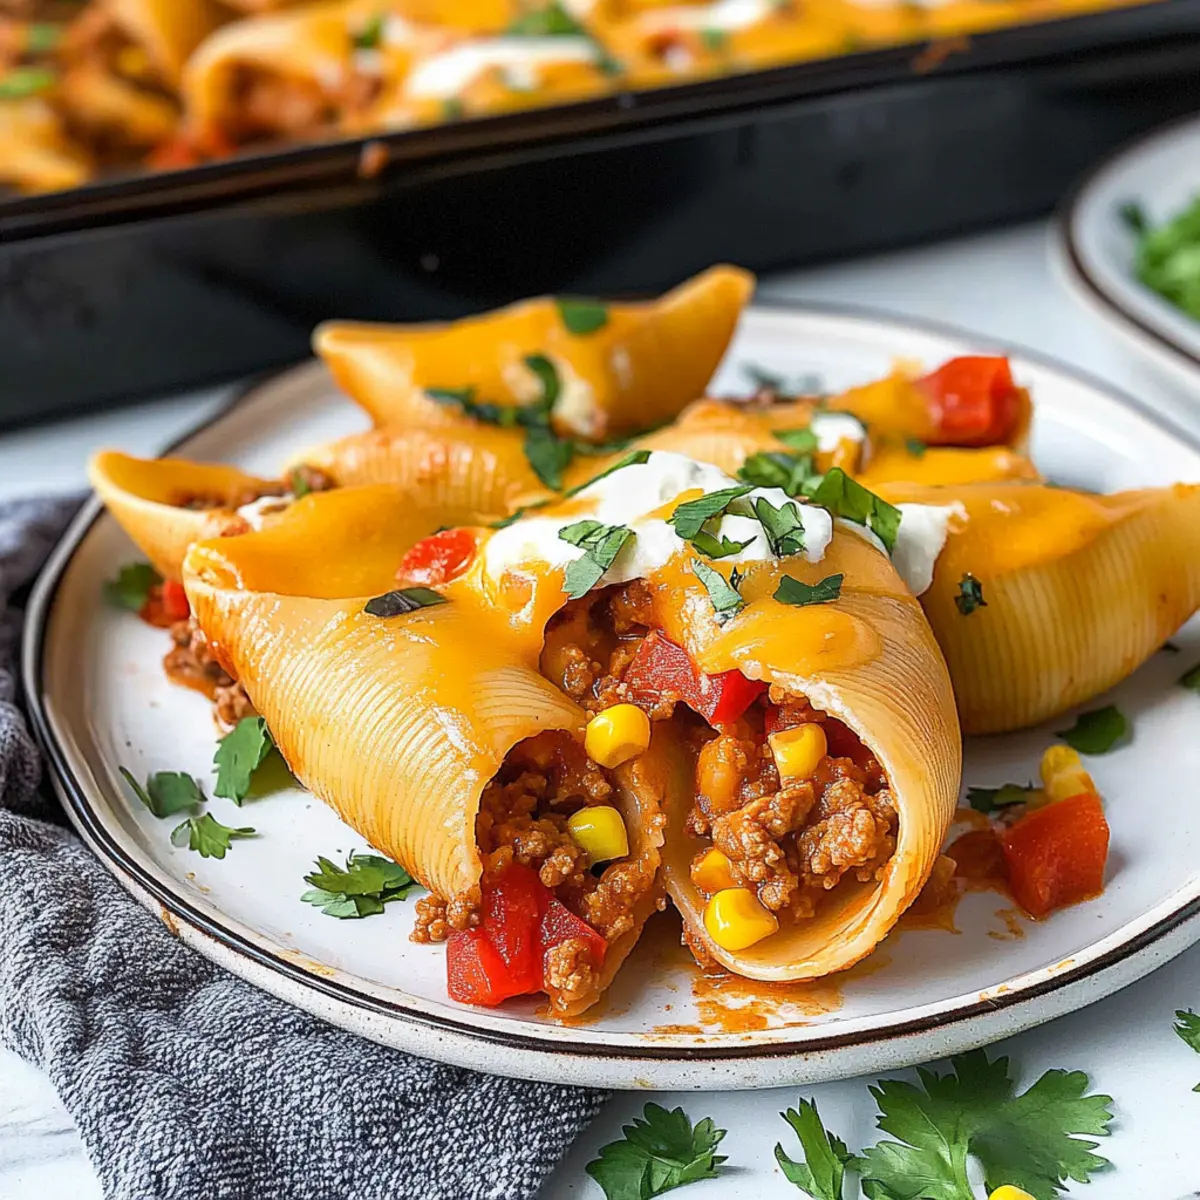
As the aroma of sizzling ground beef fills your kitchen, you might find yourself daydreaming about the perfect way to elevate your next taco night. Enter my Cheesy Taco Stuffed Shells, a delightful fusion of familiar flavors and comfort food magic! These jumbo pasta shells are generously packed with seasoned ground beef, colorful veggies, and a dreamy cream cheese filling, all drenched in luscious melted cheese. It’s not just a meal; it’s a family-friendly crowd-pleaser that promises smiles around the dinner table. Plus, you can easily prep these ahead of time for those busy weeknights. Are you ready to take your dinner game to the next level with this fun twist on tacos?
Why are Taco Stuffed Shells a must-try?
Comforting, Hearty Dish: These Taco Stuffed Shells blend the best of pasta and tacos for an unforgettable meal that satisfies cravings.
Easy Prep: Perfect for busy weeknights, these shells can be prepared ahead of time, allowing them to go from oven to table in a breeze.
Versatile Ingredients: Customize the filling with your favorite protein or veggies, making them a delightful option for everyone.
Crowd-Pleasing Flavor: With seasoned beef, creamy cheese, and zesty salsa, these shells create a fiesta of flavors that both kids and adults will love.
Impressive Presentation: Serve up these cheesy beauties at gatherings, and watch as they steal the spotlight alongside a side salad or even some garlic bread.
Get ready to elevate your taco night!
Taco Stuffed Shells Ingredients
For the Filling
• Lean Ground Beef – The savory base of the dish; swap for ground turkey or chicken for a leaner option.
• Onion (1 small, diced) – Adds essential flavor and sweetness; shallots are a great substitute.
• Canned Petite Diced Tomatoes (14.5 ounces) – Provides moisture and acidity; fresh tomatoes can also be used.
• Bell Pepper (1 medium, diced) – Enhances texture and flavor; zucchini works well as an alternative.
• Corn Kernels (½ cup, thawed if frozen) – Adds a lovely crunch and sweetness; feel free to use black beans for a twist.
• Water (½ cup) – Helps thicken the filling; chicken or vegetable broth adds even more flavor.
• Taco Seasoning (1 ounce, 1 packet) – Infuses the dish with that classic taco taste; consider homemade for greater control.
• Cream Cheese (8 ounces, cubed) – Gives the filling a rich creaminess; mascarpone or ricotta makes a delightful substitute.
• Jumbo Shells (24, uncooked) – The perfect vessel for stuffing; manicotti can be a fun alternative if needed.
For the Topping
• Salsa (1½ cups) – Serves as the vibrant sauce base; use your favorite pasta or tomato sauce if desired.
• Shredded Cheddar Cheese (1½ cups) and/or Monterey Jack Cheese – For that gooey, melty finish; any cheese blend works beautifully here.
• Sour Cream – A delightful finishing touch for serving; Greek yogurt adds a healthy spin.
Dive into crafting these Taco Stuffed Shells and embrace a delightful blend of familiar flavors that everyone will love!
Step‑by‑Step Instructions for Taco Stuffed Shells
Step 1: Preheat the Oven
Begin by preheating your oven to 350°F (175°C). This critical first step ensures your Taco Stuffed Shells will bake to perfection, resulting in a bubbly and beautifully golden topping. While the oven heats, you can assemble your ingredients, creating an inviting space for your cooking adventure.
Step 2: Cook the Jumbo Shells
In a large pot, bring salted water to a boil and cook the jumbo shells according to the package instructions until al dente, typically about 9-11 minutes. Once cooked, drain them and rinse under cold water to stop the cooking process. This step not only cools the shells but also makes them easier to handle as you prepare for the stuffing.
Step 3: Brown the Beef and Onion
In a spacious skillet over medium-high heat, add the lean ground beef along with the diced onion. Cook, stirring occasionally, until the beef is browned and the onion is translucent, roughly 5-7 minutes. Ensure there’s no pink left in the beef, as this ensures your Taco Stuffed Shells are safe and delicious. Drain excess fat before proceeding.
Step 4: Mix in Vegetables and Seasoning
To your browned beef and onion, add the canned petite diced tomatoes, diced bell pepper, corn, and water along with the taco seasoning. Continue to cook uncovered, stirring occasionally, for about 5 minutes or until the mixture thickens and becomes fragrant. This blend is the flavorful heart of your stuffed shells, ensuring every bite is bursting with taste.
Step 5: Cream it Up
Reduce the heat to low and stir in the cubed cream cheese until completely melted and combined. This step creates a rich, creamy filling that will elevate your Taco Stuffed Shells beyond the ordinary. Remove the skillet from heat and allow this heavenly mixture to cool slightly while you prepare to stuff the shells.
Step 6: Fill the Shells
Carefully take each cooked jumbo shell and fill it with 2-3 tablespoons of the savory beef mixture. Gently place each stuffed shell in a greased 9×13-inch casserole dish. Taking your time ensures that each shell is adequately filled and that your Taco Stuffed Shells are evenly packed with that delicious filling you just created.
Step 7: Assemble for Baking
Once all shells are stuffed and neatly arranged in the casserole dish, pour the salsa evenly over the top. Cover the dish tightly with aluminum foil; this helps to lock in moisture and flavor while baking. Place the covered dish in the preheated oven and bake for 30 minutes, allowing the flavors to meld beautifully.
Step 8: Add Cheese and Finish Baking
After 30 minutes, carefully remove the foil from the casserole dish. Generously sprinkle the shredded cheddar and/or Monterey Jack cheese over the stuffed shells. Return the dish to the oven and bake for an additional 10 minutes, or until the cheese is bubbly and golden. This last step transforms your Taco Stuffed Shells into a cheesy masterpiece that everyone will adore!
Taco Stuffed Shells Variations & Substitutions
Feel free to mix and match these ideas to make the recipe truly your own, creating delightful and exciting twists!
-
Vegetarian Filling: Replace ground beef with lentils or a colorful mix of your favorite vegetables for a light and healthy option. This version celebrates the versatility of tacos while keeping the heartiness intact.
-
Spice it Up: Add spices like cumin or smoked paprika for a flavor boost. Elevate the dish to new heights, satisfying even the most adventurous taste buds.
-
Dairy-Free Delight: Swap cream cheese for a vegan cream cheese alternative to suit dairy-free lifestyles without sacrificing creaminess. This change ensures everyone can enjoy a comforting meal together.
-
Different Shells: If jumbo shells aren’t available, consider using manicotti for a lovely twist. They’ll hold the filling perfectly, adding a unique flair to the dish that’s just as delightful!
-
Fresh Toppings: Top your shells with fresh avocado or guacamole for an added burst of flavor and creaminess. This refreshing finish makes each bite feel like a sunny day!
-
Saucy Flavor Boost: Instead of salsa, try using enchilada sauce for a tangy kick. The added flavor profile can transform your dinner into a fiesta with every spoonful.
-
Creative Cheese Blend: Experiment with different cheese varieties by using pepper jack for a spicy kick or feta for a Mediterranean twist. This simple change amplifies the complexity of flavors in your stuffed shells.
-
Crunchy Texture: Add crushed tortilla chips on top before baking for a delightful crunch. This twist adds a fun texture contrast that everyone will love, making dinner feel festive!
And if you’re looking for more fun ways to incorporate that taco flavor into your meals, check out my delicious Pot Cheesy Taco or enjoy the crispy goodness of Cheesy Taco Sticks. Each offers a unique take on the beloved taco theme!
Make Ahead Options
These Taco Stuffed Shells are perfect for meal prep enthusiasts looking to save time on busy weeknights! You can prepare the filling up to 24 hours in advance by completing up to step 5, then storing it in an airtight container in the refrigerator. Alternatively, you can freeze the filled shells for up to 3 months; just ensure they are tightly wrapped to prevent freezer burn. When you’re ready to bake, thaw the frozen shells overnight in the refrigerator for best results. Simply follow the final steps of covering with salsa and cheese before baking as directed, and you’ll have a comforting meal ready to enjoy with minimal effort!
How to Store and Freeze Taco Stuffed Shells
Fridge: Store leftover Taco Stuffed Shells in an airtight container for up to 3 days. Let them cool completely before sealing to maintain texture.
Freezer: For longer storage, freeze the stuffed shells for up to 1 month. Wrap them tightly in plastic wrap before placing them in a freezer-safe bag to prevent freezer burn.
Reheating: When ready to enjoy, thaw frozen shells in the refrigerator overnight. Reheat in a preheated oven at 350°F (175°C) for about 20-25 minutes, or until warmed through.
Make-Ahead Tips: You can prepare the shells up to step 5, then refrigerate or freeze, allowing for a quick meal on busy nights!
Tips for the Best Taco Stuffed Shells
• Prep Ingredients First: Ensure all ingredients are prepped before you start cooking, making the process smoother and more enjoyable.
• Avoid Overcooking Shells: Cook jumbo shells al dente so they maintain their shape when stuffed. Overcooking can lead to rupture during baking.
• Customize Your Filling: Feel free to add spices or alternative proteins. Whether it’s black beans for a vegetarian option or extra chili powder for heat, make it your own!
• Use Room Temperature Cream Cheese: Let your cream cheese soften before mixing it in; this will ensure a smooth and creamy filling for your Taco Stuffed Shells.
• Don’t Skip the Foil: Covering your casserole with foil during the first baking phase helps keep the shells moist and prevents the cheese from burning.
• Serve Fresh: These Taco Stuffed Shells are best enjoyed fresh out of the oven. If you have leftovers, store them properly to maintain flavor and texture.
What to Serve with Cheesy Taco Stuffed Shells
Create a memorable dinner experience with these delightful sides that beautifully complement the flavors of your stuffed shells.
-
Fresh Guacamole: This creamy, cool dip balances the hearty flavors perfectly, adding a refreshing twist to each bite. Serve it with crunchy tortilla chips for a great starter!
-
Zesty Mexican Street Corn: Grilled corn slathered in creamy sauce and spices brings a burst of sweetness and smoky flavor, enhancing the overall taco experience.
-
Crisp Garden Salad: A mix of bright greens, cherry tomatoes, and avocado drizzled with a tangy vinaigrette adds freshness and crunch, perfectly contrasting the rich stuffed shells.
-
Savory Garlic Bread: This warm, buttery side with hints of garlic adds a satisfying carbs element to your meal, perfect for scooping up any leftover salsa or cheese.
-
Classic Refried Beans: Creamy and filling, refried beans round out the plate and keep those taco vibes alive. They’re a delicious source of protein and fiber.
-
Chilled Horchata: This sweet, cinnamon-spiced rice milk is a fantastic drink pairing, bringing a refreshing sweetness that complements the savory flavors of the shells.
Craft your meal with these options for a fiesta at the dinner table that everyone will talk about!
Taco Stuffed Shells Recipe FAQs
What type of ground beef should I use for the filling?
Absolutely! I recommend using lean ground beef for this recipe, as it gives a great flavor without being too greasy. If you’re looking for a healthier option, ground turkey or chicken also works wonderfully!
How should I store leftover Taco Stuffed Shells?
Leftover Taco Stuffed Shells can be stored in an airtight container in the refrigerator for up to 3 days. Be sure to let them cool completely before sealing to maintain their delightful texture. I often do this right after dinner to keep them fresh for lunch the next day!
Can I freeze Taco Stuffed Shells? What’s the best method?
Yes, you can definitely freeze Taco Stuffed Shells! To do this, first, wrap each stuffed shell tightly in plastic wrap. Then, place them in a freezer-safe bag or container. They will stay good for up to 1 month. When you’re ready to enjoy them, just thaw them overnight in the refrigerator and reheat in a preheated oven at 350°F (175°C) for about 20-25 minutes.
How can I tell if my ground beef is cooked safely?
When cooking ground beef, it’s crucial to ensure there are no pink parts remaining, which indicates that it’s not yet fully cooked. Use a meat thermometer if you’d like to be extra cautious; the internal temperature should reach 160°F (71°C). This ensures your Taco Stuffed Shells are not only delicious but also safe to eat!
What can I substitute for cream cheese in the filling?
If you’re looking for alternatives to cream cheese, mascarpone or ricotta are excellent choices and will keep that rich texture intact. For a lighter option, Greek yogurt is a great substitute that adds creaminess without being overly heavy. Enjoy experimenting with these variations!
Taco Stuffed Shells: A Cheesy Twist on Comfort Food
Ingredients
Equipment
Method
- Preheat your oven to 350°F (175°C).
- Cook the jumbo shells in a large pot of salted boiling water until al dente, about 9-11 minutes. Drain and rinse with cold water.
- In a skillet over medium-high heat, brown the lean ground beef and diced onion, about 5-7 minutes. Drain excess fat.
- Add canned tomatoes, bell pepper, corn, water, and taco seasoning to the skillet. Cook uncovered for about 5 minutes until thickened.
- Stir in the cubed cream cheese until melted. Remove from heat and allow to cool slightly.
- Stuff each cooked shell with 2-3 tablespoons of the beef mixture and place them in a greased casserole dish.
- Pour salsa evenly over the stuffed shells and cover with foil. Bake for 30 minutes.
- Remove the foil, sprinkle shredded cheese on top, and bake for an additional 10 minutes until cheese is golden.
Leave a Reply