
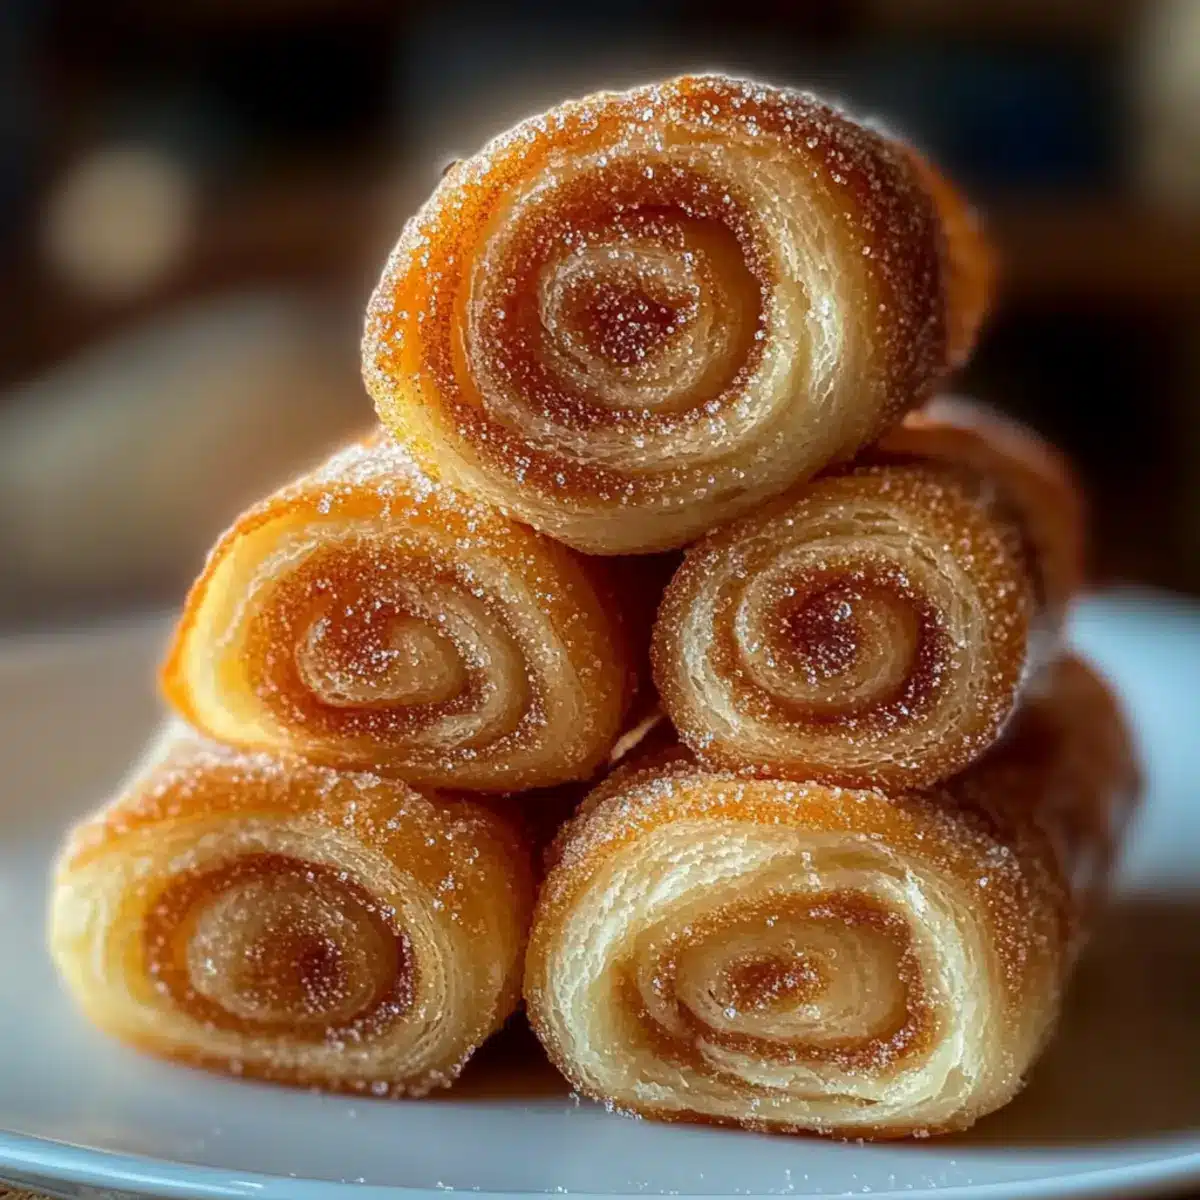
The comforting scent of freshly baked pastries wafting through the air can instantly lift your spirits. That’s exactly how I felt when I first encountered Sugar Snails—soft, spiraled treats that redefine the brunch experience. These delightful rolls, an effortless alternative to cinnamon rolls, come together with simple ingredients right from your pantry. And the best part? They’re incredibly versatile! You can easily customize them to suit your taste, whether you crave the warmth of cinnamon or the zing of lemon zest. Perfect for cozy family gatherings or a cozy afternoon snack, these pastries promise not just a delicious bite but also a quick baking triumph. Have you ever thought about making your own pastries at home? Let’s dive into this scrumptious recipe and transform your kitchen into a bakery!

Why Are Sugar Snails So Irresistible?
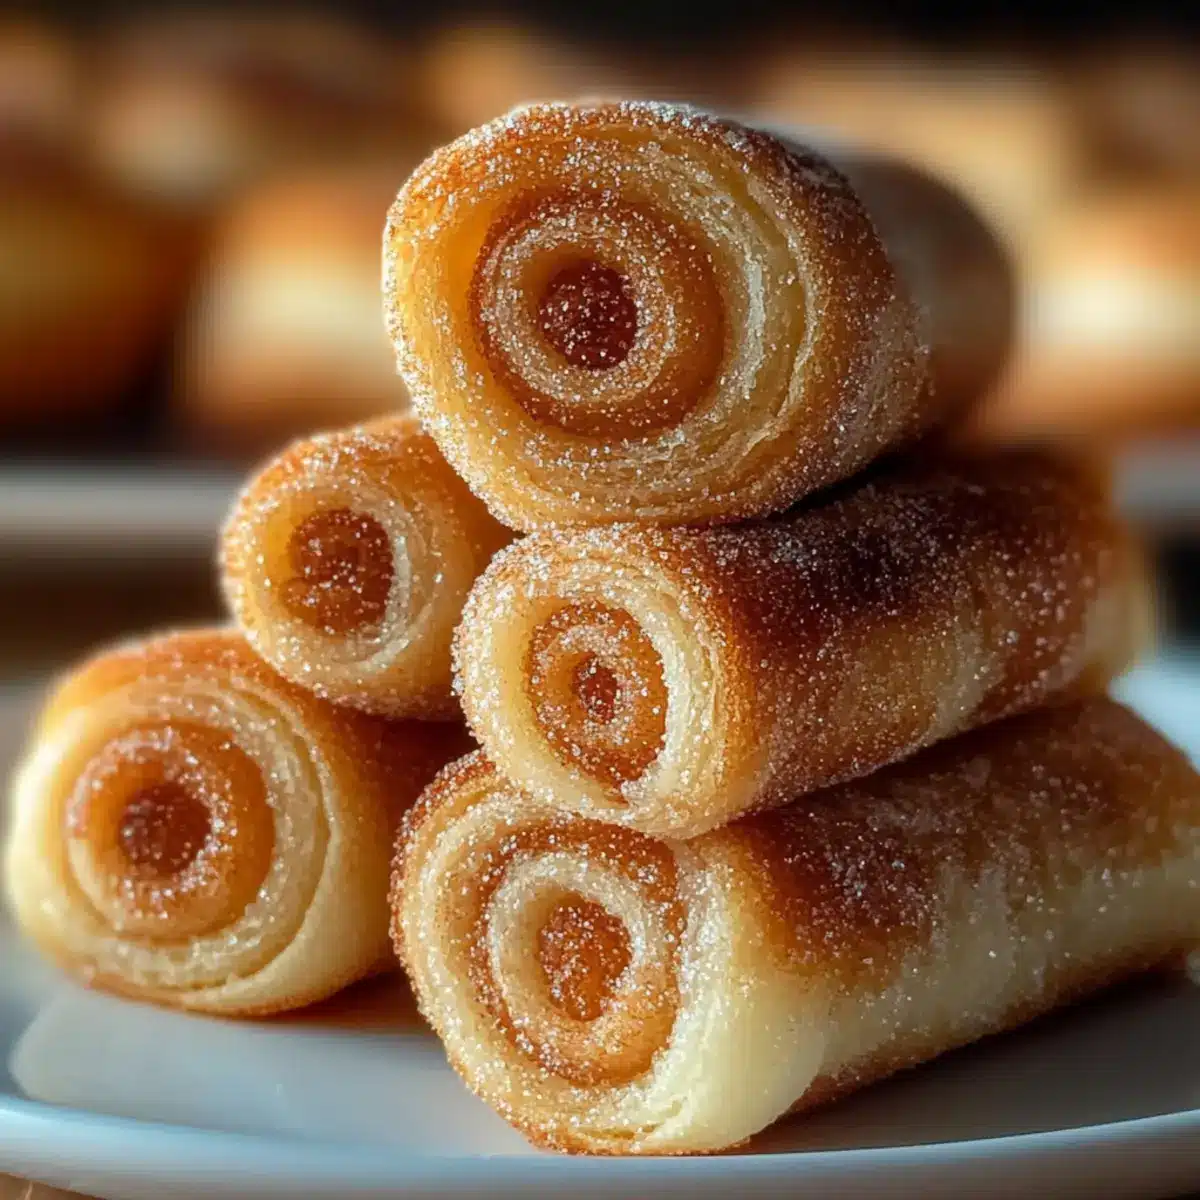
Soft, fluffy texture: These pastries melt in your mouth, offering a delightful bite that’s perfect for any sweet moment.
Versatile flavor options: Customize your Sugar Snails with variations like Vanilla or Lemon for every craving.
Quick and simple: Using straightforward ingredients, you can whip up these treats without the fuss—making them perfect for brunch!
Perfect for sharing: Bring people together as everyone reaches for a piece of these warm, caramelized delights. If you enjoy unique takes on favorite recipes, you might also love my Sugar Cookie Cheesecake for another delightful treat at your next gathering!
Sugar Snails Ingredients
For the Dough
- All-purpose flour – Provides structure while keeping the dough soft; remember to spoon and level it for accuracy.
- Yeast – Active dry or instant yeast. Ensure it’s fresh for the best rise.
- Milk – Whole milk adds richness; you can substitute it with warmed 2% milk for activating the yeast.
- Unsalted butter – Essential for flavor and texture; use softened butter for easy spreading.
- Granulated sugar – Creates the irresistible caramelized sweetness, making these Sugar Snails truly delightful.
- Egg – Adds richness and binds the dough together.
- Salt – Enhances flavor, balancing the sweetness—don’t skip this step!
For the Flavor Variations
- Vanilla extract – Perfect for making Vanilla Sugar Snails full of flavor.
- Cinnamon – Use this classic spice to create warm Cinnamon Sugar Snails.
- Lemon zest – Adds a bright, citrusy twist to your pastries.
- Finely chopped nuts – Incorporate these for a nutty Sugar Snail variation that adds great texture!
Step‑by‑Step Instructions for Sugar Snails
Step 1: Prepare Dough
Begin by warming the milk in a saucepan until it’s just warm to the touch—about 110°F (43°C) is ideal. In a bowl, mix this warm milk with the yeast and one teaspoon of sugar, letting it sit for about 5-10 minutes until it becomes foamy. This frothy mixture indicates that the yeast is active, ready to work its magic in your Sugar Snails.
Step 2: Combine Ingredients
In a large mixing bowl, combine the remaining granulated sugar, the egg, melted unsalted butter, and salt. Pour in the foamy yeast mixture and gradually add the all-purpose flour. Stir until the mixture forms a soft dough. The dough should be slightly tacky but not sticky, which is the perfect consistency for our delightful Sugar Snails.
Step 3: Knead Dough
Turn the dough onto a lightly floured surface and knead it for about 8-10 minutes. As you knead, the dough should become smooth and elastic. Aim for a texture that is still just a bit tacky, ensuring not to add too much additional flour, as this might change the softness of your Sugar Snails.
Step 4: First Rise
Shape the kneaded dough into a ball and place it in a greased bowl, turning it to coat with oil. Cover the bowl with a clean kitchen towel and let the dough rise in a warm, draft-free area for about 1 to 1.5 hours, or until it doubles in size. You’ll know it’s ready when you gently press it, and the dough springs back in place.
Step 5: Roll Out
Once the dough has risen beautifully, turn it out onto a floured surface. Using a rolling pin, roll the dough into a rectangle approximately 12×18 inches in size. Make it even and smooth for even cooking, ensuring no gaps in the dough—this will help our Sugar Snails bake evenly.
Step 6: Add Filling
Spread the softened butter generously over the rolled-out dough, ensuring to cover it evenly. Sprinkle the remaining granulated sugar all over the surface, and if you’re making variations like Cinnamon or Lemon Sugar Snails, now is the time to add those spices or zest. The filling is crucial for that deliciously sweet bite!
Step 7: Shape Snails
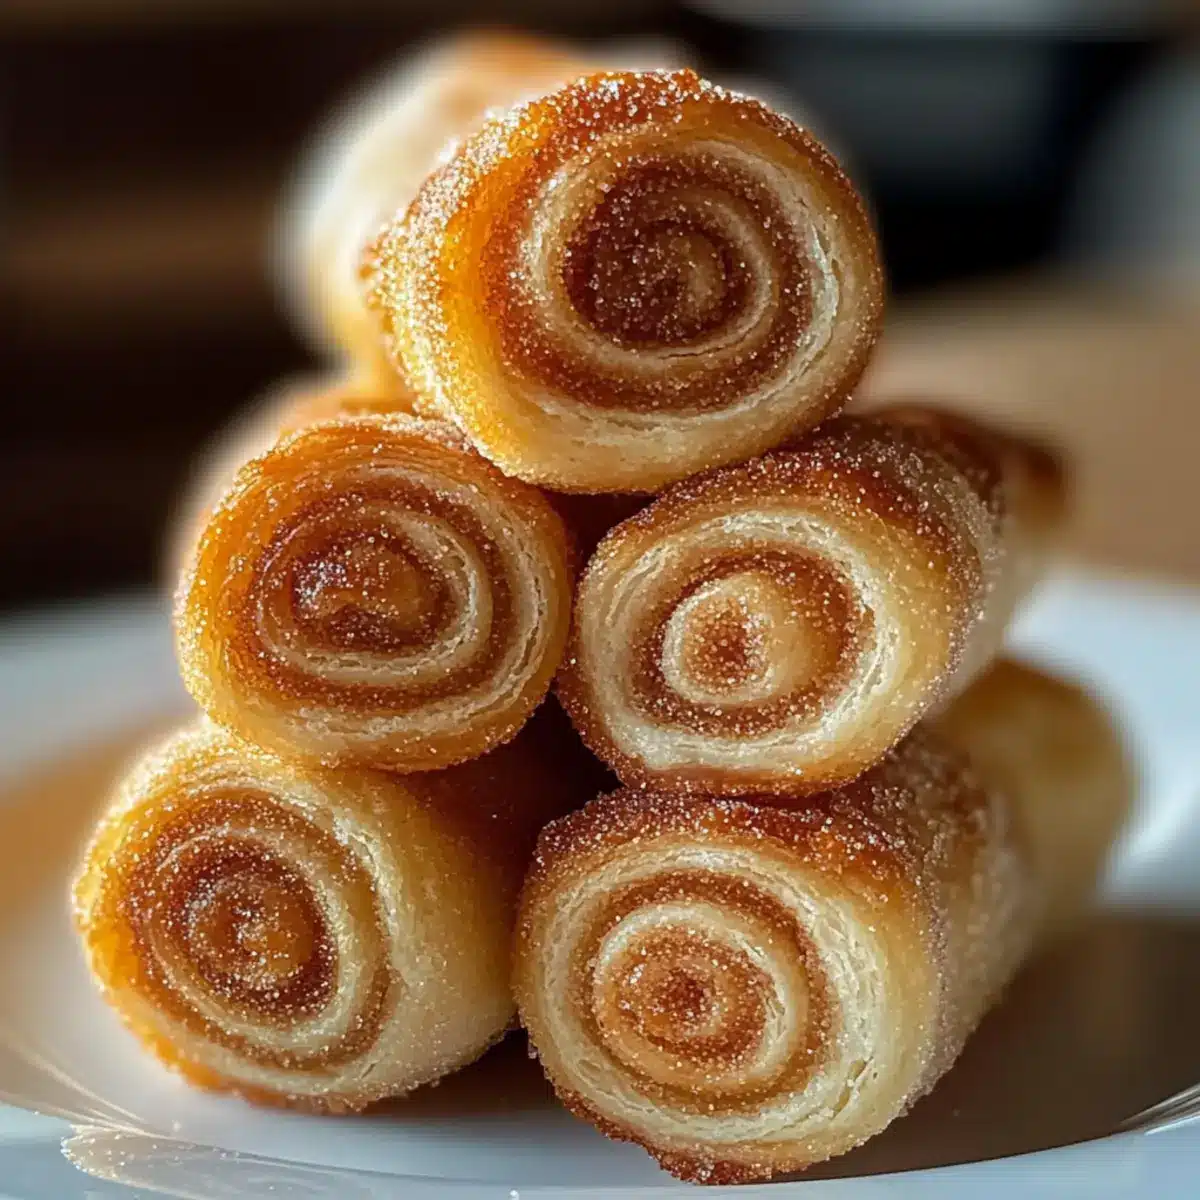
Starting from the long side of your rectangle, carefully roll the dough tightly into a log. Once rolled, use a sharp knife or unflavored dental floss to slice the log into even pieces, about 1 to 1.5 inches wide. Each piece will be a lovely spiral of our Sugar Snails, ready for the next step!
Step 8: Second Rise
Arrange the sliced Sugar Snails in a greased baking dish, making sure they are close together but not touching. Cover them with a clean towel and let them rise again in a warm place for 30 to 45 minutes, or until they puff up. You’ll see them expanding and getting fluffy, a sign they’re ready for baking!
Step 9: Bake
Preheat your oven to 350°F (175°C). Once heated, bake the puffy Sugar Snails for 20-25 minutes, or until they are golden brown and fragrant. Keep an eye on them towards the end of baking to avoid over-browning—golden is the target for that irresistible look!
Step 10: Cool
After baking, remove the Sugar Snails from the oven and let them sit for about 10 minutes. This cooling period allows the sugar coating to set, forming a glossy finish that will delight everyone at your brunch. Once cooled slightly, they are ready to be devoured!
How to Store and Freeze Sugar Snails
Room Temperature: Store leftover Sugar Snails in an airtight container at room temperature for up to 2 days to keep them soft and delicious.
Fridge: If you want to extend their freshness, you can refrigerate Sugar Snails for up to 5 days. Make sure they’re tightly wrapped or in a sealed container to prevent them from drying out.
Freezer: For long-term storage, freeze Sugar Snails in a tightly sealed freezer bag or container for up to 3 months. Thaw overnight in the fridge when you’re ready to enjoy!
Reheating: To reheat, place your Sugar Snails in a preheated oven at 350°F (175°C) for about 10 minutes until warmed through. Enjoy the delightful aroma as they warm up!
What to Serve with Soft and Buttery Sugar Snails
Brighten up your brunch table with these delightful pairings that complement the sweetness of these pastries perfectly.
-
Fresh Berries: Serve a bowl of mixed berries on the side for a burst of color and refreshing tang that balances the sweetness.
-
Creamy Yogurt: A dollop of Greek yogurt adds a rich, creamy texture, offering a nice contrast to the fluffy Sugar Snails.
-
Coffee or Tea: Pair these pastries with a warm cup of coffee or fragrant herbal tea; the warmth enhances their sugary flavor, creating a cozy experience.
-
Vanilla Ice Cream: For dessert lovers, a scoop of vanilla ice cream melts beautifully over the warm pastries for a delightful treat.
-
Citrus Salad: A salad of orange and grapefruit segments, lightly sweetened with honey, adds a bright, zesty note that complements the sugar.
-
Sweetened Cream Cheese: Spread some lightly sweetened cream cheese on your Sugar Snails for an extra indulgent touch that perfectly pairs with their caramel glaze.
-
Chocolate Drizzle: A light drizzle of melted dark chocolate elevates your Sugar Snails, creating a decadent dessert that’s hard to resist.
-
Nutty Granola: Crushed nut-based granola on the side adds a wonderful crunch, making every bite even more enjoyable.
-
Decadent Hot Chocolate: Treat yourself by pairing these pastries with a cup of rich hot chocolate; the combination makes for a warm, sweet escape.
Sugar Snails Variations & Substitutions
Unleash your creativity in the kitchen by customizing these delightful pastries to satisfy your unique cravings!
-
Vanilla Sugar Snails: Add a splash of vanilla extract to the dough for a lovely aromatic twist.
-
Cinnamon Sugar Snails: Mix ground cinnamon with the sugar before spreading, creating a warm, spiced flavor that’s always a hit.
Nothing beats the classic pairing of sugar and cinnamon—it’s like a cozy hug for your taste buds. -
Lemon Sugar Snails: Incorporate fresh lemon zest into the sugar mixture for a refreshing, zesty flavor that brightens each bite.
This citrusy addition awakens the senses and makes these pastries stand out at brunch! -
Nutty Sugar Snails: Fold in finely chopped almonds or pecans into the filling for a delightful crunch in every bite.
The nuttiness complements the sweetness perfectly, adding an extra layer of deliciousness. -
Glazed Sugar Snails: Drizzle a simple icing (made with powdered sugar and milk) over the cooled pastries for an even sweeter finish.
The glaze not only enhances the look but adds a luscious layer of sweetness that’s just irresistible. -
Chocolate-Covered Sugar Snails: After baking, dip the edges of each snail in melted chocolate for a decadent treat that chocolate lovers will adore.
Rich chocolate adds a gourmet level to these homemade pastries, taking them to the next level. -
Spicy Sugar Snails: For those who crave a kick, add a pinch of cayenne or chili powder to the sugar mixture for a surprising heat.
This unexpected twist creates a delightful contrast with the sweetness that’s sure to impress adventurous eaters.
Feel inspired? For another sweet delight, explore my recipe for Sugar Cookie Cheesecake and treat yourself to a delightful culinary experience!
Make Ahead Options
These delightful Sugar Snails are perfect for busy home cooks seeking to streamline their meal prep! You can prepare the dough up to 24 hours in advance; simply follow the first rise and then refrigerate the dough, covered tightly to maintain moisture. When you’re ready to bake, let the dough come to room temperature before rolling and shaping the snails. Additionally, you can shape and slice the snails, then place them in your baking dish up to 3 days ahead—just cover with plastic wrap and store in the fridge. Before baking, allow them to rise until puffy, which may take a bit longer if they’ve been chilled. This way, you can enjoy warm, fluffy Sugar Snails with minimal effort whenever you need a sweet treat!
Expert Tips for Sugar Snails
- Fresh Yeast Matters: Always check the expiration date on your yeast; using fresh yeast ensures your Sugar Snails rise beautifully.
- Knead with Care: Avoid adding too much flour during kneading; a slightly tacky dough leads to soft pastries.
- Cutting Technique: For perfectly even slices, use unflavored dental floss instead of a knife to cut the rolled dough.
- Watch the Bake Time: Keep an eye on your Sugar Snails in the oven; pulling them out when golden prevents dryness.
- Storage Savvy: Store leftover sugar snails in an airtight container at room temperature for 1-2 days, or refrigerate for up to 5 days for freshness.
Sugar Snails Recipe FAQs
What type of yeast should I use for Sugar Snails?
You can use either active dry or instant yeast; just ensure it’s fresh for the best rise. If you’re not sure about your yeast’s freshness, simply mix a teaspoon with warm water and a pinch of sugar; if it becomes frothy in about 5-10 minutes, you’re good to go!
How should I store leftover Sugar Snails?
Store your leftover Sugar Snails in an airtight container at room temperature for up to 2 days. If you want to keep them fresh longer, you can refrigerate them for about 5 days; just make sure they’re well-wrapped to prevent drying out.
Can I freeze Sugar Snails?
Absolutely! To freeze your Sugar Snails, allow them to cool completely before placing them in a tightly sealed freezer bag or container. They’ll keep well for up to 3 months. When you’re ready to enjoy them, simply thaw overnight in the fridge and reheat in a preheated oven at 350°F (175°C) for about 10 minutes.
What should I do if my dough is too sticky or too dry?
If your dough is too sticky, try adding a bit more flour, a tablespoon at a time, while kneading until you achieve the desired texture. If it’s too dry, you can add a little warm milk or water to moisten it. Remember, aim for a slightly tacky dough that’s easy to work with—this will ensure soft Sugar Snails!
Are Sugar Snails suitable for people with allergies?
Sugar Snails contain common allergens like gluten and dairy. To make them allergy-friendly, substitute all-purpose flour with a gluten-free flour blend, and use dairy-free milk and vegan butter instead of regular milk and unsalted butter. Always check ingredient labels to ensure they meet specific dietary needs.
What variations can I try with Sugar Snails?
Feel free to customize your Sugar Snails! For a twist, add vanilla extract for Vanilla Sugar Snails, cinnamon for a warm spice hit, or lemon zest for a refreshing citrus flair. You can also incorporate finely chopped nuts for added crunch—get creative and find the flavor combination that delights your taste buds!
Delicious Sugar Snails: Soft Pastries for Sweet Moments
Ingredients
Equipment
Method
- Warm the milk in a saucepan until just warm, about 110°F. Mix the warm milk with yeast and 1 tsp sugar. Let sit for 5-10 minutes until foamy.
- In a large bowl, combine granulated sugar, egg, melted butter, and salt. Add the yeast mixture and gradually mix in all-purpose flour until a soft dough forms.
- Knead the dough on a floured surface for 8-10 minutes until smooth and elastic, ensuring the dough remains slightly tacky.
- Shape the dough into a ball, place in a greased bowl, cover, and let rise in a warm area for 1 to 1.5 hours until doubled in size.
- Roll the risen dough into a 12x18 inch rectangle on a floured surface, ensuring the dough is even and smooth.
- Spread softened butter over dough, sprinkle with sugar, and add any desired spices or zest for flavor variations.
- Roll the dough tightly into a log from the long side and slice into even pieces about 1 to 1.5 inches wide.
- Arrange the slices in a greased baking dish and let rise for 30 to 45 minutes until fluffy.
- Preheat the oven to 350°F. Bake the Sugar Snails for 20-25 minutes until golden brown.
- Remove from the oven and let cool for 10 minutes before serving.
Leave a Reply