
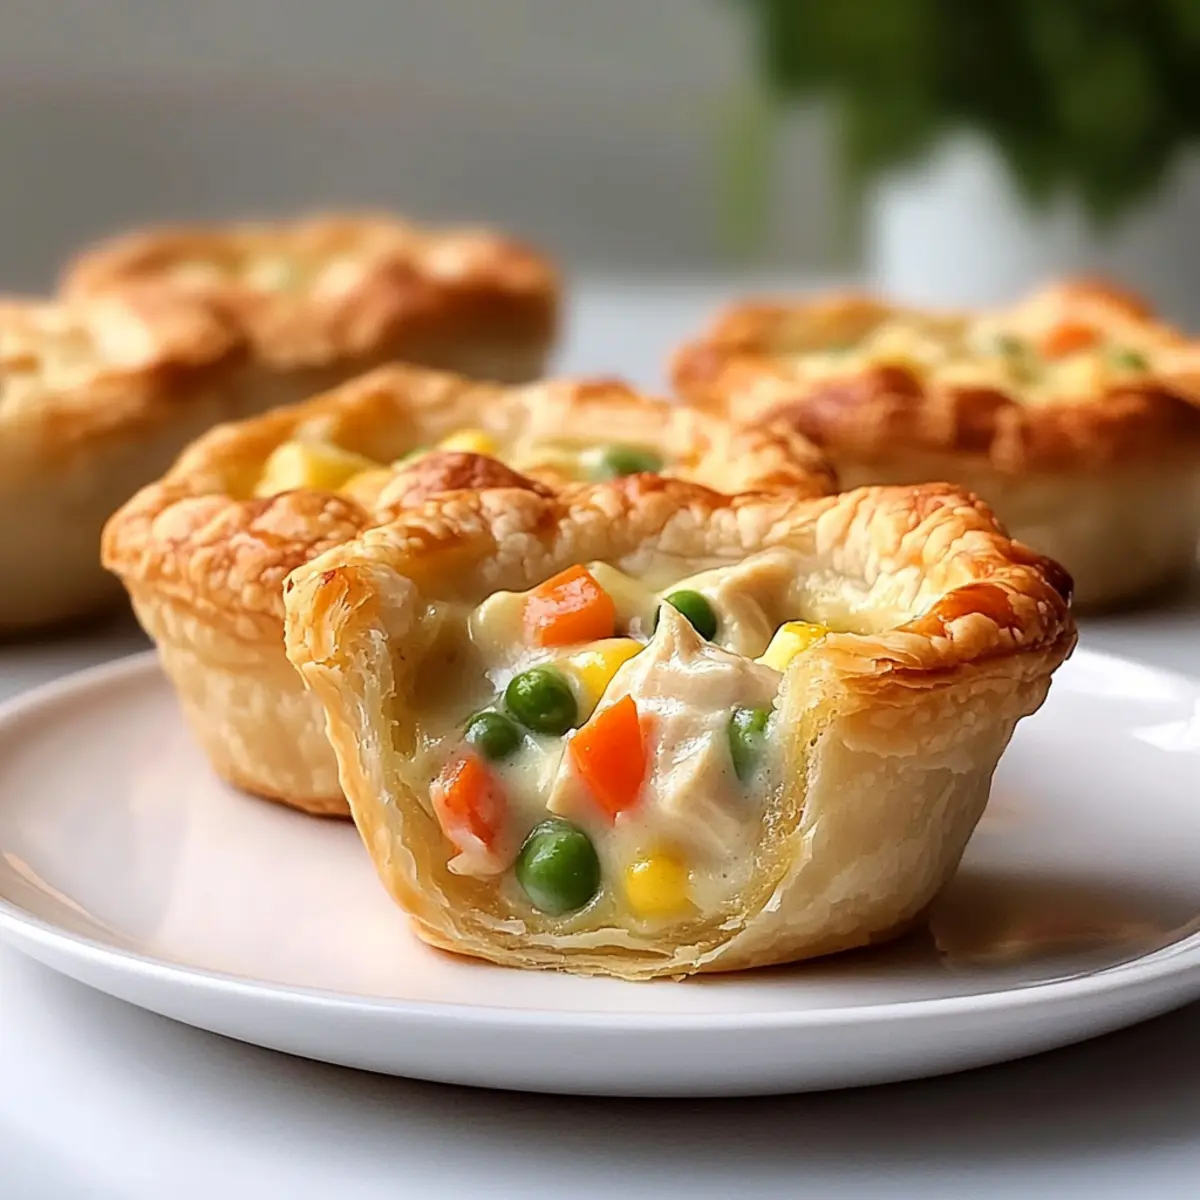
The aroma of golden-brown crusts wafting through the kitchen always brings back memories of cozy family dinners. Today, I’m thrilled to share my recipe for Homemade Mini Chicken Pot Pies, a delightful twist on the classic comfort food that I adore. These little pies not only capture that familiar savory goodness but also make use of leftover chicken, turning what might have been a bland meal into something exciting and memorable. They’re perfect for busy nights, as they come together in just a matter of minutes and bake up beautifully in a muffin tin. Plus, their individual size makes them a hit for both kids and adults alike. So, who’s ready to add a scrumptious touch to dinner with these easy mini pot pies? Let’s dive in!

Why Are Mini Chicken Pot Pies So Loved?
Easy, Quick Preparation: You can whip these up in no time! With just a few ingredients, you’ll have a comforting meal ready in under 30 minutes.
Deliciously Versatile: Use leftover chicken or swap in turkey for a tasty twist. Feel free to customize the filling with your favorite vegetables or herbs!
Perfect for Any Occasion: These mini pies are sure to impress at family dinners, parties, or cozy nights in. Serve them alongside a refreshing salad or with a warm cup of tomato soup for the ultimate comfort meal.
Crowd-Pleasing Appeal: Everyone loves individual portions! Kids and adults alike will be excited to dig into their own little pie.
Leftover-Friendly: Not only do these mini chicken pot pies save the day with tasty leftovers, but they also store well for future meals, making them a smart choice for meal prep.
Homemade Mini Chicken Pot Pie Ingredients
For the Filling
- Cooked Chicken – This provides protein and delicious flavor; using rotisserie chicken makes it an effortless choice.
- Condensed Cream of Chicken Soup – Acts as a creamy binder for the filling; if you prefer something fresher, a homemade cream sauce works beautifully.
- Thawed Frozen Mixed Vegetables – Adds both nutritional value and vibrant color; feel free to substitute with finely chopped fresh veggies if you have them on hand.
For the Crust
- Refrigerated Biscuit Dough – Creates a wonderfully flaky crust; I recommend Grands! biscuit dough for a thicker base that holds up well against the filling.
These ingredients come together to create a delightful Homemade Mini Chicken Pot Pie that is sure to warm your heart and satisfy your taste buds!
Step‑by‑Step Instructions for Homemade Mini Chicken Pot Pie
Step 1: Preheat and Prepare
Begin by preheating your oven to 375°F (190°C). While it heats, take out a muffin tin and generously grease each cup with cooking spray to ensure easy release later. The warmth of the oven will create a perfect baking environment for your delicious homemade mini chicken pot pies.
Step 2: Mix the Filling
In a large mixing bowl, combine your cooked chicken, thawed mixed vegetables, and a can of condensed cream of chicken soup. Stir the mixture until all the ingredients are evenly coated and well-blended. This creamy, savory filling is the heart of your mini pot pies and can be prepared ahead of time if you’re in a hurry.
Step 3: Prepare the Biscuit Cups
Next, take your refrigerated biscuit dough and separate it into individual biscuits. Press each biscuit into the greased muffin cups, gently pushing it down to form a cup shape that flares slightly over the edges. This will create a cozy shell for the chicken filling, making each pie extra delicious and easy to handle.
Step 4: Fill the Cups
Using a spoon, carefully fill each biscuit cup with about two tablespoons of the chicken and vegetable mixture. Be cautious not to overfill, as you want to allow space for the biscuits to rise and bake without spilling over. The filling will bubble beautifully as they bake and merge with the flaky crust.
Step 5: Bake to Perfection
Place the muffin tin in the preheated oven and bake your mini chicken pot pies for 20 to 25 minutes. Keep an eye on them and look for a golden-brown crust and bubbling filling, which indicates they are ready. This is when the delightful aromas will fill your kitchen, making it hard to wait!
Step 6: Cool and Serve
Once baked, carefully remove the muffin tin from the oven and let the mini chicken pot pies cool slightly for about 5 minutes. This will make them easier to handle as you gently lift them out of the tin. For a finishing touch, brush the tops with melted butter for added shine and flavor before serving.
What to Serve with Homemade Mini Chicken Pot Pie
The golden crusts and savory filling of these delightful mini pot pies call for equally comforting sides that bring your meal to life.
- Simple Green Salad: Fresh greens with a tangy vinaigrette provide a crisp contrast to the flaky pot pies, balancing richness with brightness.
- Roasted Vegetables: Seasonal roasted veggies add a pleasing sweetness and complementary textures to the meal, making each bite wholesome and hearty.
- Creamy Mashed Potatoes: Silky mashed potatoes enhance the comfort factor, offering a creamy side that pairs wonderfully with the chicken filling.
- Buttery Corn on the Cob: Sweet, buttery corn adds a nostalgic touch that transports you back to summer barbecues while beautifully contrasting the savory pies.
- Tomato Soup: A warm bowl of tomato soup creates a cozy combination, enhancing the comforting feel of the meal and adding a lovely acidity.
- Apple Crisp: For dessert, a warm apple crisp provides a satisfying sweetness to conclude your dinner, balancing the savory earthiness of the pot pies with its fruity flair.
- Sparkling Lemonade: This refreshing beverage offers a delightful citrusy twist that cleanses the palate while complementing the savory elements of the meal.
- Homemade Biscuits: A side of soft, flaky biscuits echoes the flavors of the pot pies while inviting another layer of comfort and warmth.
Each of these hearty accompaniments elevates your dining experience, turning dinner into a wholesome, joyous occasion!
Expert Tips for Homemade Mini Chicken Pot Pie
-
Avoid Overfilling: Keep an eye on how much filling you’re adding to each biscuit cup. A spoonful or two is plenty—overfilling can lead to messy spills in the oven!
-
Warm Your Filling: Before filling the biscuit cups, ensure your chicken and vegetable mixture is warm. This helps the biscuits cook evenly and thoroughly, creating that perfect flaky crust.
-
Greasing is Key: Don’t skip greasing the muffin tin! A generous amount of cooking spray ensures your homemade mini chicken pot pies release easily and stay intact for serving.
-
Use Rotisserie Chicken: For a quick and flavorful option, opt for rotisserie chicken. It saves time and infuses your filling with delicious seasoning.
-
Customize with Herbs: Don’t hesitate to add your favorite herbs or spices; a sprinkle of thyme or rosemary can elevate the filling of your homemade mini chicken pot pie and make it your own!
Make Ahead Options
These Homemade Mini Chicken Pot Pies are perfect for meal prep enthusiasts! You can assemble the filling (chicken, vegetables, and soup) up to 24 hours ahead of time and store it in an airtight container in the fridge. For even more convenience, you can prepare the biscuit cups by pressing the dough into the muffin tin and refrigerating them for up to 3 days before baking. Just remember to keep the filling and crust separate to maintain quality. When you’re ready to enjoy, simply spoon your filling into the refrigerated cups and bake as directed—this way, you’ll have a comforting, delicious dinner with minimal effort after a long day!
Homemade Mini Chicken Pot Pie Variations
Feel free to make these delightful mini chicken pot pies your own with these fun and flavorful variations!
-
Turkey Twist: Substitute diced turkey for chicken for a holiday-inspired dish. It’s a great way to use up leftovers after Thanksgiving!
-
Vegetable Medley: Omit the chicken for a delicious vegetarian option by increasing the amount of mixed vegetables. Enjoy a colorful, hearty filling!
-
Herb Infusion: Add a teaspoon of fresh thyme or rosemary to the filling for an aromatic twist that elevates the overall flavor profile.
-
Spicy Kick: Toss in some diced jalapeños or a pinch of cayenne pepper to the filling for a zesty, spicy touch that will awaken your taste buds.
-
Creamy Upgrade: Use a homemade cream sauce instead of canned soup for a fresher flavor and extra creaminess. It’s a delightful way to add depth!
-
Cheesy Delight: Sprinkle shredded cheese into the filling for an extra layer of deliciousness. Sharp cheddar or creamy mozzarella both work wonders!
-
Crust Alternatives: Swap refrigerated biscuit dough with puff pastry for an even flakier crust that will wow your family and friends.
-
Speedy Version: For a quicker option, use store-bought rotisserie chicken and pre-chopped mixed vegetables. You’ll have a meal ready in under 30 minutes!
And, if you’re in the mood for more tasty meals, check out my recipes for Shrimp Lobster Pie or Zesty Lemon Chicken. Happy cooking!
How to Store and Freeze Homemade Mini Chicken Pot Pie
Fridge: Store your mini chicken pot pies in an airtight container for up to 3 days. This keeps them fresh for a cozy meal later in the week.
Freezer: For longer storage, wrap each mini pie tightly in plastic wrap and then place in a freezer-safe bag. They can be frozen for up to 2 months, perfect for future dinners!
Reheating: When you’re ready to enjoy your frozen mini pot pies, preheat the oven to 375°F (190°C), remove the wrapping, and bake for 20-25 minutes until heated through and the crust is crispy again.
Tip: Always ensure the filling is cooled before storing; this helps maintain the quality of your delicious homemade mini chicken pot pie.
Homemade Mini Chicken Pot Pie Recipe FAQs
How do I choose the right cooked chicken for my mini pot pies?
Absolutely! Using rotisserie chicken is a fantastic option because it’s already seasoned and saves you prep time. If you prefer, you can poach or roast your own chicken as well, just ensure it’s cooked and chopped into bite-sized pieces.
How should I store my mini chicken pot pies?
For optimal freshness, store your homemade mini chicken pot pies in an airtight container in the fridge for up to 3 days. This way, you can enjoy them as a cozy meal later in the week without losing flavor!
Can I freeze my mini chicken pot pies, and if so, how?
Certainly! To freeze, wrap each mini pot pie tightly in plastic wrap and place them in a freezer-safe bag. They can be frozen for up to 2 months. When you’re ready to enjoy them, simply preheat your oven to 375°F (190°C), unwrap the pies, and bake for 20-25 minutes until heated through and golden.
What if my biscuit cups are overflowing while baking?
If you find that your filling is bubbling over, it’s likely due to overfilling the cups. Next time, be sure to only fill them with about two tablespoons of the mixture. If it happens, don’t worry! Just let them cool a bit, and serve with a spoon for those who prefer a little extra filling on the side.
Are these mini chicken pot pies suitable for people with dietary restrictions?
Yes, they can be! If you’re catering to vegetarian dietary needs, feel free to replace the chicken with a variety of chopped vegetables or cooked lentils. For gluten-free options, you can use gluten-free biscuit dough or a homemade crust to make these delicious treats accessible to more friends and family.
What should I do if I have leftover filling?
Very! If you have extra filling, don’t toss it out! You can use it in a variety of ways: mix it into a salad, use it as a tasty topping for baked potatoes, or even just enjoy it as a creamy chicken salad on its own. The more, the merrier!
Homemade Mini Chicken Pot Pie: Cozy Comfort in Every Bite
Ingredients
Equipment
Method
- Preheat your oven to 375°F (190°C) and grease a muffin tin with cooking spray.
- In a large bowl, mix together cooked chicken, thawed mixed vegetables, and condensed cream of chicken soup until well combined.
- Separate the biscuit dough into individual biscuits and press each into the greased muffin cups.
- Fill each biscuit cup with about two tablespoons of the filling.
- Bake in the preheated oven for 20 to 25 minutes until golden-brown.
- Let the mini chicken pot pies cool for about 5 minutes before serving.
Leave a Reply