
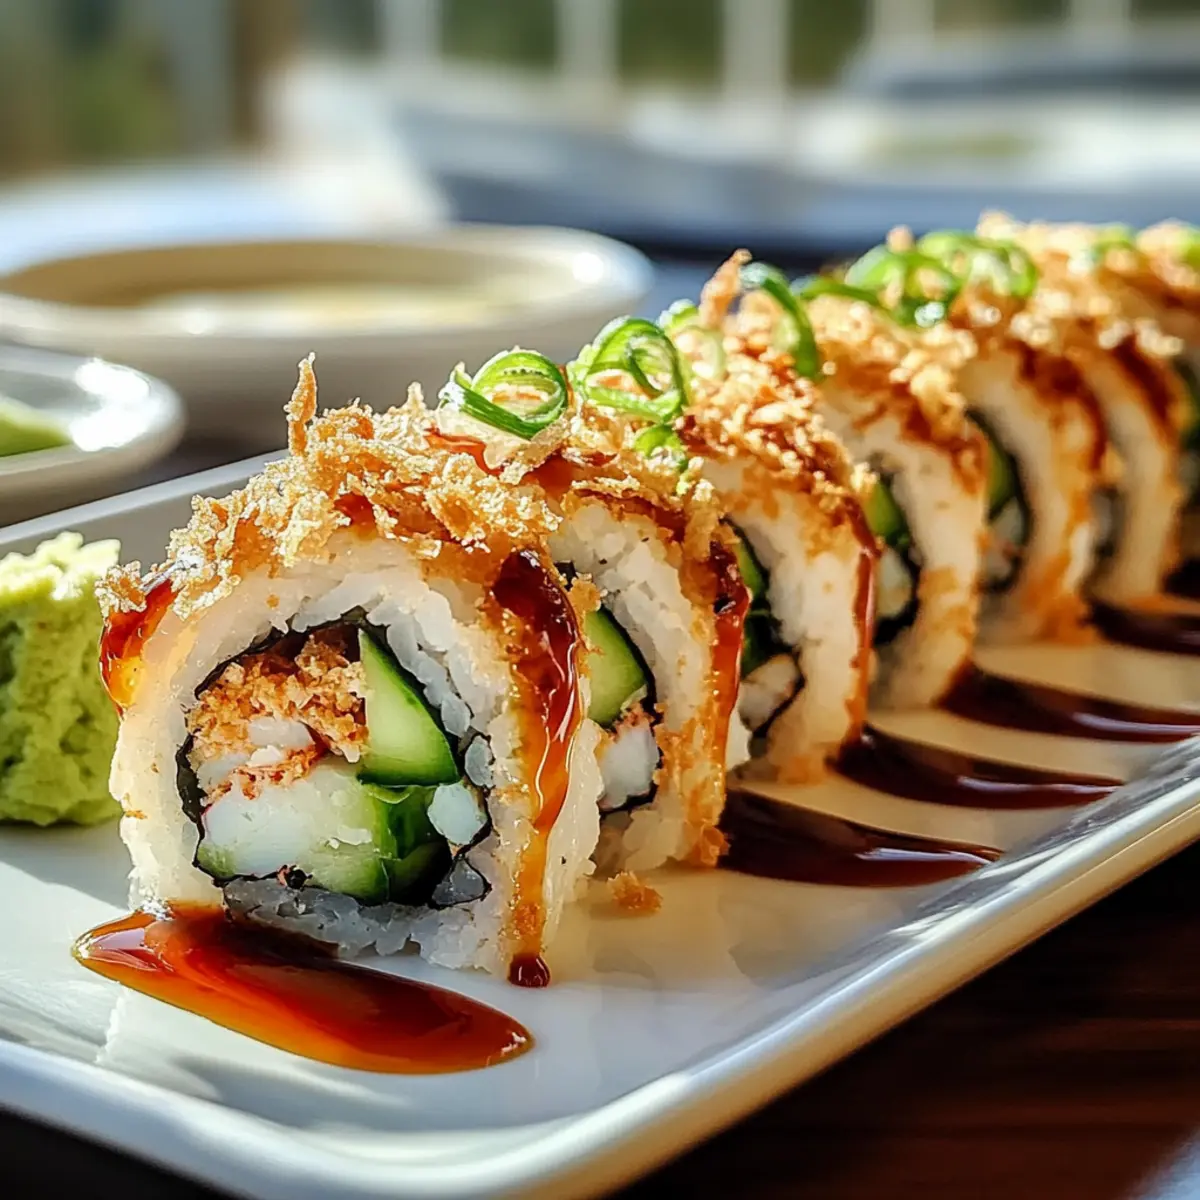
As I stood at my kitchen counter, the enticing aroma of rice cooking wafted through the air, whisking me away to sushi bars along the California coast. Today, I’m sharing my passion for Homemade California Crunch Roll Sushi—a delightful fusion that’s just as fun to make as it is to eat. With perfectly seasoned sushi rice enveloping creamy avocado, succulent imitation crab, and crisp cucumber, every bite brings a satisfying crunch thanks to the tempura flakes. Not only is this sushi a crowd-pleaser that’s effortlessly customizable, but it also makes for a wholesome alternative to fast food cravings. And for those who enjoy a culinary twist, you can easily adapt this recipe into spicy, vegetarian, or even fruity variations! Ready to roll? Let’s dive into the delicious world of sushi-making!
Why Make Your Own Sushi?
Simplicity at its finest: Crafting your own Homemade California Crunch Roll Sushi is surprisingly easy, requiring just a few fresh ingredients and minimal kitchen tools. Flavor explosion: The combination of creamy avocado, sweet imitation crab, and crunchy cucumbers creates a delightful taste experience in every bite. Customization galore: Enjoy the freedom to switch things up with spicy mayo, vegetarian options, or even fruit twists! Ideal for gatherings, this sushi will impress friends and family alike, making it a perfect fun cooking project. Plus, it’s a healthier choice over fast food, leaving you satisfied and guilt-free. Dive into this delicious adventure and elevate your home cooking game!
Homemade California Crunch Roll Sushi Ingredients
For the Sushi Base
- Short-grain white rice – Provides the desired sticky texture for sushi rolls; medium-grain rice can be used but may alter texture.
- Roasted nori sheets – Essential for holding the ingredients in place; soy paper can be a milder alternative.
For the Fillings
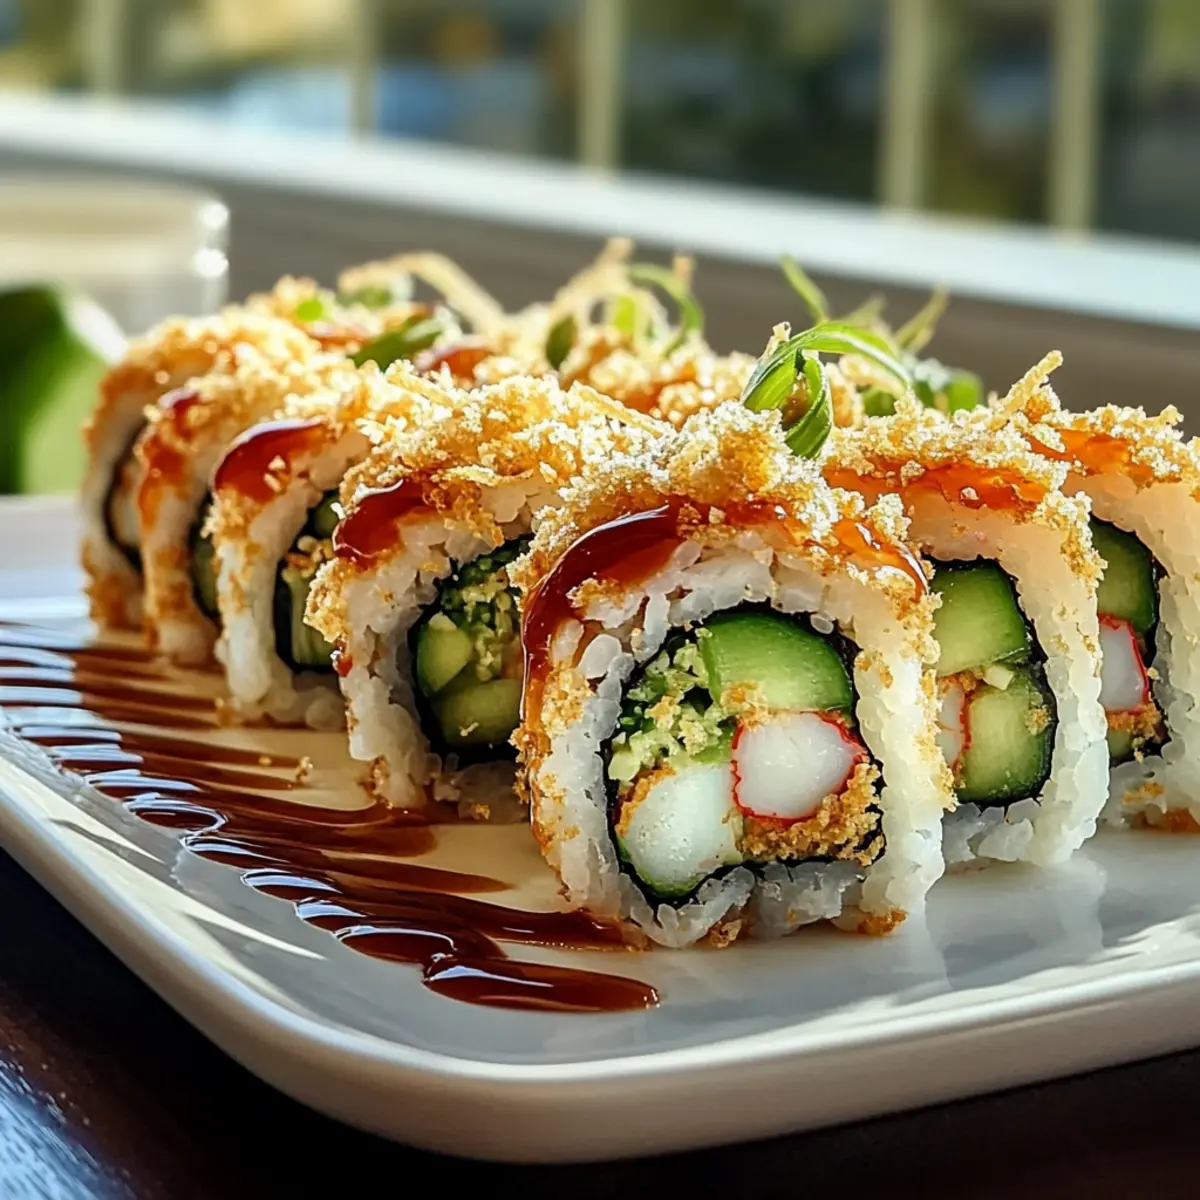
- Imitation crab – Adds a sweet seafood flavor while being economical; feel free to substitute with real crab meat or cooked shrimp for authenticity.
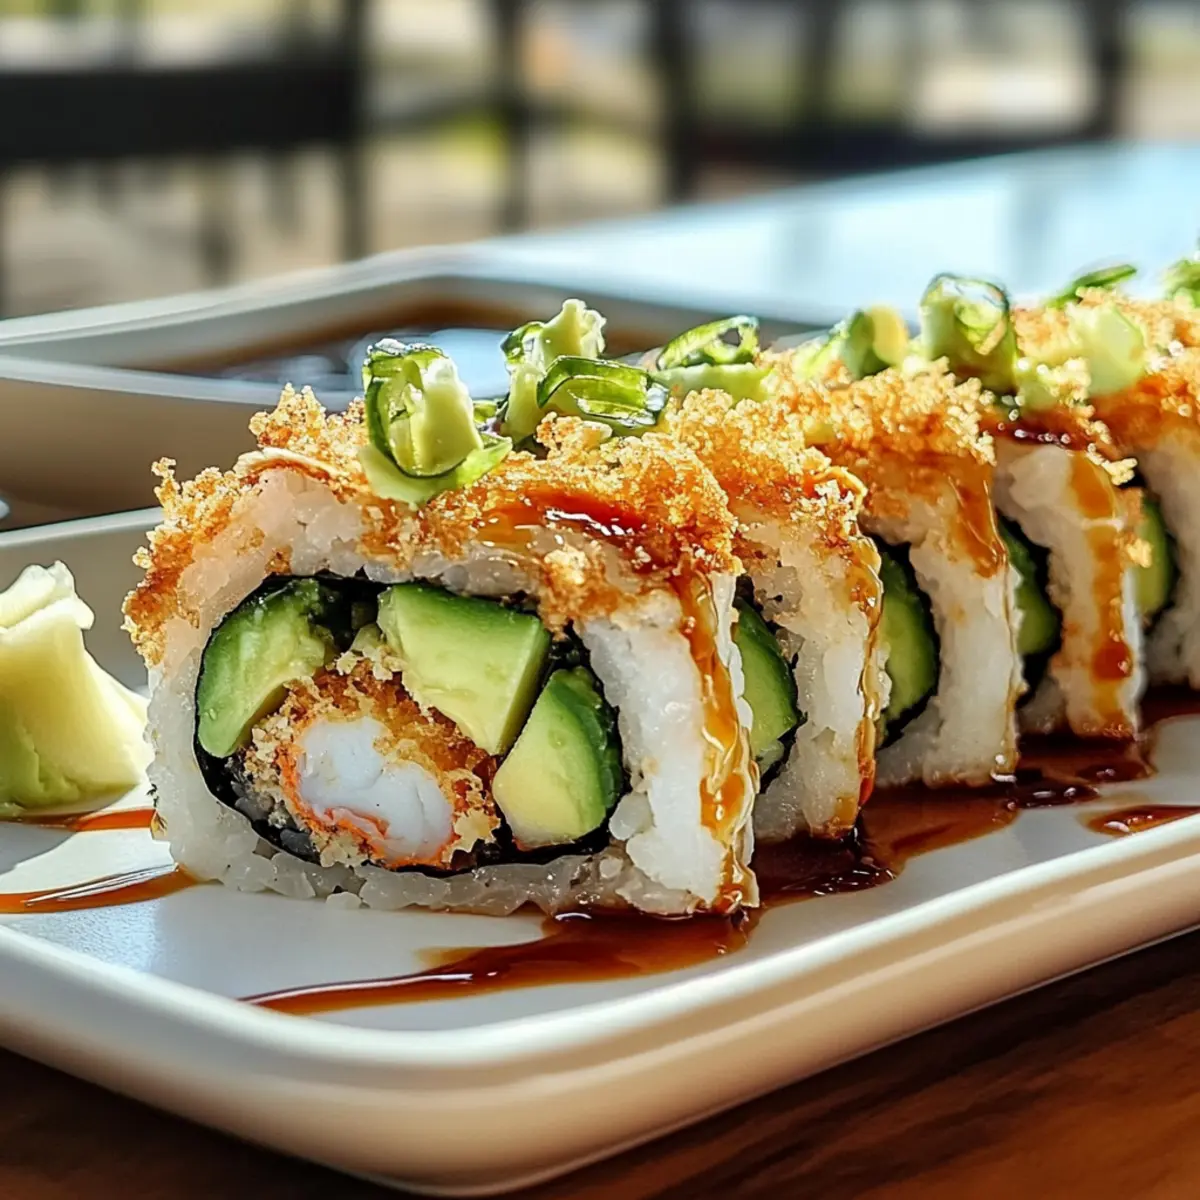
- Avocado – Brings creaminess and richness to the roll; ensure it’s ripe for the best results.
- Cucumber – Offers a fresh, crunchy contrast that balances the other flavors.
For the Crunchy Topping
- Tempura flakes – Provide a delightful crunch to the roll, enhancing the overall experience.
For the Spicy Mayo
- Mayonnaise – The creamy base for the sauce; mix with sriracha to enhance flavor with a kick, adjusting the sriracha to your preferred spice level.
Crafting your own Homemade California Crunch Roll Sushi is not just about the flavors, but also the joy of creating something you love!
Step‑by‑Step Instructions for Homemade California Crunch Roll Sushi
Step 1: Rice Preparation
Rinse 2 cups of short-grain white rice under cold water until the water runs clear, about 2-3 minutes, to remove excess starch. Then, cook the rice according to your rice cooker’s instructions or on the stovetop with 2 ¼ cups of water; bring to a boil, cover, and simmer on low for 20 minutes. Once cooked, let the rice sit covered for 10 minutes to steam, then fluff with a fork.
Step 2: Prepare Ingredients
While the rice cooks, slice 1 ripe avocado and 1 cucumber into thin strips. If using imitation crab, pull it apart gently for better distribution in the roll. Arrange all ingredients on a clean surface, ready for assembly. This step will ensure a smooth flow when making your Homemade California Crunch Roll Sushi.
Step 3: Roll Construction
Once your rice has cooled to a manageable temperature, lay a roasted nori sheet on a bamboo sushi mat, shiny side down. With wet hands to prevent sticking, evenly spread a thin layer of sushi rice over the nori, leaving a 1-inch border at the top. Place a line of avocado, cucumber, and imitation crab in the center, ensuring it’s evenly distributed for balanced flavors.
Step 4: Rolling the Sushi
Starting from the bottom edge of the bamboo mat, gently but tightly roll the sushi away from you to encase the fillings. Roll until reaching the bare edge of the nori. Use a little water to seal the roll. With a sharp knife, wipe it with a damp cloth, and slice the roll into bite-sized pieces, showcasing the colorful layers inside your California Crunch Roll.
Step 5: Add Crunch
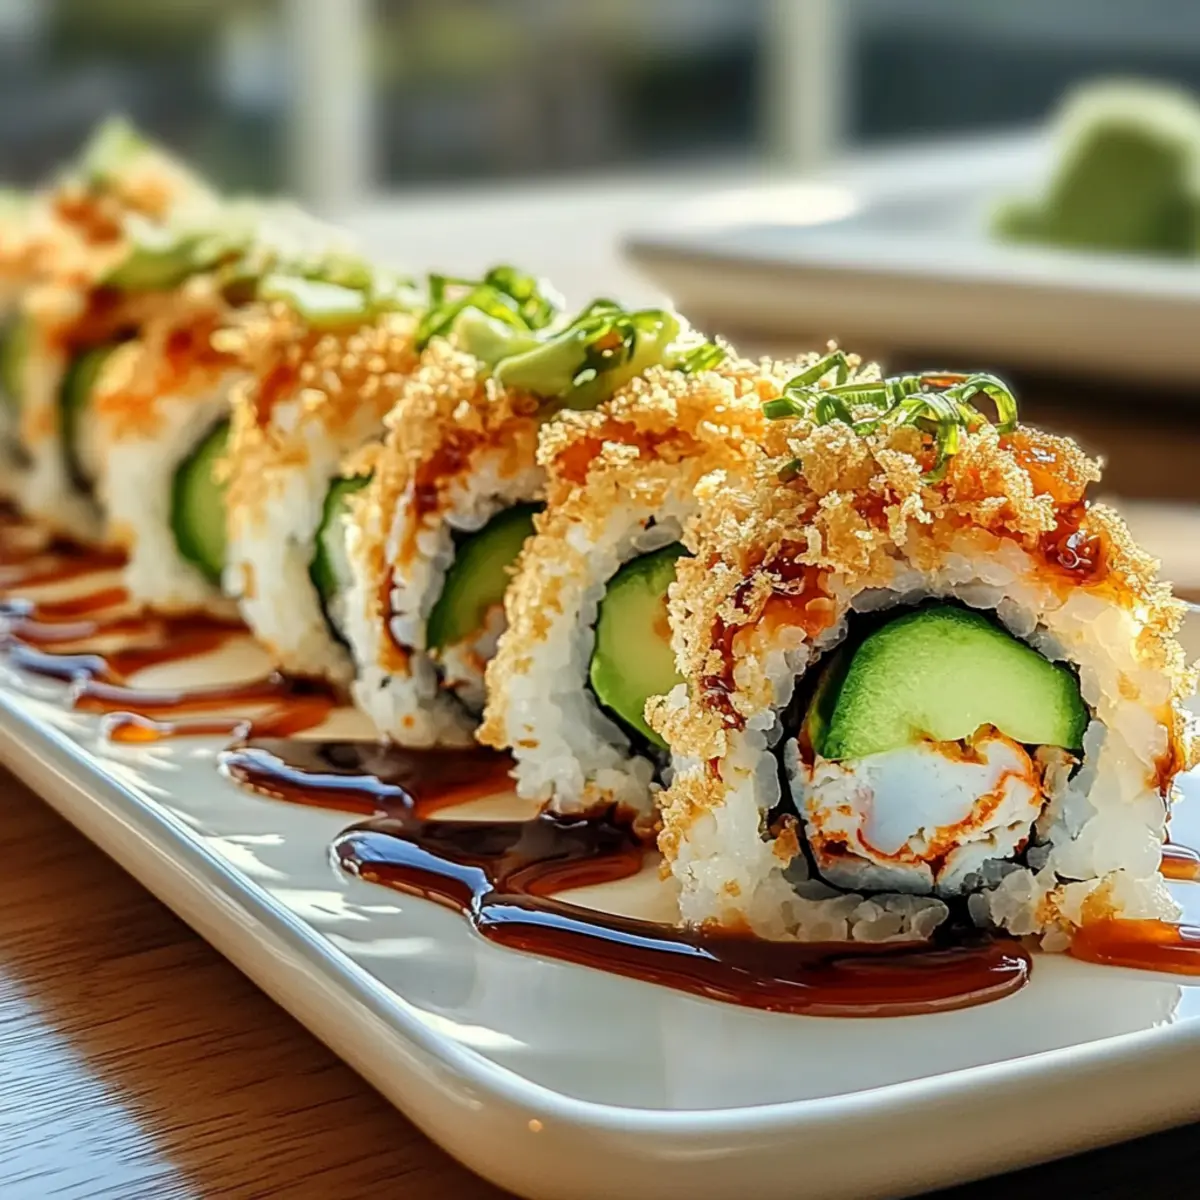
Before slicing the roll, sprinkle tempura flakes generously on the top for added texture and a delightful crunch. You can press them lightly to set them into the sushi. This step enhances the overall experience of your Homemade California Crunch Roll Sushi, making it not only tasty but visually appealing as well.
Step 6: Serve
To serve, arrange the sliced rolls on a plate and pair with a small dish of spicy mayo or soy sauce for dipping. Adding sides like edamame or a fresh seaweed salad would complement your sushi beautifully. Taking the time to craft your own Homemade California Crunch Roll Sushi brings a sense of satisfaction and joy to your meal.
Expert Tips for Homemade California Crunch Roll Sushi
-
Rice Rinsing: Rinse the rice thoroughly until the water is clear to remove excess starch, ensuring your sushi has the perfect sticky texture.
-
Nori Handling: Always place the nori shiny side down on the bamboo mat for the best flavor and presentation; this is key for your Homemade California Crunch Roll Sushi.
-
Filling Balance: Avoid overfilling your roll. Less is more—this makes rolling easier and helps each ingredient shine in flavor and texture.
-
Wet Hands: Use wet hands when handling rice and nori to prevent sticking. This little trick keeps the process smooth and enjoyable.
-
Slice with Precision: Use a sharp, wet knife when slicing your rolls. This prevents tearing and ensures each piece looks as good as it tastes.
-
Fresh Ingredients: Always opt for the freshest ingredients for both flavor and nutritional benefits, maximizing the joy of your Homemade California Crunch Roll Sushi.
What to Serve with Homemade California Crunch Roll Sushi?
Create an unforgettable dining experience by adding delightful sides and drinks to your sushi feast.
-
Edamame: Plump, steamed edamame pods sprinkled with sea salt provide a satisfying, protein-packed snack that complements your sushi.
-
Miso Soup: Warm, comforting miso soup is the perfect light starter, enhancing the umami flavors while preparing your palate for the main dish.
-
Seaweed Salad: This refreshing salad brings a crisp texture and bright flavors, perfectly balancing the richness of the California Crunch Roll.
-
Spicy Ahi Tuna Poke: For a protein-packed option, delicately seasoned Ahi tuna poke adds a fresh and zesty counterpoint to the sushi rolls.
-
Pickled Ginger: A classic sushi accompaniment, tangy pickled ginger cleanses the palate between bites, allowing you to fully appreciate each incredible flavor.
-
Sake: A chilled glass of sake enhances the sushi-eating experience, offering a smooth and slightly sweet contrast to the salted flavors of your meal.
-
Matcha Green Tea: Rich in antioxidants, this traditional drink adds an earthy note, making it a soothing complement to the bold flavors of sushi.
-
Chocolate Mochi: For a sweet finish, creamy chocolate mochi provides a delectable bite-sized dessert, wrapping up your sushi night on a perfect note.
Homemade California Crunch Roll Sushi Variations
Feel free to get creative with your Homemade California Crunch Roll Sushi and make it your own with these delightful twists!
-
Spicy Delight: Add extra sriracha to the mayo or mix in spicy tuna for a bold kick that will awaken your taste buds. It’s all about finding that perfect heat balance that works for you!
-
Vegetarian Option: Replace the imitation crab with marinated tofu or a vibrant mix of colorful veggies like bell peppers, carrots, and sprouts. This variation keeps the roll fresh and satisfying.
-
Tempura Twist: Swap out imitation crab for crispy tempura shrimp to introduce an exciting crunch. The contrast of the tempura’s crispness with creamy avocado provides a delightful textural experience.
-
Fruity Fusion: Incorporate fresh mango or pineapple slices in your roll for a tropical sweetness that beautifully complements the savory elements. The bright flavors will transport you straight to paradise!
-
Herb-Infused: Add a sprinkle of fresh herbs like cilantro or basil to the filling. This elevates the flavor profile and gives your sushi a fresh twist, making each bite vibrant and aromatic.
-
Quinoa Roll: For a nutritious boost, mix cooked quinoa with the sushi rice to enhance fiber content. Quinoa adds a nutty flavor while keeping the roll hearty and fulfilling.
-
Nuts for Crunch: Top your finished rolls with crushed almonds or sesame seeds for added crunch and a boost of healthy fats. This subtle change can really bring your sushi to life!
-
Miso Glaze: Drizzle a bit of miso glaze over your sliced rolls for an umami kick that enhances the overall flavor without overwhelming the subtlety of the sushi.
For even more delicious adventures in sushi and beyond, check out my Keto Crunchwraps Guilt for a playful twist on comfort food, or savor the sweetness of my Gooey Smores Rolls for dessert! Happy rolling!
Storage Tips for Homemade California Crunch Roll Sushi
-
Fridge: Store leftover sushi in an airtight container in the refrigerator for up to 24 hours. Ensure it’s tightly wrapped to maintain freshness, but note that best quality is enjoyed fresh.
-
Freezer: Avoid freezing your Homemade California Crunch Roll Sushi, as the rice and fillings may become mushy and lose their delightful texture upon thawing.
-
Reheating: If you have any sushi rice left over (sans fillings), you can reheat it briefly in the microwave with a sprinkle of water to help retain moisture.
-
Serving Cold: It’s best to serve sushi cold right out of the fridge, paired with soy sauce, ginger, or your favorite dipping sauce for an enhanced experience.
Make Ahead Options
These Homemade California Crunch Roll Sushi are perfect for meal prep enthusiasts! You can prepare the sushi rice up to 24 hours in advance by cooking it, letting it cool, and then storing it in an airtight container in the refrigerator. Additionally, slice the avocado and cucumber ahead of time, placing them in separate airtight containers to maintain freshness for up to 3 days. When you’re ready to enjoy your sushi, simply assemble the rolls with the prepped ingredients, roll tightly with fresh nori, and slice into pieces. By following these make-ahead tips, you’ll save valuable time, allowing you to enjoy delicious sushi in no time, just as delightful as if you made it fresh!
Homemade California Crunch Roll Sushi Recipe FAQs
How do I select ripe avocado for my sushi?
The best avocados for sushi should be slightly soft to the touch, yielding gently when pressed. Avoid those with dark spots or blemishes, as they may indicate overripeness. If you can’t find ripe ones, leave firm avocados at room temperature for a few days to ripen naturally.
What’s the best way to store leftover California Crunch Roll Sushi?
Store any leftover sushi in an airtight container in the refrigerator for up to 24 hours. Firmly wrap the rolls with plastic wrap to maintain freshness. However, keep in mind that sushi is best enjoyed fresh, so make only what you can eat!
Can I freeze my Homemade California Crunch Roll Sushi?
Freezing is not recommended due to potential texture changes in both the rice and fillings upon thawing. However, if you must, tightly wrap individual rolls in plastic wrap, followed by foil, and place them in a freezer-safe bag. They can last for up to 3 months; just be prepared for some quality loss when thawed.
How do I prevent my sushi rolls from falling apart?
To ensure your California Crunch Roll Sushi stays together, avoid over-filling your rolls, as this can make them difficult to roll tightly. Use wet hands when handling the rice, and make sure to seal the edges of the nori well with a tiny bit of water to secure the roll.
Are there any dietary considerations for making sushi?
Absolutely! If you’re accommodating dietary restrictions, consider the ingredients carefully. For a vegetarian roll, swap out imitation crab for marinated tofu or a mix of crunchy vegetables. Be mindful of allergies, especially to seafood, and ensure your sushi is free from cross-contaminants if allergies are a concern.
Can I replace nori with another ingredient?
Yes, absolutely! If you or someone you’re cooking for doesn’t enjoy the taste of nori, you can use soy paper as a substitute. It provides a similar function without the seaweed flavor, making it great for beginners or those looking for something milder.
Homemade California Crunch Roll Sushi for Flavorful Delight
Ingredients
Equipment
Method
- Rinse rice under cold water until the water runs clear, about 2-3 minutes. Cook according to your rice cooker's instructions or on stovetop with 2 ¼ cups of water; bring to a boil, cover, and simmer on low for 20 minutes. Let sit covered for 10 minutes to steam, then fluff with a fork.
- While rice cooks, slice avocado and cucumber into thin strips. If using imitation crab, pull it apart gently. Arrange all ingredients on a clean surface for assembly.
- Lay a nori sheet on a bamboo mat, shiny side down. With wet hands, spread a thin layer of sushi rice over the nori, leaving a 1-inch border at the top. Place avocado, cucumber, and imitation crab in the center.
- Starting from the bottom edge of the bamboo mat, roll the sushi tightly away from you to encase the fillings. Seal with a little water at the edge of the nori.
- Sprinkle tempura flakes on top before slicing untuk added texture. Gently press to set into the sushi.
- Arrange sliced rolls on a plate and serve with spicy mayo or soy sauce for dipping.
Leave a Reply