
As I stood in my kitchen, the aroma of freshly brewed coffee mingling with melting chocolate, I felt transported to a quaint Italian café. Today, I’m sharing a recipe that brings a touch of Italy into your home: Chocolate Tiramisu. This delightful dessert is a true game-changer for chocolate lovers! With its layers of coffee-soaked ladyfingers cradling a rich, velvety chocolate mascarpone cream, each bite promises a moment of pure indulgence. Not only is this recipe incredibly easy to follow, making it perfect for bakers of all levels, but it also allows for creative variations to suit your palate. Want to impress your guests or simply elevate your at-home dessert game? Let’s dive into this decadent treat that is set to become your new favorite! What twist will you add to your chocolate tiramisu?
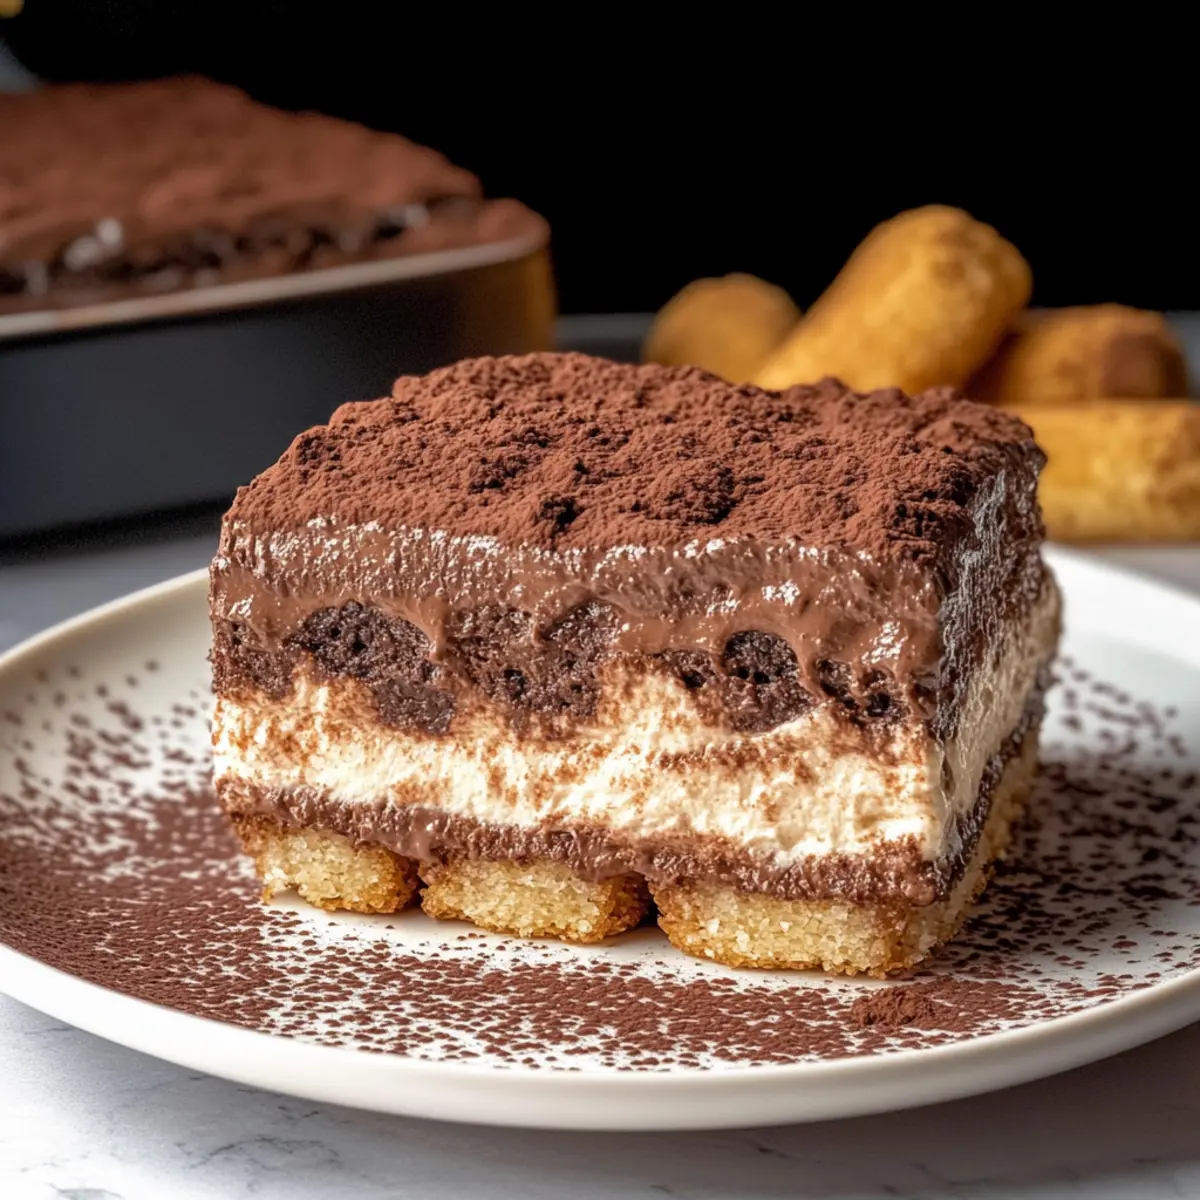
Why Is Chocolate Tiramisu Irresistible?
Decadent Layers: Each bite combines soft, coffee-soaked ladyfingers and a silky chocolate mascarpone that melts in your mouth.
Creative Variations: This recipe offers flexibility; try a refreshing twist with a Chocolate Strawberry Tiramisu or add zing with matcha!
Quick & Easy: Perfect for busy cooks; it requires minimal effort and yields impressive results.
Impress Your Guests: Serve this stunning dessert at gatherings and watch it disappear—your crowd will rave!
Indulgent Comfort: With a rich depth of flavor, it satisfies those chocolate cravings while remaining elegantly refined.
Chocolate Tiramisu Ingredients
• Get ready to create a divine dessert!
For the Creamy Layer
- Egg Yolks – Provides richness and body to the mascarpone cream. Essential for traditional tiramisu; no substitutes for authentic flavor.
- Granulated Sugar – Sweetens and stabilizes the egg yolk mixture. Can substitute with a sugar alternative if necessary.
- Semi-Sweet Chocolate – Adds a deep chocolate flavor and creamy texture to the mascarpone layer. Dark chocolate can be used for a richer taste.
- Mascarpone Cheese – The main ingredient for the creamy layer, adding a rich and velvety mouthfeel. Can be substituted with cream cheese, though the flavor will differ significantly.
- Heavy Cream – Whipped to create a light and airy mascarpone cream. Must be very cold; can be swapped with additional mascarpone.
- Cocoa Powder – Provides a deep chocolate flavor and is used for dusting. Dutch-processed cocoa is preferred for richness.
For the Bases
- Ladyfinger Cookies – Serve as the texture base, soaked in coffee. Oreo or Biscoff cookies can be used as an alternative.
- Coffee – Used to soak the ladyfingers for flavor. Decaf options available for a caffeine-free version.
This delightful Chocolate Tiramisu is sure to indulge your senses with each mouthwatering layer!
Step‑by‑Step Instructions for Chocolate Tiramisu
Step 1: Prepare Egg Mixture
In a double boiler, combine egg yolks and granulated sugar. Whisk them together over simmering water for about 5 minutes, or until fully dissolved, reaching a temperature of 185°F (85°C). The mixture should become pale and slightly thickened during this process, ensuring a creamy base for your Chocolate Tiramisu.
Step 2: Cool & Melt
Remove the bowl from the heat and transfer the egg mixture to a stand mixer. Beat on medium speed until it cools to about 75°F (24°C) and becomes light and airy. Meanwhile, gently melt semi-sweet chocolate in a microwave or double boiler, then gradually fold it into the cooled egg mixture until well combined, creating a luscious chocolate base.
Step 3: Make Mascarpone Cream
In a separate bowl, whip the chilled mascarpone cheese and heavy cream together until soft peaks form, which should take around 3-5 minutes. Be careful not to overwhip! Once achieved, sift in cocoa powder and mix until just combined. This fluffy mascarpone cream is crucial for the rich, indulgent layers of your Chocolate Tiramisu.
Step 4: Combine Mixtures
Gently fold the mascarpone mixture into the cooled egg-chocolate mixture using a spatula. Work slowly and carefully to maintain the light, airy texture of the cream. The goal is a smooth, velvety consistency that will elevate each layer of your Chocolate Tiramisu to perfection.
Step 5: Assemble Tiramisu
Start by dipping ladyfingers into freshly brewed coffee for a couple of seconds, ensuring they soak up that delightful flavor without getting too soggy. Layer them in a rectangular dish, then spread half of the mascarpone mixture over the cookies. Repeat the process with another layer of dipped ladyfingers and the remaining mascarpone, smoothing out the top for an appealing finish.
Step 6: Chill
Cover the assembled Chocolate Tiramisu with plastic wrap and refrigerate for at least 4 hours, allowing the flavors to meld together beautifully and the layers to set. This chilling time is essential for achieving the creamy, luscious texture that makes a tiramisu truly irresistible.
Step 7: Decorate
Before serving, whip any remaining mascarpone cheese and cream with a sprinkle of powdered sugar until light and fluffy. Pipe this decoration over the top of your decadent Chocolate Tiramisu, finishing with a generous dusting of cocoa powder. This final touch not only enhances presentation but also adds a delightful cocoa flavor.
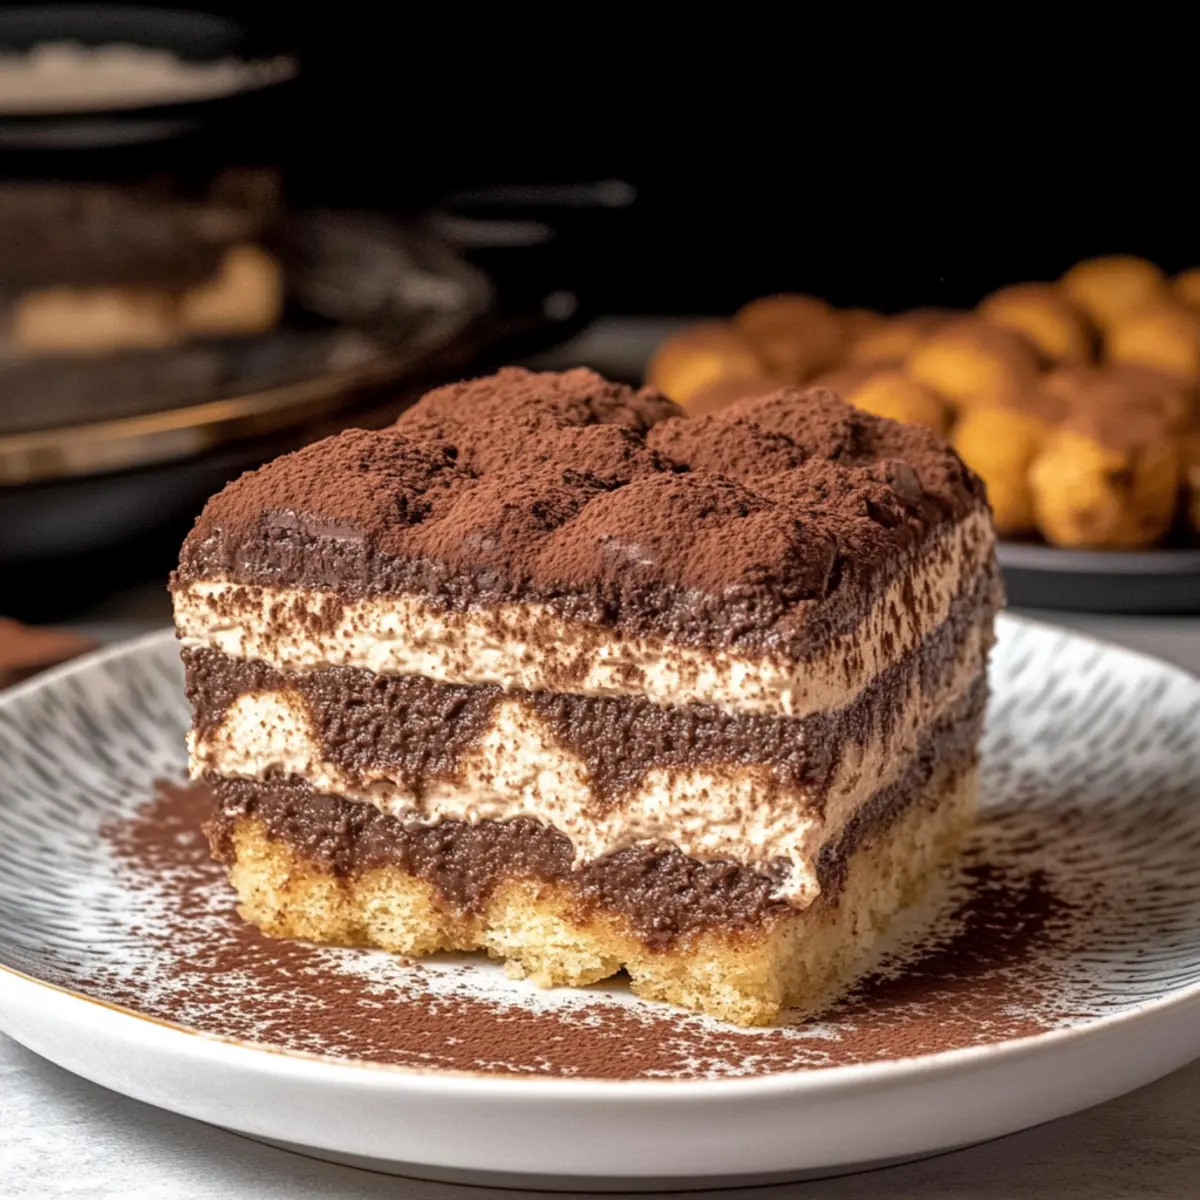
Chocolate Tiramisu Variations & Substitutions
Feel free to get creative with this delicious dessert and tailor it to your taste preferences!
- Chocolate Strawberry Tiramisu: Replace coffee with strawberry sauce; add layers of strawberry compote for a fruity twist that brightens the chocolate.
- Chocolate Matcha Tiramisu: Swap coffee for matcha tea, and dust the top with matcha powder before serving for an earthy flavor contrast.
- Boozy Chocolate Tiramisu: Soak ladyfingers in various liqueurs like amaretto or rum, transforming this classic into an adult treat perfect for celebrations.
- Flavored Mascarpone: Infuse the mascarpone with spices like cinnamon or orange zest for a warm, zesty kick that elevates the flavor profile.
- Gluten-Free Option: Utilize gluten-free ladyfingers for an equally delightful experience without compromising on taste. Everyone deserves a slice!
- Eggless Version: For an egg-free alternative, replace the egg yolks with silken tofu blended until smooth, creating a creamy base that’s just as satisfying.
- Nutty Chocolate Tiramisu: Incorporate toasted hazelnuts or almonds into the layer for a delightful crunch and added richness. Pair with chocolate and coffee for a delicious harmony.
- Decadent Chocolate Sauce: Drizzle a homemade chocolate sauce between the layers or on top for a gooey extravagance that chocolate lovers will adore.
Explore these fun twists, and don’t hesitate to check out options like Chocolate Bake Layered for more indulgent ideas! Each variation is a chance to make this treat uniquely yours. Happy baking!
What to Serve with Chocolate Tiramisu
There’s nothing quite like wrapping up a delicious Italian meal with a sweet, decadent treat to elevate your evening.
-
Rich Espresso: The perfect companion, a shot of strong espresso enhances the coffee flavor in the tiramisu while cutting through its creaminess. It’s like a warm hug for your taste buds!
-
Creamy Gelato: A scoop of vanilla or hazelnut gelato adds a creamy, cool contrast that complements the tiramisu’s rich layers beautifully. Try serving it alongside for a delightful textural harmony.
-
Fresh Berries: Plump raspberries or strawberries add a burst of tartness, brightening the sweetness of the tiramisu. Their vibrant colors make your dessert plate pop and create a lovely balance of flavors.
-
Chocolate Covered Almonds: Crunchy and decadent, these add an extra layer of luxury to your dessert experience. They can also serve as a delightful nibble while enjoying your coffee!
-
Hazelnut Praline: This crunchy topping adds an unexpected crunch, contrasting nicely with the soft layers of the tiramisu. It provides that perfect manufacturer of creamy and crispy textures.
-
Sweet Dessert Wine: Pair your tiramisu with a muscat or a sweet Port to enhance the chocolate and coffee notes. A little sip alongside each bite brightens the flavor profile wonderfully.
Whether celebrating a special occasion or simply indulging, these pairings ensure your chocolate tiramisu shines even brighter!
Expert Tips for Chocolate Tiramisu
- Chill Properly: Ensure the assembled tiramisu is refrigerated for at least 4 hours. This helps the layers set and flavors meld beautifully.
- Control Soaking: Dip ladyfingers quickly in coffee to avoid sogginess. A quick dip preserves texture while infusing flavor.
- Whip Carefully: Be cautious not to overwhip the mascarpone mixture; this can turn it runny, affecting the richness of your chocolate tiramisu.
- Use Quality Ingredients: Invest in good-quality chocolate and fresh coffee for an irresistible flavor. This makes all the difference in your dessert’s taste!
- Avoid Cross-Contamination: Ensure your mixing bowls and utensils are clean and dry to prevent water from affecting the whipped cream consistency.
Make Ahead Options
These Chocolate Tiramisu are perfect for busy home cooks looking to save time during the week! You can prepare the entire dessert up to 24 hours in advance, allowing the flavors to meld beautifully. Start by assembling the layers and refrigerating the tiramisu; just be sure to cover it tightly with plastic wrap to prevent any odors from seeping in. If you need a little flexibility, the mascarpone filling can be made up to 3 days ahead and stored in the fridge, ensuring it retains that delightful creamy texture. When it’s time to serve, simply whip any reserved mascarpone and cream to pipe on top and dust it with cocoa for a stunning presentation. Enjoy restaurant-quality results with minimal effort, perfect for impressing guests or indulging yourself!
How to Store and Freeze Chocolate Tiramisu
Fridge: Store leftover chocolate tiramisu in an airtight container in the refrigerator for up to 2-3 days. This helps maintain its creamy texture and avoids odor absorption.
Freezer: While it’s not recommended to freeze chocolate tiramisu, if necessary, wrap it tightly in plastic wrap and foil to prevent freezer burn. However, be aware that mascarpone may not thaw well, affecting the quality.
Reheating: Chocolate tiramisu is best enjoyed chilled, so there’s no need for reheating; just serve it directly from the fridge for the ultimate indulgence!
Assembly Notes: For best results, avoid freezing before assembling; cold layers meld together beautifully when fresh and refrigerated.
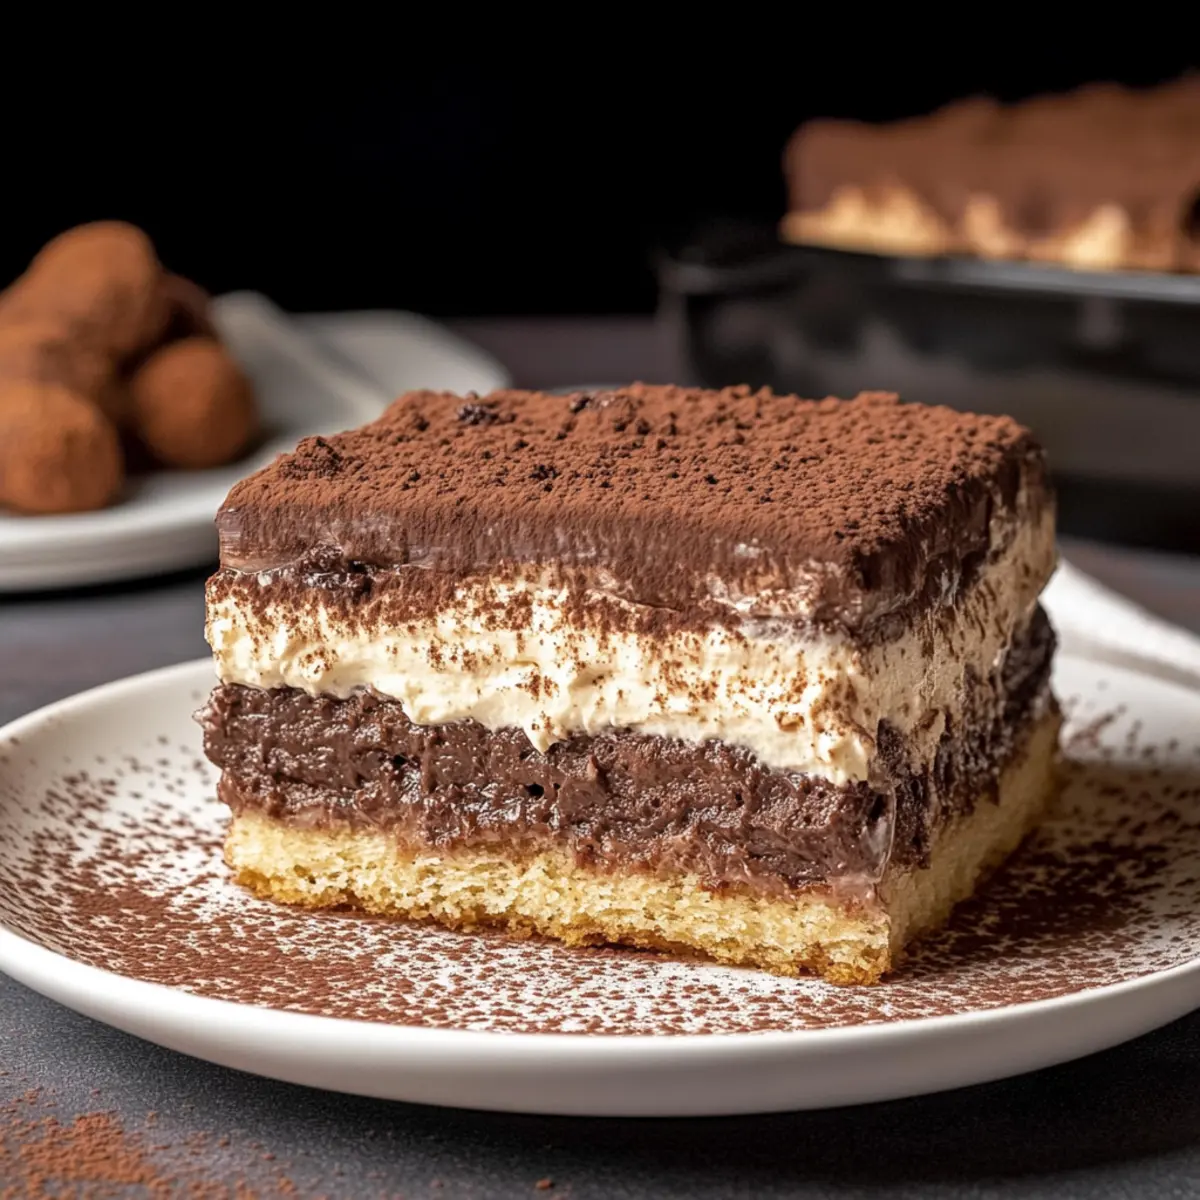
Chocolate Tiramisu Recipe FAQs
What type of coffee should I use for soaking the ladyfingers?
Absolutely, I recommend using freshly brewed espresso or strong coffee to soak the ladyfingers. This will give your chocolate tiramisu that rich, authentic coffee flavor. If you prefer a caffeine-free option, decaf coffee works just as beautifully!
How do I store leftovers of my chocolate tiramisu?
Leftover chocolate tiramisu should be stored in an airtight container in the refrigerator for up to 2-3 days. This helps maintain the creamy texture and prevents it from absorbing any fridge odors. Always cover it with plastic wrap to keep it fresh longer!
Can I freeze chocolate tiramisu?
While it’s not ideal to freeze chocolate tiramisu due to the sensitive ingredients like mascarpone, if necessary, you can wrap it tightly in plastic wrap and then in aluminum foil to prevent freezer burn. However, keep in mind that the texture may be affected after thawing, so I usually recommend enjoying it fresh!
What can I do if my mascarpone mixture becomes too runny?
If your mascarpone mixture is too runny, it might be due to overwhipping. To troubleshoot, try gently folding in more chilled mascarpone until you achieve a thicker consistency. Remember, it’s essential to whip the cream and mascarpone just until soft peaks form; this delicate balance keeps it creamy and prevents it from becoming overly liquid.
Are there any allergens I should consider with this recipe?
Yes, this chocolate tiramisu contains common allergens such as eggs and dairy. If you have guests with dietary restrictions, you can create an eggless version using whipped aquafaba instead of egg yolks. You can also use dairy-free mascarpone or coconut cream for a vegan twist!
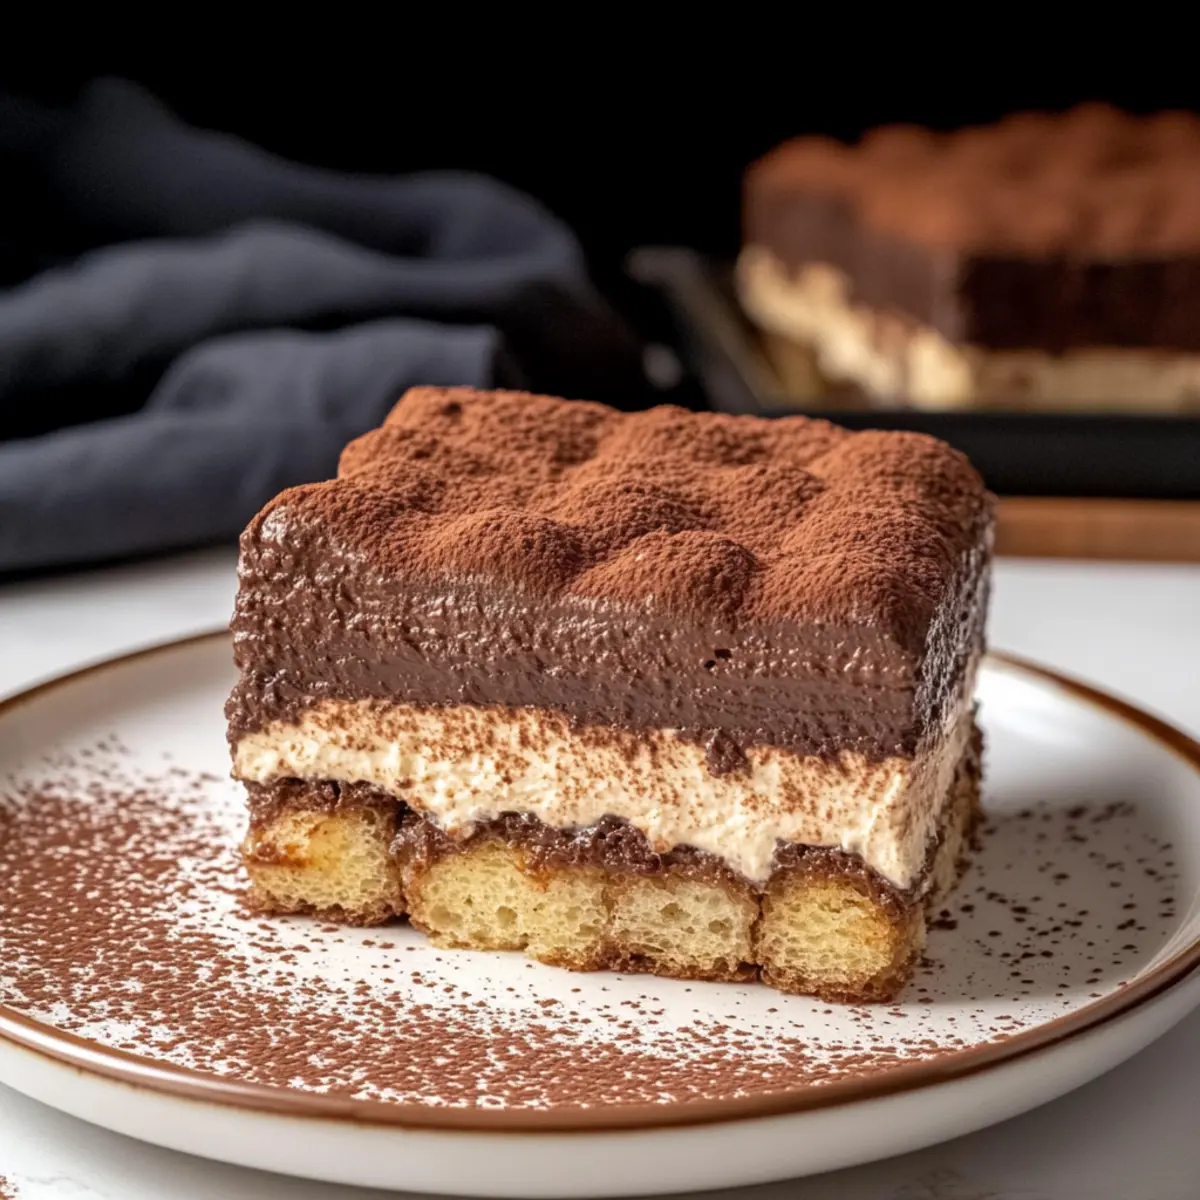
Decadent Chocolate Tiramisu That Will Delight Your Senses
Ingredients
Equipment
Method
- In a double boiler, combine egg yolks and granulated sugar. Whisk them together over simmering water for about 5 minutes, or until fully dissolved, reaching a temperature of 185°F (85°C). The mixture should become pale and slightly thickened during this process.
- Remove the bowl from the heat and transfer the egg mixture to a stand mixer. Beat on medium speed until it cools to about 75°F (24°C) and becomes light and airy. Meanwhile, melt semi-sweet chocolate gently and fold it into the cooled egg mixture until well combined.
- In a separate bowl, whip mascarpone cheese and heavy cream together until soft peaks form. Be careful not to overwhip! Sift in cocoa powder and mix until just combined.
- Gently fold the mascarpone mixture into the cooled egg-chocolate mixture using a spatula until smooth and velvety.
- Dip ladyfingers into freshly brewed coffee for a couple of seconds, then layer them in a rectangular dish. Spread half of the mascarpone mixture over the cookies, repeat the process, and smooth the top.
- Cover the assembled Chocolate Tiramisu with plastic wrap and refrigerate for at least 4 hours.
- Before serving, whip remaining mascarpone cheese and cream with powdered sugar until light and fluffy. Pipe this decoration over the top, finishing with cocoa powder.
Leave a Reply