
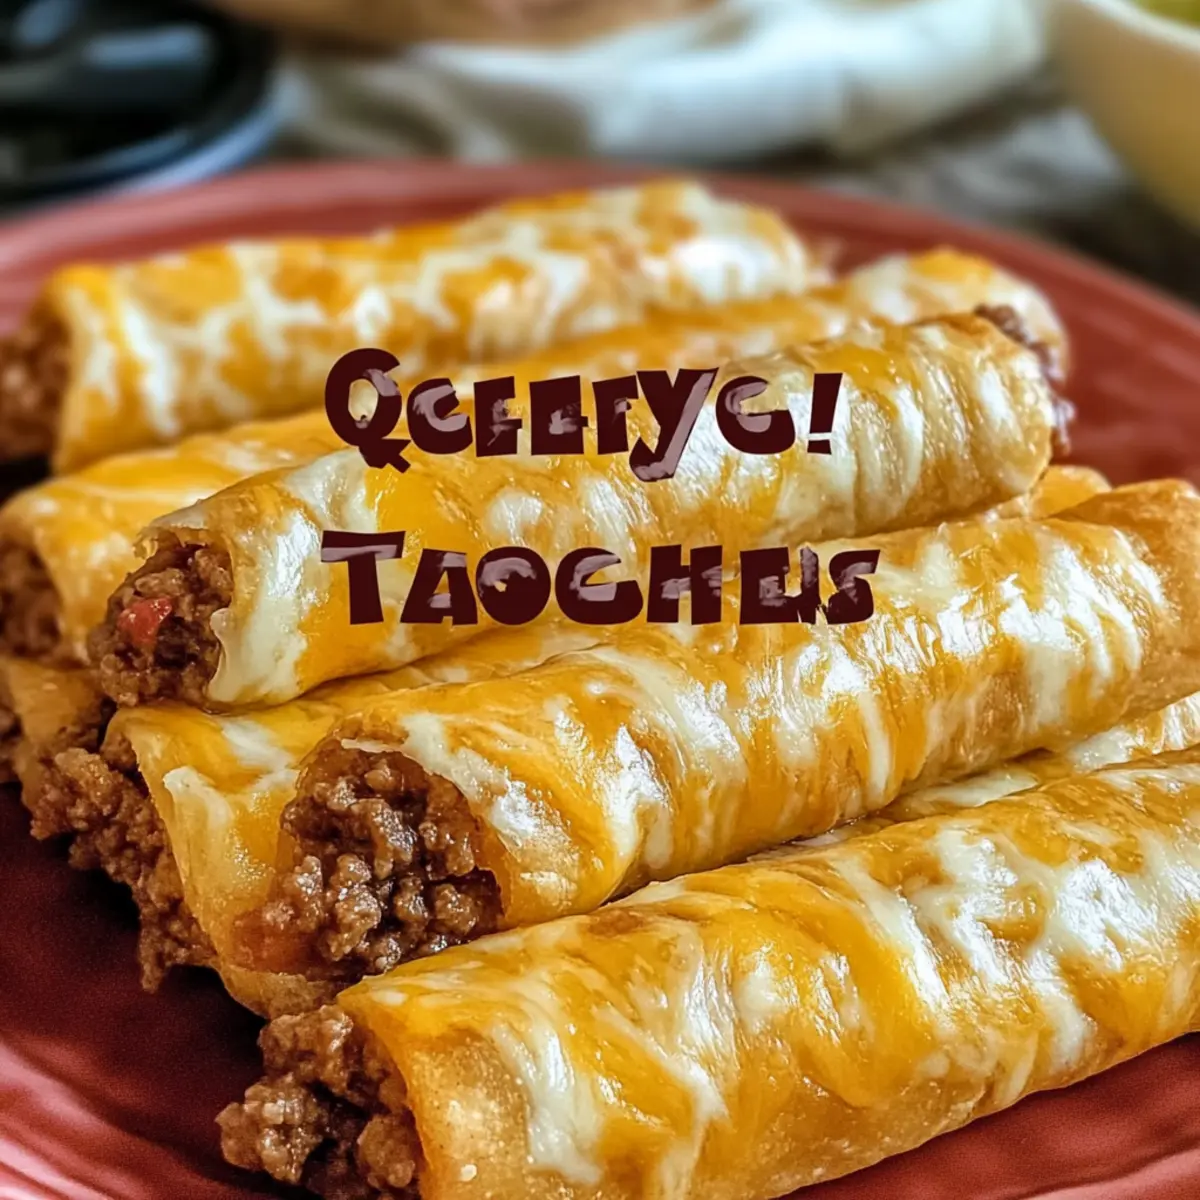
As I sat at a bustling tailgate last weekend, I spotted an irresistible platter of Cheesy Taco Sticks gleaming under the sun, their golden, crispy surfaces beckoning me closer. These delightful snacks perfectly blend the vibrant flavors of taco night with the comforting allure of cheesy goodness, making them an ideal choice for gatherings, game days, or even a cozy family dinner. Not only are Cheesy Taco Sticks quick to whip up, but they also offer a customizable touch—serve them with your favorite dips for a fun twist that will have everyone coming back for more. Ready to dive into a delicious adventure? Let’s get cooking!

Why Are Cheesy Taco Sticks Unforgettable?
Bold flavors: The fusion of taco spices mixed with ooey-gooey cheese creates an explosion of taste that will have your taste buds dancing.
Quick and easy: Prep is a breeze; you’ll have these delicious snacks on the table in under 30 minutes, making them perfect for spontaneous gatherings.
Customizable goodness: Pair them with your favorite dips—salsa, guacamole, or sour cream—for a fun, interactive dining experience.
Crowd-pleaser: Whether it’s game day or a casual night in, these Cheesy Taco Sticks are sure to impress family and friends alike.
For a wholesome meal side, whip up Cheesy Garlic Chicken and add a fresh salad!
Cheesy Taco Sticks Ingredients
For the Dough
- Refrigerated Pizza Dough – Provides a crispy, chewy crust; substitute with homemade dough for an artisanal touch.
For the Filling
- Ground Beef – Acts as the main protein with delicious taco flavor; lean turkey or plant-based meat can be used as alternatives.
- Taco Seasoning – Infuses the beef with classic taco spices; look for low-sodium options or make your own blend for a healthier choice.
- Shredded Cheddar Cheese – Offers sharpness and richness; substitute with pepper jack for a spicy kick.
- Shredded Mozzarella Cheese – Adds gooeyness and stretchiness to the filling; use a blend of provolone for enhanced flavor.
For Finishing Touches
- Butter – Adds richness and helps achieve a golden brown crust; olive oil can be used for a healthier twist.
- Garlic Powder – Enhances flavor with a subtle garlic note; fresh minced garlic can also be used for a stronger taste.
For Dipping
- Salsa – Recommended for dipping, adding an extra layer of flavor; try guacamole or Greek yogurt as tasty alternatives.
- Sour Cream – Complements the Cheesy Taco Sticks perfectly; mix in a little lime juice for a zesty flavor boost.
These Cheesy Taco Sticks are not only a delightful snack but a deliciously interactive way to enjoy a meal!
Step‑by‑Step Instructions for Cheesy Taco Sticks
Step 1: Preheat the Oven
Begin by preheating your oven to 375°F (190°C). This temperature will perfectly crisp up the Cheesy Taco Sticks, helping them achieve that golden-brown exterior we’re all craving. While the oven heats, gather your ingredients and tools: a skillet, a rolling pin, and a parchment-lined baking sheet.
Step 2: Cook the Ground Beef
In a skillet over medium heat, add the ground beef and cook until it’s nicely browned, which should take about 6-8 minutes. Drain any excess fat to prevent sogginess in the filling. Next, stir in the taco seasoning according to the package instructions, allowing those savory flavors to infuse the beef for about 2 minutes.
Step 3: Roll Out the Dough
On a clean, floured surface, roll out the refrigerated pizza dough into a large rectangle. Aim for a thickness of about 1/8 inch, ensuring the dough is even to allow for uniform cooking. This rectangle will wrap around your flavorful filling, so take care with your rolling!
Step 4: Assemble the Filling
Spread the cooked taco meat over one half of the rolled-out dough, leaving a small border around the edges. Layer the shredded cheddar and mozzarella cheeses generously on top of the meat. This cheesy combination is the heart of your Cheesy Taco Sticks, so be sure to distribute it evenly.
Step 5: Fold and Seal the Dough
Carefully fold the other half of the pizza dough over the filling, pressing the edges firmly to seal in the mouthwatering ingredients. Use your fingers or a fork to crimp the edges, ensuring that all the cheesy goodness stays inside while baking.
Step 6: Cut the Cheesy Taco Sticks
With a sharp knife or pizza cutter, slice the stuffed dough into 1-inch strips. To create the signature twist, gently twist each strip a couple of times before placing it on your prepared baking sheet. This not only adds flair but helps the filling cook evenly.
Step 7: Prepare for Baking
Melt some butter in a small bowl and brush it generously over the twisted dough. This will provide a beautiful golden color as they bake. Finish by sprinkling garlic powder over the top for an extra kick of flavor.
Step 8: Bake to Perfection
Place the baking sheet in the preheated oven and bake for 15-20 minutes or until the Cheesy Taco Sticks are golden brown and crispy. Keep an eye on them during the last few minutes to achieve that perfect crunch while the cheese melts deliciously inside.

Expert Tips for Cheesy Taco Sticks
Well-Drained Beef: Avoid sogginess by ensuring your ground beef is thoroughly drained after cooking. This helps keep the dough crispy.
Even Dough Thickness: Roll out the pizza dough evenly to guarantee all sticks bake uniformly. Uneven thickness can lead to some being over or undercooked.
Twist for Shape: When cutting the strips, twist them tightly to maintain their shape during baking. This adds a beautiful presentation to your Cheesy Taco Sticks.
Watch the Baking Time: Keep an eye on the oven in the last few minutes. Overbaking can turn your Cheesy Taco Sticks overly crunchy instead of perfectly golden.
Customize Your Fillings: Don’t hesitate to experiment! Try adding your favorite vegetables or different cheeses to make your Cheesy Taco Sticks uniquely yours.
Storage Tips for Cheesy Taco Sticks
Fridge: Store leftovers in an airtight container in the refrigerator for up to 3 days. Let them cool completely before sealing to prevent moisture buildup.
Freezer: For longer storage, wrap individual Cheesy Taco Sticks in plastic wrap and place them in a freezer-safe bag. They can be frozen for up to 2 months.
Reheating: For the best texture, reheat frozen Cheesy Taco Sticks in the oven at 375°F (190°C) for 15-20 minutes until crispy. Avoid microwaving, as it can make them soggy.
Make-Ahead: You can prepare the filling and wrap the sticks ahead of time, then store them in the fridge for up to a day before baking. This allows for quick assembly when you’re ready to cook!
What to Serve with Cheesy Taco Sticks
Delight your guests by pairing delicious sides and beverages that enhance the irresistible flavors of your Cheesy Taco Sticks.
-
Zesty Guacamole: Creamy and fresh, it adds a vibrant contrast to the savory taco flavor, making every bite a celebration of taste.
-
Crisp Green Salad: A light salad with mixed greens and a citrus vinaigrette balances the richness of the cheese, creating a refreshing bite.
-
Spicy Salsa: The kick of zesty salsa complements the cheesy goodness, bringing a burst of flavor that elevates your snacking experience.
-
Chili Cheese Dip: Rich and hearty, this dip pairs perfectly with the sticks, ensuring each bite is indulgently fantastic and packed with flavor!
-
Fresh Veggie Platter: A colorful assortment of crunchy veggies not only adds texture but invites your guests to explore different flavors and dips.
-
Refreshing Lemonade: A chilled glass of lemonade offers a sweet and tangy cleanse between bites, keeping the flavors bright and enjoyable.
-
Creamy Ranch Dressing: Excellent for dipping, ranch dressing provides a cool, creamy element that pairs delightfully with the warm, cheesy filling.
-
Chocolate Brownies: For dessert, fudgy brownies add a rich finish to your meal, balancing savory and sweet for a satisfying close to the evening.
Cheesy Taco Sticks Variations & Substitutions
Feel free to get creative and customize your Cheesy Taco Sticks; the possibilities are endless!
- Protein Swap: Substitute ground beef with shredded chicken or black beans for a different protein option. Both variations bring unique flavors that work wonders in these cheesy delights.
- Spicy Kick: Use pepper jack cheese instead of cheddar for a fiery twist that dances on your taste buds. This change is perfect for spice lovers looking to turn up the heat!
- Herb Infusion: Add fresh chopped cilantro or parsley to the filling for an inviting herbaceous taste. This will not only enhance the flavor but also add a beautiful pop of color.
- Cheese Blend: Experiment with a mix of Monterey Jack and feta cheeses for a flavorful twist on the traditional blend. These two varieties melt beautifully and add a delightful tang that elevates the dish.
- Vegetable Medley: Toss in chopped green onions, jalapeños, or bell peppers to the filling for extra flavor and texture. Vegetables add crunch and freshness, making every bite more satisfying.
- Nutty Flavor: Add a sprinkle of toasted pine nuts or sunflower seeds to the filling for a delightful crunch. This unexpected addition brings a nutty flavor that complements the cheese perfectly.
- Dipping Delights: Serve your Cheesy Taco Sticks with unexpected dips like tzatziki or Russian dressing for a twist. These creamy options add depth and contrast to the spicy flavors of the sticks.
For a complete meal, consider pairing your Cheesy Taco Sticks with Cheesy Garlic Chicken or a crunchy salad for a balanced dining experience!
Make Ahead Options
These Cheesy Taco Sticks are perfect for meal prep and can save you precious time on busy weeknights! You can prepare the filling of cooked ground beef and taco seasoning up to 3 days in advance; simply refrigerate it in an airtight container. Additionally, you can roll out the pizza dough and cut it into strips up to 24 hours before baking. To maintain the quality, wrap the sliced dough in plastic wrap or store it in a sealed container in the fridge. When you’re ready to enjoy your Cheesy Taco Sticks, just assemble the dough with the prepped filling, twist, brush with butter, and bake until golden. Enjoy the convenience of a scrumptious snack with minimal effort!
Cheesy Taco Sticks Recipe FAQs
How do I select the best ingredients for Cheesy Taco Sticks?
Absolutely! For the best Cheesy Taco Sticks, choose refrigerated pizza dough that’s soft and pliable. Look for ground beef with a good balance of fat, ideally 80/20, to keep the filling flavorful. When selecting cheese, go for fresh, high-quality shredded cheddar and mozzarella for optimal meltiness. Taco seasoning should ideally be low-sodium if you’re watching your salt intake.
What’s the best way to store leftover Cheesy Taco Sticks?
I recommend storing leftovers in an airtight container in the refrigerator. They should stay fresh for about 3 days. Make sure they’re completely cooled before sealing them to avoid any moisture buildup, which can make the dough soggy. When you’re ready to enjoy them again, reheating in the oven will help regain that delightful crispiness!
Can I freeze Cheesy Taco Sticks, and how do I do it?
Yes, you can freeze Cheesy Taco Sticks! Simply wrap each stick individually in plastic wrap and place them in a freezer-safe bag. They can be frozen for up to 2 months. When you want to enjoy them, preheat your oven to 375°F (190°C) and bake from frozen for about 15-20 minutes or until they’re heated through and crispy. Avoid microwaving, as it can lead to a soggy consistency.
What should I do if my Cheesy Taco Sticks aren’t browning in the oven?
Very! If your Cheesy Taco Sticks aren’t browning as expected, ensure that you’ve brushed them with melted butter or olive oil before baking. Keep an eye on the oven temperature as well; it may be worth checking that the temperature is accurate with an oven thermometer. If they still need more color, a quick broil for 1-2 minutes at the end can add that final golden touch—just watch them closely to avoid burning!
Are Cheesy Taco Sticks safe for pets, and what about allergies?
When it comes to pets, it’s best to keep Cheesy Taco Sticks out of reach. The seasoned meat and cheese can upset a dog or cat’s stomach. For allergies, pay close attention to the ingredients like cheese, beef, and any specific spices in taco seasoning; if preparing for guests, consider making a vegetarian version to accommodate dietary restrictions. Using plant-based meat and eliminating cheese can create a delightful alternative that everyone can enjoy!

Cheesy Taco Sticks: Your New Favorite Snack Sensation
Ingredients
Equipment
Method
- Preheat the oven to 375°F (190°C).
- Cook the ground beef in a skillet over medium heat for 6-8 minutes, then stir in the taco seasoning for 2 minutes.
- Roll out the refrigerated pizza dough into a large rectangle about 1/8 inch thick.
- Spread the cooked taco meat over half of the rolled-out dough, then layer with shredded cheddar and mozzarella cheeses.
- Fold the other half of the dough over the filling and seal the edges.
- Cut into 1-inch strips and twist each strip a couple of times before placing them on the baking sheet.
- Brush melted butter over the twisted dough and sprinkle garlic powder on top.
- Bake for 15-20 minutes until golden brown and crispy.
Leave a Reply