
As I stood in my kitchen, the aroma of freshly brewed coffee swirling around me, I felt a wave of inspiration hit—what if I could transform a classic dessert into something uniquely delightful? Enter the No-Bake Biscoff Tiramisu Cups! With the convenience of no-bake preparation and the elegant layers of creamy mascarpone combined with coffee-soaked Biscoff biscuits, this dessert is a total crowd-pleaser for any occasion. It’s effortlessly simple to make yet tastes like a gourmet treat, making it the perfect addition to your repertoire of homemade delights. Not only can you whip these up ahead of time, but they also pack an indulgent punch that will leave everyone reaching for seconds. Are you ready to explore this decadent escape? Let’s dive in!

Why Are Biscoff Tiramisu Cups Irresistible?
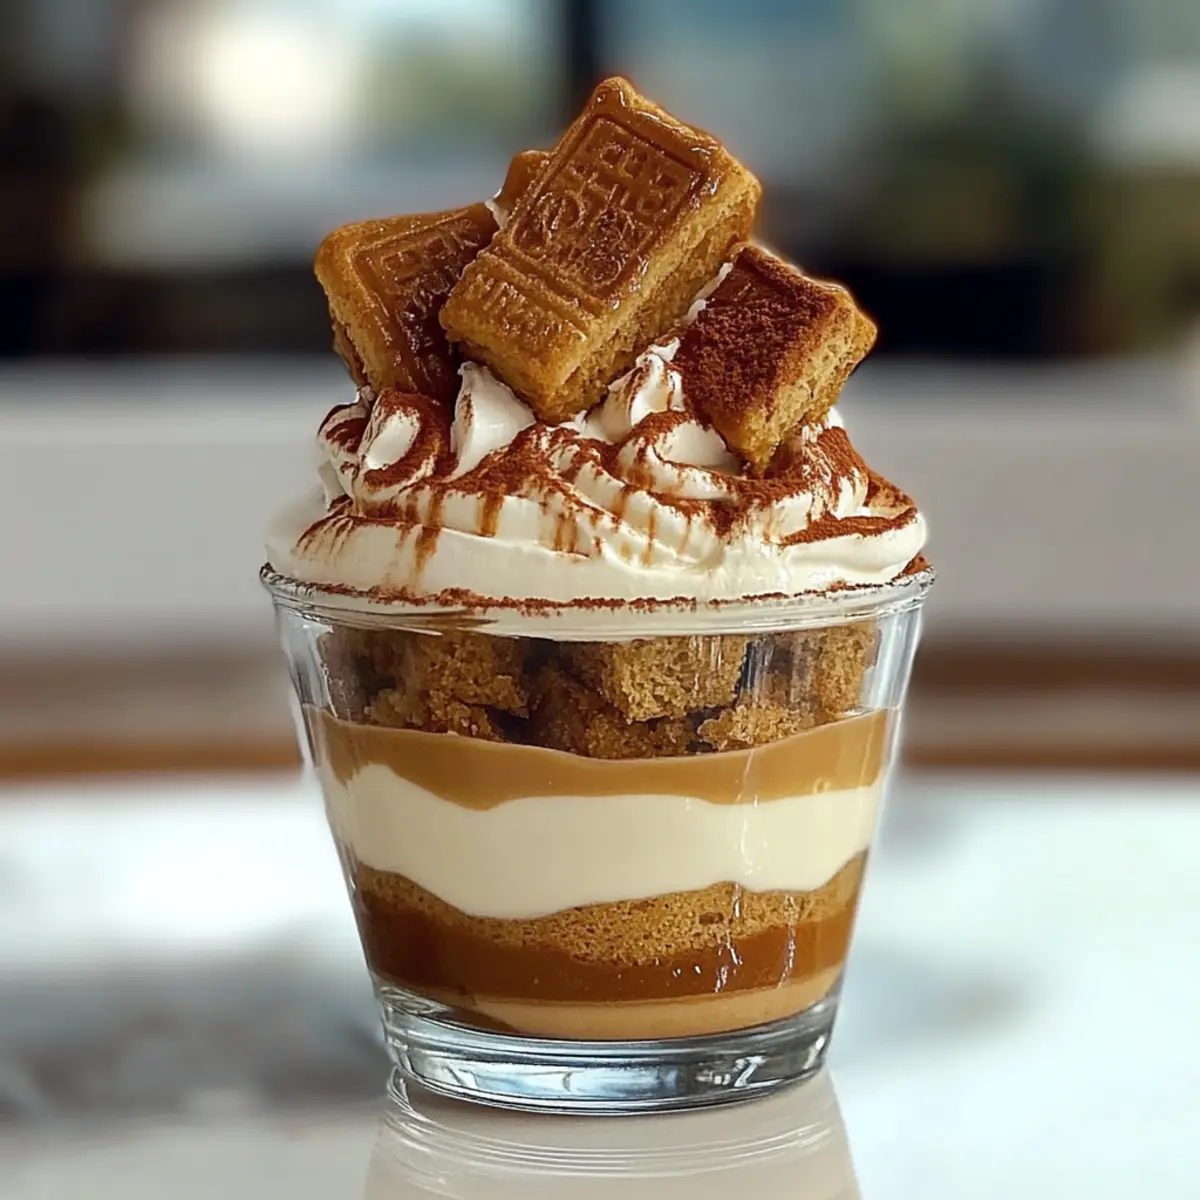
Indulgent layers: Each cup features a delightful combination of creamy mascarpone and spiced Biscoff, creating a flavor explosion with every bite.
No-bake convenience: Effortlessly whip these treats together without turning on the oven, making them the perfect last-minute dessert!
Make ahead: Prepare them in advance for parties or gatherings, and let the flavors deepen while they chill—yum!
Crowd-pleaser: The rich taste appeals to everyone, ensuring they’ll disappear quickly at any gathering. If you’re in the mood for more easy and delightful desserts, check out these make-ahead dessert ideas.
Versatility: Customize the recipe by experimenting with other ingredients, like crushed cookies or flavored liqueurs—get creative!
Sweet presentation: Serving them in individual cups not only looks elegant but also makes serving super simple. You’ll want to enjoy these Biscoff Tiramisu Cups again and again!
Biscoff Tiramisu Cups Ingredients
For the Cream Filling
• Mascarpone Cheese – Gives the filling a creamy, luxurious texture; for a lighter option, consider using ricotta.
• Heavy Whipping Cream – Provides an airy and fluffy consistency; ensure it’s cold for best results.
• Biscoff Spread – Deepens the cookie butter flavor, creating a rich blend with the cream.
• Powdered Sugar – Sweetens the filling smoothly, avoiding any gritty texture.
• Vanilla Extract – Enhances the overall flavor, complementing the spiced Biscoff beautifully.
For the Assembly
• Strong Brewed Coffee – Adds depth and richness; allow it to cool completely so it doesn’t melt the filling.
• Biscoff Biscuits – Imparts the signature caramel flavor; dip them quickly to keep them from getting soggy.
• Cocoa Powder – Lends a classic touch with a subtle bitter finish, dusted on top before serving.
• Crushed Biscoff Biscuits – Ideal for garnish, adding crunch and visual appeal to your cups.
• Caramel Sauce (optional) – Drizzle for an extra layer of indulgence and a glossy finish.
Prepare to be amazed by the delicious layers of Biscoff Tiramisu Cups that await you!
Step‑by‑Step Instructions for Biscoff Tiramisu Cups
Step 1: Brew the Coffee
Start by brewing a strong cup of coffee; a dark roast works best for rich flavor. Allow the coffee to cool completely at room temperature, which usually takes about 30 minutes. This is crucial, as hot coffee can melt your filling. As it cools, you can get your other ingredients ready for the delectable Biscoff Tiramisu Cups.
Step 2: Whip the Cream
In a large mixing bowl, pour in the heavy whipping cream. Using an electric mixer, beat the cream on medium speed until soft peaks form, which will take about 3–5 minutes. The cream should be fluffy and maintain its shape but not be overly stiff. Set this aside as it will bring lightness to the Biscoff Tiramisu Cups.
Step 3: Mix the Mascarpone Filling
In another bowl, combine the mascarpone cheese, Biscoff spread, powdered sugar, and vanilla extract. Using a spatula, gently mix until the mixture is smooth and fully combined. This creamy filling is a key component of the Biscoff Tiramisu Cups, so take your time to ensure there are no lumps for a velvety texture.
Step 4: Combine Whipped Cream and Mascarpone
Carefully fold the whipped cream into the mascarpone mixture. Use a spatula, making gentle folding motions to avoid deflating the whipped cream. The goal is to create an airy and creamy filling that is well combined, which will give your Biscoff Tiramisu Cups that perfect melt-in-your-mouth quality.
Step 5: Prepare the Cookies
Take the Biscoff biscuits and quickly dip each one into the cooled coffee, ensuring they are moist but not soaked. A quick dunk of about 1–2 seconds is ideal. Remember, the biscuits should maintain their structure for the layers of your Biscoff Tiramisu Cups, so don’t let them sit too long in the coffee.
Step 6: Layer the Cream Mixture
In serving cups or small dessert glasses, spoon a generous layer of the mascarpone filling into the bottom. Aim for about one-third of the cup’s height. This will serve as the creamy base for your Biscoff Tiramisu Cups, adding richness and a smooth texture to the first layer.
Step 7: Add the Cookies
Next, place a layer of the soaked Biscoff biscuits on top of the cream mixture, breaking pieces as necessary to fit. Make sure to cover the cream layer completely. This will create a delightful textural contrast with the creamy filling, which is exactly what makes the Biscoff Tiramisu Cups so indulgent.
Step 8: Repeat the Layers
Spoon in another layer of the mascarpone filling over the biscuits, smoothing it out gently. Repeat the layering process by adding more coffee-dipped Biscoff biscuits on top, followed by a final layer of the creamy filling. Aim to have the last layer be the mascarpone cream, as it’ll be the star of your Biscoff Tiramisu Cups.
Step 9: Chill the Cups
Cover the assembled Biscoff Tiramisu Cups with plastic wrap or a lid. Place them in the refrigerator to chill for at least 4 hours, although overnight is recommended for the best flavor development. This resting time allows the layers to meld beautifully, creating that luscious taste you crave.
Step 10: Garnish and Serve
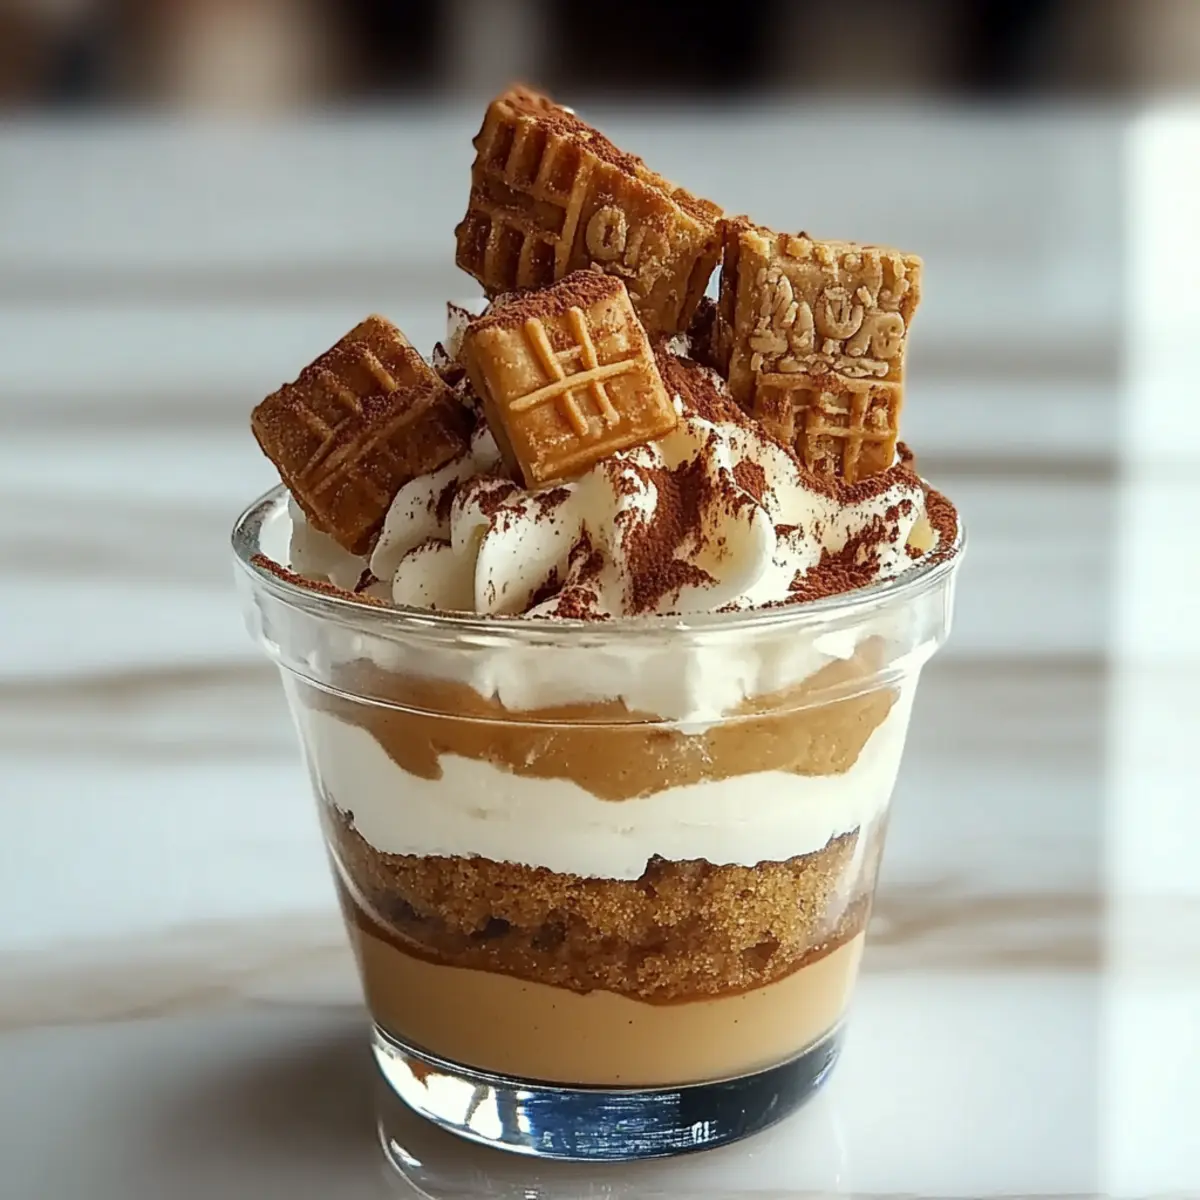
Before serving, dust the tops of the Biscoff Tiramisu Cups with cocoa powder for a classic touch. Optionally, sprinkle crushed Biscoff biscuits for an added crunch and drizzle with caramel sauce for extra indulgence. The beautiful layers and inviting aroma will captivate everyone as they enjoy this no-bake treat!
Make Ahead Options
These Biscoff Tiramisu Cups are perfect for meal prep enthusiasts! You can prepare the creamy filling and layer it with coffee-soaked Biscoff biscuits up to 3 days in advance, allowing the flavors to meld and deepen while chilling in the refrigerator. To do this, follow the initial steps of brewing the coffee, whipping the cream, and mixing the mascarpone filling. Assemble the layers as directed, then cover and refrigerate. When ready to serve, simply dust the tops with cocoa powder, add crushed biscuits, and a drizzle of caramel sauce for that final touch. Not only does this time-saving approach make entertaining easy, but these delightful cups will taste just as delicious, ensuring you impress your guests without the last-minute rush!
Expert Tips for Biscoff Tiramisu Cups
-
Perfectly Dipped Biscuits: Don’t soak the Biscoff biscuits for too long; aim for a quick 1-2 second dip to keep them firm for the layered effect.
-
Chill Time Matters: Allow the Biscoff Tiramisu Cups to chill for at least 4 hours, ideally overnight; this ensures the flavors meld beautifully.
-
Cold Ingredients: Use cold heavy whipping cream and mascarpone for a fluffier, more stable filling; warm ingredients can lead to a runny texture.
-
Alternating Layers: For added texture, you can alternate layers of cream and crushed Biscoff biscuits within the cups for delightful surprises in each spoonful.
-
Make Ahead: These cups are a fantastic make-ahead dessert! You can prepare them up to three days in advance for stress-free entertaining.
-
Garnish Creatively: A light dusting of cocoa powder is classic, but consider adding fresh berries or chocolate shavings for a fun twist on this Biscoff Tiramisu Cups delight!
Storage Tips for Biscoff Tiramisu Cups
Refrigerator: Store these delightful Biscoff Tiramisu Cups covered in the fridge for up to 3 days. The flavors actually improve as they chill, making them an excellent make-ahead dessert!
Freezer: While it’s best not to freeze these cups due to potential texture changes, you can freeze any leftover filling for up to 2 weeks. Just be sure to thaw in the refrigerator before using.
Serving: When ready to serve after chilling, dust with cocoa powder or add toppings like crushed Biscoff biscuits to elevate your presentation!
Keep Covered: Always keep the cups covered in the refrigerator to prevent them from absorbing any unwanted odors or flavors.
What to Serve with Biscoff Tiramisu Cups
Imagine delighting in the silky richness of your dessert alongside complementary flavors that elevate the experience.
- Fresh Berries: The tartness of raspberries or strawberries provides a refreshing contrast to the creamy sweetness of the tiramisu.
- Vanilla Ice Cream: A scoop of smooth, creamy vanilla ice cream adds an extra layer of indulgence that pairs perfectly with the spiced notes of Biscoff.
- Espresso: Serving a shot of strong, rich espresso alongside your cups enhances the coffee experience and balances the sweetness.
- Chocolate Mousse: The light and airy textures of chocolate mousse create a luxurious finish to your dessert spread that guests will adore.
- Whipped Cream: Lightly sweetened whipped cream adds an extra airy touch and works as a delightful topping for individual servings.
- Spiced Almonds: For a crunchy element, spiced almonds offer a savory contrast that enriches the experience with unexpected flavor depth.
Biscoff Tiramisu Cups: Variations & Substitutions
Feel free to get creative with these Biscoff Tiramisu Cups and make them your own with these fun variations!
-
Ladyfingers: Swap Biscoff biscuits for traditional ladyfingers to create a classic tiramisu flavor profile. The soft texture pairs beautifully with the creamy layers.
-
Dairy-Free: Use coconut cream in place of mascarpone and heavy cream for a vegan twist. Your friends won’t miss the dairy with this creamy alternative!
-
Flavored Liqueur: For an adult version, add a splash of coffee liqueur or rum to the coffee dip. It adds a delightful warmth that enhances the dessert’s indulgence.
-
Nutty Crunch: Incorporate crushed nuts, such as almonds or hazelnuts, between layers for extra texture and flavor. The crunch balances the creaminess perfectly!
-
Heat It Up: For a spicy kick, sprinkle a dash of cinnamon or cayenne pepper in the cream mixture. This unexpected twist will leave your guests raving!
-
Chocolate Lovers: Drizzle some chocolate ganache over the layers for an extra decadent touch. It adds an irresistible chocolatey richness to the experience.
-
Coffee-Free Option: For a caffeine-free dessert, dip your biscuits in warm vanilla milk instead of coffee. It still retains a lovely sweetness without the coffee kick.
If you’re curious about how these variations can transform your dessert experience, don’t hesitate to explore ideas like these make-ahead dessert ideas for even more inspiration!
Biscoff Tiramisu Cups Recipe FAQs
How should I select my Biscoff biscuits?
Absolutely! When choosing Biscoff biscuits, look for fresh packages without any dark spots or signs of breaking. They should be firm and crunchy, ensuring a delightful texture in your tiramisu cups.
What is the best way to store Biscoff Tiramisu Cups?
Store your delectable Biscoff Tiramisu Cups in the refrigerator, covered tightly with plastic wrap or a lid. They can last for up to 3 days. The flavors deepen as they chill, making them even more delicious the longer they sit!
Can I freeze Biscoff Tiramisu Cups?
It’s best to avoid freezing Biscoff Tiramisu Cups due to potential texture changes in the cream. However, if you have leftover mascarpone filling, you can freeze it in an airtight container for up to 2 weeks. When you’re ready to use it, just thaw it in the refrigerator overnight before gently re-whipping for the best results.
What should I do if my cream filling seems runny?
Very! If your cream filling turns out runny, ensure that all your ingredients are cold and consider re-chilling it before serving. You can also add a bit more whipped cream gently folded in to help stabilize the mixture. Keep in mind that excess moisture from the ingredients can result in a looser texture, so ensure the coffee is completely cooled before dipping the biscuits!
Are Biscoff Tiramisu Cups safe for my family with nut allergies?
While Biscoff biscuits are nut-free, it’s essential to check the packaging for any allergen warnings as some brands may process their products in facilities that handle nuts. Always look for your preferred brands that are designated nut-free if allergies are a concern.
Can I prepare these cups in advance for a gathering?
Definitely! These Biscoff Tiramisu Cups are perfect for make-ahead gatherings. Prepare them up to three days in advance and store them covered in the fridge. This way, you can enjoy the festivities without worrying about dessert preparation while your guests are around!

Irresistibly Creamy Biscoff Tiramisu Cups You'll Love
Ingredients
Equipment
Method
- Brew a strong cup of coffee and let it cool completely for about 30 minutes.
- In a large mixing bowl, beat the heavy whipping cream on medium speed until soft peaks form, about 3-5 minutes.
- In another bowl, combine mascarpone cheese, Biscoff spread, powdered sugar, and vanilla extract until smooth.
- Gently fold the whipped cream into the mascarpone mixture.
- Quickly dip the Biscoff biscuits in the cooled coffee for about 1-2 seconds.
- Spoon a layer of the mascarpone filling into serving cups.
- Add a layer of soaked Biscoff biscuits on top of the cream.
- Repeat the layers with the mascarpone filling and Biscoff biscuits.
- Cover the cups and refrigerate for at least 4 hours, preferably overnight.
- Before serving, dust with cocoa powder and add crushed Biscoff biscuits and caramel sauce if desired.
Leave a Reply