
As I stood in my kitchen, the tantalizing aroma of a sizzling, cheese-crusted chicken wafted through the air, instantly transporting me to a bustling Italian-American restaurant. Today, I’m thrilled to share my take on the Cheesecake Factory Chicken Romano, a dish that delivers restaurant-quality elegance in just 30 minutes. With tender chicken breasts enveloped in a crispy blend of Romano and Parmesan cheeses, this is the kind of meal that impresses on special occasions or turns an average weeknight into a gourmet experience. Plus, it’s effortlessly quick to prepare, making it a delightful choice for busy evenings. So, why settle for fast food when you can create magic in your own kitchen? Are you ready to savor this delicious journey?
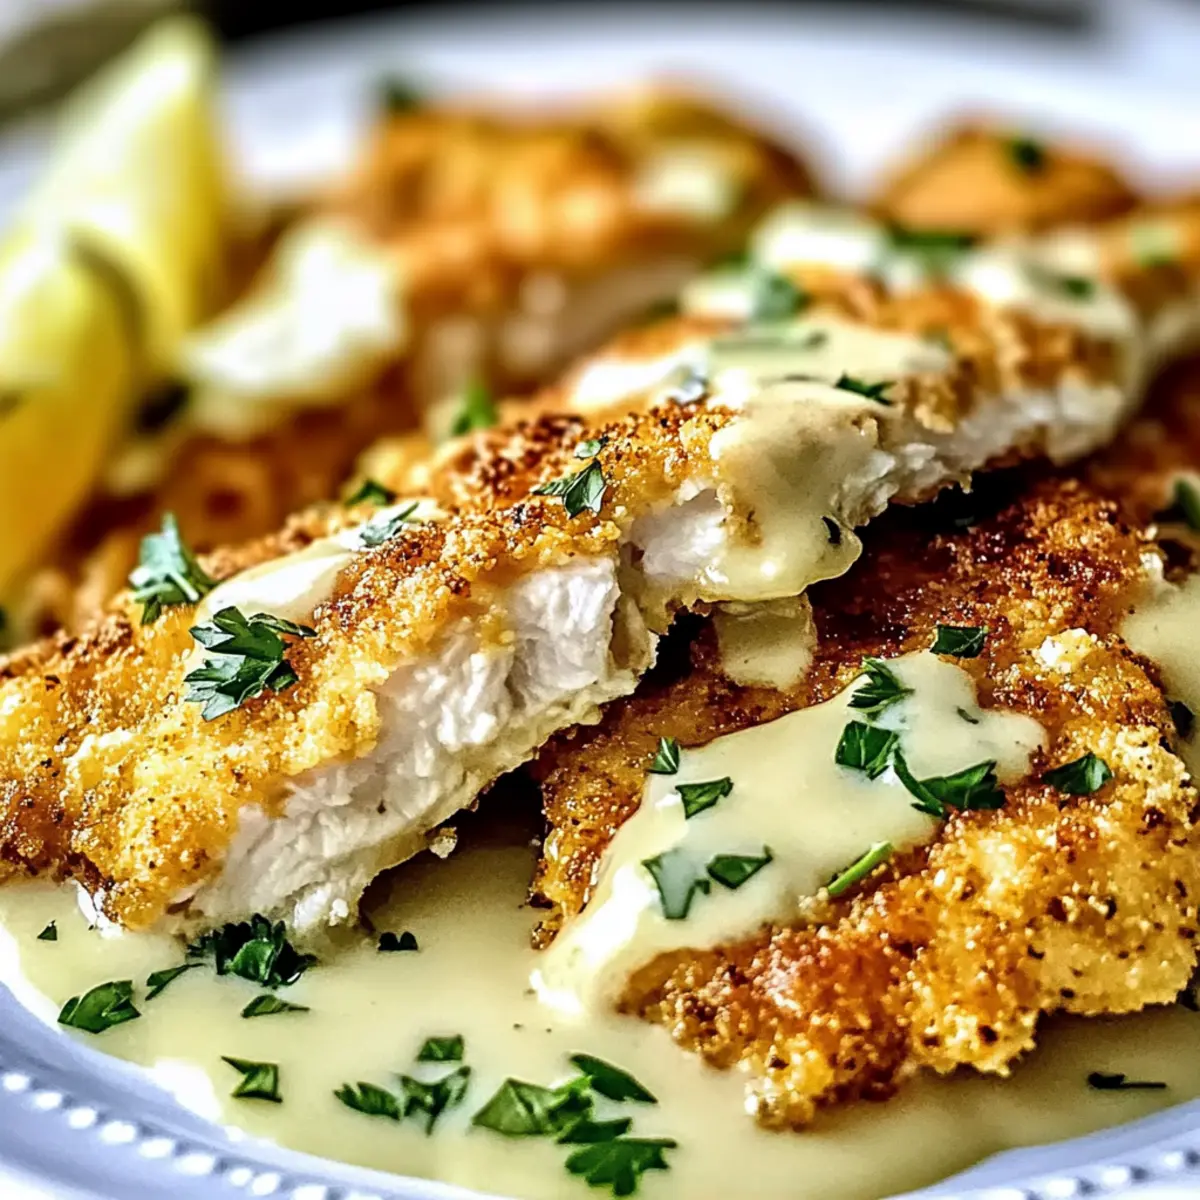
Why is Chicken Romano a Must-Try?
Elevated Flavor Profile: The combination of Romano and Parmesan cheeses delivers a rich, savory flavor that will have everyone asking for seconds.
Quick Gourmet Experience: In just 30 minutes, you can serve a dish that rivals any high-end restaurant, transforming an ordinary evening into something special.
Crispy, Juicy Goodness: The satisfying crunch of the cheese crust surrounds tender, juicy chicken, providing a delightful contrast in each bite.
Versatile Pairing Options: Serve this Chicken Romano over pasta, or alongside roasted vegetables for a well-rounded meal. Think of it as the perfect companion to a refreshing salad or a light tomato cream sauce from my Cheesy Garlic Chicken.
Comfort Food with a Twist: It’s not just a meal; it’s a cozy dining experience that everyone loves, making it ideal for gatherings or family dinners.
Effortless Preparation: With simple steps and no complicated techniques, you’ll find this recipe easy to follow and enjoyable to prepare—certainly a step up from fast food!
Ingredients for Cheesecake Factory Chicken Romano
For the Chicken
• Chicken Breasts – Tender protein source; butterflied and pounded thin for even cooking.
For the Cheese Crust
• Romano Cheese – Adds salty, tangy flavor and crispiness; substitute with all Parmesan for a milder taste.
• Parmesan Cheese – Enhances flavor but is less tangy; finely grated ensures best adhesion.
For the Breading
• All-Purpose Flour – Essential for dredging to create a base for the cheese crust; no gluten-free substitution recommended for texture.
• Large Eggs – Binds flour and cheese to chicken; beaten until smooth for better adherence.
• Garlic Powder – Offers aromatic flavor; adjust to taste for personal preference.
• Italian Seasoning – A blend of herbs complementing chicken; optional but recommended for depth.
For Cooking
• Olive Oil & Butter – Used for frying to impart flavor and achieve a golden crust; avoid margarine for best results.
For Garnish
• Lemon Wedges – Optional for a zesty touch; enhances presentation and freshness.
• Fresh Parsley – Adds a pop of color and flavor; perfect for elevating the dish visually.
Experience the magic of Cheesecake Factory Chicken Romano in your own kitchen with these essentials!
Step‑by‑Step Instructions for Cheesecake Factory Chicken Romano
Step 1: Prepare Breading Station
Set up your breading station by placing three shallow bowls in a row: one with all-purpose flour mixed with garlic powder and Italian seasoning, another with beaten eggs, and the last with a mixture of finely grated Romano and Parmesan cheeses. This will streamline the coating process, ensuring that your Chicken Romano has the perfect cheesy crust.
Step 2: Coat Chicken
Take each butterflied and pounded chicken breast and dredge it in the flour mixture, ensuring it is well coated. Next, dip the chicken into the egg wash, letting any excess drip off, and then press firmly into the cheese mixture. This creates a thick, flavorful coating on each piece, vital for achieving that restaurant-quality flavor and texture in your Cheesecake Factory Chicken Romano.
Step 3: Cook Chicken
In a large skillet, heat a combination of olive oil and butter over medium heat until it shimmers. Carefully add the crusted chicken breasts to the skillet, being cautious not to overcrowd the pan. Cook each side for about 4–6 minutes, or until the crust is golden brown and the internal temperature of the chicken reaches 165°F. This will ensure that your Chicken Romano is crispy and perfectly cooked.
Step 4: Rest and Serve
Once the chicken is golden and cooked through, transfer it to a plate and let it rest for 2 minutes. This resting period allows the juices to redistribute, keeping the chicken moist. Serve your delectable Cheesecake Factory Chicken Romano immediately, garnished with lemon wedges and fresh parsley, or over a bed of pasta for a delightful dinner experience.
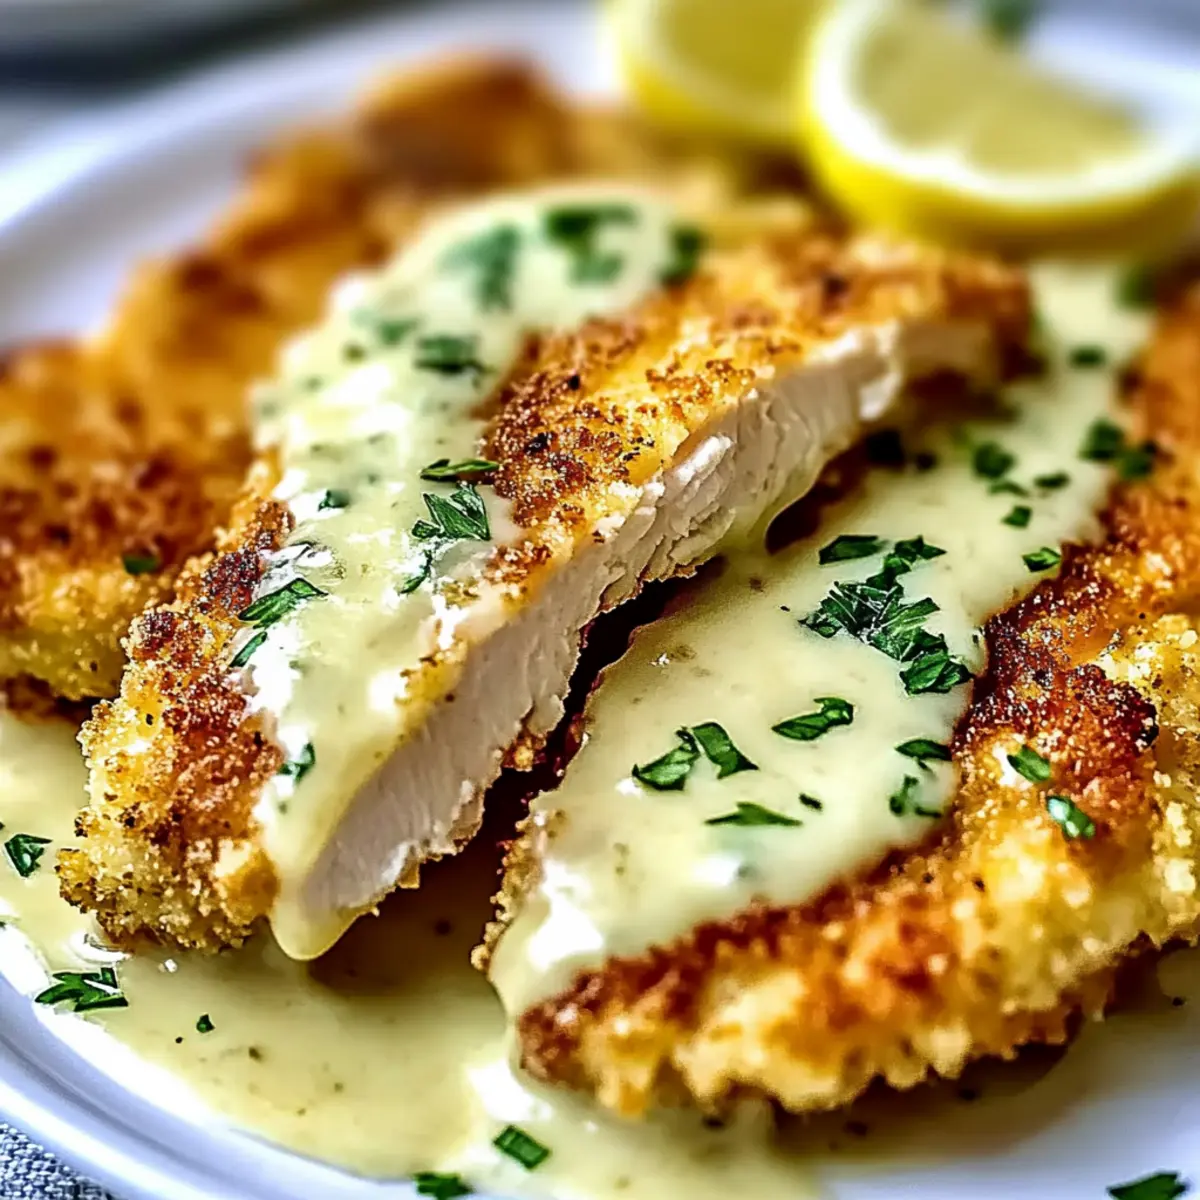
Cheesecake Factory Chicken Romano Variations
Feel free to adapt and enhance this delightful dish with these creative twists that cater to your taste buds!
-
Dairy-Free: Use vegan cheeses like cashew or almond cheese to maintain a creamy texture without dairy.
-
Gluten-Free: Replace all-purpose flour with a gluten-free blend like almond flour for that crispy coating without gluten.
-
Herb-Infused: Introduce fresh herbs like basil or oregano into the breading for a fragrant flavor boost.
-
Spicy Kick: Toss in some red pepper flakes to the cheese mixture for a delightful heat that will awaken your senses.
-
Pesto Chicken Romano: Spread a thin layer of store-bought or homemade basil pesto on the chicken before coating for an Italian twist.
-
Zesty Lemony Finish: Add lemon zest to the cheese mixture or use lemon-infused olive oil for a bright, citrus punch.
-
Mushroom Medley: Incorporate sautéed mushrooms into a light cream sauce to drizzle over the chicken for an umami enhancement.
-
Pasta Companion: Pair with a hearty marinara or try my Chicken Tortilla Soup for a completely different spin!
Embrace your inner chef and customize this recipe to create your flavorful version of the Cheesecake Factory Chicken Romano!
Make Ahead Options
These Cheesecake Factory Chicken Romano preparations are perfect for busy weeknights! You can bread the chicken up to 24 hours in advance—simply follow the breading instructions and store the coated chicken in an airtight container in the refrigerator to maintain its crispiness. To further streamline your cooking process, you can also pre-grate the cheeses and combine them, keeping them sealed in the fridge for up to 3 days. When you’re ready to enjoy your delicious Chicken Romano, just heat olive oil and butter in a skillet and cook the chicken for 4–6 minutes on each side until golden. This makes it easy to whip up a restaurant-quality meal with minimal effort!
Expert Tips for Cheesecake Factory Chicken Romano
-
Cheese Grating Matters: Finely grate your cheeses to ensure a better adherence to the chicken. Coarser pieces may not stick well, disrupting the crispy crust.
-
Control the Heat: Keep the skillet on medium heat throughout cooking. Too high can burn the cheese before the chicken cooks through, while too low won’t yield that crispy crust.
-
Avoid Overcrowding: Cook the chicken in batches if necessary. Overcrowding the skillet will lower the temperature, resulting in soggy rather than crispy Chicken Romano.
-
Proper Flipping Technique: Resist the urge to flip the chicken too often; allow it to sear well on one side before turning to achieve optimal crustiness.
-
Baking Alternative: For a hands-off method, bake the chicken at 400°F (200°C) for 15–18 minutes on a wire rack over a baking sheet. Just know this method yields a less crispy result than pan-frying.
What to Serve with Cheesecake Factory Chicken Romano
Elevate your dining experience with delightful sides that perfectly complement this crispy, cheese-crusted dish.
-
Creamy Mashed Potatoes: The rich, buttery potatoes provide a comforting base, balancing the crispiness of the Chicken Romano beautifully.
-
Garlic Green Beans: These tender green beans tossed in garlic and olive oil add a fresh, vibrant element to your plate, enhancing every bite.
-
Caesar Salad: Crisp romaine with a zesty Caesar dressing brings a refreshing crunch, making it a classic pairing with this Italian-American favorite.
-
Light Tomato Cream Sauce: A lightly sauced pasta can absorb the flavors of the chicken, making each forkful a delicious harmony of tastes.
-
Herbed Rice Pilaf: The nutty flavor of rice combined with fresh herbs complements the savory chicken while providing a textural contrast to the crispy crust.
-
Lemon Basil Quinoa: This nutritious option crowns the meal with zesty freshness, and its fluffy texture beautifully offsets the richness of the chicken.
-
Chilled White Wine: A crisp, chilled Sauvignon Blanc cleanses the palate between bites, enhancing the delightful flavors of the Chicken Romano.
-
Tiramisu: End your meal on a sweet note with this classic dessert; its creamy and coffee-flavored layers perfectly round off an Italian feast.
How to Store and Freeze Cheesecake Factory Chicken Romano
Fridge: Store leftover Chicken Romano in an airtight container for up to 2 days. To prevent the crust from becoming soggy, place a paper towel inside the container to absorb moisture.
Freezer: For longer storage, freeze the chicken, wrapped tightly in plastic wrap and foil, for up to 3 months. Thaw in the fridge overnight before reheating.
Reheating: Reheat in a preheated oven at 375°F (190°C) for about 10-15 minutes to retain that crispy coating. Avoid microwave reheating, as it can make the crust chewy.
Freshness Tip: For the best flavor and texture, enjoy your Cheesecake Factory Chicken Romano fresh, but knowing how to store it properly makes it easy to enjoy leftovers later!

Cheesecake Factory Chicken Romano Recipe FAQs
How do I choose the right chicken breasts?
For the best results, opt for fresh, skinless boneless chicken breasts that are plump and firm to the touch. If possible, look for organic or free-range options, as they’ll typically have more flavor. Butterflying and pounding the chicken thin ensures even cooking and a tender bite.
What’s the best way to store leftovers?
Store your leftover Cheesecake Factory Chicken Romano in an airtight container in the refrigerator for up to 2 days. To keep the crust crispy, place a paper towel inside the container to absorb excess moisture. This little trick helps to maintain that delightful crunch when you go for seconds!
Can I freeze this Chicken Romano?
Absolutely! To freeze, wrap the cooled Chicken Romano tightly in plastic wrap, then in foil, to protect it from freezer burn. It can be frozen for up to 3 months. When you’re ready to enjoy it again, simply thaw it in the fridge overnight before reheating. This way, you’ll have a quick gourmet meal ready whenever you crave it!
What should I do if the cheese isn’t sticking to the chicken?
If you find the cheese isn’t adhering properly, ensure that your chicken is adequately coated in the flour mixture before dipping it in the egg wash. Additionally, pressing the chicken firmly into the cheese mixture is crucial for creating that thick crust. If all else fails, grate your cheeses even finer for better adherence.
Is this recipe suitable for my gluten-free friends?
While the recipe uses all-purpose flour, which isn’t gluten-free, you can substitute it with a gluten-free flour blend. However, it may slightly affect the texture of the crust. Just ensure that your gluten-free flour is suitable for frying, and follow the same dredging and coating process for delicious results!
How should I reheat leftover Chicken Romano?
To reheat and keep the crispy texture, preheat your oven to 375°F (190°C) and place the chicken on a baking sheet. Reheat for about 10-15 minutes until warmed through and the crust regains its crunch. Avoid the microwave, as this can make the coating chewy and unappetizing.

Cheesecake Factory Chicken Romano: Your 30-Minute Gourmet Meal
Ingredients
Equipment
Method
- Set up your breading station by placing three shallow bowls in a row with flour, beaten eggs, and a mixture of grated cheeses.
- Dredge each chicken breast in the flour mixture, dip into the egg wash, and then press into the cheese mixture.
- Heat olive oil and butter in a skillet over medium heat, and cook the crusted chicken for 4–6 minutes on each side until golden brown.
- Let the chicken rest for 2 minutes before serving, garnished with lemon wedges and parsley.
Leave a Reply