
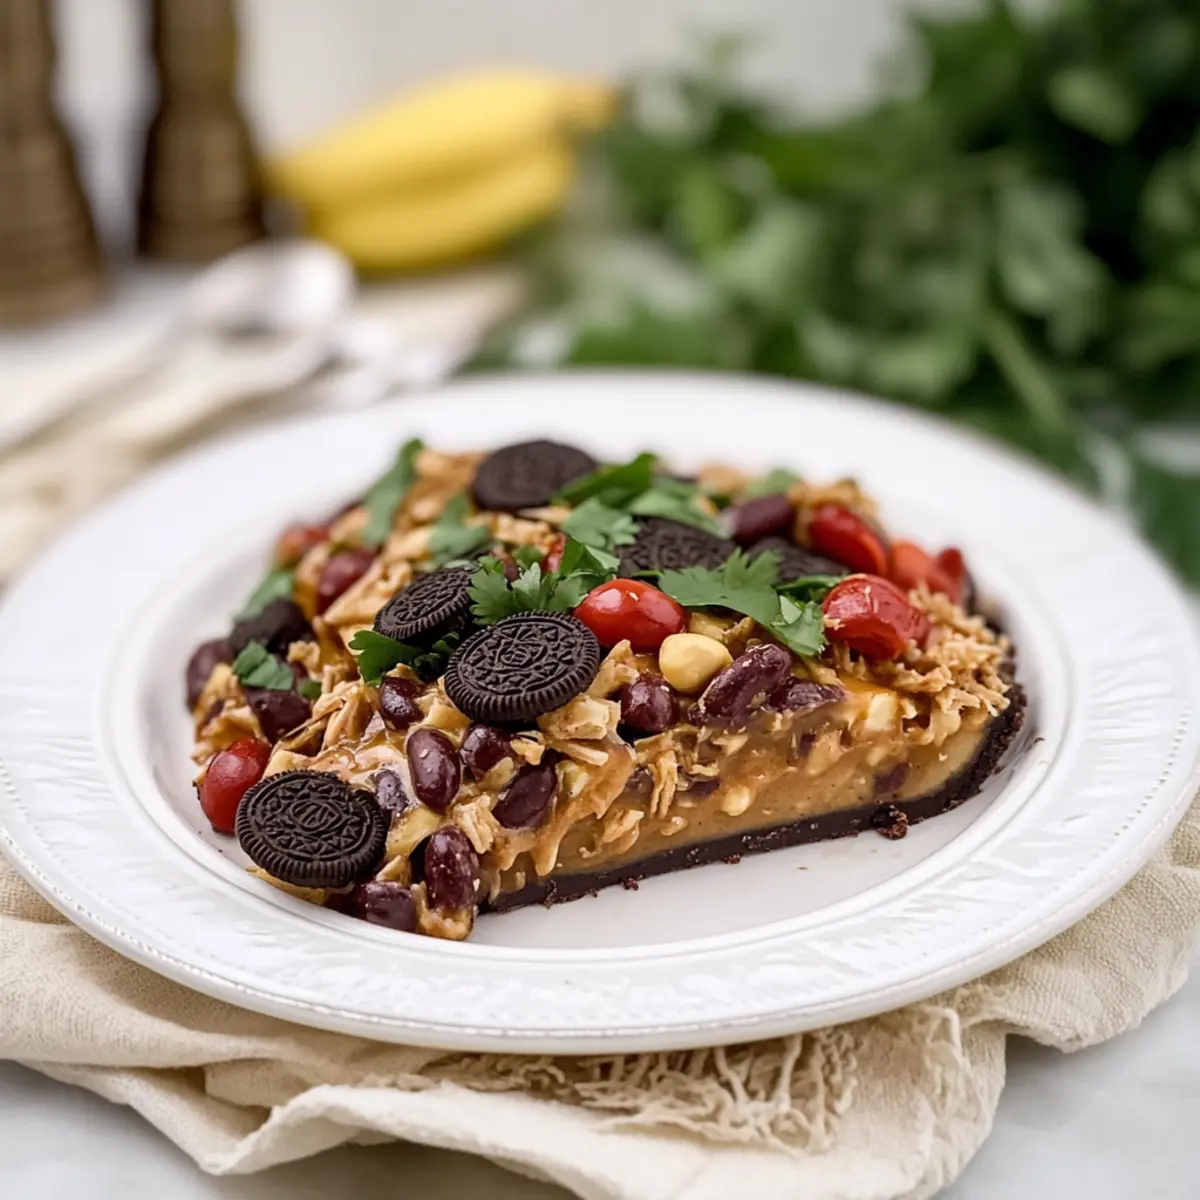
As the sun warms the kitchen and the air fills with the sweet scent of chocolate, I find myself reminiscing about the joy of baking without turning on the oven. This is precisely when my cherished No-Bake Chocolate Peanut Butter Pie comes to life. With its silky layers of creamy peanut butter and rich chocolate, this dessert is a delightful indulgence that’s also quick to prepare—a true crowd-pleaser for any occasion! Imagine slicing into a luscious pie that not only satisfies your sweet cravings but also keeps your kitchen cool on those sweltering days. Plus, it offers a gluten-free option for those who prefer to indulge without limits. Trust me, your taste buds will be begging for more! What special twist do you think you’ll add to make it your own?

Why You’ll Love This No-Bake Pie
Effortless Delight: This no-bake chocolate peanut butter pie is a breeze to prepare, requiring minimal effort while delivering maximum flavor. Versatile Options: You can customize it with different nut butters, crusts, or toppings to make it truly your own. Crowd Favorite: It’s bound to impress friends and family at gatherings, making it your go-to dessert for any occasion. Plus, if you love hearty meals, check out my satisfying Hearty Black Beans and Rice with Sausage for a complete dining experience. Chill Factor: With no baking involved, this dessert will help keep your kitchen cool during warm weather—a sweet win for every home chef! Enjoy every velvety, decadent bite!
No-Bake Chocolate Peanut Butter Pie Ingredients
For the Crust
- Oreo Cookies – Ideal for a delicious, crumbly base; opt for gluten-free Oreos if needed.
- Unsalted Butter – Helps bind the crust together; you can also use coconut oil for a vegan option.
For the Filling
- Cream Cheese – Creates a creamy base for the filling; consider dairy-free cream cheese for a dairy-free alternative.
- Peanut Butter – The star of the pie, providing rich flavor; almond butter works well for a twist.
- Powdered Sugar – Sweetens the filling to perfection; swap for agave syrup to reduce sugar levels.
- Heavy Whipping Cream – Adds lightness; use coconut cream for a lighter, dairy-free choice.
For the Topping
- Semi-Sweet Chocolate – A luscious topping to enhance the pie; dark chocolate increases the depth of flavor.
With these simple ingredients, your No-Bake Chocolate Peanut Butter Pie will come together beautifully, perfect for a quick dessert that everyone will love!
Step‑by‑Step Instructions for No-Bake Chocolate Peanut Butter Pie with Oreo Crust
Step 1: Prepare the Crust
Begin by crushing 24 Oreo cookies into fine crumbs using a food processor or a zip-top bag and rolling pin. In a mixing bowl, combine the cookie crumbs with ½ cup of melted unsalted butter, mixing until the texture resembles wet sand. Press the mixture firmly into the bottom of a 9-inch pie dish using the back of a measuring cup. Chill the crust in the refrigerator for about 15 minutes to set.
Step 2: Make the Filling
In a large mixing bowl, beat 8 ounces of softened cream cheese with an electric mixer on medium speed until smooth and creamy, about 1-2 minutes. Gradually add 1 cup of peanut butter and 1 cup of powdered sugar, mixing on low speed until combined. The filling should be thick but smooth, which is essential for the rich texture of your No-Bake Chocolate Peanut Butter Pie.
Step 3: Incorporate Whipped Cream
In another bowl, whip 1 cup of heavy whipping cream until soft peaks form, approximately 3-5 minutes with a hand mixer. Carefully fold the whipped cream into the peanut butter mixture using a spatula, doing so gently to maintain the light and fluffy texture. The filling should now be airy and well-combined, creating a luscious base for your pie.
Step 4: Layer the Filling
Spread the creamy peanut butter filling evenly over the prepared Oreo crust in the pie dish. Use a spatula to smooth the top, creating an attractive surface that will showcase your chocolate topping later. Tap the pie dish lightly on the counter to settle the filling and eliminate any air bubbles, ensuring a beautifully uniform layer in your No-Bake Chocolate Peanut Butter Pie.
Step 5: Chill
Cover the pie with plastic wrap and refrigerate for at least 4 hours or overnight for the best results. This chilling time allows the filling to firm up, making it easier to slice and serve later. The pie should be set and slightly firm to the touch when ready, ensuring a delightful, creamy texture that melts in your mouth.
Step 6: Add Chocolate Topping
Just before serving, melt 6 ounces of semi-sweet chocolate in a microwave-safe bowl, heating in 30-second intervals and stirring until smooth. Drizzle the melted chocolate over the chilled pie, allowing it to cascade down the sides for a beautiful presentation. This topping not only enhances the flavor but also transforms your No-Bake Chocolate Peanut Butter Pie into a stunning centerpiece.
Storage Tips for No-Bake Chocolate Peanut Butter Pie
Fridge: Keep your no-bake chocolate peanut butter pie covered in the refrigerator for up to 5 days to maintain its creamy texture and flavor.
Freezer: If you want to store it longer, freeze the pie for up to 2 months in an airtight container. Wrap it well to prevent freezer burn.
Thawing: To enjoy, simply transfer the frozen pie to the refrigerator for several hours or overnight to thaw. Note that the texture may become slightly softer once thawed.
Reheating: There’s no need to reheat; serve chilled directly from the fridge for the best flavor and texture!
Expert Tips for No-Bake Chocolate Peanut Butter Pie
-
Room Temperature Cream Cheese: Ensure cream cheese is at room temperature for easier blending and a smoother filling texture in your no-bake pie.
-
Whip with Care: Whip the cream to soft peaks, but be cautious not to over-whip. This maintains the airy, fluffy texture required for your delightful filling.
-
Chill Time Matters: Be patient and let your pie chill for at least 4 hours. This is key for achieving a beautifully set, sliceable no-bake chocolate peanut butter pie.
-
Decorative Drizzle: When adding the chocolate topping, let it cool slightly before drizzling to prevent it from melting the filling underneath.
-
Crust Firmness Tip: For a sturdier crust, press the Oreo mixture firmly into the pie dish, ensuring it stays intact when slicing the pie later.
No-Bake Chocolate Peanut Butter Pie Variations
Feel free to put your unique stamp on this delightful dessert with these creative twists!
-
Crunchy Swaps: Substitute crunchy peanut butter for creamy to add a delightful texture contrast and a nutty surprise in every bite.
-
Fruit Fusion: Layer in some banana slices between the filling for a delicious chocolate peanut butter banana pie twist, bringing freshness and extra sweetness.
-
Dairy-Free Delight: Replace cream cheese with dairy-free cream cheese for a luscious, dairy-free version, ensuring everyone can indulge in this sweet treat!
-
Sweetener Switch: Use agave syrup in place of powdered sugar to cater to a lower glycemic index while keeping the sweetness intact.
-
Chocolate Upgrade: Opt for rich dark chocolate instead of semi-sweet for an intense chocolate flavor that elevates your dessert to gourmet status.
-
Nutty Toppings: Top with whipped cream and a sprinkle of crushed peanuts for a delightful crunch that complements the creamy filling beautifully.
-
Layered Indulgence: Try adding a layer of chocolate ganache between the filling and the crust for a decadent chocolate hit that chocolate lovers will adore.
-
Fruity Topping: Drizzle with raspberry or strawberry sauce for a burst of fruity flavor that brightens each slice—ideal for elegant gatherings!
These variations not only add personal flair but also make your no-bake creation even more memorable. For a hearty meal that pairs perfectly with this dessert, check out my delicious Hearty Black Beans and Rice with Sausage recipe, ensuring a wonderful dining experience all around!
What to Serve with No-Bake Chocolate Peanut Butter Pie
As you delight in the creamy decadence of this pie, consider complementing it with sides that enhance the experience and round out your meal.
-
Fresh Fruit Salad: A vibrant mix of seasonal fruits adds a refreshing contrast to the rich pie. The natural juices cleanse the palate beautifully!
-
Vanilla Ice Cream: A scoop of creamy vanilla ice cream melts perfectly alongside the pie, elevating every bite with a luscious, creamy touch.
-
Chocolate Drizzle Coffee: A warm cup of coffee with a chocolate drizzle harmonizes perfectly with the pie’s flavors, creating a comforting dessert experience.
-
Peanut Butter Cookies: For the true peanut butter lover, pairing with crunchy peanut butter cookies brings out the nutty goodness and adds a satisfying crunch.
-
Chilled Milkshake: A velvety chocolate or peanut butter milkshake echoes the pie’s flavors while providing a fun, nostalgic touch that all ages love.
-
Dark Chocolate Shavings: Garnishing with dark chocolate shavings not only enhances the visual appeal but intensifies the chocolate experience, making it more indulgent.
-
Strawberry Compote: A sweet-tart strawberry compote balances the richness of the pie and adds a fresh, fruity element that brightens each bite.
Each of these delightful pairings complements the luscious layers of your No-Bake Chocolate Peanut Butter Pie, transforming it into a feast for the senses!
Make Ahead Options
These No-Bake Chocolate Peanut Butter Pies are perfect for busy home cooks looking to save time without sacrificing quality! You can prepare the crust and filling up to 24 hours in advance; simply press the crust into the pie dish and refrigerate it while you whip up the filling. To maintain the pie’s creamy texture, keep the filled pie covered with plastic wrap in the fridge. When you’re ready to serve, add the chocolate topping by melting the semi-sweet chocolate and drizzling it over the pie just before presenting it to your guests. This way, you’ll have a stunning dessert that tastes just as rich and indulgent with minimal last-minute effort!
No-Bake Chocolate Peanut Butter Pie Recipe FAQs
How do I select the right ripeness for my ingredients?
Absolutely! For this recipe, ensure your cream cheese is at room temperature to mix smoothly. When choosing peanut butter, go for a brand that has a creamy texture without too much oil separation for the best filling consistency.
What are the storage methods and duration for this pie?
Very! Your no-bake chocolate peanut butter pie will stay fresh for up to 5 days when covered tightly in the refrigerator. Just make sure to keep it well-wrapped or in an airtight container to avoid any absorption of other fridge odors.
Can I freeze the no-bake pie?
Of course! You can freeze your pie for up to 2 months if you want to store it longer. To do this, first place it in an airtight container or wrap it securely with plastic wrap and aluminum foil. When you’re ready to enjoy it again, just thaw it in the refrigerator for several hours or overnight. Keep in mind that the texture may change slightly, becoming a bit softer after thawing.
What should I do if my whipped cream doesn’t reach soft peaks?
No worries! If your whipped cream isn’t whipping up properly, make sure your mixing bowl and beaters are very clean and free from grease. It usually takes about 3-5 minutes on medium speed for soft peaks to form. If it’s taking longer, you might be whipping at too low a speed—try increasing it slightly. If you’ve over-whipped it to the point of graininess, you’ll need to start over to maintain that lovely texture in your filling.
Are there any dietary considerations for this recipe?
Indeed! For a gluten-free option, simply use gluten-free Oreo cookies in your crust. If you’re catering to dairy-free guests, you can substitute both the cream cheese and heavy whipping cream with their dairy-free counterparts. Always check labels for potential allergens and feel free to customize the nut butter to accommodate any nut allergies.
Can I add variations to this recipe?
The more, the merrier! You can easily swap creamy peanut butter for crunchy to add texture. Feel free to drizzle additional toppings like caramel or sprinkle crushed nuts on top to elevate the dessert. A layer of banana slices also makes for a delightful chocolate peanut butter banana pie twist!
Hearty Black Beans and Rice with Sausage for Cozy Nights
Ingredients
Equipment
Method
- Cook the rice in water according to package instructions.
- In a large pot, heat olive oil over medium heat.
- Add sausage slices and cook until browned.
- Stir in onion, bell pepper, and garlic, cooking until soft.
- Add black beans, chicken broth, cumin, and chili powder; simmer for 10 minutes.
- Serve the beans and sausage mixture over the cooked rice.
Leave a Reply