
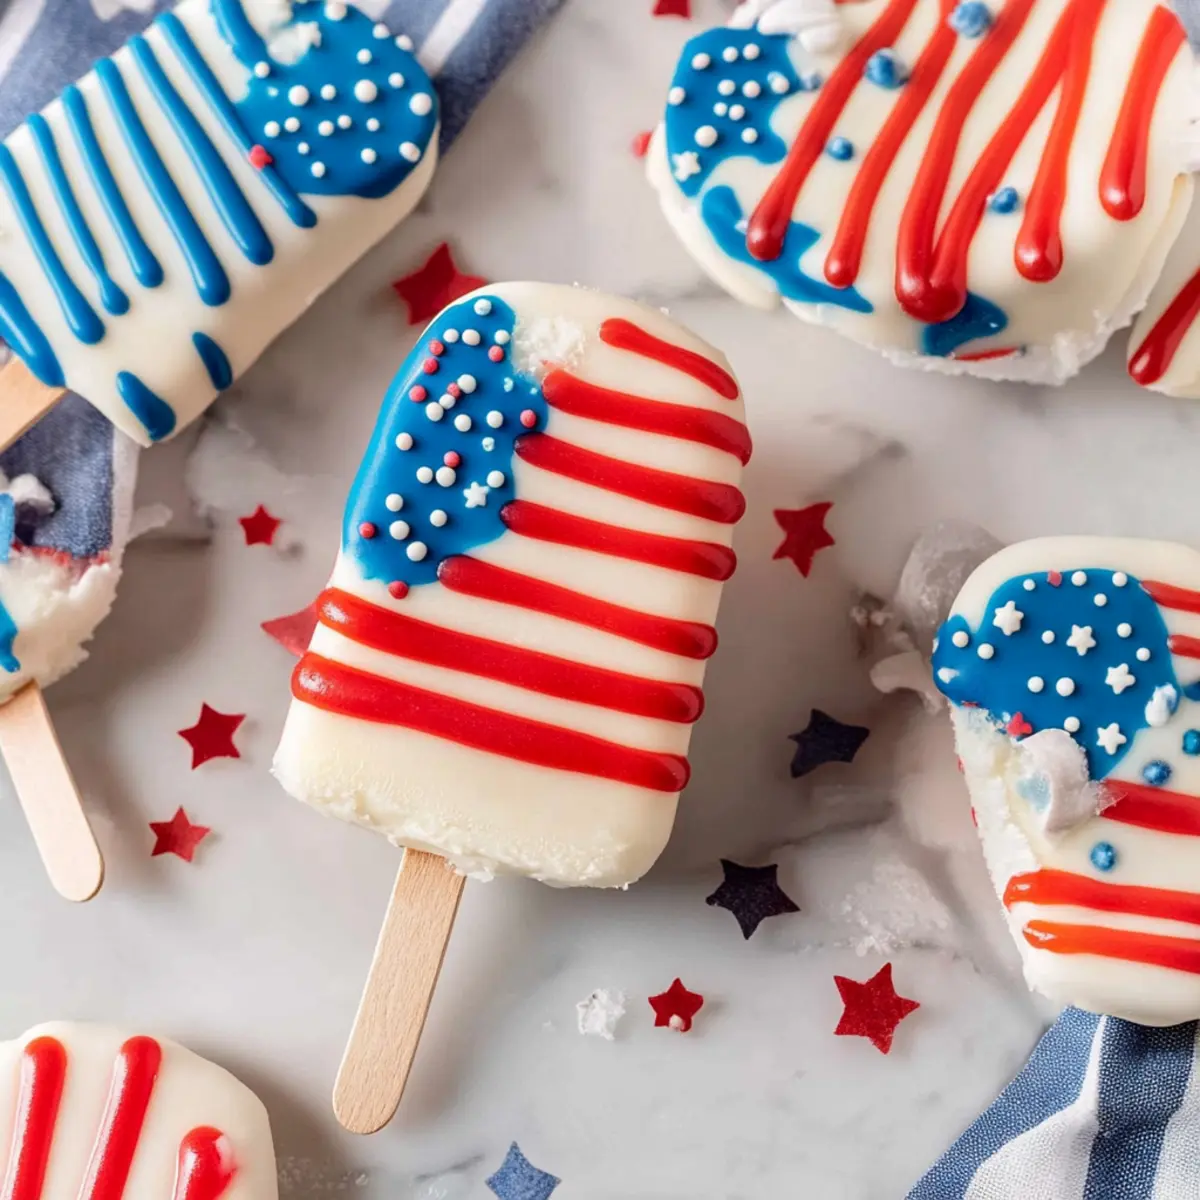
As the sun sets and fireworks light up the sky, there’s something truly delightful about creating treats that capture the spirit of celebration. These vibrant 4th of July cakesicles are the epitome of festive fun that everyone will love! With a simple combination of leftover cake, creamy frosting, and a sweet white chocolate coating, you can whip up these no-bake desserts in no time. Not only are they incredibly easy to prepare, but they’re also a fantastic way to use up extra cake and impress your friends and family. Whether you’re hosting a backyard BBQ or looking for a fun activity to do with the kids, these cakesicles bring an irresistible twist of red, white, and blue to the table. Ready to dive into making these playful treats? Let’s get started!
Why are Cakesicles the Perfect Treat?
Festive Fun: These cakesicles burst with color and joy, making them the ideal centerpiece for any celebration. No-Bake Convenience: Forget the oven! These easy-to-make frozen treats save you time while delivering delicious flavor. Endless Variety: Customize them with different cakes and frostings to match any occasion, from birthdays to holidays. Crowd-Pleasing Delight: With their playful presentation and bite-sized portions, these cakesicles are sure to impress both kids and adults alike. Utilize Leftovers: Transform leftover cake into a treat that’s both resourceful and delightful, reducing waste while maximizing flavor. Get ready to impress at your next gathering with these delightful creations!
Cakesicles Ingredients
For the Cake Mixture
• Crumble Cake – Use half of a 9×13 cake or ½ a boxed cake mix for a yummy base flavor.
• Vanilla Frosting – This acts as a binding agent; feel free to use store-bought or homemade for convenience.
For the Coating
• White Candy Melts – Essential for coating; this sweet finish can be thinned with coconut oil if needed.
For the Icing
• Powdered Sugar – Key for the icing drizzle; adjust water to get your desired consistency.
• Gel Food Coloring (Red and Blue) – Use gel for vibrant hues that won’t thin your icing—perfect for festive decoration!
These cakesicles are not only visually appealing but also offer a scrumptious way to celebrate with loved ones.
Step‑by‑Step Instructions for Festive 4th of July Cakesicles
Step 1: Prepare Cake Mixture
Begin by crumbling your leftover cake into a large mixing bowl, ensuring there are no large chunks. Gradually add in the vanilla frosting and mix thoroughly until you achieve a dough-like consistency. This will take about 3-5 minutes of blending by hand or using a spatula, so don’t rush; the mixture should stick together when pressed.
Step 2: Mold Cakesicles
Take your cakesicle molds and scoop the cake mixture into each cavity, using your fingers to press it down firmly. Fill each mold to the top, then insert popsicle sticks straight into the mixture. Once filled, place the molds in the freezer for approximately 30 minutes, or until solidified and easy to remove.
Step 3: Melt Coating
While the cakesicles are freezing, prepare the coating by placing white candy melts in a microwave-safe bowl. Microwave the melts in 30-second intervals, stirring in between, until smooth and evenly melted—this should take about 1-2 minutes in total. If the mixture seems thick, consider adding a teaspoon of coconut oil to achieve a silky texture.
Step 4: Dip Cakesicles
Once the cakesicles have hardened, carefully remove them from the molds. Holding each cakesicle by the stick, dip it into the melted candy coating, ensuring it’s fully covered. Gently tap the stick against the bowl’s edge to remove excess coating, then place the dipped treats on parchment paper to set. This should take around 10-15 minutes for the coating to fully harden.
Step 5: Make Icing
While the cakesicles are setting, combine powdered sugar and a small amount of water in a mixing bowl to create a drizzling icing. Stir until smooth, adjusting the water as needed to achieve a drizzle-friendly consistency. Once prepared, divide the icing into two bowls to color with red and blue gel food coloring, mixing well until the colors are vibrant.
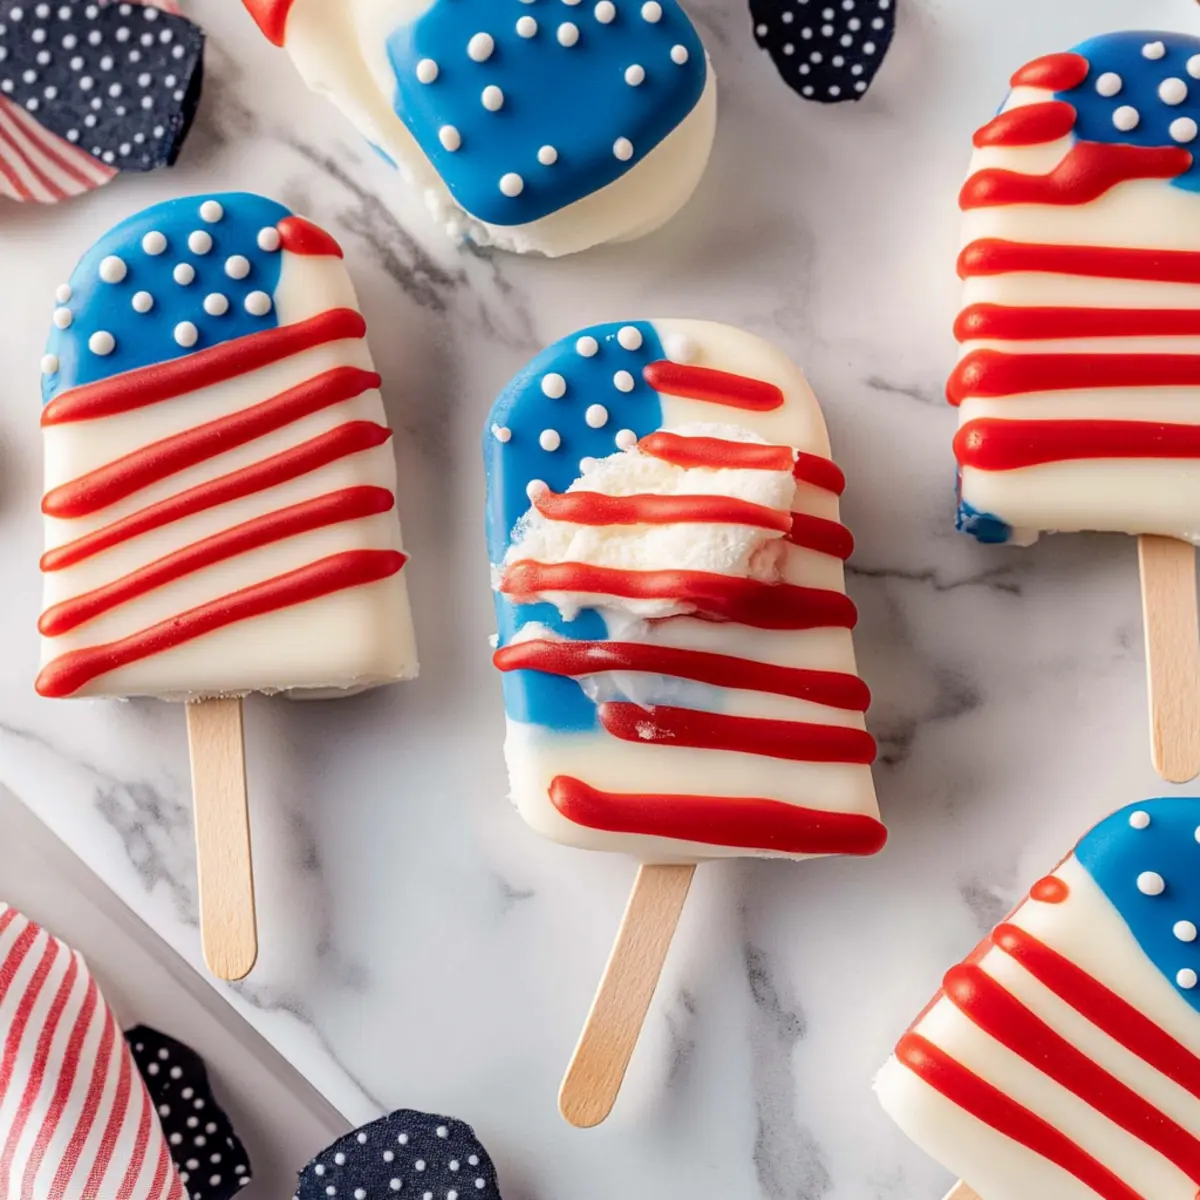
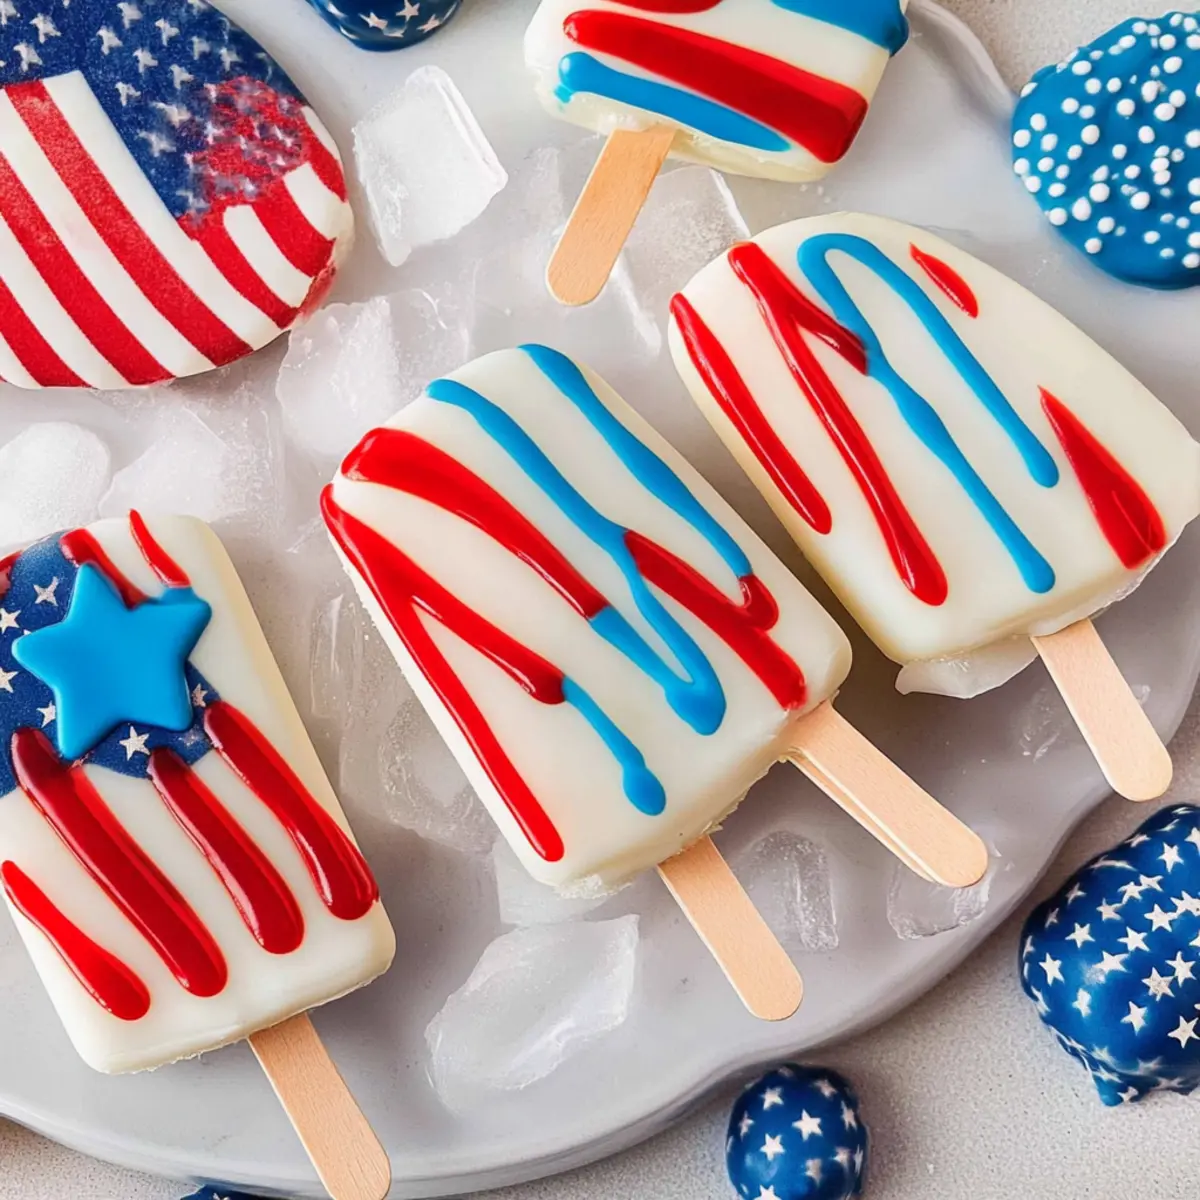
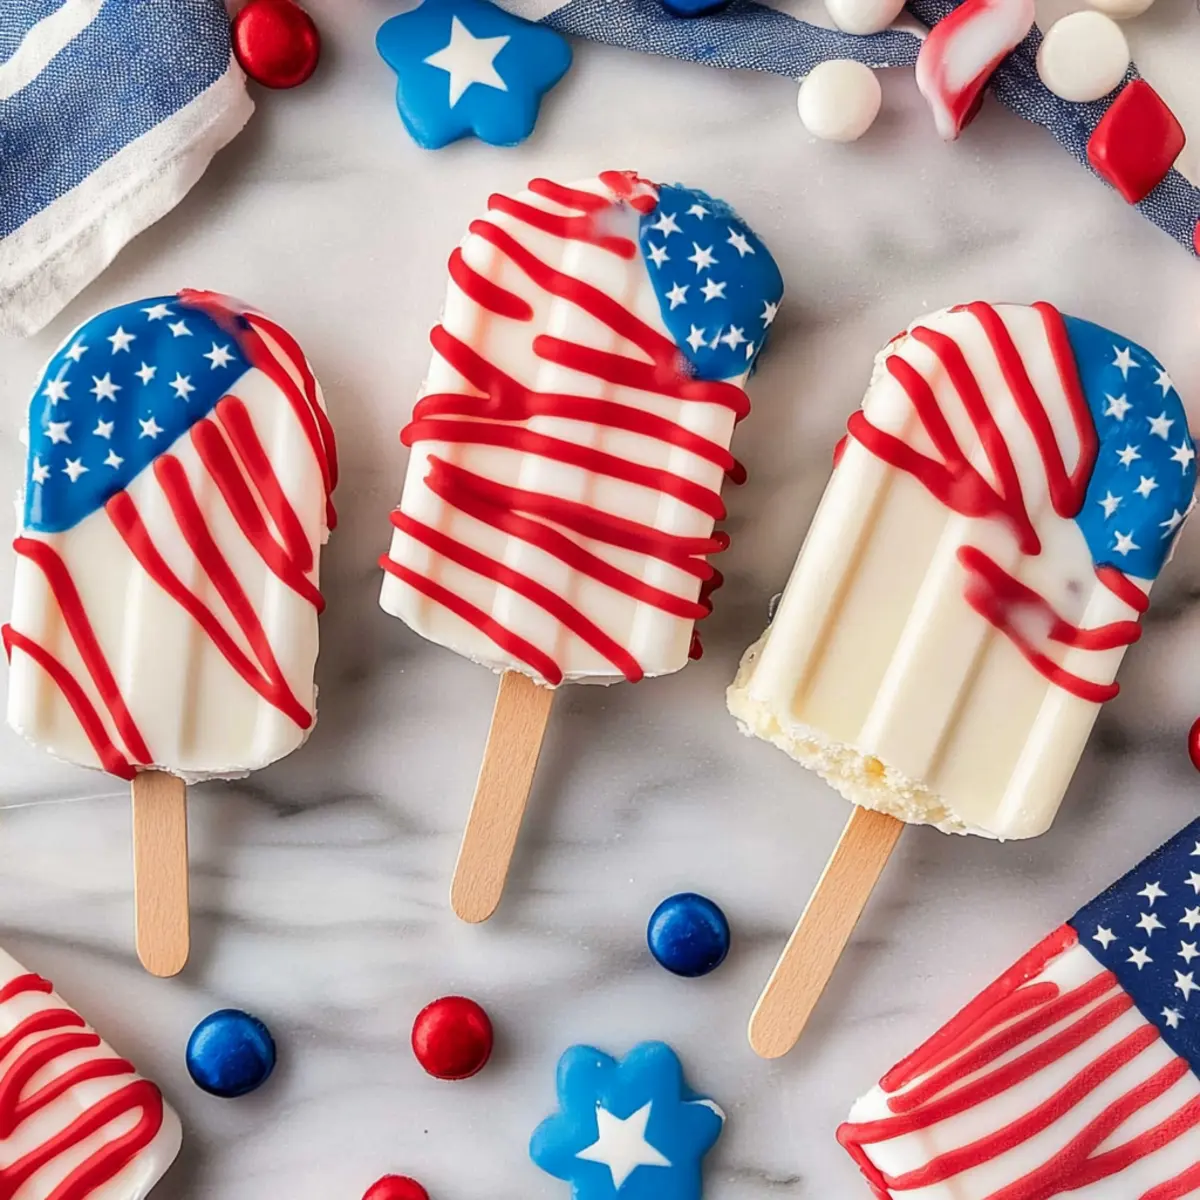
Step 6: Decorate
Finally, take the cooled cakesicles and drizzle the colored icing over the treats in a fun, festive pattern. Use a gentle hand for even application and feel free to add sprinkles while the icing is still wet for an extra touch of celebration. Allow the decorated cakesicles to cool completely before serving, making them the perfect treat for your summer gatherings!
Expert Tips for Making Cakesicles
• Use Silicone Molds: Silicone molds yield cleaner shapes and make it easier to remove the cakesicles once they’re frozen.
• Chilling is Key: Ensure your cakesicles are thoroughly chilled before dipping to avoid crumbling, resulting in a smoother coating.
• Avoid Air Bubbles: After dipping in the melted coating, gently tap the cakesicle against the bowl to remove air bubbles and excess chocolate.
• Mix Well with Food Coloring: To prevent clumping, thoroughly mix gel food coloring with the icing until it’s fully incorporated for vibrant cakesicles.
• Cream Cheese Frosting Option: For a tangy twist, substitute vanilla frosting with cream cheese frosting, just remember to keep them chilled.
• Make Ahead: You can prepare and decorate cakesicles ahead of time; they freeze well and can be stored for up to a month.
Cakesicles Variations & Substitutions
Feel free to unleash your creativity and customize these delightful cakesicles to suit your taste and occasion!
-
Flavor Twist: Swap in chocolate cake or red velvet for a unique taste experience. Each cake brings its own flavor profile, making every batch special.
-
Frosting Alternatives: Use cream cheese frosting for a tangy flair, or try chocolate frosting to give your cakesicles a rich and indulgent twist! This variation can satisfy a range of taste preferences.
-
Color Fun: Experiment with different colored gel food dyes, like green or purple, for other festivities! Whether it’s Halloween or a birthday party, changing colors adds a playful element.
-
Texture Variations: Add crushed cookies or sprinkles to the cake mixture for an exciting crunch! This will give your treats a delightful surprise with each bite.
-
Nut-Free Option: Substitute the cake with nut-free cakes and use vegan frosting if allergy concerns arise. It’s a great way to include everyone in the festivities.
-
Extra Sweetness: Consider drizzling with caramel sauce before the icing! This adds a luxurious sweetness that turns these cakesicles into a gourmet dessert experience.
-
Spicy Kick: Mix in a bit of cayenne pepper or cinnamon into your cake mixture for a surprising twist of heat and warmth. This is perfect for those who like a bit of adventure in their desserts.
-
Fruit Filling: Incorporate some mashed strawberries or pureed mango into the cake mixture for a fruity surprise. This fresh addition can bring a refreshing taste to your festive treat!
By exploring these variations, you can create a beautiful assortment of cakesicles that not only reflect your personal style but also bring smiles to everyone at the table! Happy baking!
Make Ahead Options
These festive 4th of July cakesicles are perfect for meal prep, providing a time-saving solution for busy cooks! You can prepare the cake mixture up to 24 hours in advance—just crumble the leftover cake and combine it with frosting, then refrigerate. Once shaped and frozen in molds, the cakesicles can also be stored for up to 3 days before dipping. To maintain their quality, keep the cakesicles wrapped or in an airtight container in the freezer. When you’re ready to serve, simply melt the candy coating, dip each cakesicle, and drizzle with icing for a fresh and delightful treat that’s just as delicious as if you made them the same day!
Storage Tips for Cakesicles
Room Temperature: Keep cakesicles at room temperature for up to 2 hours when serving, but they are best enjoyed chilled.
Fridge: Store in an airtight container in the fridge for up to 5 days to maintain freshness and flavor.
Freezer: Freeze cakesicles for up to 1 month. Wrap individually in plastic wrap and place in a freezer-safe container to prevent freezer burn.
Reheating: Cakesicles are best served cold; there’s no need to reheat them. Simply take them out of the freezer or fridge and enjoy!
What to Serve with Festive 4th of July Cakesicles
These fun cakesicles are a fantastic centerpiece for your summer festivities, and they’re even better when paired with complementary dishes that enhance the celebration.
-
Grilled Veggie Skewers: Bright, charred vegetables add vibrant colors and a smoky flavor that balances the sweetness of the cakesicles. Perfect for health-conscious party-goers!
-
Classic Potato Salad: Creamy and tangy, this dish adds a satisfying richness that pairs beautifully with the lightness of the cakesicles. It’s best served chilled, making it a refreshing contrast.
-
Watermelon Feta Salad: This refreshing mix of juicy watermelon and tangy feta adds a pop of flavor and color to your spread. It’s a delightful and hydrating option to keep guests cool on a hot day.
-
Patriotic Punch: A vibrant, fruity beverage layered with red and blue juices makes for a refreshing drink that complements the festive theme. Serve it in clear cups to showcase the layers!
-
Mini Hot Dogs: These bite-sized delights are fun to eat and provide a savory contrast to the sweet decadence of the cakesicles. They’re easy to grab during all the outdoor activities.
-
Chocolate Dipped Strawberries: For those who want a sweeter accompaniment, these elegant treats bring a classic touch and variety to your dessert table. Their luscious chocolate pairs perfectly with the cakesicles.
Offering these pairings will create a delightful feast, ensuring that your gathering is both memorable and delicious!
4th of July Cakesicles Recipe FAQs
What kind of cake should I use for cakesicles?
You can use any flavor of leftover cake, whether it’s chocolate, vanilla, or red velvet! Half of a 9×13 cake or ½ a boxed cake mix works perfectly. Just ensure the cake is moist enough to hold together when mixed with frosting.
How should I store leftover cakesicles?
To keep your cakesicles fresh, store them in an airtight container in the fridge for up to 5 days. They are best enjoyed chilled, so don’t forget to pop them back in the fridge after serving!
Can I freeze cakesicles?
Absolutely! Cakesicles freeze wonderfully and can be enjoyed later. Wrap each individually in plastic wrap and place them in a freezer-safe container. They can be stored for up to 1 month. When you’re ready to enjoy, simply remove from the freezer and let them sit for a few minutes before serving.
What happens if my cakesicles crumble while dipping?
If your cakesicles crumble during the dipping process, it might be because they are not frozen solid enough. Make sure to freeze them for at least 30 minutes, and if you have issues, consider chilling them for another 10-15 minutes. Also, tapping off any excess coating gently can help maintain their shape.
Can I make cakesicles for those with dietary restrictions?
Yes! If you have gluten-free friends, substitute with a gluten-free cake mix. For dairy-free options, use dairy-free frosting and candy melts. Remember to check labels to ensure all ingredients fit dietary needs, especially when it comes to frosting and coloring.
How do I achieve vibrant colors with the icing?
For the best color saturation in your icing, opt for gel food coloring as it gives you the intensity without thinning it out. Mix thoroughly until you see a uniform color, and don’t skimp on the blending—this will help you avoid clumping and ensure those red, white, and blue cakesicles stand out!
Delicious No-Bake Cakesicles That Wow Your Summer Celebrations
Ingredients
Equipment
Method
- Begin by crumbling your leftover cake into a large mixing bowl, ensuring there are no large chunks. Gradually add in the vanilla frosting and mix thoroughly until you achieve a dough-like consistency.
- Take your cakesicle molds and scoop the cake mixture into each cavity, using your fingers to press it down firmly. Insert popsicle sticks and place in the freezer for approximately 30 minutes.
- Prepare the coating by microwaving white candy melts in 30-second intervals until smooth.
- Once hardened, carefully remove the cakesicles from the molds and dip into the melted candy coating, tapping off excess, then place on parchment to set.
- Combine powdered sugar and water to create a drizzling icing. Divide into bowls and color with red and blue food coloring.
- Drizzle the colored icing over the cooled cakesicles and allow them to cool completely before serving.
Leave a Reply