
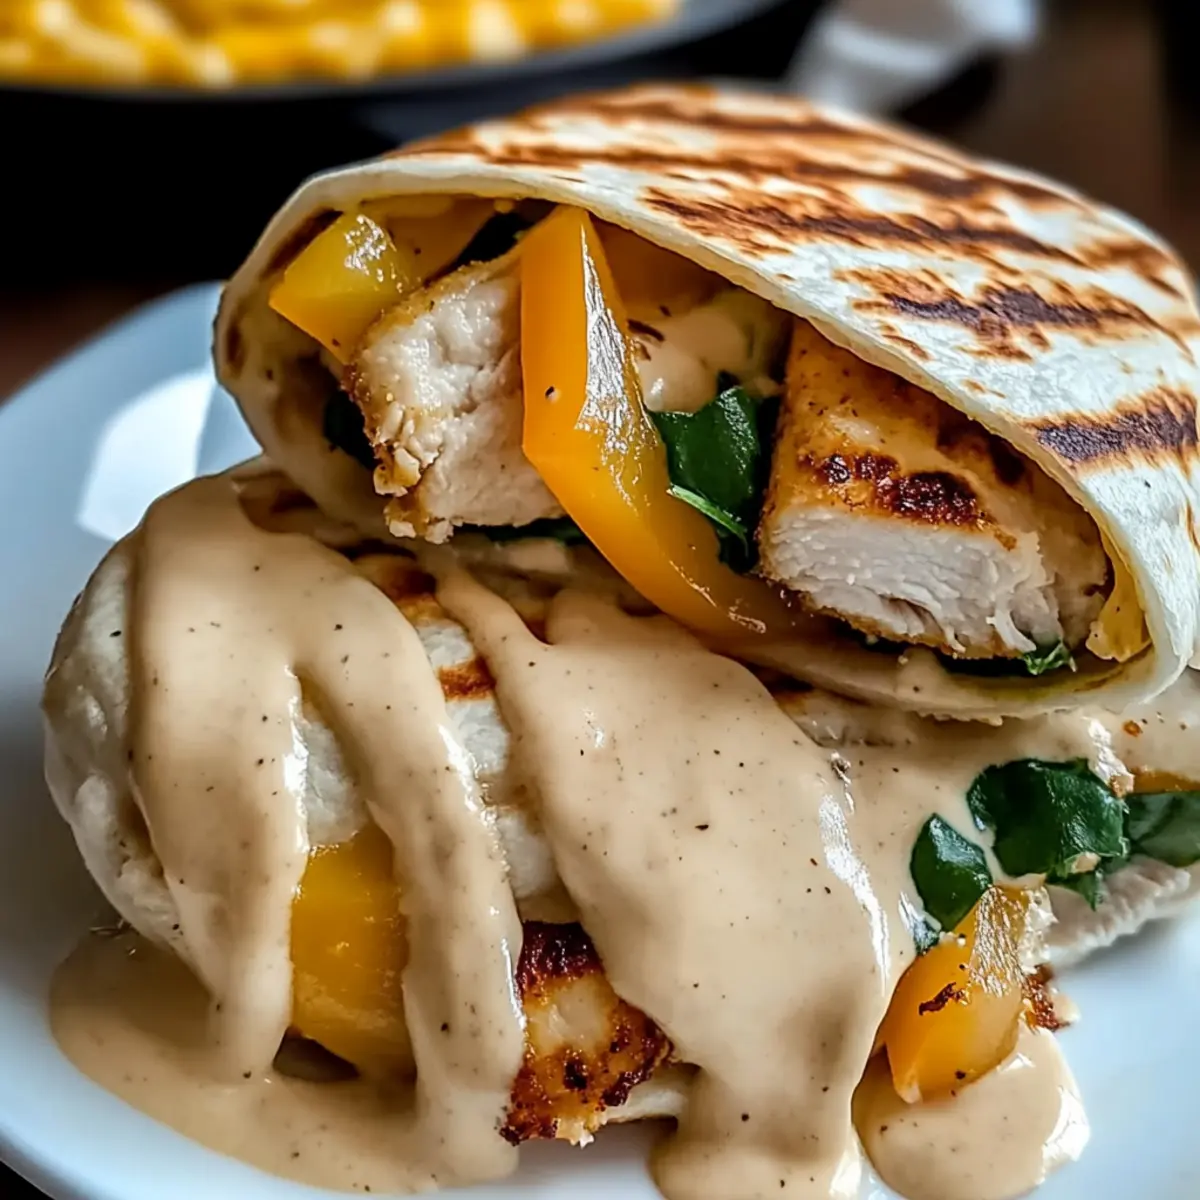
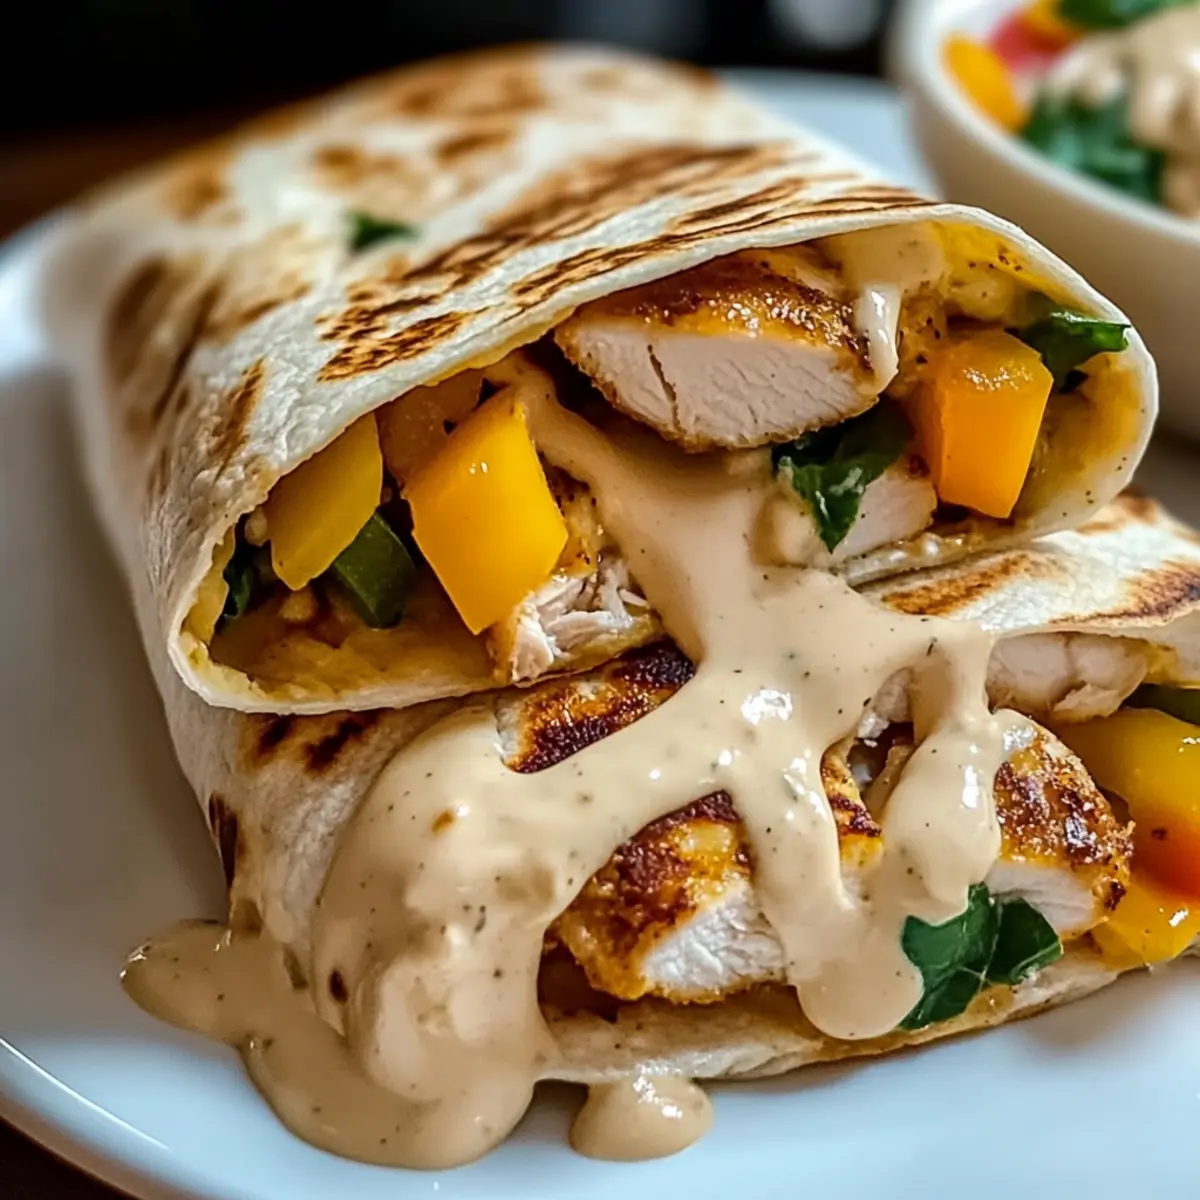
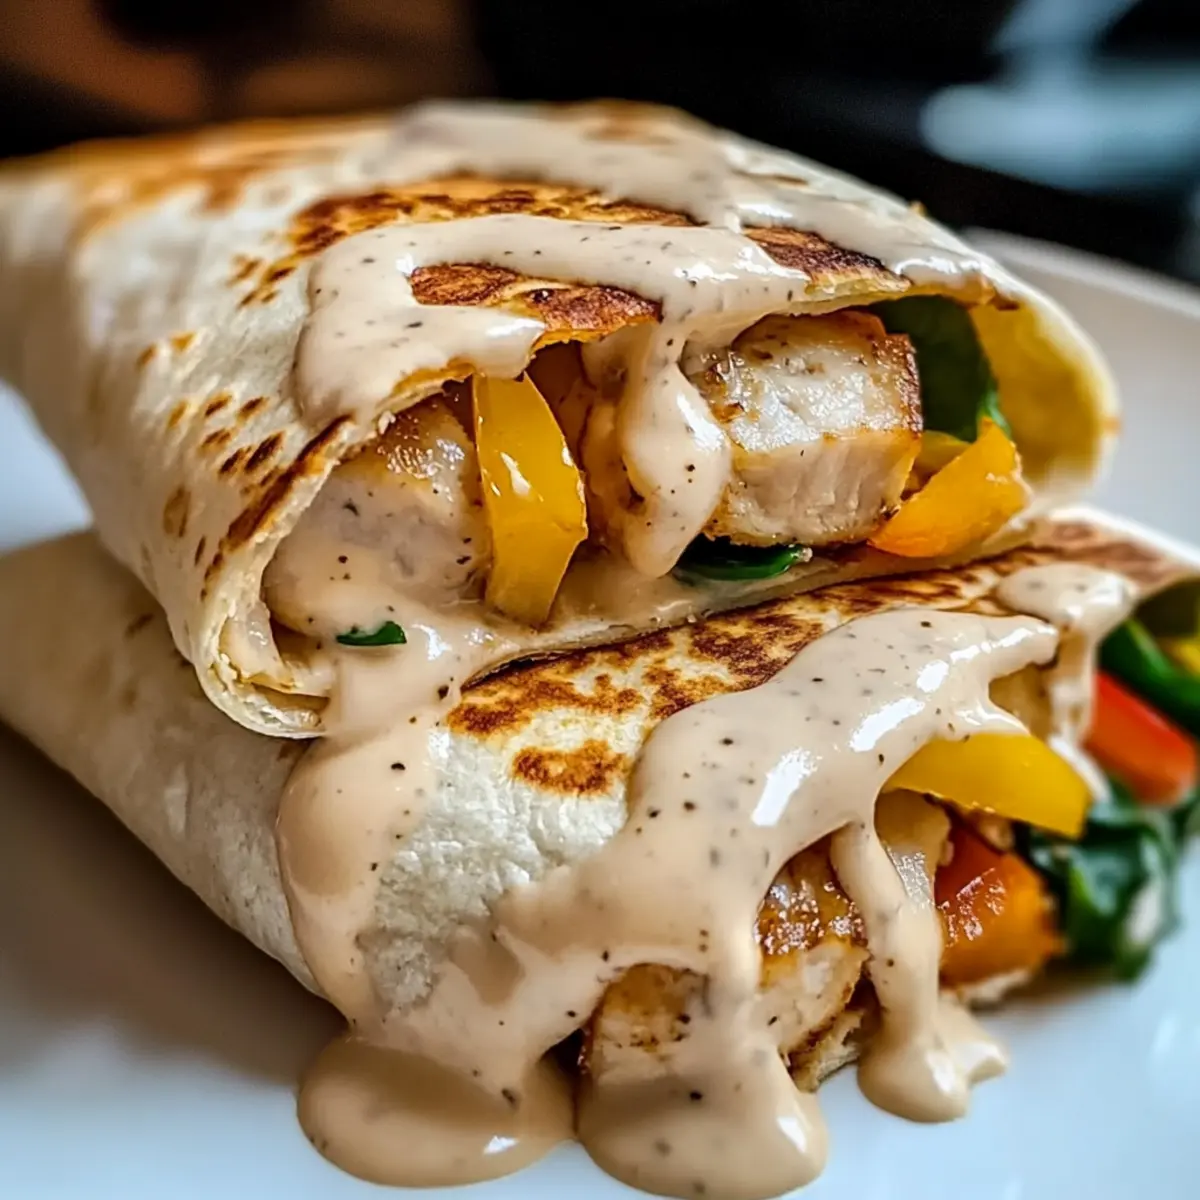
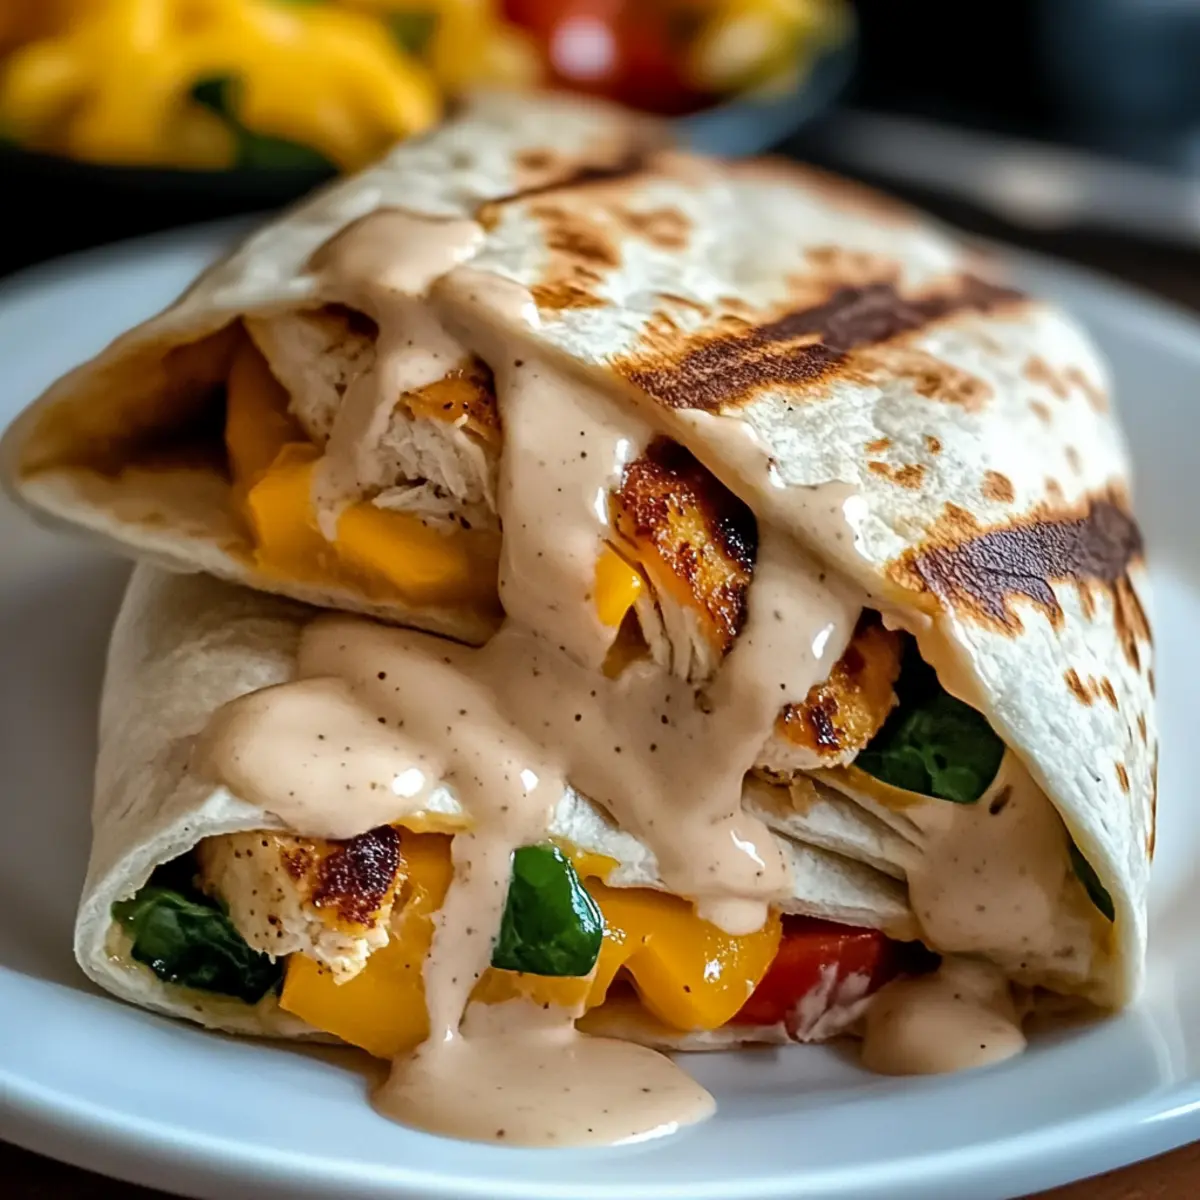
As I flipped through my favorite recipe book, a thought struck me: why not turn a classic into something uniquely comforting? That’s how these Cheesy Garlic Chicken Wraps came to life, marrying crispy, buttery tortillas with tender, savory chicken and melty cheese that’s packed with garlicky goodness. Perfect for a weeknight meal or a gathering with friends, this recipe is not only quick to whip up but also easily customizable for any palate—think Mediterranean, Southwest, or even a spicy Asian twist! Whether you’re a busy parent looking for a hearty dinner option or a passionate home chef exploring new flavors, these wraps are your answer to achieving satisfaction in every single bite. Curious how to make them your own? Let’s dive in!
Why You’ll Crave These Wraps?
Versatile Creations: Each bite allows for endless customization—try a Mediterranean Twist with olives and feta or a fiery Buffalo version, perfect for spice lovers.
Quick and Easy: With minimal prep and cooking time, you can enjoy a fulfilling meal that’s ready in under 30 minutes.
Comfort in Every Bite: Experience a delightful balance of crispy tortillas and a creamy, cheesy filling that oozes flavor, reminiscent of a cozy cafe favorite.
Meal Prep Friendly: Make-ahead options ensure that you can assemble these wraps quickly for busy weeknights, and leftovers can be frozen for future meals.
Crowd-Pleasing Delight: Perfect for serving at gatherings; everyone from kids to adults will love diving into these cheesy, garlicky delights! For more quick dinner ideas, check out Zesty Lemon Chicken or Chicken Tortilla Soup.
-
Ingredients
Cheesy Garlic Chicken Wraps Ingredients
For the Filling
• Extra Virgin Olive Oil – Adds healthy fat and depth of flavor; can substitute with avocado oil.
• Chicken Breast – Provides the protein base of the dish; use tenders or thighs if preferred.
• Garlic – Essential for aromatic flavor; freshly minced preferred over pre-minced.
• Mediterranean Herb Blend – Enhances seasoning with herbs; substitute with Italian seasoning if needed.
• Smoky Paprika – Adds depth and subtle spice; use regular paprika for less heat.
• Chili Flakes – Offers customizable heat; omit for a milder flavor.
• Sea Salt and Cracked Black Pepper – Essential seasonings; adjust to taste.
• Sweet Onion – Adds sweetness and texture; substitute with yellow or white onion.
• Red Bell Pepper – Provides color and crunch; green bell pepper is a suitable substitute.
• Fresh Spinach – Adds nutrition and wilts nicely; can replace with kale or omit.
• Shredded Mozzarella – Offers creamy meltiness; use any melting cheese or substitute with dairy-free alternatives.
• Sharp Cheddar – Provides a tangy flavor; mix with the cheese blend or substitute based on preference.
• Cream Cheese – Adds richness; use a dairy-free cream cheese for a vegan option.
• Sour Cream – Contributes creaminess to the filling; can substitute with Greek yogurt.
• Fresh Chives – Adds a fresh onion-like flavor; omit or use green onions if unavailable.For the Wraps
• Flour Tortillas – Base for the wrap; use corn tortillas for a gluten-free option.
• Melted Butter – For brushing tortillas before toasting; olive oil can be a lighter alternative.
• Roasted Garlic Powder – Enhances garlic flavor in the tortillas; omit if fresh garlic is used.
Embrace the deliciousness of these Cheesy Garlic Chicken Wraps and get ready to impress!
Step‑by‑Step Instructions for Cheesy Garlic Chicken Wraps
Step 1: Cook Chicken
Heat a skillet over medium heat and add a drizzle of extra virgin olive oil. Season the chicken breast with sea salt, cracked black pepper, and a sprinkle of Mediterranean herb blend. Cook for 5-6 minutes per side until the chicken is golden brown and fully cooked, reaching an internal temperature of 165°F. Once cooked, remove from the skillet and set aside to rest.
Step 2: Prepare Vegetables
In the same skillet, add a little more olive oil if needed and toss in the sweet onion, red bell pepper, and garlic. Sauté the mixture over medium heat for about 4-5 minutes until the vegetables are soft and fragrant. Stir occasionally to ensure even cooking and to prevent any sticking, allowing the garlic to infuse the oil.
Step 3: Make Cheese Blend
In a large mixing bowl, combine shredded mozzarella, sharp cheddar, cream cheese, and sour cream. Mix thoroughly until the cheeses are well blended, creating a creamy, delicious filling. The melted cheese from the chicken and sautéed veggies will add further flavor. Set aside while you prepare the tortillas.
Step 4: Prepare Tortillas
Brush each flour tortilla lightly with melted butter on one side and sprinkle with roasted garlic powder for added flavor. If the tortillas seem stiff, warm them slightly in the microwave for about 10-15 seconds. This will make them flexible and easier to roll, ensuring your Cheesy Garlic Chicken Wraps are perfectly wrapped.
Step 5: Assemble Wraps
Lay out the warmed tortillas on a clean surface and begin layering with a portion of the cooked chicken, sautéed vegetables, and a generous scoop of the cheese blend. Carefully roll each tortilla tightly around the filling, tucking in the sides to prevent any spillage. Repeat this process until all ingredients are utilized.
Step 6: Toast Wraps
Heat the skillet over medium heat again and place the assembled wraps seam-side down. Cook for 2-3 minutes or until golden brown and crispy, then flip and toast the other side for an additional 2-3 minutes. Keep an eye on them for a perfect golden crust that adds crunch to each bite of your Cheesy Garlic Chicken Wraps.
Expert Tips for Cheesy Garlic Chicken Wraps
-
Prevent Soggy Wraps: Let the chicken and vegetable mixture cool before assembling. This helps avoid moisture buildup and keeps your wraps crispy.
-
Cheese Selection Strategy: Freshly grated cheese melts better than pre-shredded. It guarantees a smooth, gooey texture in your Cheesy Garlic Chicken Wraps.
-
Wrap Cooking Position: Start cooking seam-side down to seal the wraps. This prevents them from unrolling during cooking, ensuring a neat presentation.
-
Storage Hint: Reheat in a skillet instead of the microwave. This restores the crispiness of your wraps, enhancing the overall texture and flavor.
-
Experiment with Flavors: Feel free to add your favorite ingredients or spices to the filling. Customizing your wraps makes every meal a new adventure!
Cheesy Garlic Chicken Wraps Variations
Feel free to let your creativity shine by customizing these wraps to your taste. The possibilities are as delicious as they are diverse!
-
Mediterranean Twist: Add olives, feta, and artichokes to bring a vibrant flavor boost. Each bite will transport you to a sun-kissed Mediterranean hillside.
-
Southwest Style: Fold in black beans and corn, then top with creamy avocado. This twist delivers a delightful crunch and a burst of flavors characteristic of Southwestern cuisine.
-
Buffalo Chicken: Toss cooked chicken in buffalo sauce before assembling for a spicy kick. The tangy heat paired with blue cheese creates an irresistible combination sure to satisfy hot sauce lovers.
-
Breakfast Version: Scramble eggs and include crispy bacon bits instead of chicken for a hearty morning option. These breakfast wraps marry all the best flavors of a classic brunch!
-
Vegetarian Delight: Substitute chicken with roasted vegetables and add a sprinkle of nutritional yeast for a cheesy flavor without the dairy. It’s a deliciously rich option everyone will love.
-
Asian-Inspired: Incorporate ginger, and green onions, and switch the cheese for cream cheese mixed with sriracha. This twist will ignite your taste buds with a sweet and spicy flair.
-
Lower-Carb Option: Use lettuce wraps or cauliflower tortillas as a base instead of flour for a lighter, keto-friendly version. It keeps the flavor without the carbs!
-
Extra Crunch: Add crushed tortilla chips into the wraps before toasting for an exciting textural element. With every bite, you’ll enjoy an added crunch that’s divine!
These Cheesy Garlic Chicken Wraps are endlessly customizable, making it easy to satisfy everyone at the table. For more inspiration, try pairing these wraps with Black Pepper Chicken or enjoy a comforting bowl of Chicken Tortilla Soup.
What to Serve with Cheesy Garlic Chicken Wraps
Elevate your wrap experience with these delightful accompaniments that will turn a simple meal into a feast.
-
Fresh Salsa: This bright, zesty counterpart brings a refreshing kick that balances the richness of the cheesy filling. A scoop of homemade salsa adds vibrant color and tang.
-
Guacamole: Creamy, smooth guacamole is the perfect dip to complement each bite of your wraps. Its rich texture and flavors enhance the garlicky goodness and provide a creamy contrast.
-
Side Salad: A crisp mixed greens salad dressed with a light vinaigrette offers a refreshing crunch. Toss in some cherry tomatoes and cucumbers for extra texture—perfect to cleanse your palate!
-
Roasted Vegetables: Sweet, caramelized roasted vegetables like zucchini and carrots provide earthy flavors that harmonize beautifully with the savory chicken. Their sweetness rounds out your meal.
-
Potato Wedges: Crispy oven-baked potato wedges seasoned with smoked paprika are an irresistible side. Their crunchy exterior adds to the comforting texture of the wraps.
-
Chilled Lemonade: Pair your meal with a refreshing glass of chilled lemonade, balancing the richness of the wraps and keeping you cool on warm evenings.
-
Chocolate Chip Cookies: For a delightful end to your feast, serve soft chocolate chip cookies. Their sweet, warm goodness wraps up your meal beautifully—simple indulgence!
Make Ahead Options
These Cheesy Garlic Chicken Wraps are ideal for meal prep, allowing you to save time on busy evenings! You can prepare the chicken, sautéed vegetables, and cheese filling up to 3 days in advance; simply allow the chicken mixture to cool before refrigerating to maintain quality and prevent sogginess. Store the filling in an airtight container to keep it fresh. When you’re ready to serve, layer the cold filling onto warmed tortillas, roll them up, and toast in a skillet for a fresh-out-of-the-pan crunch. This way, you’ll enjoy the same delicious warmth and comfort without any extra hassle!
How to Store and Freeze Cheesy Garlic Chicken Wraps
Fridge: Store assembled wraps in an airtight container for up to 3 days. To maintain freshness, wrap each one tightly in plastic wrap before placing it in the container.
Freezer: For longer storage, freeze the wraps individually wrapped in foil or plastic wrap, then place them in a freezer-safe bag. They can last up to 3 months.
Reheating: To reheat, place frozen wraps directly in a preheated skillet over medium heat, flipping occasionally until golden and heated through. This method restores crispiness, making your Cheesy Garlic Chicken Wraps as delicious as when freshly made.
Make-Ahead Tip: Prepare the chicken and cheese mixture up to 2 days in advance and store in the fridge to make assembly a breeze on busy nights!
Cheesy Garlic Chicken Wraps Recipe FAQs
How do I select the best chicken for my wraps?
Absolutely! Look for chicken breasts that are plump with a pink hue and no dark spots or odors. If you’re opting for thighs or tenders, ensure they have a good amount of moisture without any strange coloration to guarantee juiciness in your Cheesy Garlic Chicken Wraps.
What’s the best way to store leftover wraps?
For maximum freshness, wrap your assembled Cheesy Garlic Chicken Wraps tightly in plastic wrap and place them in an airtight container in the refrigerator. They should stay good for up to 3 days. If these delicious treats are still hanging around, good luck with that!
Can I freeze the wraps, and if so, how?
Very much so! To freeze your Cheesy Garlic Chicken Wraps, individually wrap each one in plastic wrap, then foil, or place them in a freezer-safe bag. Be sure to squeeze out as much air as possible to prevent freezer burn. They can be frozen for up to 3 months and will be perfect whenever you’re craving that cheesy goodness!
What can I do if my wraps come out soggy?
If you find that your wraps are soggy, a quick fix is to ensure the fillings (like the sautéed veggies) are cooled before wrapping. Additionally, be sure to toast them in a skillet as directed to achieve that golden, crispy exterior that makes each bite a delight.
Are there any dietary considerations I should be aware of?
Of course! If you’re making these wraps for someone with dietary restrictions, you can easily swap out ingredients. For gluten-free wraps, opt for corn tortillas. Vegan alternatives like dairy-free cream cheese or melting cheese options can also be used, allowing everyone to enjoy that comforting flavor of Cheesy Garlic Chicken Wraps!
How long can I store the cheese and chicken mixture?
You can prepare the chicken and cheese mixture up to 2 days ahead! Just store it in an airtight container in the fridge. This not only saves you time, but it also allows the flavors to meld together beautifully, making your wrap assembly even more delightful during busy weeknights!
Cheesy Garlic Chicken Wraps That Will Comfort Your Soul
Ingredients
Equipment
Method
- Heat a skillet over medium heat and add olive oil. Season chicken with salt, pepper, and herb blend. Cook for 5-6 minutes per side until golden brown and fully cooked, then set aside.
- In the same skillet, add more olive oil if needed, and sauté sweet onion, red bell pepper, and garlic for 4-5 minutes until soft and fragrant.
- Combine shredded mozzarella, cheddar, cream cheese, and sour cream in a mixing bowl. Mix thoroughly to create a creamy filling.
- Brush tortillas with melted butter on one side and sprinkle with roasted garlic powder. Warm tortillas in microwave if stiff.
- Lay tortillas on a clean surface. Layer cooked chicken, sautéed veggies, and cheese blend, then roll tightly.
- Heat skillet again and place wraps seam-side down. Cook for 2-3 minutes until golden brown, then flip and toast the other side.
Leave a Reply