
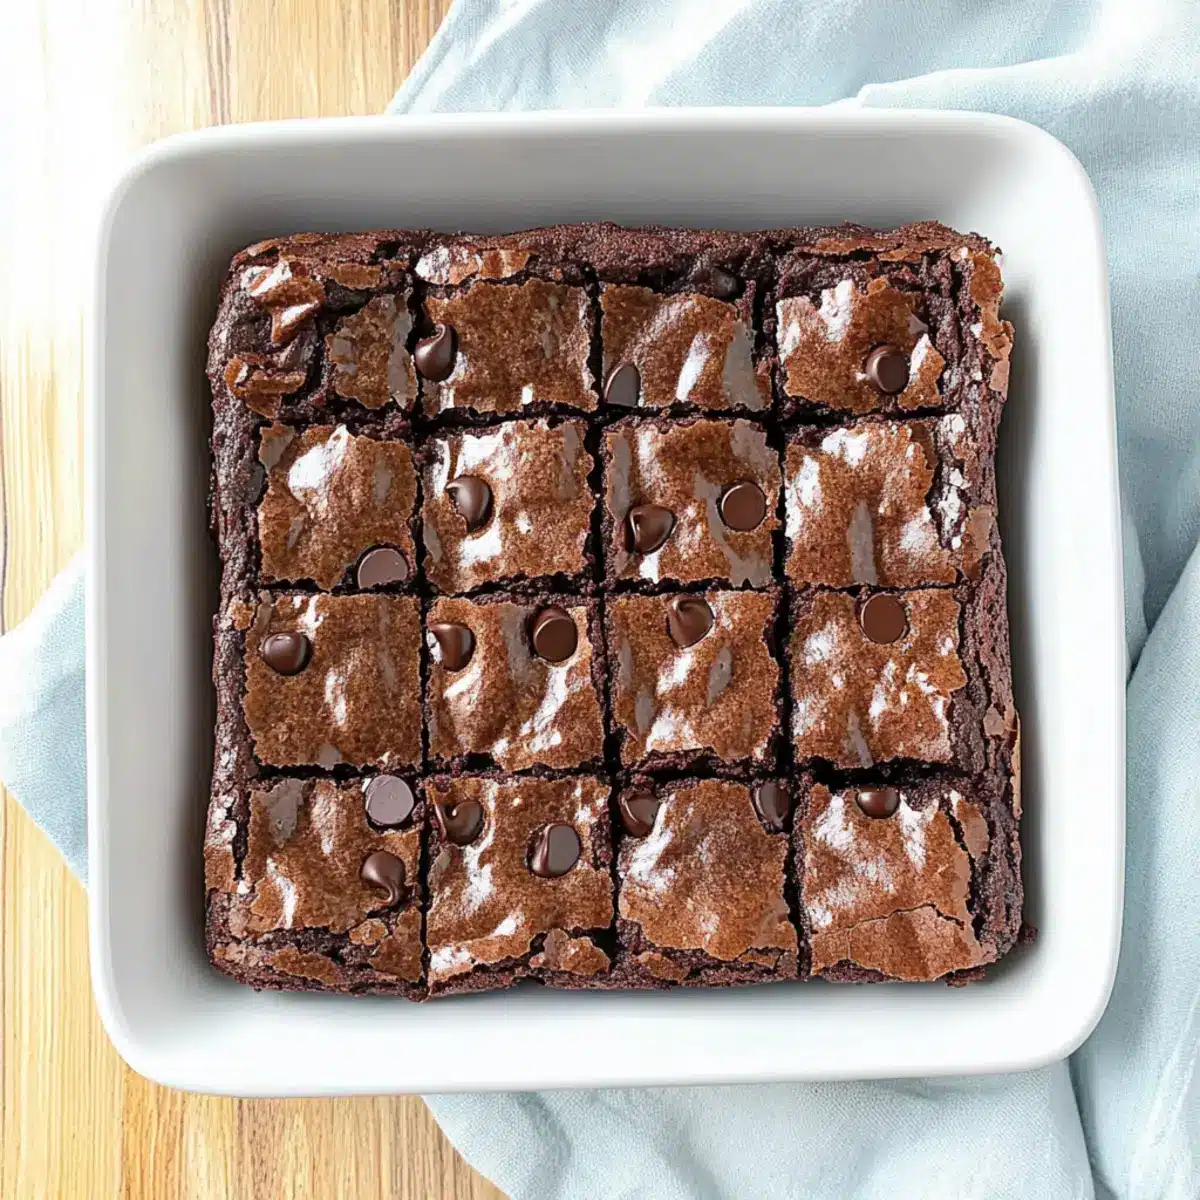
When I first experimented with homemade brownies, I had no idea I was about to discover my new favorite treat. The aroma of melting chocolate and sugar filled my kitchen, a warm hug on a chilly evening. These easy homemade brownies, made in just one bowl, are delightfully fudgy and remarkably simple, perfect for both baking novices and kitchen pros alike. In under 10 minutes, you can whip up a batch that rivals any boxed mix without the fuss. Plus, they’re easily tailored to be gluten-free—talk about a win-win! With rich cocoa flavor and gooey chocolate chips, these brownies are bound to charm your taste buds. Ready to dive into the chocolatey goodness with me?
Why Are These Brownies Irresistible?
Simplicity at its finest: This quick one-bowl recipe means less mess and hassle, perfect for busy bakers.
Fudgy Delight: The combination of cocoa powder and chocolate chips guarantees a rich, decadent treat that melts in your mouth.
Customizable: Easily swap ingredients for gluten-free options or add your favorite nuts and flavors, making it versatile for everyone.
Crowd-Pleaser: Ideal for gatherings or cozy nights in, these brownies are sure to impress friends and family alike.
Time-Saving: Baked and ready in just 30 minutes, you can satisfy your chocolate cravings in no time! Why not try these delicious Raspberry Swirl Brownies for a fruity twist?
Homemade Brownies Ingredients
For the Brownie Batter
- Unsalted Butter – ½ cup, melts for rich flavor; make sure it cools before adding eggs.
- Granulated Sugar – 1 cup, sweetens the batter while providing structure to your brownies.
- Vanilla Extract – 1 teaspoon, enhances the overall flavor; feel free to omit for simplicity.
- Large Eggs – 2, binding the mixture together; mix gently to keep your brownies fudgy.
- Baking Soda – ¼ teaspoon, adds a slight lift; omit for even denser, fudgier brownies.
- Salt – ¼ teaspoon, balances sweetness; adjust to your taste preference.
- All-Purpose Flour – ½ cup, gives structure; substitute with a gluten-free blend for a delicious gluten-free option.
- Cocoa Powder – ½ cup, unsweetened, provides deep chocolate flavor; Dutch-process can be used with adjustments.
- Chocolate Chips – 1 ½ cups, adds melty goodness; choose semi-sweet or dark for a richer taste.
Enjoy crafting these homemade brownies, customizable and sure to bring smiles to all who taste them!
Step‑by‑Step Instructions for Easy Fudgy Brownies
Step 1: Preheat and Prepare the Pan
Begin by preheating your oven to 350°F (or 325°F if using a glass baking dish) to ensure even cooking. While the oven heats up, line a 9″ x 9″ metal baking pan with parchment paper or foil, leaving some overhang for easy removal later. This will make your life easier when it’s time to take out the brownies!
Step 2: Mix the Wet Ingredients
In a large mixing bowl, whisk together ½ cup of melted and slightly cooled unsalted butter, 1 cup of granulated sugar, and 1 teaspoon of vanilla extract until the mixture is smooth and well combined. This step creates a luscious base for your homemade brownies and only takes a minute or two.
Step 3: Add the Eggs
Gently incorporate 2 large eggs into the mixture, mixing just until everything is blended together. Be careful not to over-whisk, as this can lead to a cakier texture rather than the fudginess we desire. Look for a shiny, cohesive batter to ensure the perfect fudgy brownies.
Step 4: Combine Dry Ingredients
Now, it’s time to add ¼ teaspoon of baking soda, ¼ teaspoon of salt, ½ cup of all-purpose flour, and ½ cup of cocoa powder to the wet ingredients. Stir the mixture gently until just combined, avoiding overmixing, which could affect the texture. You want the batter to be thick and rich, indicating it’s ready for the next step.
Step 5: Fold in the Chocolate Chips
Carefully fold in 1 ½ cups of chocolate chips, allowing them to distribute evenly without breaking apart too much. The chocolate chips will melt beautifully as the brownies bake, creating delightful pockets of gooeyness. This is where the magic of your homemade brownies truly begins!
Step 6: Pour Into the Pan
Spoon the brownie batter into your prepared 9″ x 9″ pan and spread it out evenly with a spatula. Make sure to smooth the top so that your brownies bake uniformly. This step ensures that you get those perfectly fudgy edges and a deliciously decadent layer in the center.
Step 7: Bake to Perfection
Place your pan in the preheated oven and bake for 25-30 minutes. Keep an eye on the brownies; they’re done when the edges look set and a toothpick inserted into the center comes out with moist crumbs rather than wet batter. This visual cue is key to achieving fudginess.
Step 8: Cool and Cut
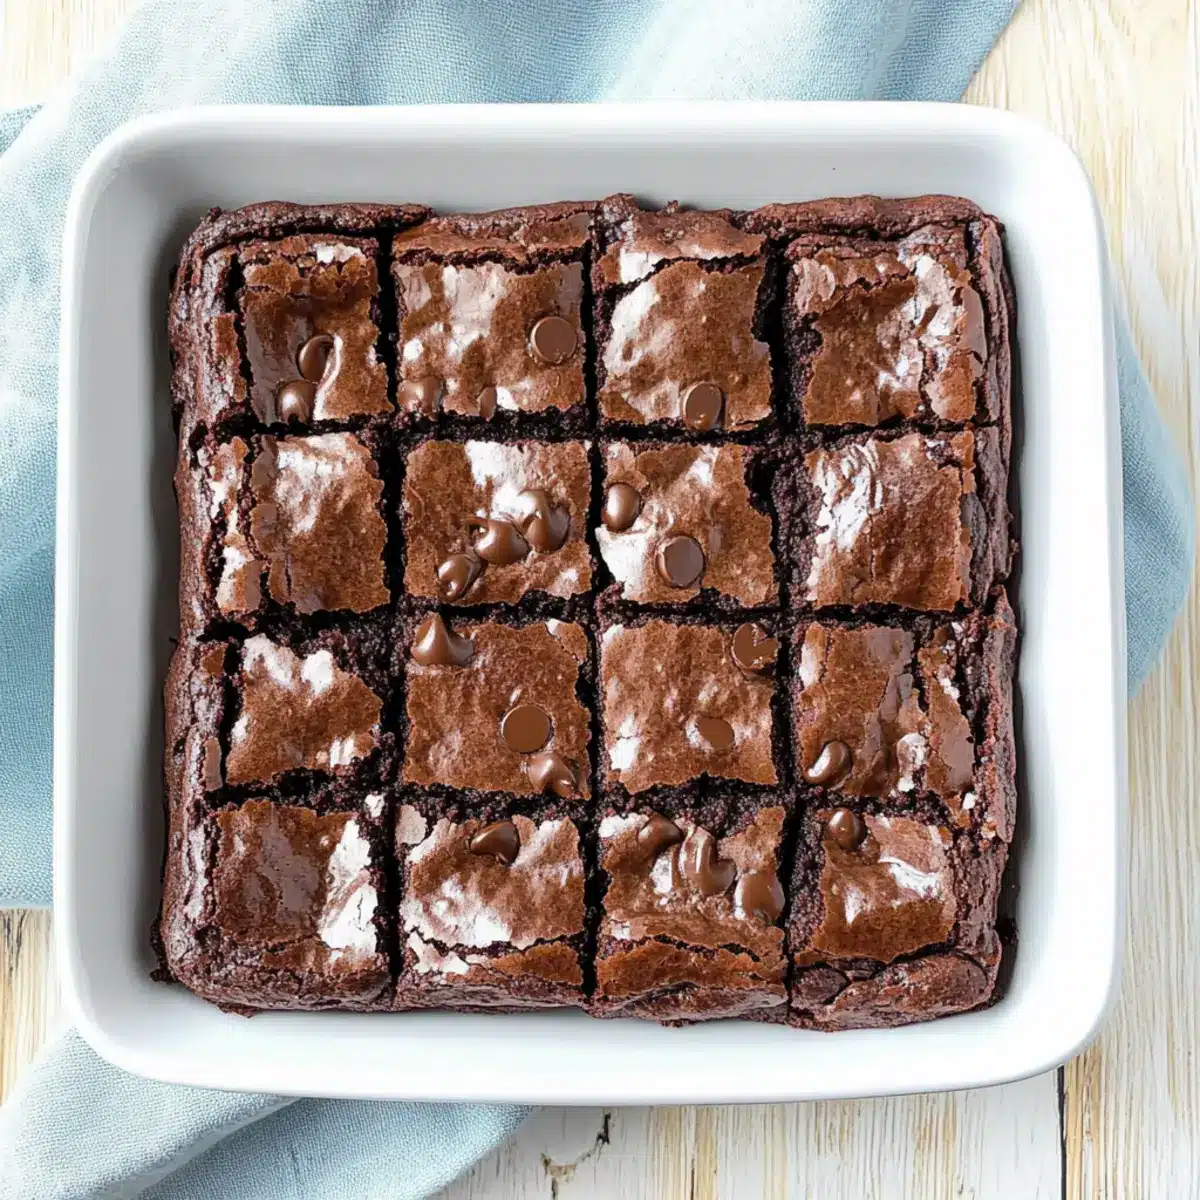
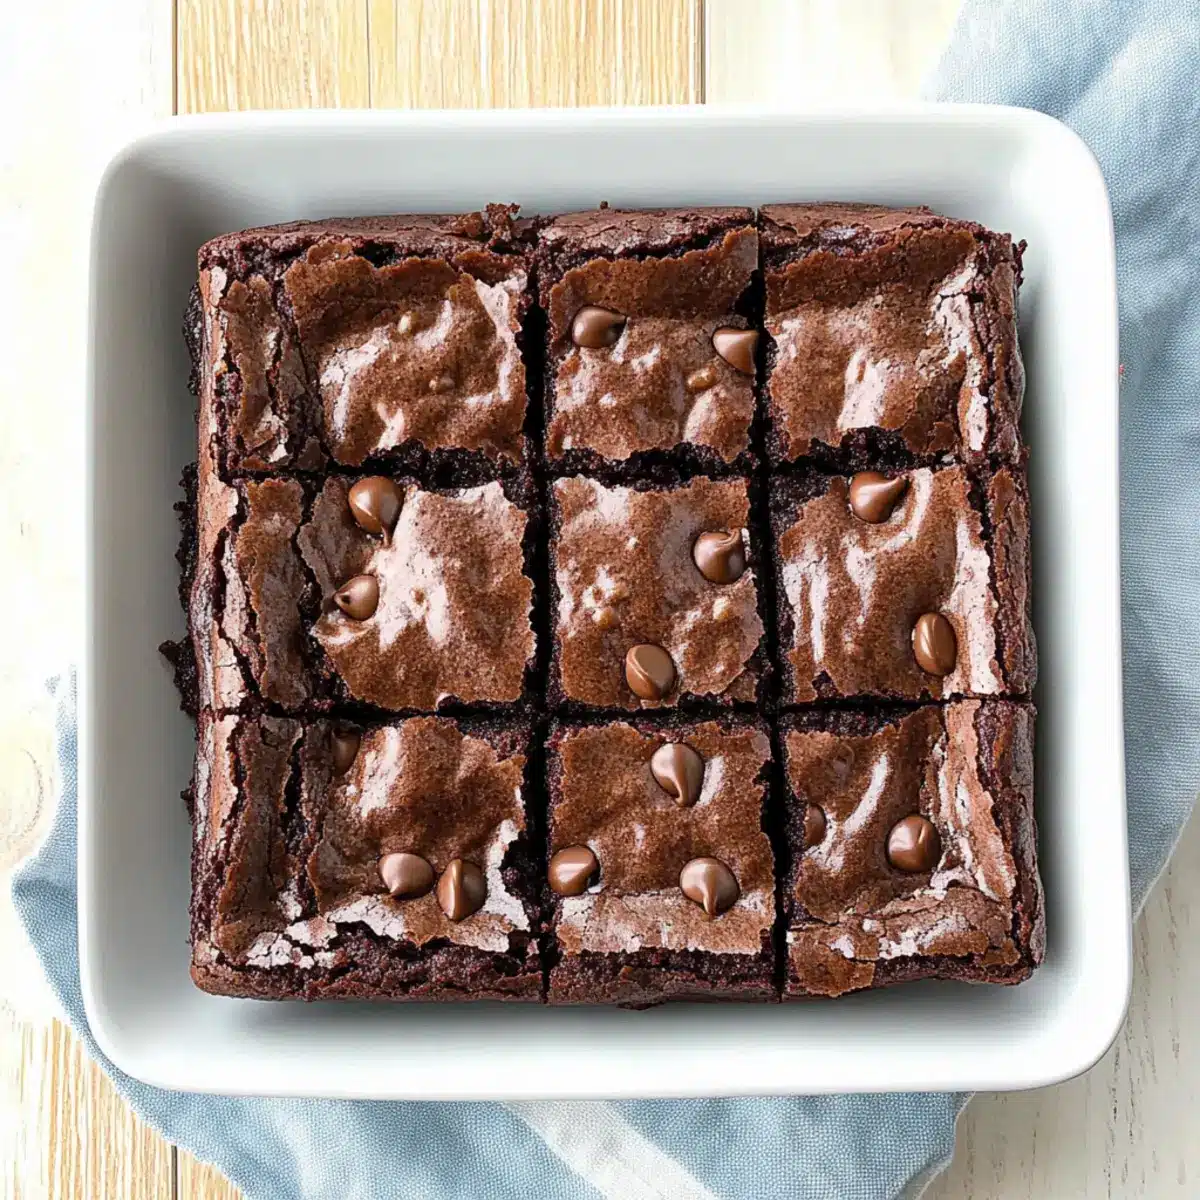
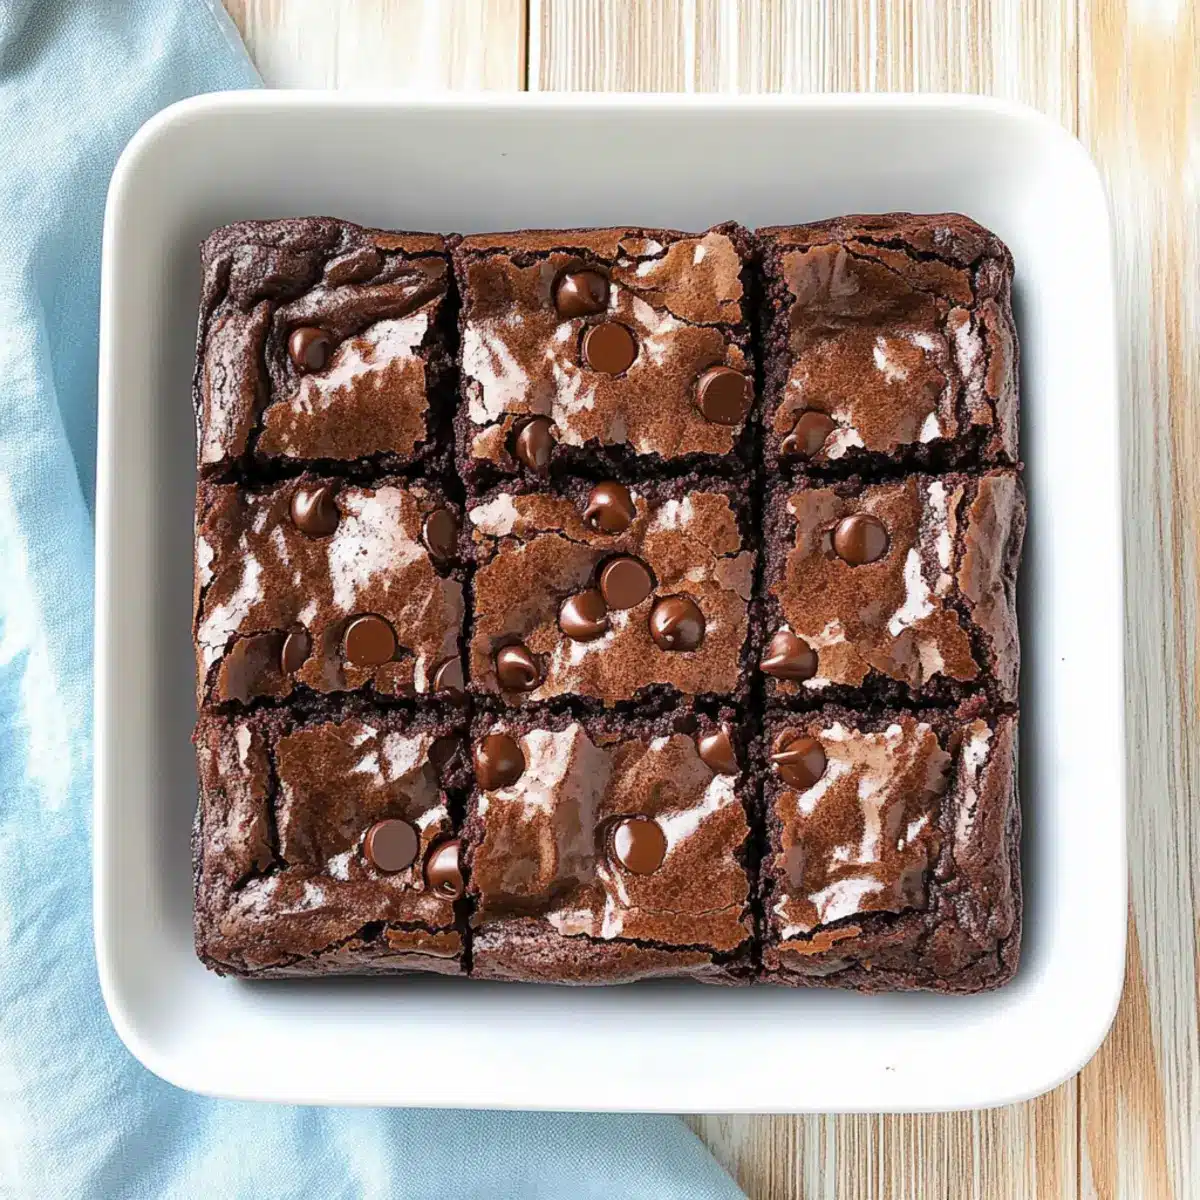
Remove the pan from the oven and allow the brownies to cool in the pan for 30 minutes. This cooling period helps firm up the texture for easier slicing. Once cooled, lift the brownies out using the parchment paper or foil, and cut into squares to serve. Your easy homemade brownies are now ready to be enjoyed!
Make Ahead Options
These easy homemade brownies are perfect for meal prep enthusiasts looking to save time on busy weeknights! You can prepare the brownie batter up to 24 hours in advance; simply mix all the ingredients together, cover the bowl tightly, and refrigerate. This will help maintain their rich fudginess. When you’re ready to bake, just let the batter sit at room temperature for about 30 minutes before spreading it in the pan and popping it in the oven. Additionally, baked brownies can be stored in an airtight container for up to 3 days at room temperature or in the refrigerator for longer freshness. With these make-ahead options, you’ll enjoy delicious homemade brownies without the hassle!
How to Store and Freeze Homemade Brownies
Room Temperature: Store your homemade brownies in an airtight container at room temperature for up to 3 days to maintain their fudgy texture.
Fridge: For extended freshness, refrigerate brownies for up to a week. Allow them to come to room temperature before serving for the best taste.
Freezer: Wrap brownies tightly in foil or plastic wrap, then place them in a freezer-safe container. They can be frozen for up to 3 months without losing their deliciousness.
Reheating: To enjoy a warm treat, reheat brownies in the microwave for about 10-15 seconds, or warm them in the oven at 350°F for a few minutes.
Homemade Brownies Variations & Substitutions
Feel free to make these brownies your own with these delightful twists and swaps!
- Gluten-Free: Substitute all-purpose flour with a gluten-free blend for a delicious, inclusive treat.
- Nutty Fudginess: Toss in chopped walnuts or pecans for a satisfying crunch that complements the brownie’s rich texture.
- Minty Fresh: Add mint chocolate chips or a splash of peppermint extract for a refreshing twist on classic flavors.
- Espresso Boost: Mix in a teaspoon of instant espresso powder to enhance the chocolate flavor with a lovely depth.
- Sweet Swirls: Create a caramel or peanut butter swirl by dropping spoonfuls into the batter before baking; swirl gently!
- Richer Chocolate: Use dark chocolate chips instead of semi-sweet for a more intense chocolate experience.
- Spicy Kick: Incorporate a pinch of cayenne pepper for a surprising heat that contrasts beautifully with the sweetness.
Looking for more inspiration? Check out these delightful Meringue Cookies Homemade for a light and airy treat or try the savory flavors of Japchae Homemade Nutritious for a balanced meal. Enjoy your baking adventure!
What to Serve with Easy Fudgy Brownies?
Indulging in rich, fudgy brownies is a delightful experience that only gets better when paired with comforting accompaniments.
- Whipped Cream: A dollop of lightly sweetened whipped cream adds a velvety texture that beautifully contrasts the brownies’ dense fudginess.
- Vanilla Ice Cream: Creamy vanilla ice cream melts over warm brownies, creating a decadent chocolate dessert experience that’s simply irresistible.
- Fresh Berries: Bright, tart berries like raspberries or strawberries cut through the sweetness and add a refreshing burst of flavor.
- Nutty Topping: Chopped walnuts or pecans sprinkled on top enhance the texture and add a satisfying crunch to the rich chocolatey goodness.
- Caramel Sauce: Drizzling warm caramel sauce over your brownies introduces a sweet buttery richness, elevating each bite to pure heaven.
- Chocolate Sauce: For the true chocolate lovers, a drizzle of ganache or chocolate sauce will intensify that cocoa flavor in an indulgent way.
- Steaming Cup of Coffee: The bitter notes of coffee complement the sweetness of brownies, making it the perfect pick-me-up during afternoon breaks.
- Milkshake: A thick chocolate milkshake invites nostalgia and adds an extra layer of fun, perfect for pairing with this scrumptious treat.
Expert Tips for Homemade Brownies
-
Butter Temperature Matters: Ensure your melted butter cools slightly before mixing with eggs; this prevents the eggs from scrambling and maintains the fudgy texture of your homemade brownies.
-
Choose the Right Pan: For best results, use a metal baking pan. If you opt for glass or ceramic, be mindful to adjust the baking time and temperature for even cooking.
-
Fudgy Tweaks: Want extra fudginess? Omit the baking soda and add 1–2 teaspoons of neutral oil to enhance the moistness of your homemade brownies.
-
Batch Adjustments: Doubling the recipe? Use a 9″ x 13″ pan and extend the baking time by 10–15 minutes for a perfect bake.
-
Mix Gently: Avoid overmixing the batter once you add flour and cocoa; this keeps your brownies dense and chewy instead of airy or cakey.
Easy Fudgy Brownies Recipe FAQs
How do I choose the right ingredients for my brownies?
Absolutely! For the best fudgy brownies, use high-quality unsweetened cocoa powder and good-quality chocolate chips. Ensure your butter is unsalted and melted but slightly cooled before mixing; this helps prevent scrambling the eggs. Fresh ingredients always yield the best flavors and textures!
How should I store my homemade brownies?
To keep your brownies fresh, store them in an airtight container at room temperature for up to 3 days. For longer freshness, you can refrigerate them for up to a week. Just allow them to return to room temperature before indulging to enjoy that irresistible fudgy texture.
Can I freeze brownies for later?
Yes, you can! To freeze, wrap each brownie individually in foil or plastic wrap, then place them in a freezer-safe container. They can be stored this way for up to 3 months. When you’re ready to enjoy them, just thaw in the fridge overnight or at room temperature for a few hours.
What if my brownies turn out too dry?
Very! If your brownies come out dry, there are a couple of things to consider for next time: First, ensure not to overbake them; check around the 25-minute mark. If they’re baked for too long, they lose that fudgy texture. Also, try omitting the baking soda. If you want to salvage dry brownies, consider serving them warm with ice cream or drizzling on a chocolate ganache to add moisture back in.
Are there any allergy considerations I need to keep in mind?
Definitely! If you’re preparing brownies for someone with allergies, consider using gluten-free flour if they have gluten sensitivities. Also, be cautious with chocolate chips; there are dairy-free options available for those who are lactose intolerant. Always check your ingredient labels to ensure they meet dietary restrictions!
Can I customize the flavor of my brownies?
Absolutely! You can add mix-ins like nuts, caramel swirls, or even a hint of sea salt on top for a gourmet touch. Feel free to experiment with flavorings like vanilla or almond extract as well. The more the merrier when it comes to personalizing your homemade brownies!
Irresistible Homemade Brownies: Fudgy Perfection Awaits
Ingredients
Equipment
Method
- Preheat your oven to 350°F (or 325°F if using a glass dish) and line a 9" x 9" pan with parchment paper.
- In a mixing bowl, whisk together melted butter, sugar, and vanilla extract until smooth.
- Gently mix in the eggs until just combined.
- Add baking soda, salt, flour, and cocoa, stirring gently until combined.
- Fold in chocolate chips carefully.
- Pour the brownie batter into the prepared pan and spread evenly.
- Bake for 25-30 minutes until edges are set and a toothpick comes out with moist crumbs.
- Allow cooling for 30 minutes before lifting out and cutting into squares.
Leave a Reply