
As I stood in my kitchen, the aroma of melted chocolate and nutty peanut butter wafted through the air, instantly transforming my ordinary afternoon into something special. These Quick No-Bake Chocolate Peanut Butter Bars are my go-to recipe for satisfying my sweet cravings without the guilt. Not only are they incredibly quick to whip up—perfect for those bustling days—but they also cater to gluten-free diets, making them a versatile treat for everyone. With a delightful mix of chewy oats and a fudgy texture, you’ll find them hard to resist. Just imagine snacking on these bars that combine the goodness of healthy ingredients with a playful twist. Ready to discover how easy it is to indulge in homemade treats? Let’s dive in!
Why Choose No-Bake Chocolate Bars?
Ease of Preparation: No oven required! These bars come together quickly, perfect for novice bakers or those short on time.
Guilt-Free Indulgence: With wholesome oats and peanut butter, you’re treating yourself without compromising on health.
Customizable: Swap peanut butter for nut-free alternatives or add in dried fruits to suit your taste and dietary needs.
Versatile Snack: Enjoy as a post-workout boost or an afternoon pick-me-up — they fit any occasion!
Crowd-Pleaser: These bars disappear fast at gatherings, impressing guests with their fudgy goodness. For more delicious options, try my Gordon Ramsay Beef Stroganoff or explore the rich flavors of Beef Bourguignon Julia.
No-Bake Chocolate Peanut Butter Bar Ingredients
• Dive into the scrumptious world of No-Bake Chocolate Peanut Butter Bars with these essential ingredients!
For the Base
- Oats – These provide a wonderful chewiness; opt for gluten-free oats if needed.
- Peanut Butter – Acts as the binding superhero, delivering flavor and healthy fats; almond or cashew butter can be great nut-free swaps.
- Honey or Maple Syrup – Sweetens the mix while adding moisture; use maple syrup for a vegan option.
- Cocoa Powder – Infuses a rich flavor; consider using dark chocolate cocoa for a deeper chocolate experience.
For Toppings
- Chocolate Chips – Adds a luscious sweetness and delightful texture; dairy-free chips are an excellent swap for a vegan treat.
Enjoy crafting these delicious bars that are sure to satisfy your cravings without the baking hassle!
Step‑by‑Step Instructions for Quick No-Bake Chocolate Peanut Butter Bars
Step 1: Prep the Base
In a large mixing bowl, combine oats and peanut butter, stirring vigorously until they are well mixed and cohesive. This may take about 2-3 minutes of back and forth until the mixture feels sticky. Next, add in the honey or maple syrup along with the cocoa powder, mixing until everything is evenly distributed and forms a thick, pliable dough.
Step 2: Set the Mixture
Line an 8×8 inch baking dish with parchment paper to keep the bars from sticking. Transfer the sticky mixture into the dish, using a spatula to spread it evenly across the bottom. Press down firmly for about 2-3 minutes to ensure a compact layer, which will help the bars hold together nicely once they are chilled.
Step 3: Add Toppings
Sprinkle a generous layer of chocolate chips over the top of the pressed mixture, ensuring they cover the surface evenly. Using your hands or the back of a spatula, press the chocolate chips lightly into the mixture, which helps them adhere as the bars set. This step adds additional sweetness and texture to your Quick No-Bake Chocolate Peanut Butter Bars.
Step 4: Chill
Place the baking dish in the refrigerator and let it chill for at least 30 minutes. This cooling period allows the bars to firm up, making them easier to cut later. If you’re short on time, you can keep them in the freezer for about 15 minutes, but be mindful not to freeze them for too long.
Step 5: Slice and Serve
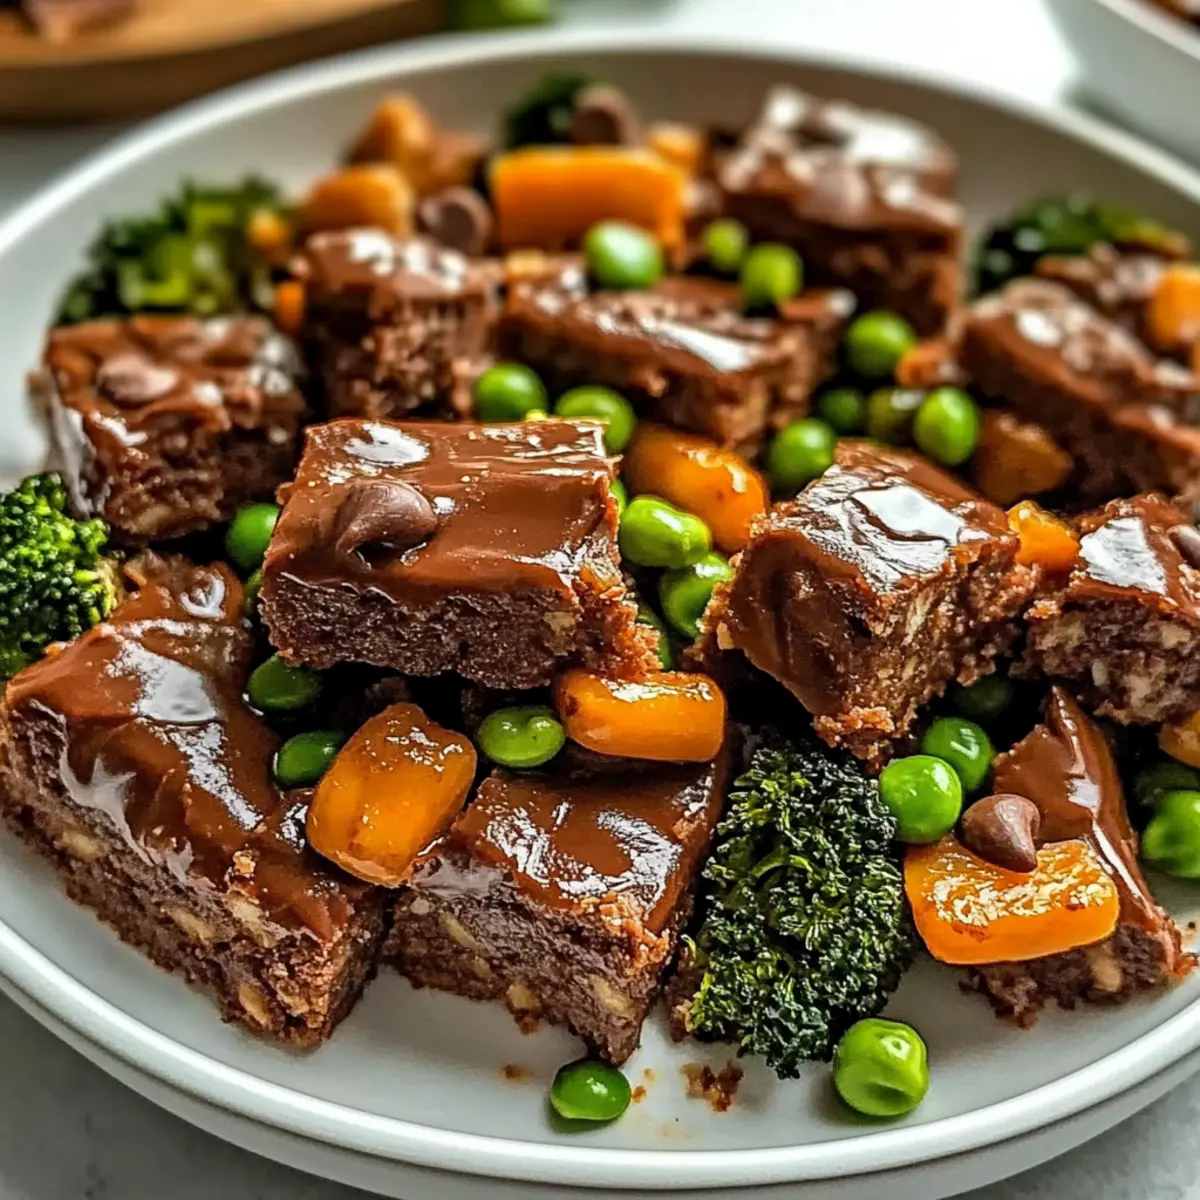
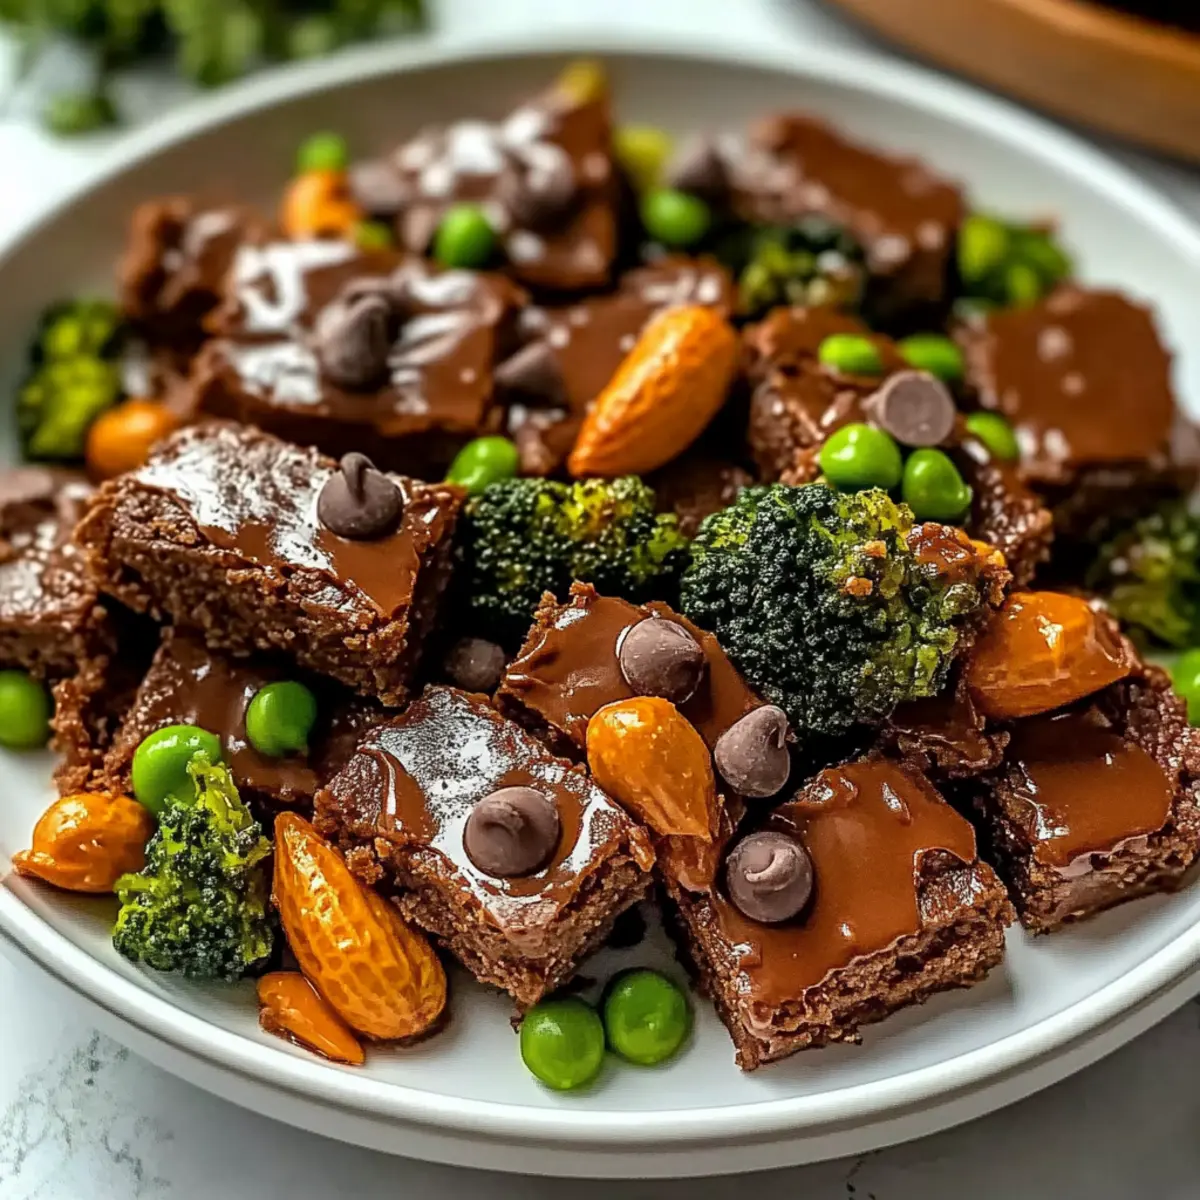
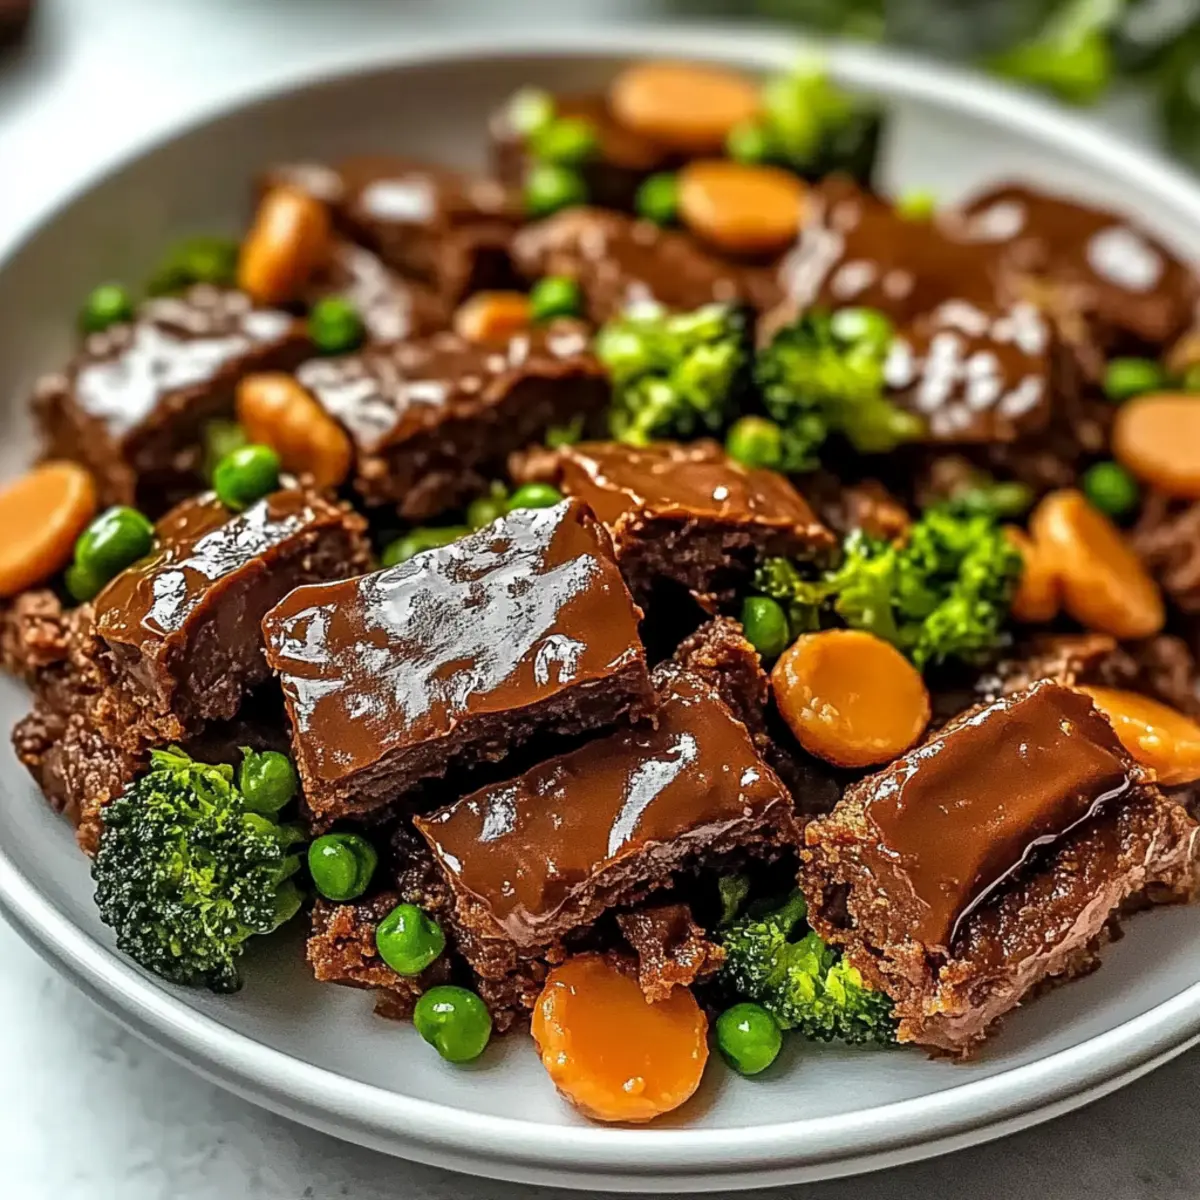
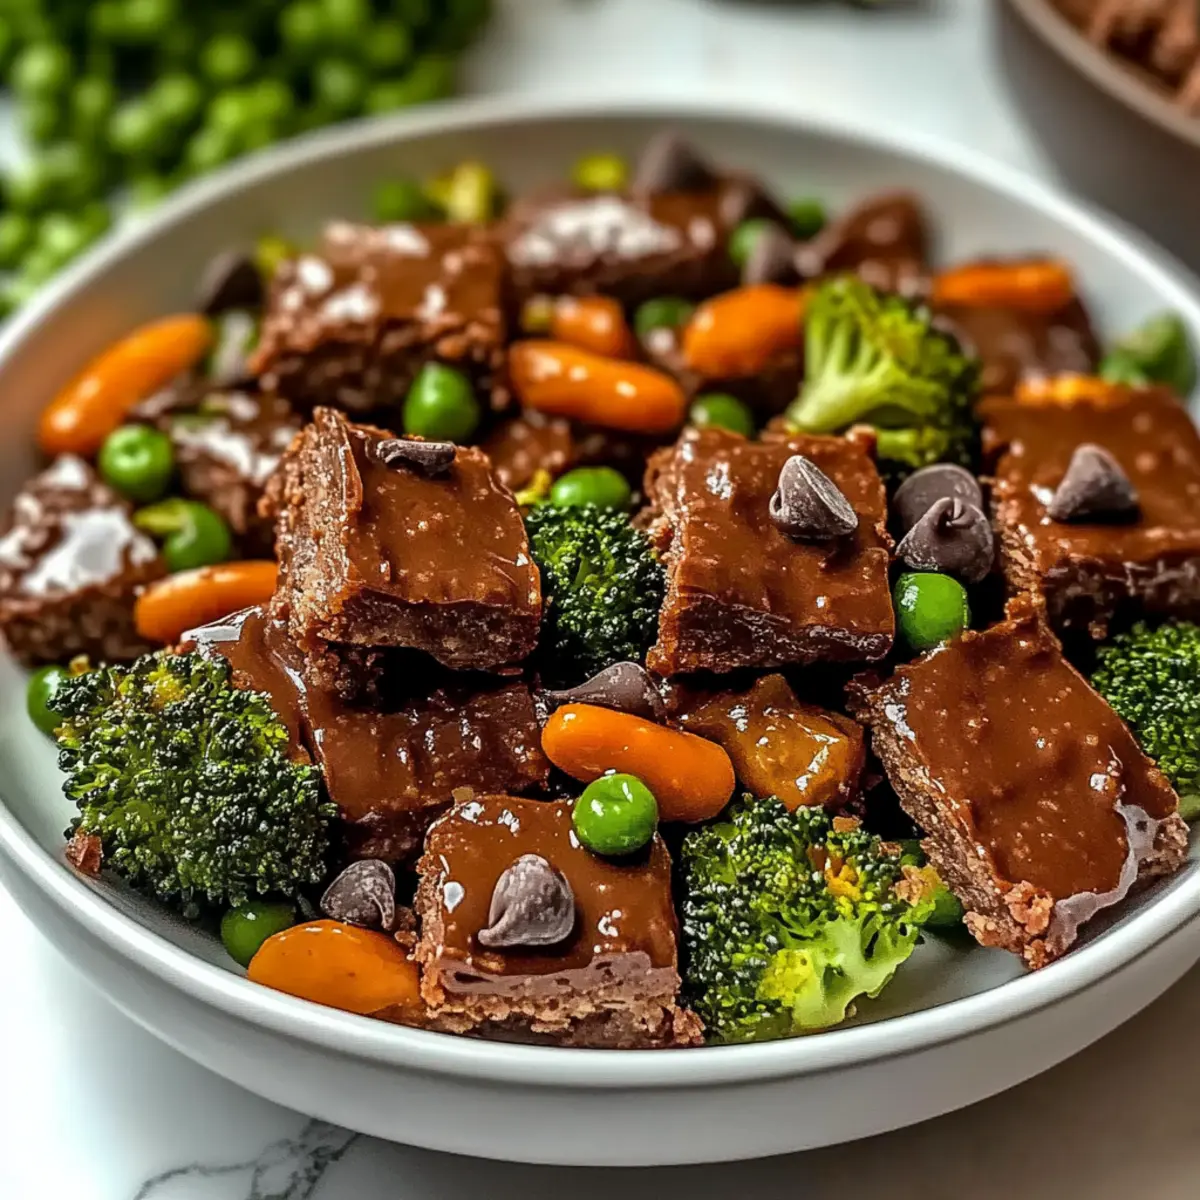
Once the bars are firm, remove them from the refrigerator and lift them out of the baking dish using the parchment paper. Place them on a cutting board and slice into squares or rectangles according to your preference. Serve as a delicious snack or dessert, perfect for satisfying your sweet cravings with a homemade touch!
Tips for the Best No-Bake Chocolate Peanut Butter Bars
-
Pack It Firmly: Press the mixture firmly into the baking dish. A well-compacted layer keeps the bars from falling apart, ensuring a satisfying bite.
-
Chill Thoroughly: Allow the bars to chill for the full 30 minutes (or 15 in the freezer). This step is crucial for achieving a perfectly firm texture.
-
Experiment with Add-Ins: Don’t be afraid to customize! Adding seeds, dried fruits, or cinnamon can elevate your no-bake chocolate peanut butter bars to new flavor heights.
-
Use Quality Ingredients: Opt for natural peanut butter without added sugars or oils for a healthier bar. High-quality cocoa enhances the chocolate flavor and makes a real difference.
-
Cut Carefully: Use a sharp knife to slice the bars after they’ve chilled. You may need to warm the knife slightly for smoother cuts, ensuring beautiful, even pieces.
-
Store Wisely: Keep your bars in an airtight container in the fridge for up to a week, or freeze for longer storage. Just remember to separate layers with parchment to prevent sticking!
Variations & Substitutions for No-Bake Chocolate Peanut Butter Bars
Customize your sweet treat with these delicious twists that enhance flavor and fit various dietary needs!
-
Nut-Free Option: Substitute peanut butter with sunflower seed butter for a delightful nut-free alternative. You’ll still enjoy that creamy richness without any allergens!
-
Vegan Delight: Swap honey for maple syrup to make these bars completely vegan. The silky sweetness of maple enhances the overall flavor, making this treat suitable for everyone.
-
Protein Boost: Add a scoop of your favorite protein powder into the mixture for an extra health punch. Vanilla or chocolate-flavored powders can amplify the taste and make these bars a nutritious snack.
-
Fruit-Inspired: Mix in chopped dried fruits like cranberries, apricots, or raisins for a tangy twist. This addition brings a fruity sweetness that pairs beautifully with chocolate!
-
Coconut Crunch: Enhance your bars with shredded coconut to add texture and a hint of tropical flavor. Use unsweetened coconut for a healthier option that still packs a flavorful punch!
-
Extra Chocolatey: Use dark chocolate cocoa powder or mix in chocolate chips for a richer chocolate experience. For deep chocolate lovers, this swap is a must!
-
Crunch Factor: Get creative with your toppings by adding chopped nuts or seeds. Almonds, walnuts, or chia seeds bring a delightful crunch that complements the chewy texture.
-
Spiced Up: Add a sprinkle of cinnamon or a dash of vanilla extract for a warm flavor twist. These spices can transform your bars into a cozy indulgence perfect for any season.
Feel free to explore these variations and make them your own! And if you’re hungry for more delish recipes, check out my Mongolian Ground Beef Noodles or indulge in my High Protein Beef Pasta Recipe.
What to Serve with Quick No-Bake Chocolate Peanut Butter Bars?
Imagine the perfect treat that satisfies your sweet tooth while also bringing friends and family together for a delightful snack time!
-
Creamy Almond Milk: This smooth, nutty beverage perfectly enhances the rich flavors of the bars, creating a balanced indulgence.
-
Fresh Fruit Salad: A colorful medley of fruits adds a refreshing contrast to the sweetness of the bars, brightening your dessert experience.
-
Greek Yogurt Parfait: Layer these bars with tangy Greek yogurt and granola for a deliciously creamy and crunchy treat any time of day!
-
Iced Coffee: The bold flavor of iced coffee contrasts beautifully with the sweet, fudgy bars, making it a delightful pairing for a cozy afternoon.
-
Dark Chocolate Drizzle: A simple touch of melted dark chocolate on top intensifies the chocolatey goodness, taking your bars to another level.
-
Nutty Trail Mix: Serving a scoop of trail mix alongside the bars offers a satisfying crunch while complementing the nutty flavors of the peanut butter.
-
Vanilla Ice Cream: A scoop of velvety vanilla ice cream brings an extra layer of creaminess and temperature contrast to the rich bars, making dessert feel luxurious.
-
Coconut Whipped Cream: A dollop of coconut whipped cream delivers a light and airy finish, balancing the density of the bars with a tropical twist.
Storage Tips for No-Bake Chocolate Peanut Butter Bars
Fridge: Store your bars in an airtight container in the fridge for up to 1 week. This keeps them fresh and easy to grab when cravings hit!
Freezer: For longer storage, freeze the bars for up to 3 months. Wrap them individually in parchment paper for easy access later.
Room Temperature: While it’s best to keep these bars chilled, they can be stored at room temperature for a few hours if you’re serving them at a gathering—just remember to avoid heat!
Reheating: If the bars become too firm after freezing, let them sit at room temperature for 10-15 minutes before enjoying; this enhances the fudgy texture of your no-bake chocolate peanut butter bars.
Make Ahead Options
These Quick No-Bake Chocolate Peanut Butter Bars are perfect for meal prep and can be made up to 3 days in advance. You can prepare the base by mixing the oats, peanut butter, honey or maple syrup, and cocoa powder, then store it in an airtight container in the refrigerator. If you’d like, you can also line your baking dish and press the mixture in place for quicker assembly later. To maintain their deliciousness, chill them properly to ensure they set well before slicing. When you’re ready to enjoy, sprinkle on the chocolate chips and give them a gentle press, then slice and serve! You’ll have a tasty homemade treat ready with minimal last-minute effort.
No-Bake Chocolate Peanut Butter Bars Recipe FAQs
How do I know if the oats I’m using are gluten-free?
Absolutely! When selecting oats, look for the label indicating “gluten-free.” They should be processed in a gluten-free facility to avoid cross-contamination. If in doubt, I often recommend brands like Bob’s Red Mill or McCann’s, which ensure safety for those with gluten sensitivities.
What’s the best way to store leftover No-Bake Chocolate Peanut Butter Bars?
Very! These bars can be stored in an airtight container in the refrigerator for up to one week. For longer storage, wrap each bar in parchment paper and freeze them for up to three months. Just let them thaw for about 10 minutes at room temperature before indulging.
Can I use different nut butters in my recipe?
Yes, you can! If you have nut allergies or simply want a different flavor, almond or cashew butter works great as substitutes. Just ensure they have a similar consistency to peanut butter for the best binding results.
What should I do if my mixture seems too dry?
If you’re finding that your mixture isn’t sticking together well, it may be too dry. Add a tablespoon of honey, maple syrup, or even a splash of non-dairy milk and mix until it becomes more cohesive. This will help achieve the desired fudgy texture.
How do I prevent my bars from sticking to the baking dish?
To ensure easy removal, always line your baking dish with parchment paper, leaving some overhang for easy lifting. Press down firmly during the “Set the Mixture” step to compact the bars well, preventing them from falling apart when cutting.
Are these bars suitable for kids?
Absolutely! These No-Bake Chocolate Peanut Butter Bars are a fantastic snack for kids. They contain wholesome ingredients and are easy to handle. You can also get creative by letting the kids sprinkle their favorite toppings, making it a fun cooking activity!
Sizzle Up Easy Beef Stir Fry with Vegetables Tonight!
Ingredients
Equipment
Method
- Heat olive oil in a wok over medium-high heat.
- Add minced garlic and ginger, sauté for 1 minute.
- Add sliced beef and cook until browned, about 5 minutes.
- Stir in mixed vegetables and soy sauce, cooking until vegetables are tender.
- Serve hot over rice or noodles.
Leave a Reply