
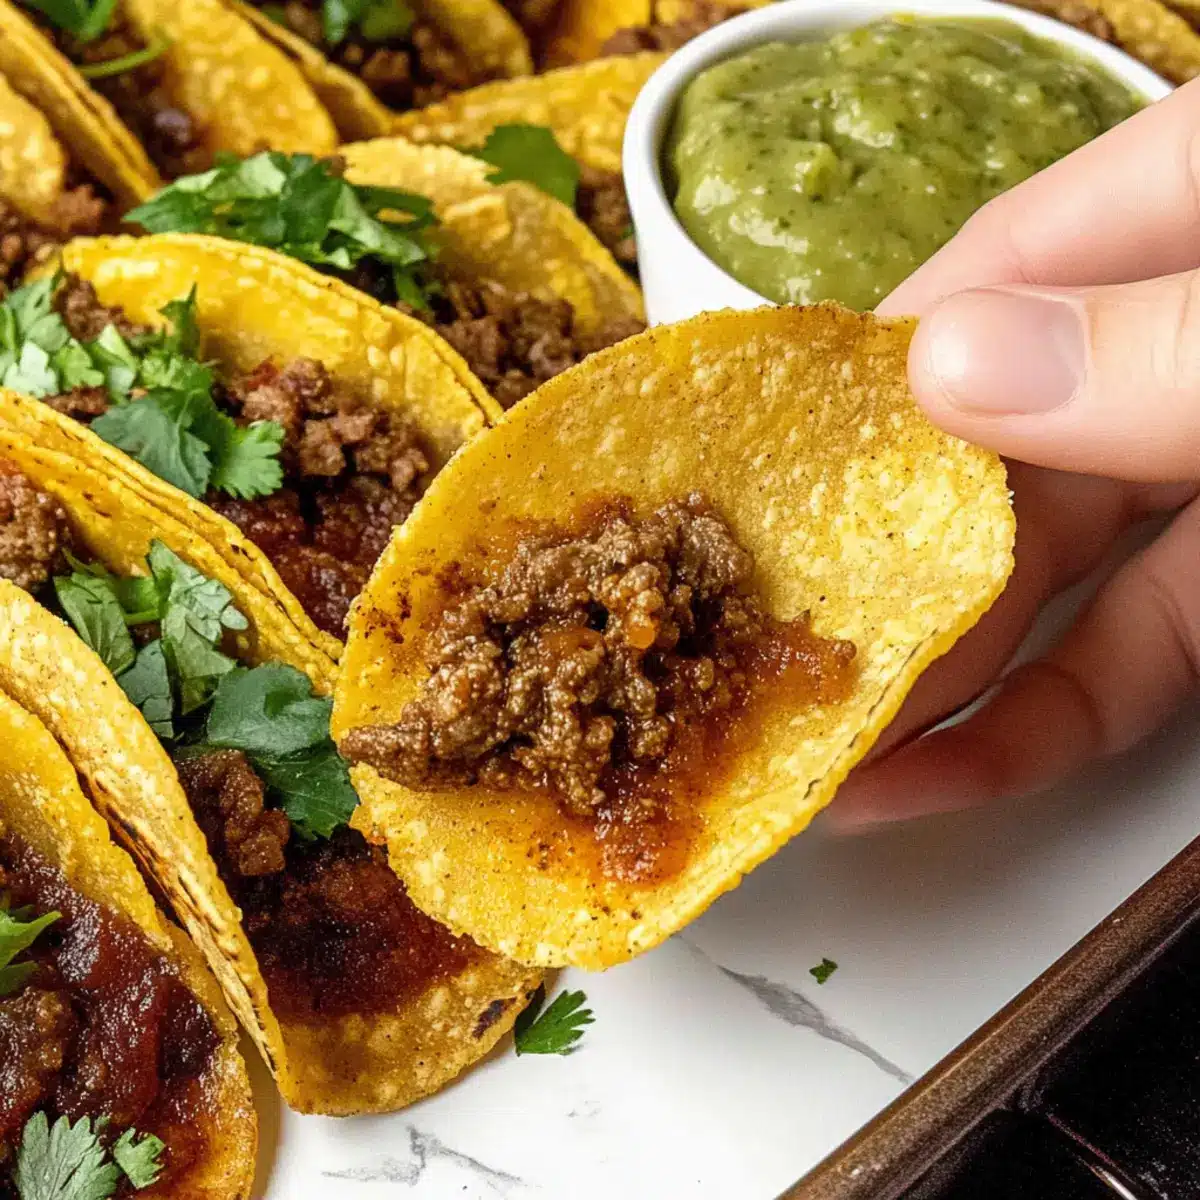
As the tantalizing aroma of spices fills my kitchen, I can’t help but rejoice in the ease of crafting Crispy Baked Beef Tacos. Only 35 minutes stand between me and a flavorful dinner that the whole family will love. Made with six simple ingredients, these tacos offer a mouthwatering crunch and savory filling that make them the perfect weeknight meal. Plus, they’re a healthier twist on the traditional fried tacos, giving you that satisfying texture without the guilt. Paired with your favorite dips like salsa or guacamole, you’ll find dinner is not just a meal but an experience. Are you ready to dive into this Tex-Mex delight and impress your loved ones? Let’s get cooking!
Why Choose Crispy Baked Beef Tacos?
Simplicity: These tacos come together in just 35 minutes, making them a perfect choice for busy weeknights.
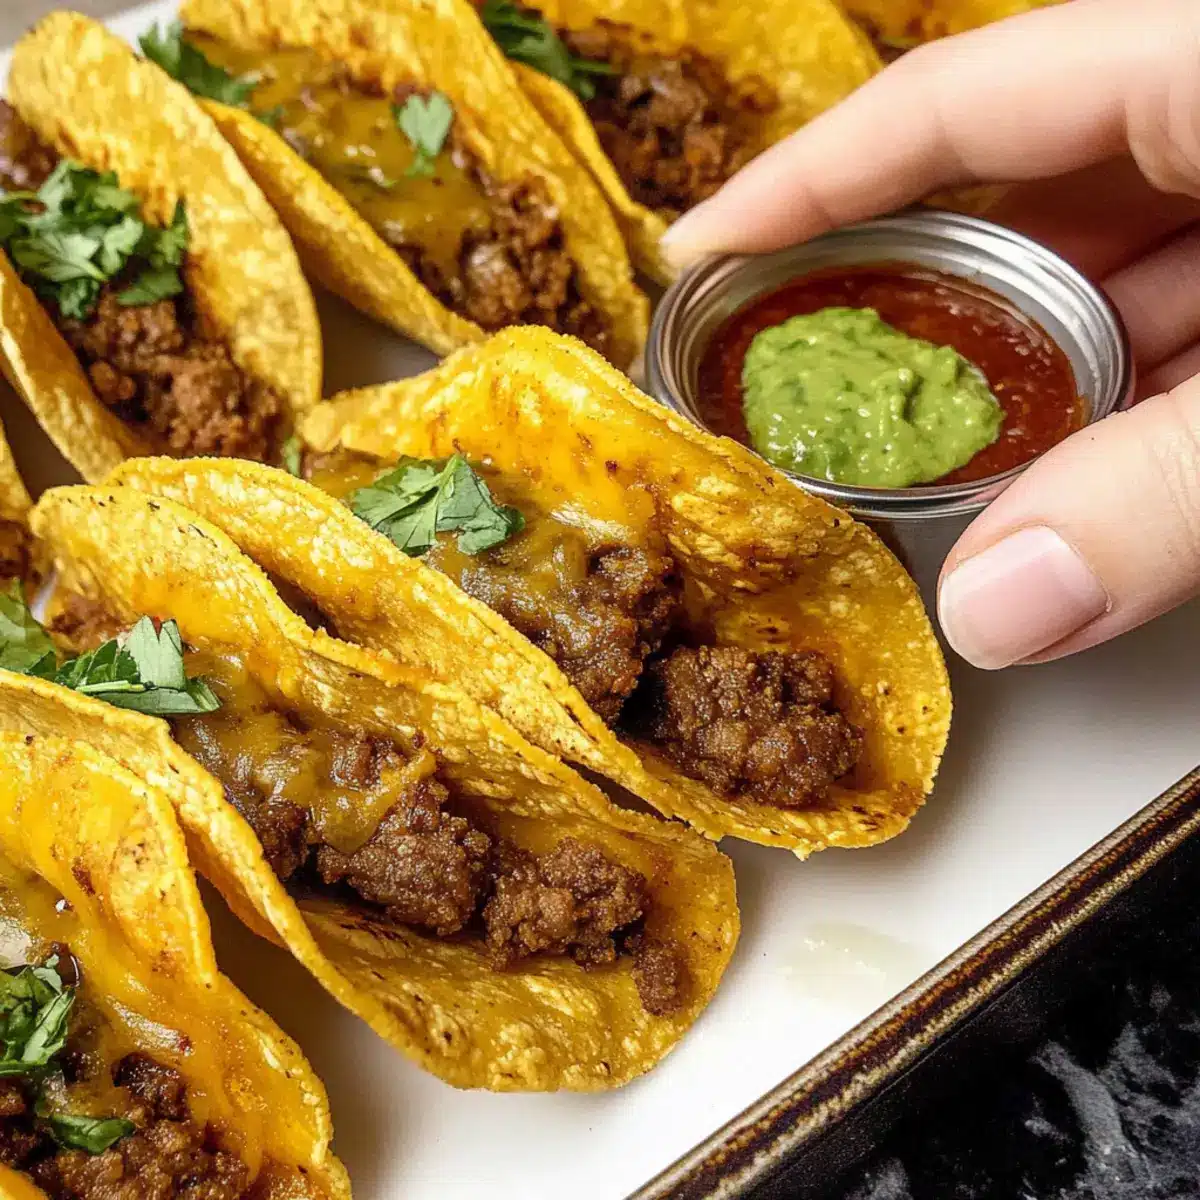
Flavorful: The rich blend of seasoned beef and melty cheese creates a taste sensation that delights the whole family.
Versatility: Feel free to customize with different proteins or extra veggies like bell peppers for a healthy twist.
Crowd-Pleaser: Whether it’s a family dinner or a gathering, they’re sure to impress and satisfy everyone’s cravings.
Healthier Option: Enjoy the crunch without the guilt, offering that favorite fried texture in a much lighter, baked version.
Once you’re hooked on these, you might want to try our Korean Baked Cauliflower or even our flavorful Baked Garlic Parmesan for exciting side dishes!
Crispy Baked Beef Tacos Ingredients
For the Taco Filling
• Ground Beef – A lean choice (90%) provides the essential protein for a delicious filling.
• Taco Seasoning – Infuses the beef with robust flavor; feel free to use homemade or your favorite store-bought blend.
• Red Enchilada Sauce – Adds moisture and depth; swap it with green sauce for a zesty variation.
For the Tacos
• Cheese (Oaxaca or Monterey Jack) – Offers a rich, melty texture for every bite, enhancing the taco experience.
• Corn Tortillas – The perfect base; opt for standard sizes or try flour tortillas for a twist (adjust baking time as needed).
• Olive Oil – Crucial for crisping up the tortillas; helps achieve that satisfying crunch in your crispy tacos.
Delight your family with these Crispy Baked Beef Tacos that are sure to become a beloved weeknight meal!
Step‑by‑Step Instructions for Crispy Baked Beef Tacos
Step 1: Preheat the Oven
Begin by preheating your oven to 450°F (230°C). This high temperature is essential for achieving that crispy texture on your tacos. While the oven heats up, gather your baking sheet and lightly oil it to prevent sticking later.
Step 2: Cook the Ground Beef
In a large skillet over medium-high heat, add your lean ground beef. Cook it for about 5-7 minutes, breaking it apart with a wooden spoon until it’s browned and cooked through. Once it’s perfectly cooked, mix in the taco seasoning and red enchilada sauce. Let this simmer for 2-3 minutes, allowing the flavors to meld, then remove from heat.
Step 3: Prepare the Tortillas
To make your corn tortillas pliable and easy to work with, wrap them in a damp paper towel and microwave for 30-60 seconds. This steaming will ensure they don’t crack when you fill and fold them for your Crispy Baked Beef Tacos, so they stay intact while baking.
Step 4: Oil the Tortillas
Brush one side of each warm tortilla generously with olive oil. Place them on the oiled baking sheet with the oiled sides facing down. This step is crucial for getting that perfect crunch on the outside of your tacos as they bake.
Step 5: Fill the Tortillas
Assemble your tacos by adding about 2 tablespoons of cheese to one side of the tortilla, followed by ¼ cup of the seasoned beef mixture, and topping it off with 2 more tablespoons of cheese. Fold the tortilla over gently to enclose the filling, ensuring to keep all ingredients tucked inside.
Step 6: Bake the Tacos
Arrange the filled tortillas in a single layer on the baking sheet, ensuring they aren’t overlapping. Bake in the preheated oven for about 16 minutes or until they’re beautifully golden and crispy. You’ll know they’re ready when the cheese is bubbling, and the tortillas are nicely browned.
Step 7: Cool and Serve
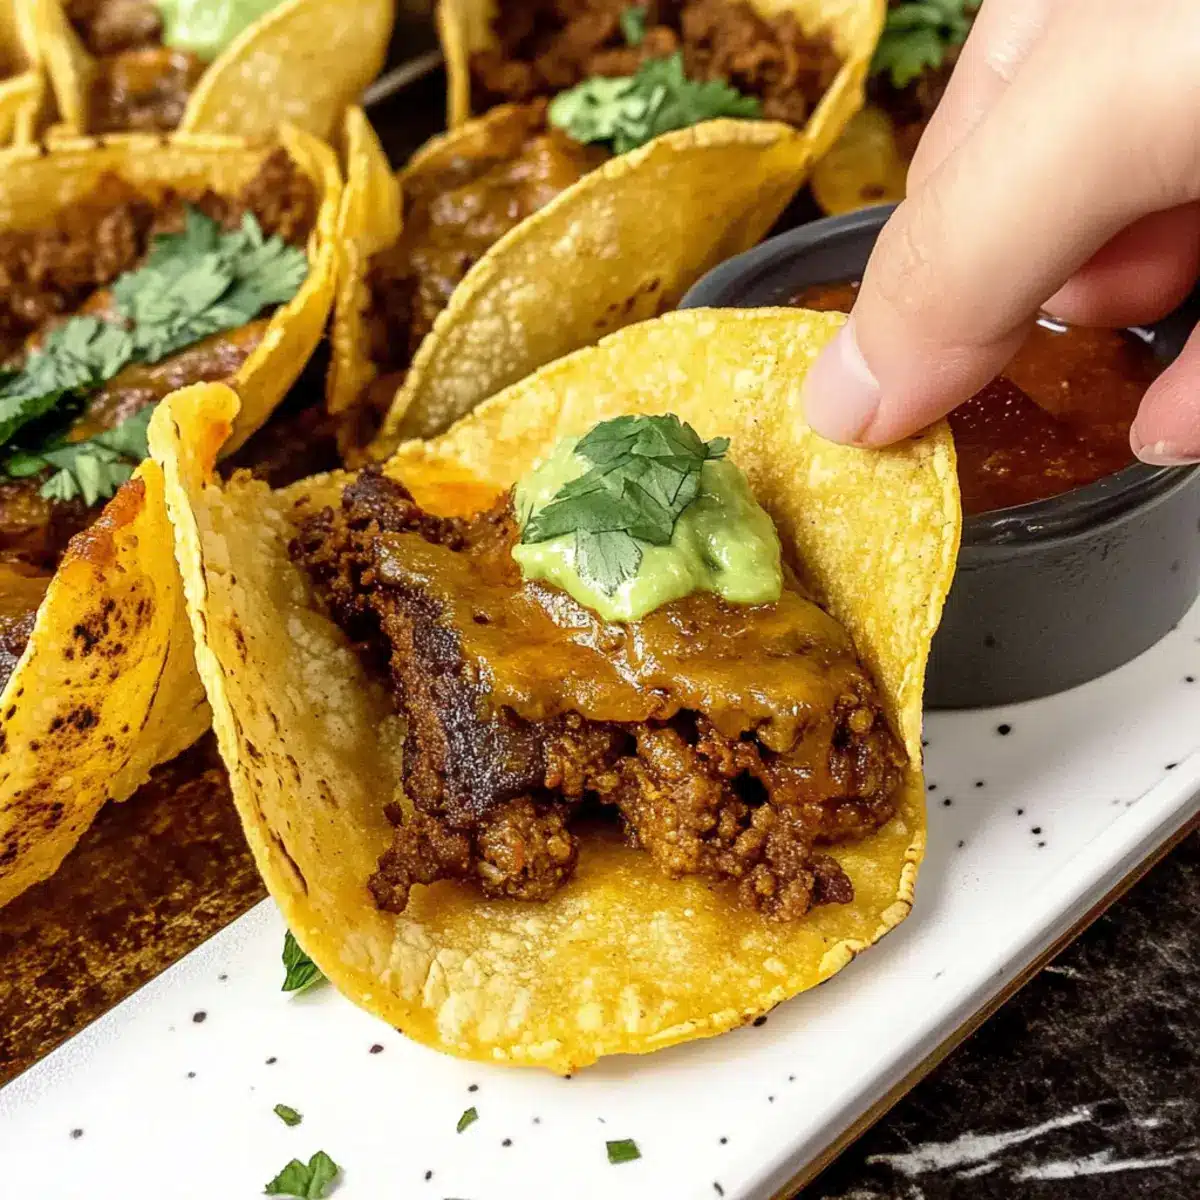
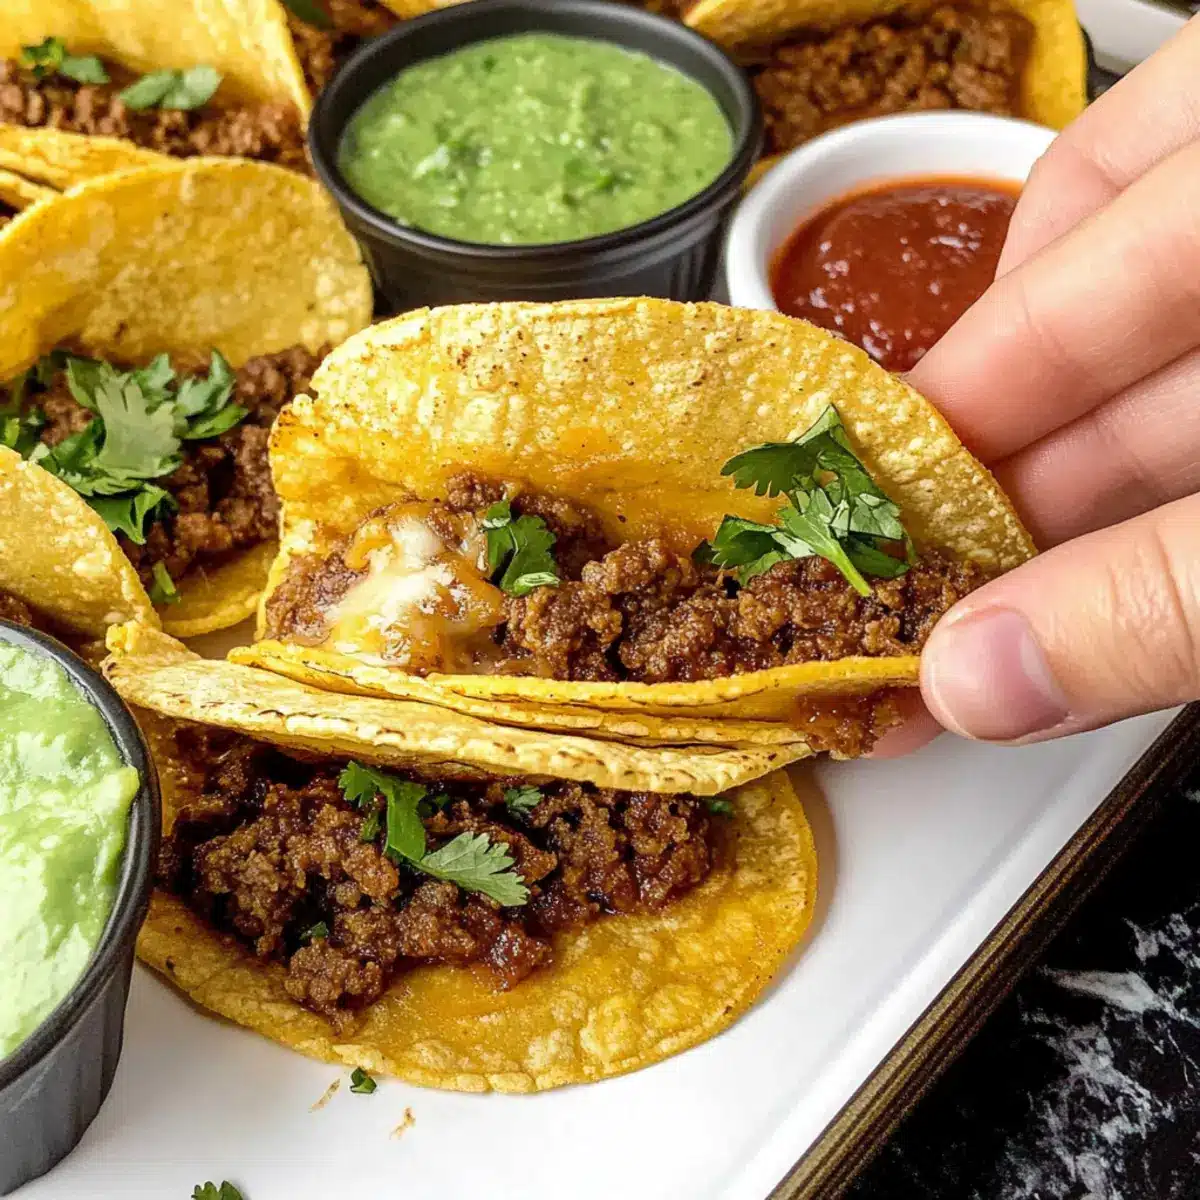
Once your Crispy Baked Beef Tacos are out of the oven, let them cool for about 3 minutes on the baking sheet. This will help them set and allow you to avoid burns while enjoying your meal. Serve with your favorite dips like salsa or guacamole, and relish the delightful crunch and savory goodness!
Crispy Baked Beef Tacos Variations
Feel free to explore these delicious twists and substitutions to make your tacos truly your own!
-
Ground Chicken: Swap out ground beef for ground chicken for a lighter option. The flavor will still shine with taco seasoning.
-
Vegetarian Delight: Use lentils or black beans as a filling for a hearty vegetarian version. Add diced tomatoes for freshness!
-
Cheese Swap: Try using pepper jack for a spicy kick or a tangy feta for something different. Get creative with your cheese choices!
-
Extra Veggies: Mix in sautéed bell peppers, zucchini, or onions with your beef for added texture and nutrition. It’s a great way to sneak in those greens!
-
Heat It Up: Add diced jalapeños into your beef mixture for an extra kick. These will bring a zesty touch to the ensemble.
-
Flour Tortillas: If you prefer a softer option, use flour tortillas instead of corn. Just adjust your baking time slightly for the right crisp!
-
Smoky Flavor: For a deeper flavor, add smoked paprika or chipotle powder to your beef mixture, elevating your cheesy creation to new heights.
-
Tex-Mex Fusion: Top your tacos with a sprinkle of fresh cilantro and a squeeze of lime right before serving. This brightens up the flavors wonderfully!
Once you’re done with these delicious variations, don’t forget to check out our Korean Baked Cauliflower for a delightful side dish or our mouthwatering Mediterranean Baked Cod for a whole new dinner experience!
Expert Tips for Crispy Baked Beef Tacos
-
**Warm Tortillas: ** Make sure to warm the tortillas beforehand to avoid cracking when folding. This ensures they maintain their shape and crunch!
-
**Nonstick Pan: ** Use a nonstick or ceramic baking sheet to prevent sticking. Avoid using foil, as it can inhibit that satisfying crunch.
-
**Cheese Choices: ** Experiment with different cheeses like pepper jack or sharp cheddar to enhance flavor and texture in your Crispy Baked Beef Tacos.
-
Freezing Tacos: If you want to prep ahead, assemble the tacos and freeze them. Just bake from frozen at 400°F for 18-22 minutes when ready to enjoy!
-
**Filling Varieties: ** Don’t hesitate to mix in some veggies like diced bell peppers or onions in the beef mixture for added nutrition and flavor!
-
Adjust Baking Time: If using flour tortillas instead of corn, adjust the baking time to avoid over-crisping. Aim for approximately 12-14 minutes for the best results!
Storage Tips for Crispy Baked Beef Tacos
Fridge: Keep leftover Crispy Baked Beef Tacos in an airtight container for up to 2 days. This helps preserve their flavor and freshness without compromising the delicious crunch.
Freezer: For longer storage, assemble the tacos and freeze them for up to 3 months. Wrap tightly and store in a freezer-safe bag to protect against freezer burn.
Reheating: When ready to enjoy, bake from frozen at 400°F for 18-22 minutes until hot and crispy again. Enjoy your tasty tacos as if they were freshly made!
Room Temperature: If you have any unrefrigerated tacos, consume them within 2 hours to avoid any food safety concerns. Always prioritize enjoying them fresh for the best experience!
What to Serve with Crispy Baked Beef Tacos
Elevate your taco night by exploring delightful accompaniments that enhance flavors and create a memorable feast.
- Zesty Salsa: A fresh, tangy salsa balances the savory beef, adding a burst of flavor in every bite.
- Creamy Guacamole: The smooth texture of guacamole complements the crispy tacos, creating a delightful contrast.
- Mexican Rice: Fluffy rice infused with spices rounds out the meal, providing a wholesome base for all those lovely toppings.
- Charro Beans: These hearty, flavorful beans add a protein-packed side, enriching your dining experience and keeping everyone satisfied.
- Pico de Gallo: A refreshing mix of tomatoes, onions, and cilantro enhances the flavors, adding brightness and a chopped texture to your plate.
- Grilled Corn on the Cob: Sweet, grilled corn drizzled with lime and chili powder brings a smoky sweetness that pairs perfectly with taco night.
- Patio-style Margaritas: A classic drink with zesty lime and a hint of salt makes for a festive accompaniment alongside your tacos.
- Churros: For dessert, indulge in crispy, cinnamon-sugar-coated churros, adding a sweet end to your savory meal.
- Crispy Tortilla Chips: Serve alongside your tacos with a side of salsa or queso for a deliciously crunchy delight.
Make Ahead Options
These Crispy Baked Beef Tacos are fantastic for meal prep enthusiasts! You can prepare the taco filling (ground beef with taco seasoning and enchilada sauce) up to 3 days in advance. Simply store it in an airtight container in the refrigerator to keep it fresh. Additionally, you can also microwave and oil the tortillas the night before for easier assembly. When you’re ready to serve, fill the tortillas with the beef mixture and cheese, then bake for about 16 minutes until crispy. This streamlined process saves you crucial time on busy weeknights, ensuring that your family still enjoys a delightful, homemade meal that’s just as delicious!
Crispy Baked Beef Tacos Recipe FAQs
What kind of ground beef should I use for the tacos?
I highly recommend using lean ground beef, ideally around 90% lean. This ensures a hearty flavor while minimizing excess grease, allowing the taco filling to shine without being overly heavy. If you’re looking for lighter options, ground chicken or turkey can also work beautifully!
How do I properly store leftover tacos?
To keep your Crispy Baked Beef Tacos fresh, store any leftovers in an airtight container in the refrigerator for up to 2 days. Be sure to separate layers with parchment paper to prevent sticking. When you’re ready to enjoy them, simply reheat in the oven or skillet until hot and crispy again!
Can I freeze the assembled tacos? How?
Absolutely! To freeze your assembled tacos, place them on a baking sheet in a single layer and freeze for about 1 hour until firm. Then, transfer them into a freezer-safe bag, ensuring to squeeze out as much air as possible to prevent freezer burn. They can be kept in the freezer for up to 3 months. When you’re ready to eat, bake from frozen at 400°F for 18-22 minutes until crispy.
Why are my tortillas cracking when I fold them?
This can happen if the tortillas are not warmed up enough. To avoid this, wrap your tortillas in a damp paper towel and microwave them for 30-60 seconds until pliable before filling. This step helps them remain flexible and prevents cracking when you fold them over.
Are there any dietary considerations for these tacos?
Definitely! If you’re accommodating allergies or dietary preferences, feel free to substitute the ground beef with lean turkey or even tofu for a vegetarian option. Also, for those gluten-sensitive, make sure to use gluten-free corn tortillas. Always check your seasoning packets for allergens if using store-bought seasoning!
Crispy Baked Beef Tacos Ready in Just 35 Minutes
Ingredients
Equipment
Method
- Preheat your oven to 450°F (230°C) and gather your baking sheet, lightly oiled to prevent sticking.
- In a large skillet over medium-high heat, cook the ground beef for about 5-7 minutes until browned, then mix in taco seasoning and red enchilada sauce; let simmer for 2-3 minutes.
- Wrap corn tortillas in a damp paper towel and microwave for 30-60 seconds to make them pliable.
- Brush one side of each tortilla with olive oil and place them on the baking sheet with the oiled side down.
- Fill each tortilla with about 2 tablespoons of cheese and ¼ cup of seasoned beef mixture, topping with another 2 tablespoons of cheese, then fold gently.
- Bake in the preheated oven for about 16 minutes until golden and crispy, watching for bubbling cheese.
- Let the tacos cool for about 3 minutes on the baking sheet before serving.
Leave a Reply