
As I stood in my kitchen, the sweet scent of vanilla wafted through the air, instantly lifting my mood. It was the day to whip up my beloved Meringue Cookies, those airy delights that always bring a smile to my face. Perfect for special occasions, these gluten-free treats are not only simple to prepare but can also be dressed up in vibrant colors to match any holiday celebration, turning your dessert table into a festive masterpiece. With a prep time of just under 15 minutes, these cookies are a quick triumph for anyone looking to impress guests or sweeten a cozy night at home. Looking to learn how to make these light, melt-in-your-mouth wonders? Let’s dive in!
Why are Meringue Cookies a Must-Try?
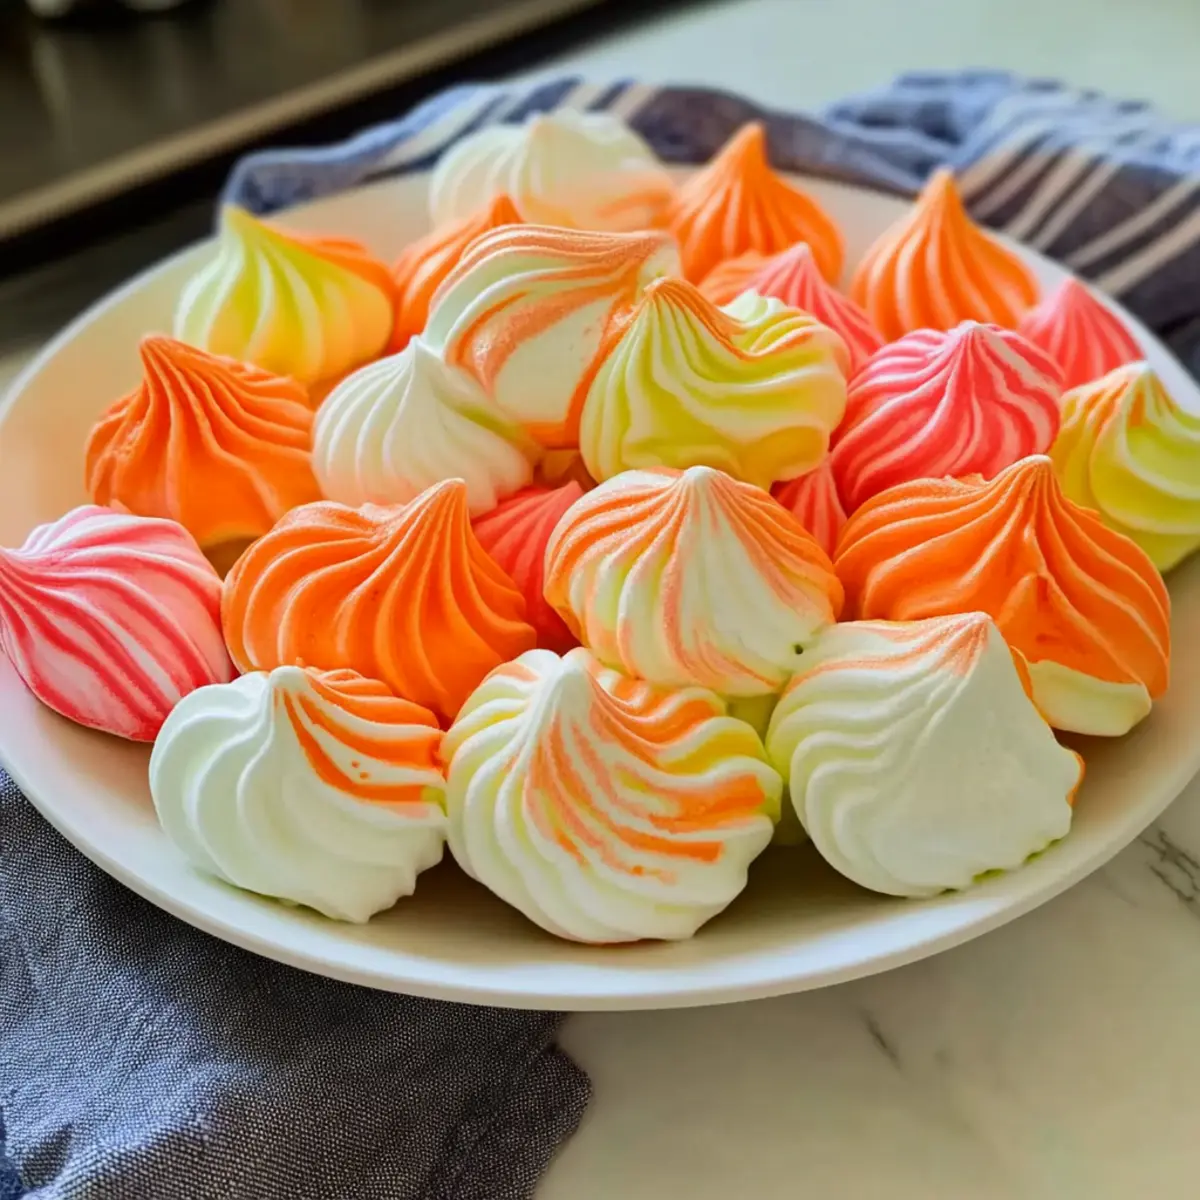
Light, Airy Texture: These cookies melt in your mouth, offering a cloud-like experience that’s irresistible.
Festive Variations: With endless color options, you can personalize them for any holiday, making dessert fun and inviting.
Quick Preparation: Whip up a batch in under 15 minutes—perfect for spontaneous celebrations or satisfying sweet cravings without a fuss.
Gluten-Free Delight: Great for those with dietary restrictions, these treats allow everyone to indulge freely.
Elegant Presentation: Their delicate appearance makes them a stunning addition to any dessert table, impressing guests with minimal effort.
Try pairing them with a cup of tea or coffee for a delightful afternoon treat!
Meringue Cookies Ingredients
For the Meringue
• Egg Whites – Provide structure and volume to the meringue; use fresh, cold eggs for optimal results.
• Vanilla Extract – Adds flavor; substitute with almond or lemon extract for a unique twist.
• Cream of Tartar – Stabilizes egg whites, ensuring better volume.
• Salt – Enhances the overall flavor of the cookies.
• Sugar – Sweetens the meringue and contributes to the crispy texture; superfine sugar dissolves faster for smoother meringue.
For Decoration
• Food Coloring – Used for decorative purposes; opt for gel or liquid food coloring and adjust based on desired intensity.
These Meringue Cookies are not just a treat; they’re a canvas for your creativity!
Step‑by‑Step Instructions for Meringue Cookies
Step 1: Preheat and Prepare
Preheat your oven to 250°F (120°C) and line two baking sheets with parchment paper. This prep step is crucial for making perfect Meringue Cookies, as the parchment will prevent sticking and promote even baking. Ensure your baking sheets are ready to hold all the beautiful meringue shapes you will soon create.
Step 2: Whip the Egg Whites
In a completely clean and dry mixing bowl, combine the egg whites, vanilla extract, cream of tartar, and salt. Use an electric mixer to beat on low speed until the mixture becomes frothy, which should take about 1-2 minutes. This initial bubbly stage is essential for achieving the light, airy texture in your Meringue Cookies.
Step 3: Add Sugar Gradually
Increase the mixer speed to medium-high and gradually add the sugar, one tablespoon at a time. Continue whipping the egg whites for about 7-10 minutes until you achieve stiff, glossy peaks. You’ll know your meringue is ready when it holds its shape and has a shiny appearance. This step is crucial to create the perfect texture for your cookies.
Step 4: Prepare the Piping Bag
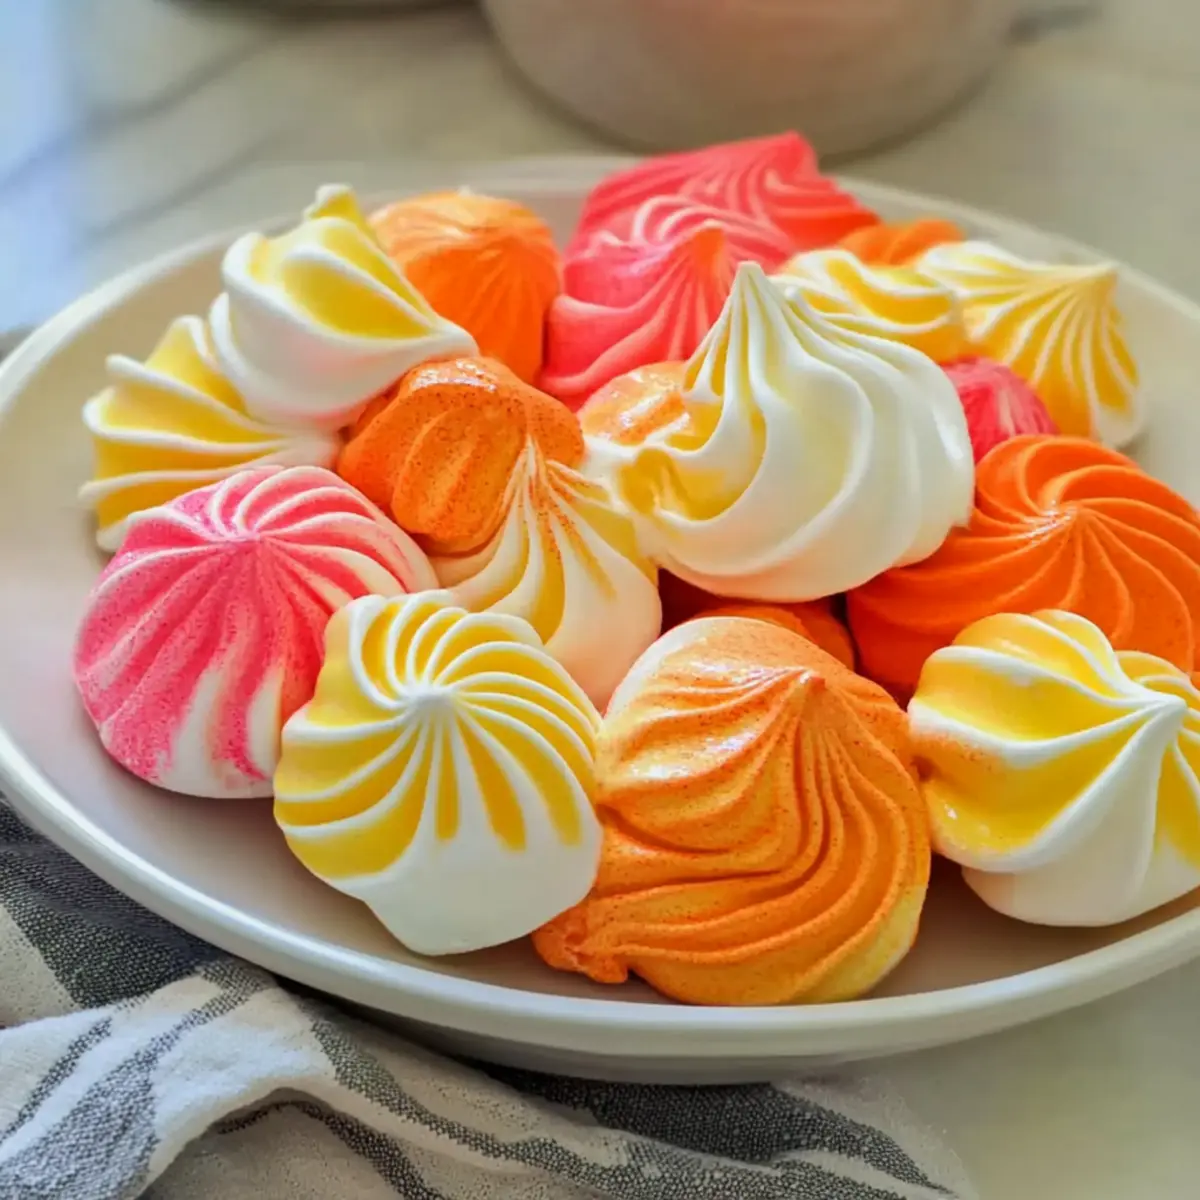
Take a piping bag fitted with a star tip, and drizzle some food coloring along one side of the bag. This technique will give your Meringue Cookies attractive, colorful swirls. Once the food coloring is in place, fill the piping bag with the prepared meringue mixture, ensuring it’s tightly packed for easy piping.
Step 5: Pipe Meringue Shapes
Carefully pipe 2½-inch rounds onto the parchment-lined baking sheets, leaving a little space between each cookie for air circulation. Your Meringue Cookies should be uniform in shape to ensure even baking. This step brings your festive designs to life, showcasing your creativity with every swirl and peak.
Step 6: Bake for Crispiness
Place the baking sheets in the preheated oven and bake for 45 minutes. After this time, turn off the oven but leave the cookies inside to dry for an additional 1-2 hours. This finishing touch is key to achieving that delightful crisp exterior while keeping the meringues beautifully soft and airy inside.
Step 7: Cool and Store
Once the Meringue Cookies have dried and cooled completely, carefully transfer them to an airtight container. Separate layers with parchment or wax paper to prevent sticking. Proper storage is essential, as these delicate treats can stay fresh for up to two weeks at room temperature, allowing you to enjoy them at your leisure.
How to Store and Freeze Meringue Cookies
Airtight Container: Store your Meringue Cookies in an airtight container at room temperature for up to two weeks to maintain their crispy texture.
Layer with Parchment Paper: To prevent sticking, separate layers of cookies with parchment or wax paper. This will ensure each cookie stays intact and ready for enjoyment.
Freezing: If you want to keep them longer, freeze the cookies in airtight containers for up to 3 months. To thaw, simply leave them at room temperature; no need to remove from the container.
Reheating: If your Meringue Cookies lose their crispness, re-bake them at 250°F for 10 minutes to restore that delightful crunch.
What to Serve with Festive Meringue Cookies
Elevate your dessert experience with delightful accompaniments that enhance every bite of these light, sweet treasures.
-
Fresh Berries: The tartness of berries balances the sweetness of the cookies, adding a refreshing contrast.
-
Whipped Cream: A dollop of lightly sweetened whipped cream adds creaminess and richness, perfect for dipping the airy meringues.
-
Chocolate Ganache: Drizzle some smooth chocolate ganache for a decadent touch; the combination of crisp and creamy is divine.
-
Sparkling Wine: Pair with bubbly prosecco; the effervescence pops against the sweetness, making it ideal for celebrations.
-
Coffee or Espresso: A warm cup of coffee balances the cookies’ lightness, offering a comforting contrast that invites more bites.
-
Homemade Lemon Curd: The citrusy tang brings a bright flavor that cuts through the sweetness, creating a sophisticated dessert experience.
-
Toasted Nuts: Serve alongside salted almonds or pistachios for a crunchy texture contrast that compliments the meringue’s delicate nature.
-
Fruit Sorbet: A scoop of fruit sorbet offers a cold, refreshing palate cleanser to enjoy alongside your festive treats.
These pairings will not only enhance your festive meringue cookies but also create memorable moments at your dessert table!
Meringue Cookies: Fun Variations
Feel free to let your creativity shine by customizing your Meringue Cookies into delightful variations!
-
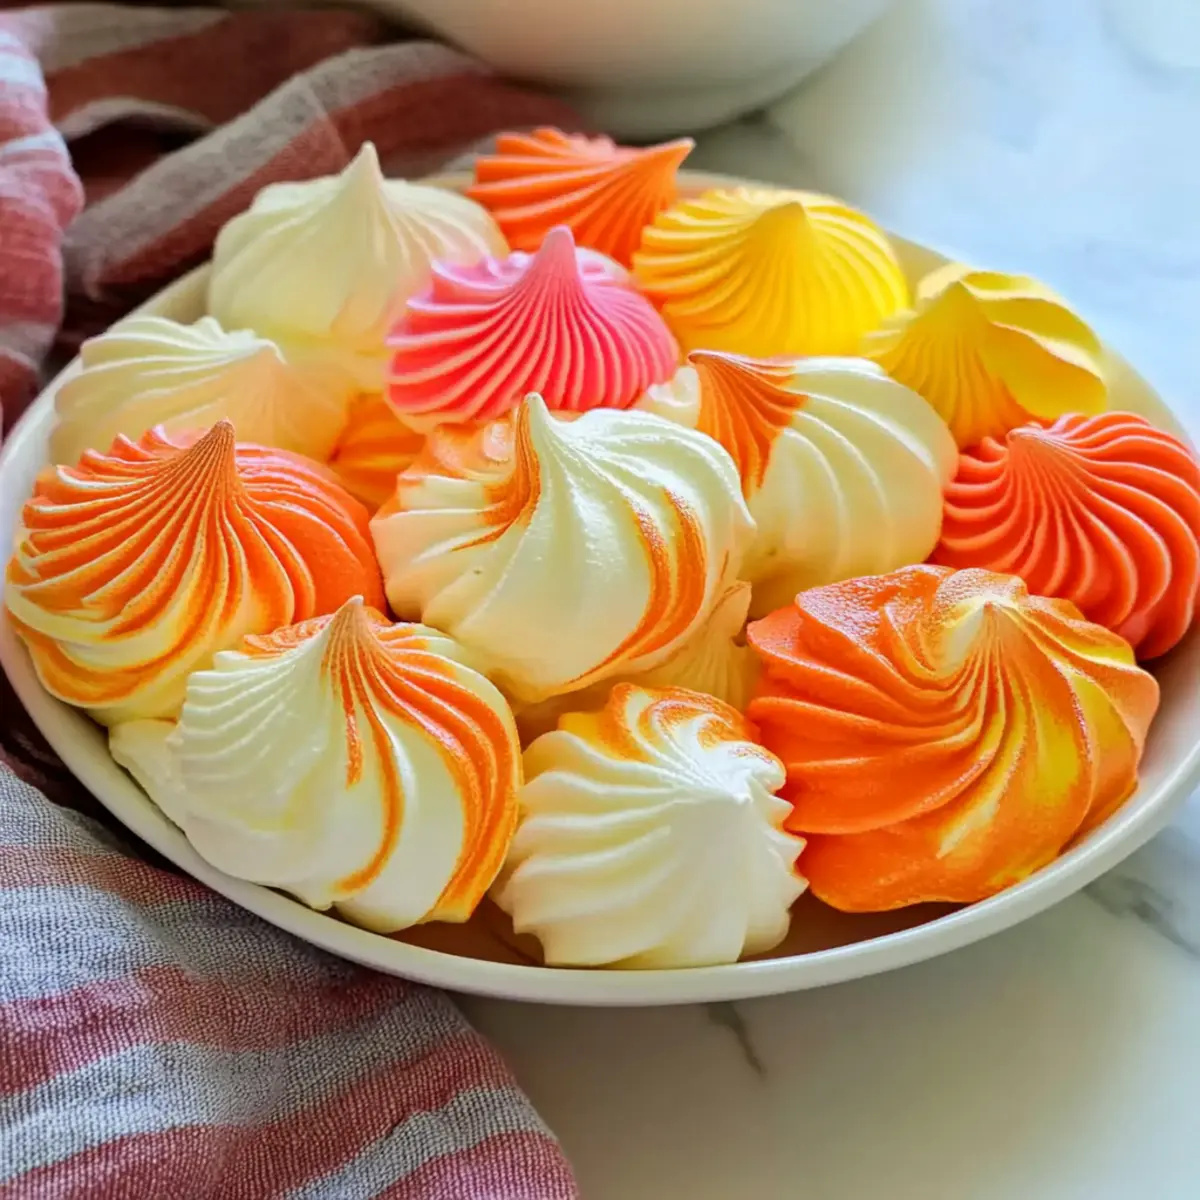
Festive Colors: Mix different food coloring shades for holidays like Christmas or Easter, creating vibrant treats that match the celebration’s spirit.
-
Flavor Infusions: Try adding cocoa powder for a chocolate version or brown sugar for a hint of caramel, resulting in a delightful twist on the classic flavor.
-
Nutty Delights: Fold in finely chopped nuts after whipping the egg whites for added crunch and richness—the nutty flavor complements the airy texture beautifully.
-
Swirled Beauties: Create stunning swirled meringues by lightly folding two contrasting colors of meringue together before piping. This not only looks appealing but adds a delicious contrast in flavor.
-
Seasonal Extracts: Substitute vanilla with seasonal extracts like peppermint for winter holidays or coconut for summer-themed treats, making your cookies resonate with the season’s spirit.
-
Add a Kick: For those who enjoy a little heat, sprinkle cayenne or chili powder into the meringue mix before whipping. Just a pinch can add a surprising yet delightful kick!
-
Chocolate Dipped: After baking, dip half of each cookie in melted dark or white chocolate for a luxurious twist, turning your treats into gourmet delights.
-
Mini Meringues: Pipe smaller, bite-sized meringues instead of the standard size for a fun and easy-to-eat version, perfect for snacking or as toppings for desserts like ice cream.
Experiment with these variations to create your own signature meringue masterpiece! And if you’re feeling adventurous, why not try pairing these cookies with a delicious cup of tea or check out how to make a perfect Angel Food Cake for a delightful dessert combination? Happy baking!
Expert Tips for Meringue Cookies
Clean Utensils Matter: Ensure all bowls and beaters are squeaky clean and dry; even a small amount of grease can prevent egg whites from whipping properly.
Room Temperature Eggs: For best results, use room temperature egg whites. Cold eggs won’t whip to their full potential, leading to flat cookies.
Avoid Sugar Clumps: Gradually adding sugar not only ensures it dissolves well but also helps achieve that signature glossy finish in your Meringue Cookies.
Watch for Stiff Peaks: When your egg whites reach stiff peaks, they should stand tall and not fall back into the bowl. This is crucial for the perfect texture.
Perfect Drying Time: Allow cookies to dry in the oven after baking. This step creates the delightful crispy shell that contrasts with the soft interior!
Make Ahead Options
Meringue Cookies are ideal for meal prep, allowing you to enjoy these delightful treats with minimal last-minute effort! You can whip up the meringue (without baking) up to 24 hours in advance and refrigerate it in an airtight container. Just be sure to keep it tightly sealed to prevent any moisture, which can ruin the texture. On baking day, simply pipe the meringue onto prepared sheets as instructed and bake them fresh! If you’d like to prepare the cookies even further in advance, you can also store baked Meringue Cookies in an airtight container at room temperature for up to 2 weeks—they’ll still be just as delicious and crisp when it’s time to serve. This way, you can enjoy your festive treats whenever the occasion arises!
Meringue Cookies Recipe FAQs
How do I select ripe eggs for Meringue Cookies?
Absolutely! For the best results, use fresh, cold eggs. Cold egg whites whip better than room temperature ones. Nevertheless, if you accidentally use room temperature eggs, that’s okay; just make sure they are free of any yolk, as that could prevent proper whipping.
How should I store Meringue Cookies?
You should store your Meringue Cookies in an airtight container at room temperature for up to two weeks. To keep them from sticking together, be sure to layer them with parchment or wax paper—this way, each cookie remains beautiful and intact.
Can I freeze Meringue Cookies?
Yes, you can! To freeze your Meringue Cookies, place them in an airtight container with sheets of parchment paper between layers to avoid sticking. They’ll last for up to 3 months in the freezer. When you’re ready to enjoy them, simply let them thaw at room temperature, keeping them inside the container for freshness.
What do I do if my meringues are sticky or chewy?
If your Meringue Cookies are sticky or chewy, don’t fret! You can re-bake them at 250°F for about 10 minutes. This will help restore their crispy texture. Just ensure they cool completely afterwards before storing them again.
Are Meringue Cookies safe for pets or anyone with allergies?
While Meringue Cookies are gluten-free and low-fat, they are primarily made of sugar and egg whites. It’s not recommended for pets, specifically dogs or cats, since the sugar content can be harmful. If you have allergies, especially to eggs, it’s best to avoid them altogether. Always consult with a medical professional if unsure!
Can I use different extracts in my Meringue Cookies?
Very! You can customize the flavor of your Meringue Cookies easily. While vanilla extract is traditional, feel free to experiment with almond or lemon extracts for a delightful twist. Just keep in mind that the flavor intensity may vary, so start with a smaller amount and adjust to taste!
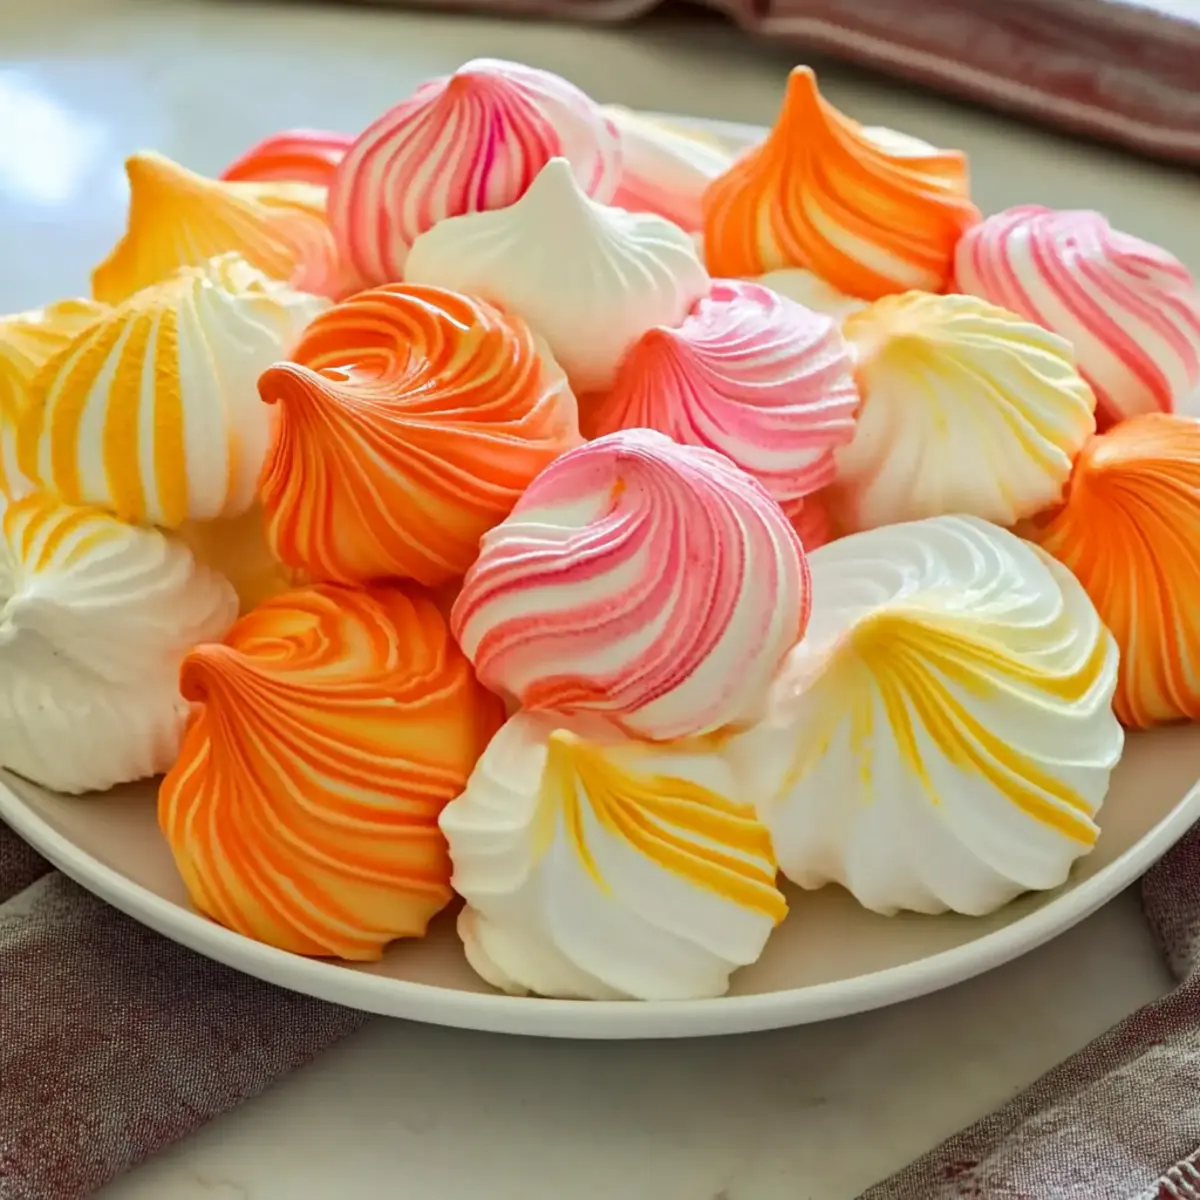
Delicious Homemade Meringue Cookies for Every Celebration
Ingredients
Equipment
Method
- Preheat oven to 250°F (120°C) and line two baking sheets with parchment paper.
- In a clean bowl, combine egg whites, vanilla extract, cream of tartar, and salt. Beat on low speed until frothy (1-2 minutes).
- Increase mixer speed to medium-high and gradually add sugar, whipping for about 7-10 minutes until stiff peaks form.
- Prepare a piping bag fitted with a star tip, drizzle food coloring along one side, then fill with meringue.
- Pipe 2½-inch rounds onto prepared sheets, leaving space between each.
- Bake for 45 minutes, then turn off oven and let cookies dry inside for 1-2 hours.
- Transfer cooled cookies to an airtight container, using parchment paper between layers to prevent sticking.
Leave a Reply