
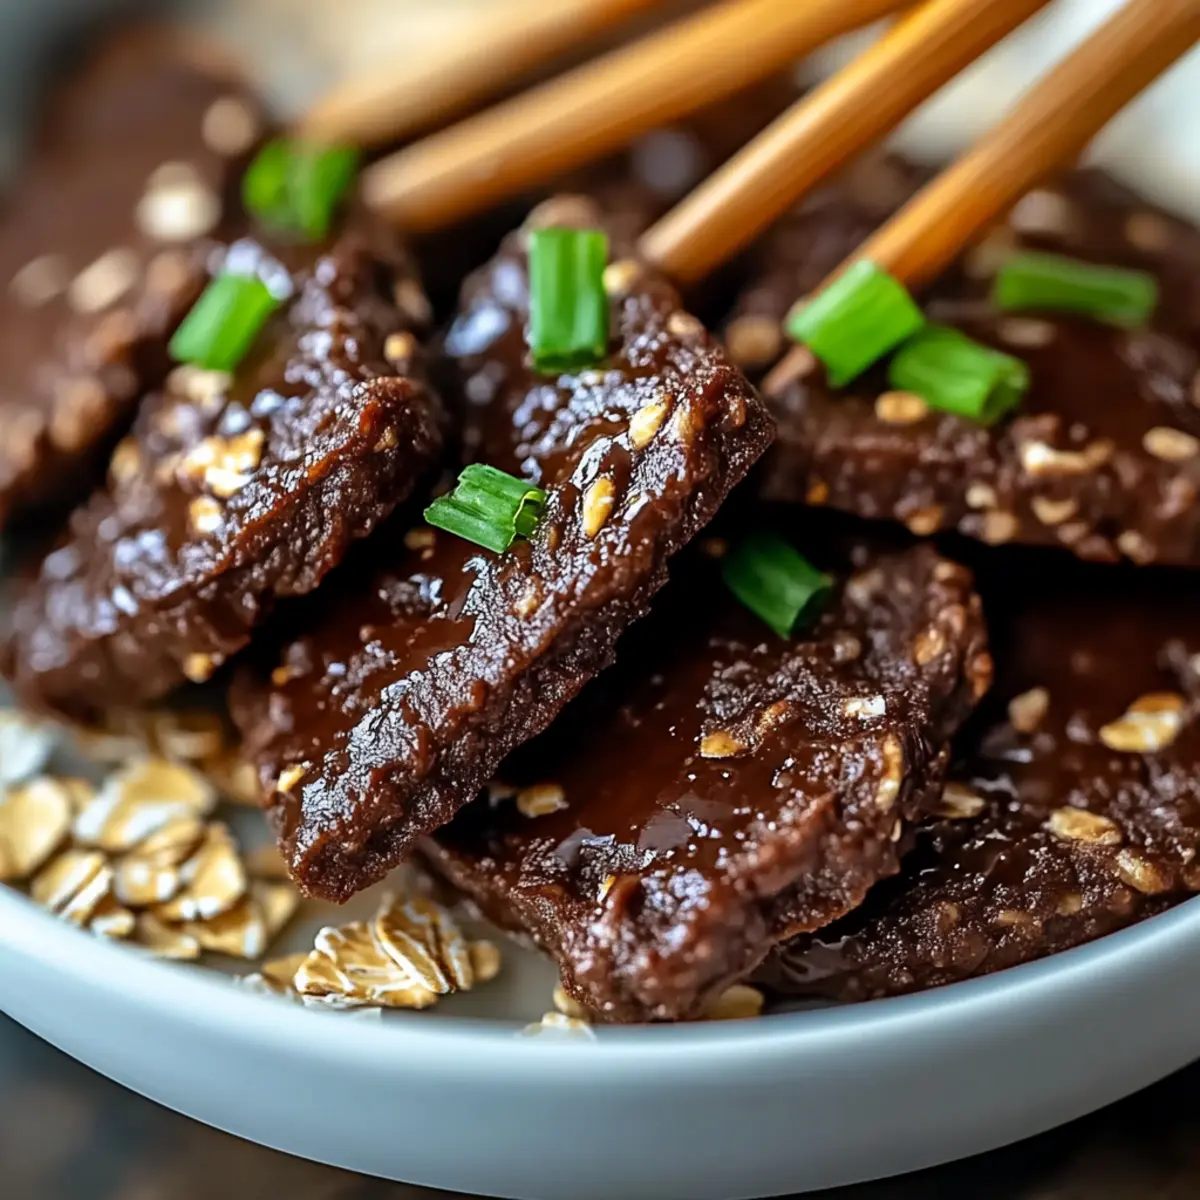
As I rummaged through my pantry one afternoon, I stumbled upon a forgotten stash of oats, peanut butter, and dark chocolate—ingredients just waiting to be transformed into something magical. That’s when I decided to whip up these 3-Ingredient No-Bake Chocolate Oat Cookies. Not only do they offer a scrumptious blend of rich chocolate and hearty oats, but they’re also ideal for anyone looking for a quick, gluten-free treat that doesn’t skimp on flavor. Simple to make, this recipe is a game-changer for busy days, allowing you to have a healthy snack ready in no time. Whether you need a mid-afternoon pick-me-up or a post-workout boost, these cookies deliver on taste and satisfaction. Curious how such deliciousness can come from just three ingredients? Let’s dive in!
Why are these cookies a must-try?
Quick to Prepare: These no-bake chocolate oat cookies can be ready in just 30 minutes, making them the perfect last-minute treat.
Three Ingredients: With just three simple ingredients, you can create a deliciously satisfying snack without a long shopping list or complicated techniques.
Nutritious Benefits: Loaded with fiber and protein, each cookie offers a guilt-free indulgence while keeping you energized throughout the day.
Versatile Flavor: Feel free to experiment with different nut butters or add-ins like dried fruits to tailor these cookies to your taste—deliciously unique every time!
Whether you’re looking for a healthy snack to replace fast food or simply craving something sweet, these cookies hit the spot. You can also enjoy them alongside Gordon Ramsay Beef or High Protein Beef dishes for a well-rounded meal that satisfies and delights.
Chocolate Oat Cookies Ingredients
• Here are the simple ingredients you’ll need to create these delightful treats!
For the Cookies
- Gluten-Free Oats – These provide the chewy base for your cookies while meeting dietary needs.
- Peanut Butter – Acts as the creamy binder; feel free to substitute with almond butter or sunflower seed butter for nut-free options.
- Dark Chocolate – Adds that rich sweetness; you can also use chocolate chips or cocoa powder depending on your taste preferences.
These chocolate oat cookies are not just easy to make but guaranteed to satisfy your sweet cravings in a healthier way!
Step‑by‑Step Instructions for 3-Ingredient No-Bake Chocolate Oat Cookies
Step 1: Prepare the Oat Mixture
In a mixing bowl, combine one cup of gluten-free oats and one cup of peanut butter. Use a sturdy spatula to mix vigorously until the oats and peanut butter are fully integrated, forming a sticky but cohesive mixture. This should take about 2-3 minutes, and it will look thick and slightly clumpy.
Step 2: Melt the Chocolate
In a microwave-safe bowl, measure one cup of dark chocolate. Microwave the chocolate on medium power in 30-second intervals, stirring after each interval, until it’s completely melted and smooth—this should take around 1-2 minutes. Avoid overheating to keep the chocolate from burning; you want it glossy and fluid for mixing with the oat base.
Step 3: Combine Chocolate and Oats
Once your dark chocolate is melted, remove it from the microwave and pour it into the oat mixture. Stir well to ensure that all the oats are coated evenly with chocolate; this step will take about 2 minutes. The result should be a rich, chocolatey mixture that is both sticky and deliciously aromatic.
Step 4: Scoop and Shape Cookies
Using a spoon or a cookie scoop, portion out the oat-chocolate mixture and place it on a sheet of parchment paper. Shape each scoop into a round cookie about 1-2 inches in diameter. Leave some space between each cookie to account for their slight expansion as they set. Aim to have around 12-15 cookies before moving to the next step.
Step 5: Refrigerate to Set
Once all cookies are shaped, place the tray in the refrigerator and let them chill for at least 30 minutes. This will help the cookies firm up and hold their shape. After this time, they should feel solid to the touch but still have a flavorful, chewy texture at their core.
Step 6: Store and Enjoy
After the cookies have set, enjoy immediately or transfer them to an airtight container. Keep your 3-Ingredient No-Bake Chocolate Oat Cookies refrigerated, and they will stay fresh for up to one week. These cookies make for an easy, healthy snack, perfect for busy days or satisfying sweet cravings!
How to Store and Freeze Chocolate Oat Cookies
Fridge: Keep your chocolate oat cookies in an airtight container in the refrigerator for optimal freshness, where they will last for up to one week.
Freezer: For longer storage, freeze the cookies in a single layer on a baking sheet, then transfer them to a zip-top bag. They can be frozen for up to three months.
Thawing: To enjoy your frozen chocolate oat cookies, simply remove them from the freezer and let them thaw at room temperature for about 15–20 minutes before serving.
Reheating: If you prefer them slightly warm, pop them in the microwave for 10–15 seconds. Enjoy your healthy snack whenever the craving strikes!
Make Ahead Options
These 3-Ingredient No-Bake Chocolate Oat Cookies are perfect for meal prep enthusiasts! You can prepare the oat and peanut butter mixture up to 24 hours in advance by combining one cup of gluten-free oats and one cup of peanut butter in a mixing bowl and storing it in the refrigerator. The chocolate can be melted ahead as well, just be sure to let it cool before mixing. When you’re ready to finish, simply combine the cooled chocolate with the oat mixture, scoop onto parchment paper, and refrigerate until firm. This way, you’ll have delicious, healthy cookies ready to enjoy with minimal last-minute effort!
What to Serve with 3-Ingredient No-Bake Chocolate Oat Cookies
Satisfying and sweet, these delicious cookies make for an effortless treat—elevate your snacking experience with perfect pairings!
- Creamy Yogurt: A dollop of Greek yogurt offers a tangy contrast, balancing the sweetness of the cookies beautifully.
- Fresh Berries: Juicy strawberries or blueberries bring a burst of freshness, enhancing the chewy chocolatey indulgence in every bite.
- Nut Butter Dip: Serve alongside a small bowl of your favorite nut butter for a delightful flavor boost and extra protein punch.
- Smoothie Bowl: A fruity smoothie topped with sliced banana and granola can complement the cookies, providing a refreshing and filling breakfast option.
- Chilled Milk: A classic glass of cold milk pairs wonderfully, making each bite of your chocolate oat cookies even more satisfying and nostalgic.
- Dark Chocolate Drizzle: If you crave more chocolate, drizzle some melted dark chocolate over the cookies for an added elevated touch of decadence.
- Herbal Tea: Sip on a warm cup of chamomile or peppermint tea for a calming pairing that rounds out the sweetness with herbal notes.
- Trail Mix: Enjoy a handful of trail mix on the side, adding crunch and a variety of flavors that contrast the softness of your cookies.
- Banana Ice Cream: Top off your treat with a scoop of banana ice cream for a creamy cool-down that’s both delicious and guilt-free.
Tips for the Best Chocolate Oat Cookies
-
Melt Carefully: Make sure to melt the dark chocolate slowly; overheating can cause it to burn and lose that rich flavor essential for your cookies.
-
Texture Adjustment: If the mixture seems too dry, add a splash of milk. This creates a perfect consistency for your chocolate oat cookies without sacrificing healthiness.
-
Chill Time: Don’t skip the refrigeration step! Allowing the cookies to chill for at least 30 minutes ensures they firm up nicely and maintain their shape.
-
Freshness Tip: Store your cookies in an airtight container in the refrigerator for up to one week. They’ll stay fresh and delicious, ready for whenever that sweet craving strikes!
-
Experimentation: Feel free to swap out peanut butter for almond or sunflower butter depending on your nut preferences, making your chocolate oat cookies uniquely yours!
Variations & Substitutions for Chocolate Oat Cookies
Feel free to indulge your creativity and customize these cookies to your liking for a delightful twist on this simple recipe!
-
Nut-Free Alternative: Use sunflower seed butter instead of peanut butter to cater to nut allergies. This nut-free option maintains that creamy texture everyone loves.
-
Fruit Explosion: Mix in dried fruits like cranberries or apricots to add a chewy texture and a burst of sweetness. It’s a great way to include fruity flavors in each bite!
-
Chocolate Change-Up: Substitute the dark chocolate for milk chocolate or white chocolate for a sweeter taste profile. Each variety offers a unique twist that can have different appeal to chocolate lovers.
-
Spice it Up: Incorporate a pinch of cinnamon or nutmeg for a warm flavor enhancement. These spices can elevate your cookies, making them perfect for cozy evenings.
-
Cookie Crunch: Add chopped nuts (like almonds or walnuts) to introduce a crunchy texture for those who enjoy a bit more bite in their snacks. The added crunch complements the chewy oats beautifully.
-
Health Boost: Stir in some chia seeds or flaxseeds for an extra nutritional punch. These superfoods not only enhance texture but also boost the health benefits of your cookies.
-
Texture Twist: Experiment by adding a splash of almond milk if the mixture feels too dense. This will help you achieve a light and fluffy texture, perfect for anyone who enjoys softer cookies.
These variations ensure that these chocolate oat cookies remain a versatile and exciting treat. While you’re at it, don’t forget to try these delicious cookies next to some Cheesy Ground Beef or enjoy them alongside Beef Bourguignon Julia for a beautifully comforting meal!
3-Ingredient No-Bake Chocolate Oat Cookies Recipe FAQs
How do I choose gluten-free oats?
Absolutely! When selecting gluten-free oats, look for packages that are clearly labeled as “gluten-free,” ensuring they haven’t been cross-contaminated. Check for a certification mark on the label, which guarantees their purity.
What is the best way to store these cookies?
To keep your chocolate oat cookies fresh, store them in an airtight container in the refrigerator. They will last for up to one week, maintaining their chewy texture. If you find yourself with leftovers, make sure to seal them tightly to prevent them from absorbing moisture or odors from your fridge.
Can I freeze chocolate oat cookies?
Yes, you can freeze these delicious cookies! Here’s how: First, place the shaped cookies in a single layer on a baking sheet lined with parchment paper and freeze them until solid. Then, transfer the cookies to a zip-top bag, removing as much air as possible, and store them in the freezer for up to three months. When you’re ready for a treat, just let them thaw at room temperature for 15–20 minutes.
What if my mixture is too dry?
If you find that your oat and peanut butter mixture is too dry to hold together, don’t fret! Simply add a splash of milk or a little extra peanut butter to achieve the desired consistency. Mix thoroughly until everything is well incorporated, making it easier to scoop and shape your cookies.
Are these cookies safe for kids or people with allergies?
Always consider dietary restrictions! These no-bake chocolate oat cookies can be made nut-free by using sunflower seed butter instead of peanut butter. Just double-check for any additional allergies related to oats or other ingredients. They make a fun and healthy snack for kids, but monitor their portion sizes, especially if they have nut allergies or sensitivities.
Irresistible Korean Beef Bulgogi: Quick & Flavorful Meal
Ingredients
Equipment
Method
- In a mixing bowl, combine gluten-free oats and peanut butter. Mix until fully integrated.
- In a microwave-safe bowl, melt dark chocolate in 30-second intervals, stirring until smooth.
- Pour the melted chocolate into the oat mixture. Stir well to coat all oats evenly.
- Portion out the oat-chocolate mixture onto parchment paper and shape into cookies.
- Refrigerate the tray for at least 30 minutes to allow cookies to firm up.
- Once set, enjoy or store in an airtight container in the refrigerator.
Leave a Reply