
The first bite sends you spiraling into a creamy dreamland, where the rich flavors of Biscoff whisk you away to a cozy café on a sun-soaked afternoon. That’s the magic of my No-Churn Homemade Biscoff Ice Cream! With just 15 minutes of prep time and no ice cream machine needed, this recipe invites anyone, from busy parents to kitchen novices, to whip up a delightful treat. Not only is it a simple indulgence that you can make ahead for gatherings, but it also bursts with the sweet, caramelized notes of crunchy Biscoff cookie pieces and swirls of velvety cookie butter. The beauty lies in its ease and charm—who can resist a dessert that feels like a luxurious scoop from an ice cream shop but is made right at home? Are you ready to dive into this creamy sensation?
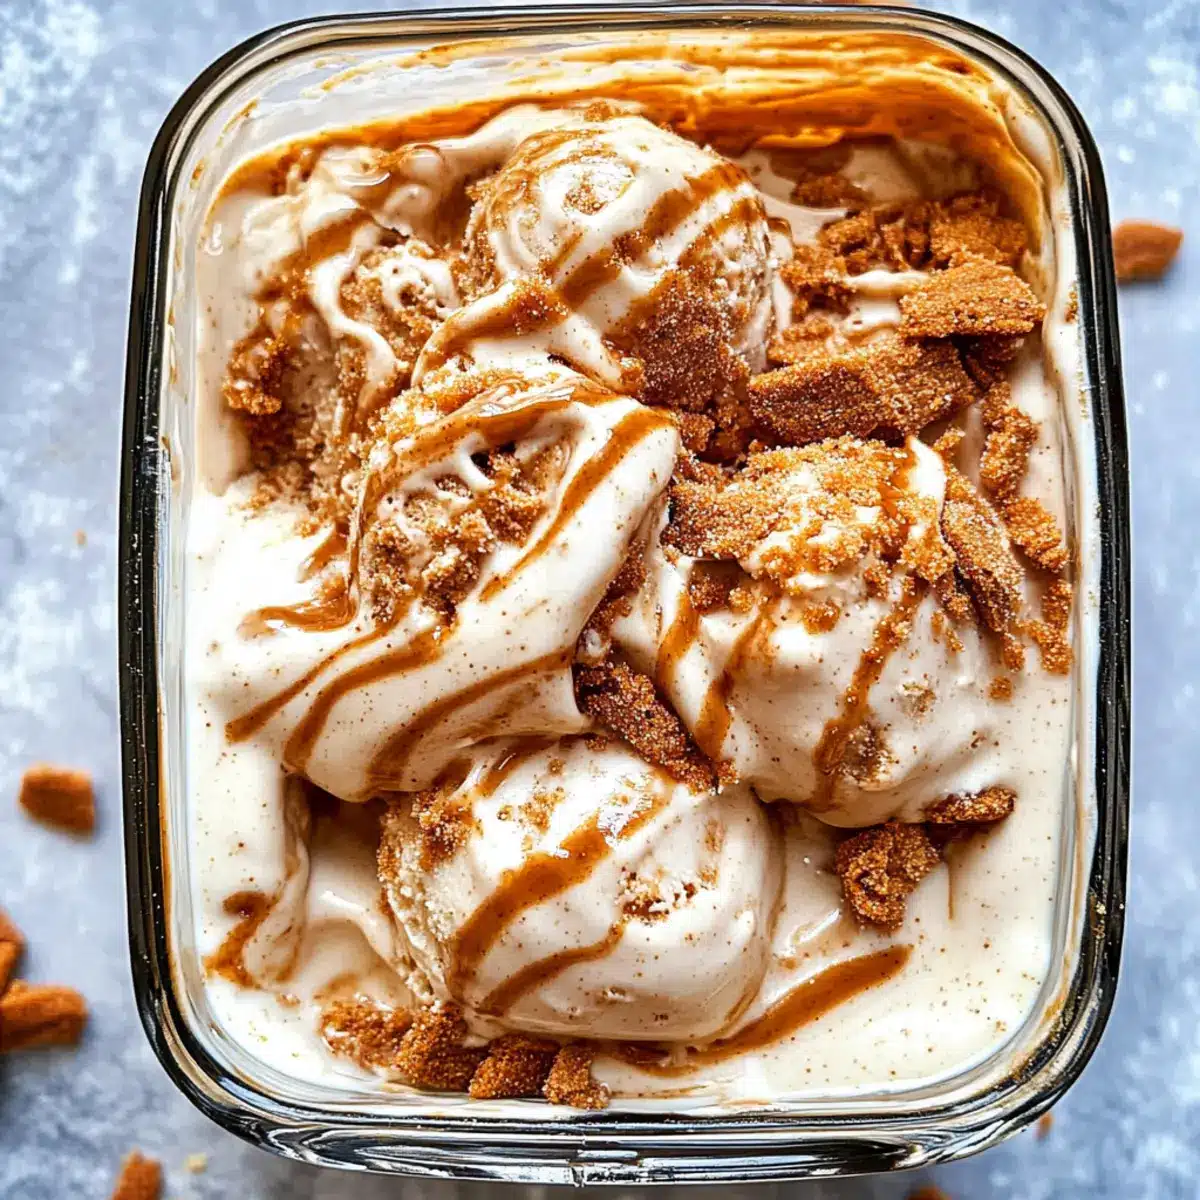
Why is Homemade Biscoff Ice Cream a Must?
Irresistible Flavor: The fusion of creamy vanilla and caramelized Biscoff delivers a sweet, dreamy taste that evoked fond memories each time you dig in.
No-Churn Convenience: With no ice cream machine required, anyone can become a dessert hero in just 15 minutes.
Make-Ahead Marvel: Prep this treat in advance to impress your friends at gatherings, making it a stress-free option for entertaining.
Versatile Swirls: Mix in exciting add-ins like chocolate chips or even try different cookie butters for a unique spin!
Crowd-Pleasing Delight: Who doesn’t love ice cream? This recipe is sure to bring smiles, whether served in bowls or on top of your favorite brownies.
Elevate your dessert game further with delicious pairings like Chicken Tortilla Soup for a cozy meal!
Homemade Biscoff Ice Cream Ingredients
For the Base
• Sweetened Condensed Milk – Provides sweetness and creaminess; can be substituted with dairy-free condensed milk for a vegan option.
• Biscoff Cookie Butter – Adds that unique caramelized flavor and creamy texture; easily found in grocery stores or online.
• Heavy Whipping Cream – Creates a light and airy texture when whipped; for a lighter option, consider using whipped coconut cream.
• Vanilla Extract – Enhances the overall flavor profile; try pure vanilla bean for a richer taste.
For the Mix-ins
• Chopped Biscoff Cookies – Adds delightful crunch and texture throughout the ice cream; gluten-free Biscoff cookies can be used for a gluten-free version.
Get ready to indulge in this homemade Biscoff ice cream that will make every scoop a moment of joy!
Step‑by‑Step Instructions for Homemade Biscoff Ice Cream
Step 1: Mix the Base
In a large mixing bowl, whisk together 1 cup of sweetened condensed milk and 1/2 cup of Biscoff cookie butter until you achieve a silky smooth mixture. Set this delightful base aside for now, as it will serve as the foundation for your homemade Biscoff ice cream.
Step 2: Melt the Cookie Butter
Next, take the remaining 1/4 cup of Biscoff cookie butter and microwave it for about 30 seconds until it’s slightly melted and easier to drizzle. Give it a good stir to ensure a smooth consistency, and set it aside to cool slightly. This will add extra layers of flavor to your ice cream.
Step 3: Whip the Cream
In a separate large bowl, use an electric mixer to beat 1 cup of heavy whipping cream and 1 teaspoon of vanilla extract on medium-high speed until stiff peaks form, roughly 3-4 minutes. You’ll know it’s ready when the cream holds its shape and doubles in volume. This whipped cream will provide that light, airy texture to your Biscoff ice cream.
Step 4: Combine Mixtures
Carefully fold the whipped cream into the sweetened condensed milk and Biscoff cookie butter mixture. Use a spatula to gently combine them until just incorporated; you want to maintain the fluffiness of the cream. This step is crucial to creating that creamy, dreamy texture characteristic of your homemade Biscoff ice cream.
Step 5: Add Cookie Crunch
Now, gently fold in 1 cup of chopped Biscoff cookies into the creamy mixture, ensuring that they are evenly distributed. The cookie chunks will add delightful crunch and bursts of flavor throughout the ice cream, making each bite an indulgent treat.
Step 6: Layer in a Loaf Pan
Grab a 9×5-inch loaf pan and start layering: scoop about 1/3 of the ice cream mixture into the pan, spreading it evenly. Then, drizzle some of the melted Biscoff cookie butter over this layer. This creates a delightful swirl when you dig in later, elevating your homemade Biscoff ice cream experience.
Step 7: Repeat the Layers
Repeat the layering process with the remaining ice cream mixture and melted cookie butter, taking care to create swirls with a knife as you go. This step is all about making each spoonful look enticing, so don’t hold back on the swirling for a beautiful presentation.
Step 8: Freeze to Perfection
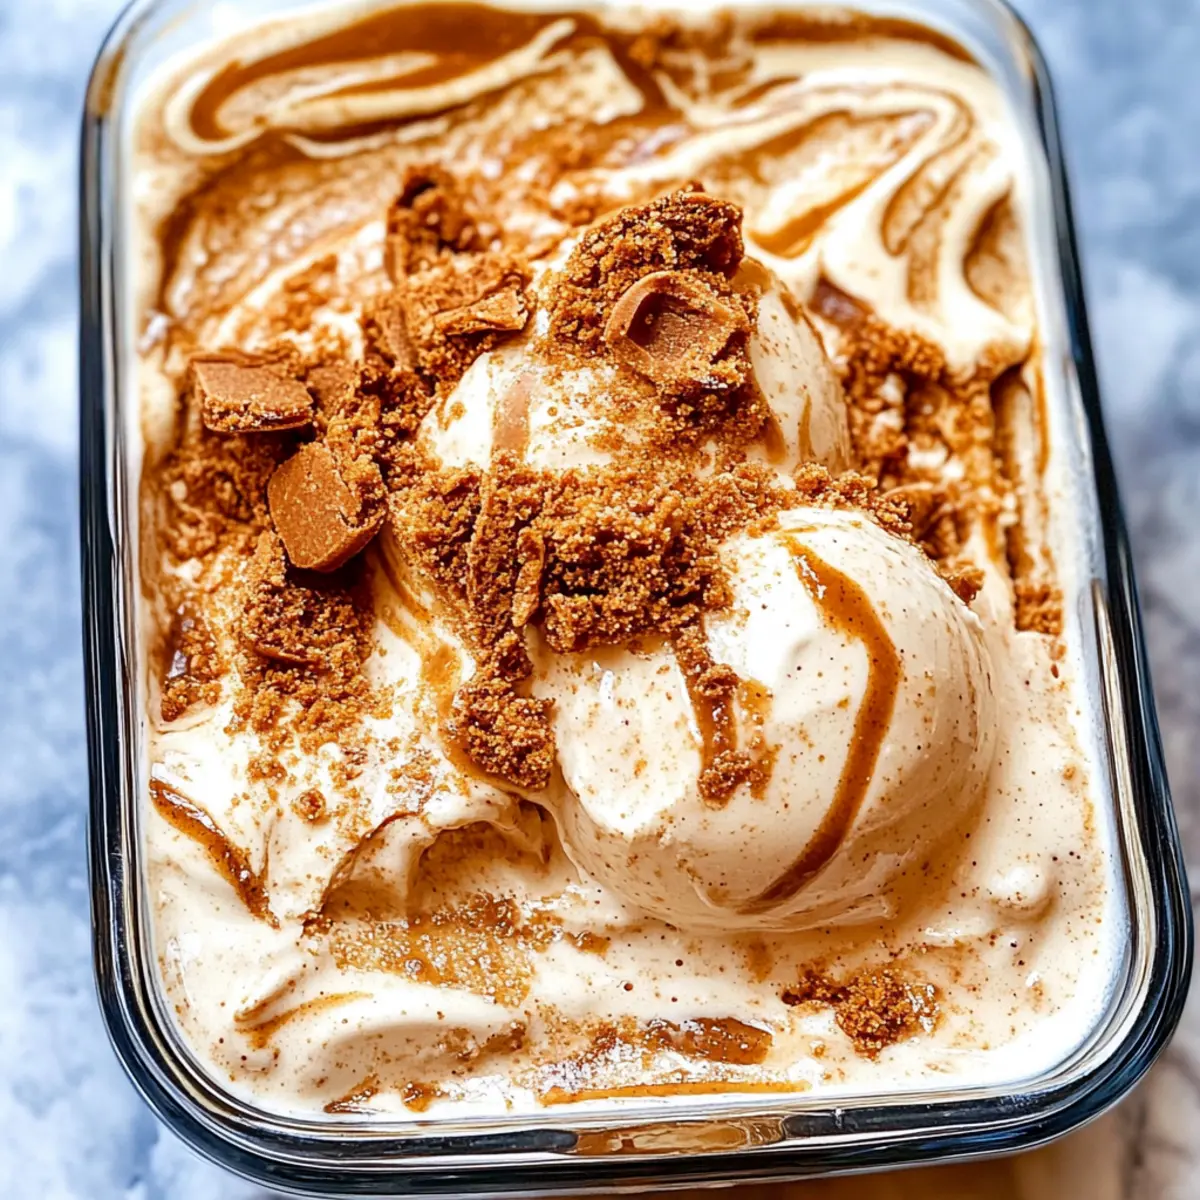
Finally, sprinkle the top with any remaining chopped Biscoff cookies, cover the loaf pan tightly, and place it in the freezer. Allow the homemade Biscoff ice cream to freeze for at least 8 hours or until completely firm. This patience will be well rewarded with a luscious treat that’s ready to scoop and enjoy!
Make Ahead Options
These Homemade Biscoff Ice Cream are perfect for busy cooks looking to save time! You can prepare the entire ice cream mixture up to 24 hours in advance, ensuring you have a delightful dessert ready for unexpected guests or planned gatherings. Simply follow the recipe up until the freezing step, then cover the loaf pan tightly with plastic wrap to prevent ice crystals from forming. When you’re ready to serve, just pop it in the freezer for at least 8 hours or until firm. This way, when dessert time rolls around, you’ll have a luxuriously creamy treat just waiting to wow your family and friends with minimal effort!
Expert Tips for Homemade Biscoff Ice Cream
-
Room Temperature Scooping: Allow the ice cream to sit at room temperature for 5-10 minutes before scooping for easier serving.
-
Avoid Ice Crystals: Cover the ice cream tightly in the freezer to prevent ice crystals from forming, ensuring smooth, creamy texture in every scoop of your homemade Biscoff ice cream.
-
Perfect Whipping: When whipping the cream, don’t overbeat; stop once you see stiff peaks. This keeps the ice cream light and airy.
-
Layering Technique: Swirl the melted Biscoff cookie butter through the ice cream mixture gently. This creates a beautiful presentation and flavorful pockets without fully mixing.
-
Storage Preparation: Use an airtight container for storage if you don’t have a loaf pan; this choice helps maintain the ice cream’s creamy quality for up to 1-2 weeks.
Storage Tips for Homemade Biscoff Ice Cream
-
Fridge: Store the homemade Biscoff ice cream in the refrigerator for up to 1-2 weeks if stored in an airtight container, but for best quality, it should be kept in the freezer.
-
Freezer: Keep the ice cream tightly covered in the loaf pan or a durable airtight container, allowing it to stay fresh and creamy for up to 2 weeks.
-
Reheating: If the ice cream becomes too hard, let it sit at room temperature for 5-10 minutes before scooping to achieve that smooth, creamy texture again.
-
Avoiding Freezer Burn: To prevent freezer burn, ensure the ice cream is well-wrapped or sealed and regularly check it, enjoying it delightfully while it’s at its best!
Homemade Biscoff Ice Cream Variations
Customize your homemade Biscoff Ice Cream with these delightful twists that awaken your taste buds and add extra layers of deliciousness!
-
Vegan Delights: Swap the sweetened condensed milk with dairy-free condensed milk and replace heavy cream with whipped coconut cream for a creamy vegan alternative.
Enjoy this vegan version on hot summer days, knowing it’s just as delightful as the original! -
Chocolate Lovers: Add in semi-sweet chocolate chips or a rich chocolate swirl for a decadent twist.
The combination of Biscoff and chocolate creates an indulgent treat that’ll have you coming back for seconds! -
Nutty Addition: Incorporate crushed walnuts or almonds into the mix for added texture and flavor.
The nuttiness complements the Biscoff brilliantly, providing crunch and enhancing the overall experience. -
Peanut Butter Bliss: Swirl in creamy peanut butter along with the cookie butter for a nutty flavor explosion.
This variation is sure to impress those who love both Biscoff and peanut butter together in every scoop! -
Dairy-Free Delight: Use plant-based alternatives for all ingredients, ensuring everyone can dig in.
This version is perfect for larger gatherings where dietary preferences vary, allowing you to share the joy with all! -
Fruity Surprise: Add fresh strawberries or raspberries to the base mix for a fruity contrast.
The sweetness of the fruit blends beautifully with the caramelized richness of Biscoff, creating a refreshing treat! -
Cinnamon Swirl: Mix in a dash of cinnamon and an extra drizzle of cookie butter to warm up the flavors.
This comforting twist adds an autumnal touch, making it a cozy favorite during chilly evenings! -
Sundae Style: Serve your ice cream atop brownies or waffles, drizzled with hot chocolate sauce for an elegant sundae experience.
The added dessert elements elevate your homemade Biscoff Ice Cream to a memorable treat that’s sure to impress!
For even more delicious adventures in cooking, try adding Chocolate Chip Cookies to your next baking session or enjoy a comforting bowl of Parmesan Crusted Chicken alongside your ice cream dessert!
What to Serve with No-Churn Homemade Biscoff Ice Cream
Pair your homemade treat with delightful accompaniments that elevate every scoop into a memorable experience.
-
Brownies: Rich, fudgy brownies provide a decadent pairing that perfectly contrasts the creamy texture of the ice cream.
-
Waffles: Fluffy waffles topped with a scoop of ice cream create a delightful brunch dish, ideal for lazy Sunday mornings.
-
Fresh Berries: A medley of juicy berries adds a refreshing burst and a hint of tartness that balances the sweetness of the ice cream.
-
Cookie Crumbles: Crushed Biscoff cookies sprinkled on top enhance the flavor while adding extra crunch and stylish presentation.
-
Chocolate Sauce: Drizzling warm chocolate sauce over ice cream creates a luscious treat that will make chocolate lovers swoon!
-
Coffee: Serve a warm cup of freshly brewed coffee alongside for a classic pairing that complements the sweet caramel notes beautifully.
Discover the art of creating a full meal by combining flavors and textures, making every bite an enchanting delight!
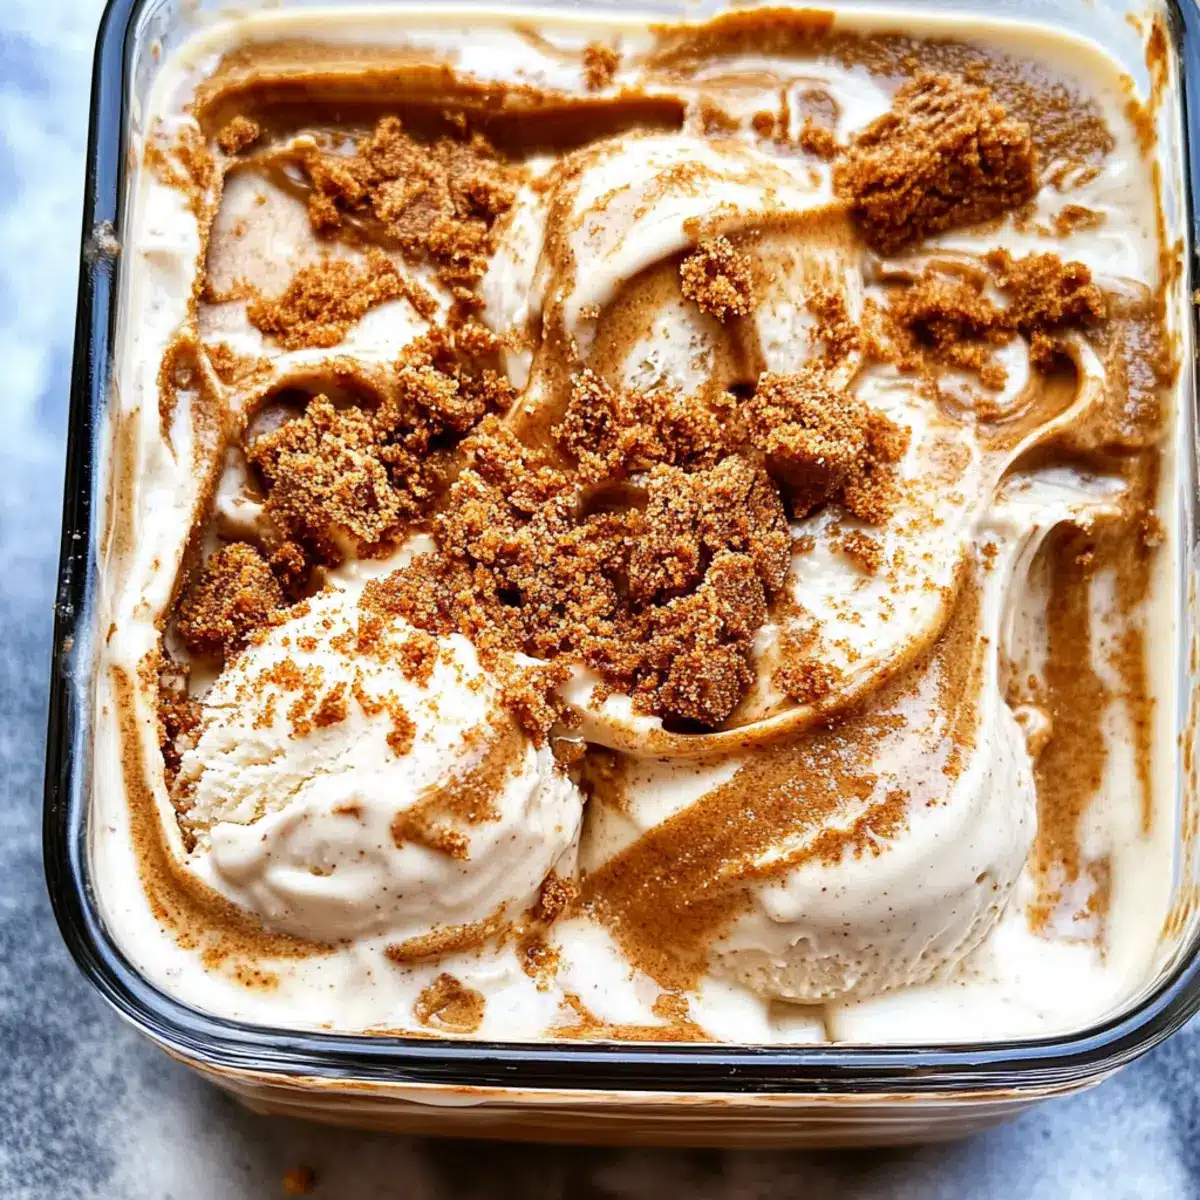
Homemade Biscoff Ice Cream Recipe FAQs
How do I choose the right Biscoff cookie butter?
Absolutely! When selecting Biscoff cookie butter, look for a smooth texture with no dark spots or separation; this indicates freshness. You can find various brands at your local grocery store or online, but I recommend choosing one that’s widely known for its flavor, like Lotus, for the best results.
How should I store the homemade Biscoff ice cream?
To keep your homemade Biscoff ice cream fresh, store it in an airtight container or tightly cover the loaf pan with plastic wrap. This will help prevent ice crystals from forming. It can be stored in the freezer for up to 1-2 weeks, giving you plenty of time to indulge in its creamy goodness!
Can I freeze the homemade Biscoff ice cream? If so, how?
Yes, you can! After preparing your ice cream, pour it into a loaf pan or an airtight container, ensuring the top is level. Cover it tightly and place it in the freezer for at least 8 hours or until completely firm. If you want to enjoy it for more than a couple of weeks, consider wrapping the container with plastic wrap to prevent freezer burn. It can be frozen for up to 3 months—if you can resist it that long!
What if my ice cream is hard like a rock after freezing?
Very! If your ice cream is too hard to scoop, simply let it sit at room temperature for 5-10 minutes before you try again. This brief waiting period allows it to soften slightly, making for easier scooping. To maintain that creamy texture in every scoop, remember to keep it well-covered when not in use.
Can I make this ice cream dairy-free?
Sure thing! For a dairy-free version of homemade Biscoff ice cream, substitute regular sweetened condensed milk with a dairy-free variety like coconut condensed milk. You can also use whipped coconut cream instead of heavy whipping cream. This will still give you that delightful creaminess, with the added bonus of a tropical twist!
What about allergies or dietary restrictions for this recipe?
Absolutely! If you need to accommodate dietary restrictions, you can use certified gluten-free Biscoff cookies for those with gluten allergies. For those who require a nut-free option, ensure your chosen cookie butter doesn’t contain nuts or is made in a nut-free facility. Always double-check ingredient lists to ensure safety.
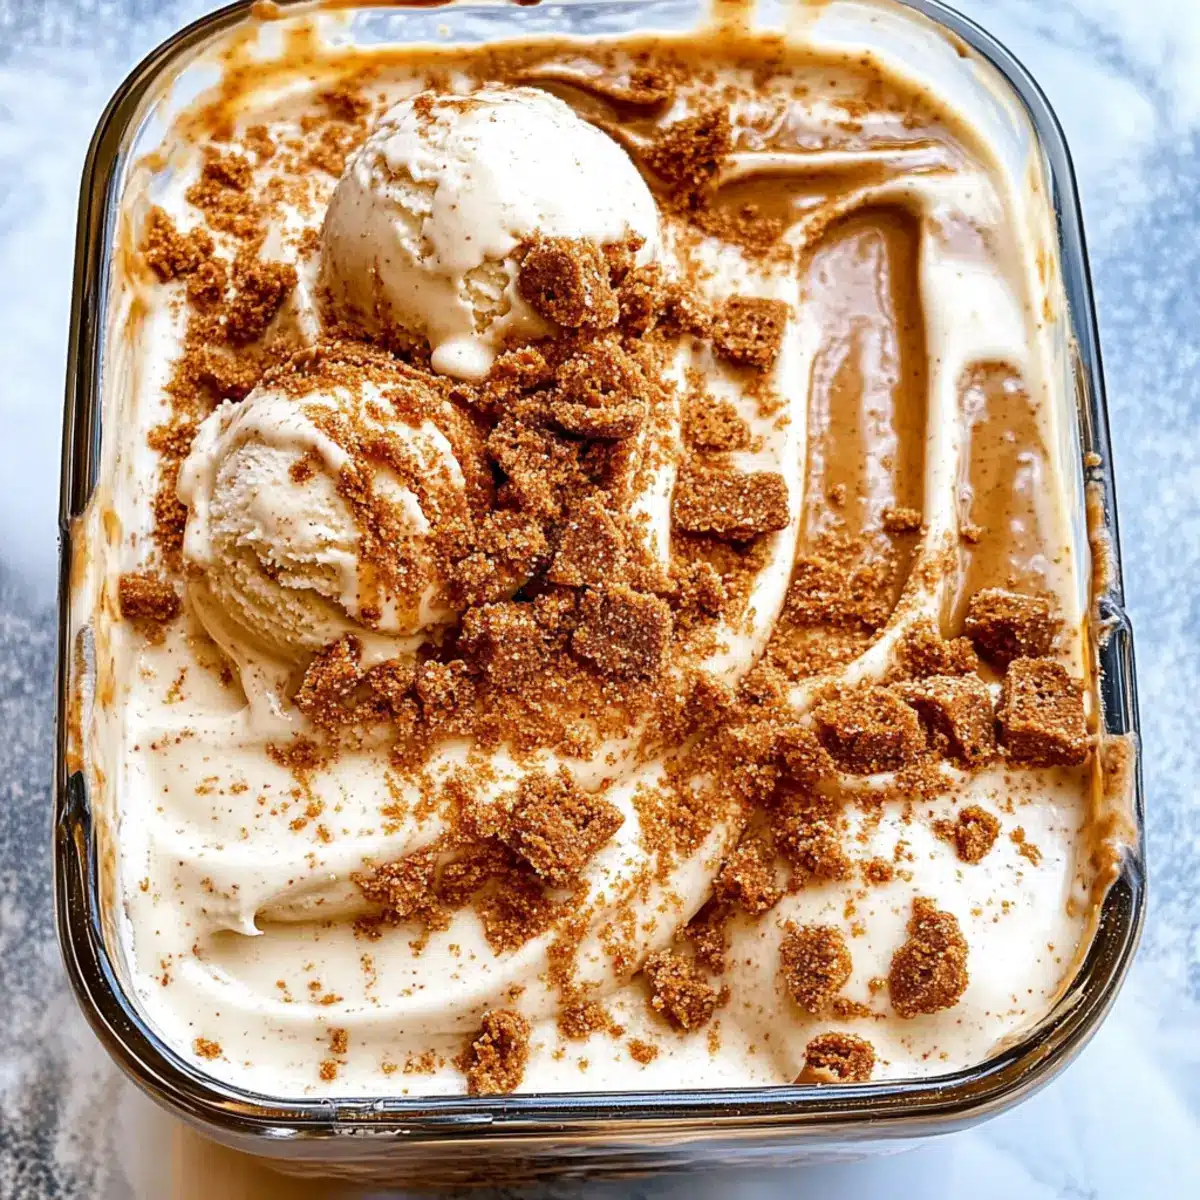
Creamy Homemade Biscoff Ice Cream That Will Wow Everyone
Ingredients
Equipment
Method
- In a large mixing bowl, whisk together the sweetened condensed milk and Biscoff cookie butter until smooth.
- Melt 1/4 cup of Biscoff cookie butter in the microwave for about 30 seconds and set aside to cool.
- In a separate bowl, whip the heavy cream and vanilla extract until stiff peaks form, about 3-4 minutes.
- Fold the whipped cream into the sweetened condensed milk and Biscoff mixture until just incorporated.
- Gently fold in the chopped Biscoff cookies.
- Layer the mixture into a 9x5-inch loaf pan, drizzling melted Biscoff between the layers.
- Repeat layering with remaining mixture and melted Biscoff, swirling as you go.
- Sprinkle remaining chopped cookies on top, cover tightly, and freeze for at least 8 hours.
Leave a Reply