
Cravings can strike at the most unexpected moments, especially when I find myself longing for the comforting embrace of childhood favorites. Enter the Grilled Cheese Burrito—a delightful fusion that wraps the gooey goodness of a classic grilled cheese in a warm tortilla, stuffed with savory beef and topped with all the delicious fixings. This recipe embodies ultimate comfort food: it’s not just easy to make, but also incredibly adaptable, ensuring you can tweak it to fit your taste. Whether it’s a quick weeknight dinner or a fun meal for friends, this grilled masterpiece checks every box. Ready to transform your evenings with a dish that’s both familiar and exciting? Let’s dive into the world of cheesy burrito goodness!
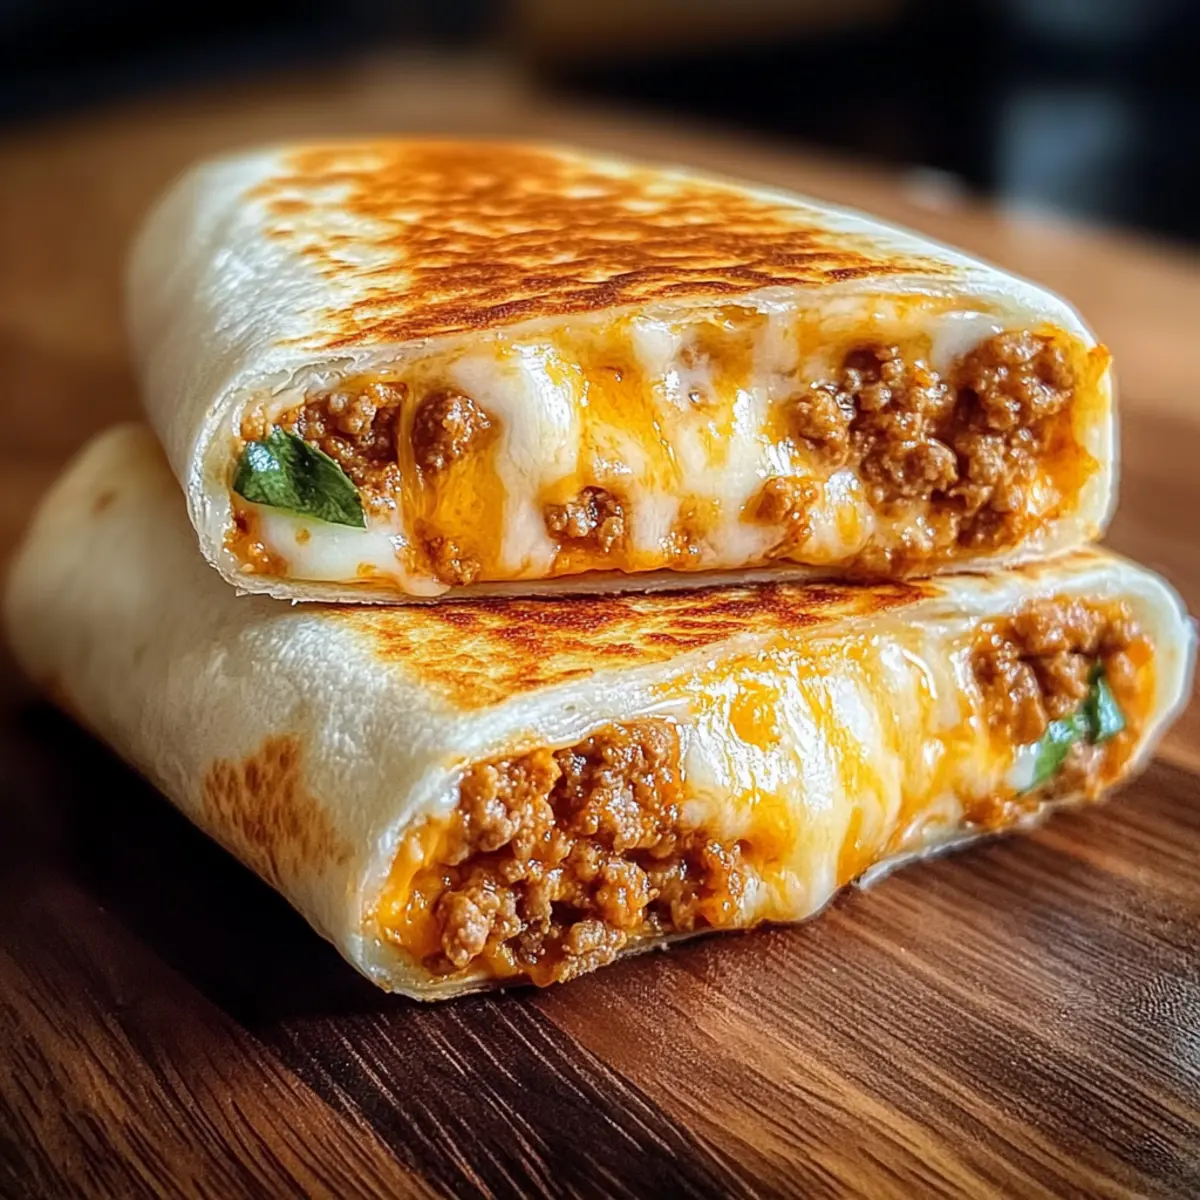
Why is this Grilled Cheese Burrito a must-try?
Comforting Fusion: This Grilled Cheese Burrito is the ultimate marriage of traditional flavors and modern convenience—think classic grilled cheese wrapped up in a burrito!
Quick and Easy: With straightforward steps and minimal prep, it’s the perfect solution for busy weeknights. Pair it with Mac Cheese Meatloaf for an extra punch or enjoy it solo.
Totally Customizable: Feel free to swap ground beef with Keto Philly Cheesesteak meat or use your favorite veggies for endless variations.
Crowd-Pleasing Appeal: Whether it’s a casual gathering or family dinner, this dish is sure to impress everyone at the table!
Savory Goodness: With layers of cheesy nacho sauce and a kick of spicy mayo, every bite is a comforting delight that keeps you coming back for more.
Grilled Cheese Burrito Ingredients
For the Filling
- Ground Beef – Provides a hearty, protein-rich filling; can substitute with grilled chicken or black beans for a lighter option.
- Onion – Adds sweetness and depth; shallots can be used for a milder flavor.
- Salt & Black Pepper – Essential for seasoning; adjust to your taste for the perfect flavor balance.
- Smoked Paprika – Delivers a smoky kick; use regular paprika if smoked isn’t available.
- Dried Oregano – Offers an herbal note; Italian seasoning works well as a substitute.
- Tomato Sauce – Moistens the filling and adds acidity; salsa is great for an extra punch.
For Assembly
- Large Flour Tortillas – Serves as the wrap; whole wheat or corn tortillas can offer a healthier twist.
- Spicy Mayo – Adds creaminess with a kick; regular or chipotle mayo can be used based on your spice preference.
- Cooked Fried Rice – Introduces texture; can be replaced with quinoa or omitted entirely.
- Nacho Cheese Sauce – Provides that rich, cheesy element; shredded cheese is a lighter alternative.
- Sour Cream – Balances flavors with a cool tang; plain yogurt can be a great substitute.
- Crushed Tortilla Chips – Adds a delightful crunch; crushed crackers can be used or omitted for less texture.
For Serving
- Fresh Salad – A light, refreshing side that pairs beautifully with the rich burrito.
- Crispy Tortilla Chips – Serve with salsa for a fun and satisfying crunch alongside your Grilled Cheese Burrito.
Enjoy making this Grilled Cheese Burrito that promises to be a comforting delight!
Step‑by‑Step Instructions for Grilled Cheese Burrito
Step 1: Sauté the Onions
Heat 2 tablespoons of olive oil in a large skillet over medium-high heat. Once the oil shimmers, add 1 diced onion and sauté for 5-7 minutes until it becomes soft and translucent. The fragrant aroma will fill your kitchen, setting the stage for your savory filling in the Grilled Cheese Burrito.
Step 2: Cook the Ground Beef
Add 1 pound of ground beef to the skillet with the sautéed onions. Cook for 8-10 minutes, breaking the meat apart with a spatula until browned and cooked through. Drain any excess grease, ensuring your beef mixture remains flavorful without being too oily for the burrito.
Step 3: Season the Filling
Stir in 1 teaspoon each of salt, black pepper, smoked paprika, and dried oregano into the beef mixture. Give it a good mix for about 30 seconds to combine the spices thoroughly. Next, add 1 cup of tomato sauce, allowing the mixture to simmer gently for 5 minutes, thickening and infusing rich flavors into your filling.
Step 4: Prepare the Tortillas
To make assembly easier, warm the large flour tortillas in a dry skillet over medium heat for about 30 seconds on each side, or until pliable. This step is crucial for preventing cracks in your tortillas when you fold them into a delicious Grilled Cheese Burrito.
Step 5: Assemble the Burritos
Spread a layer of spicy mayo (about 1 tablespoon) onto each warmed tortilla. Next, layer in the seasoned beef mixture, cooked fried rice, and a drizzle of nacho cheese sauce. Add a dollop of sour cream and sprinkle crushed tortilla chips for added crunch.
Step 6: Grill the Burritos
Carefully fold the tortillas over the filling, tucking in the sides to secure everything inside. Heat a clean skillet over medium heat and lightly grease it with oil. Grill each burrito for 3-5 minutes per side until golden brown and crispy, and the cheese melts inside.
Step 7: Serve with Flair
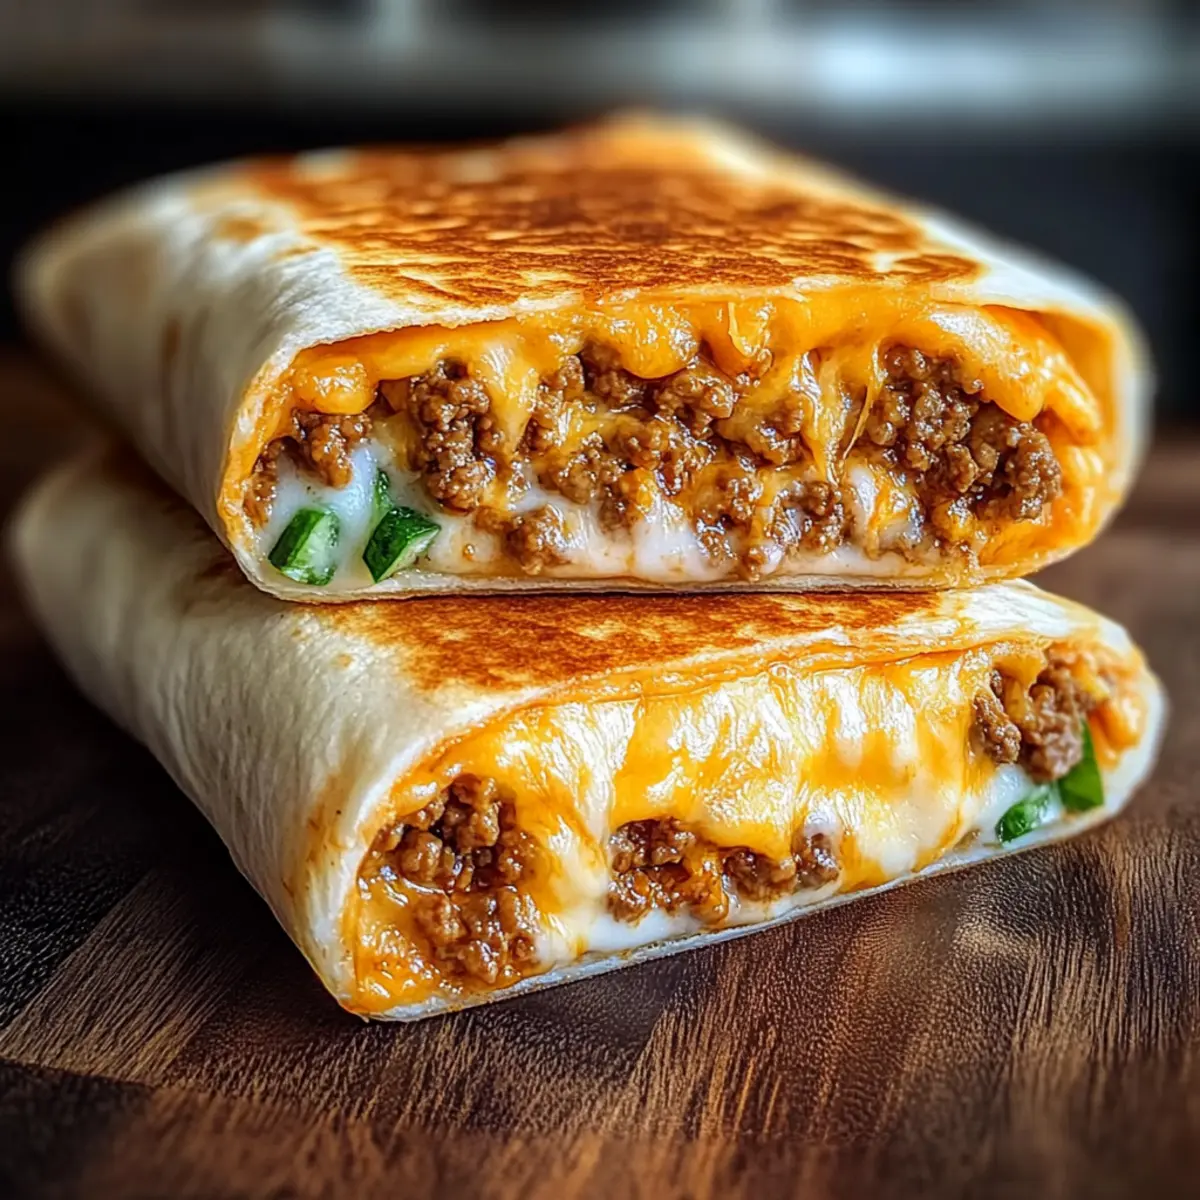
Once golden brown, remove the burritos from the skillet and let them cool for a minute on a cutting board. Slice them in half to reveal the gooey goodness inside and serve immediately with extra salsa or salad for a delightful contrast alongside your Grilled Cheese Burrito.
Make Ahead Options
These Grilled Cheese Burritos are perfect for meal prep enthusiasts! You can prepare the beef filling up to 3 days in advance; simply sauté the onions and ground beef, season, and store it in an airtight container in the refrigerator. To keep the tortilla pliable, warm them just before assembling and filling (contact with heat prevents cracking). When you’re ready to enjoy your burritos, spread the spicy mayo on the warm tortillas, fill with the beef mixture and toppings, and grill for 3-5 minutes per side until golden brown and crispy. This way, you’ll enjoy delicious Grilled Cheese Burritos with minimal effort, perfect for those busy weeknights!
How to Store and Freeze Grilled Cheese Burrito
- Room Temperature: Allow burritos to cool completely before storing. They can sit at room temperature for up to 2 hours if you plan to eat them soon.
- Fridge: Store assembled burritos in an airtight container for up to 3 days. Be sure to wrap them tightly in foil or plastic wrap to maintain freshness.
- Freezer: To freeze, wrap each burrito in plastic wrap, then foil, and store in a freezer-safe bag for up to 2 months. This ensures the delicious flavors of your Grilled Cheese Burrito are preserved.
- Reheating: For best results, reheat frozen burritos in the oven at 350°F (175°C) for 25-30 minutes until heated through. You can also microwave for 2-3 minutes, but the oven will keep the tortilla crispy.
Grilled Cheese Burrito Variations
Feel free to unleash your creativity with these delightful twists on the classic Grilled Cheese Burrito for a fun and tasty meal!
-
Vegetarian Delight: Swap ground beef for sautéed mushrooms or black beans to create a hearty vegetarian version. The savory flavors will satisfy even the biggest meat-lover’s cravings!
-
Cheese Change-Up: Experiment with different cheeses, like velvety gouda or spicy pepper jack, to elevate your burrito’s flavor profile. Each cheese brings its unique personality to the table!
-
Spicy Kick: Add sliced jalapeños to the filling or mix them into the spicy mayo for a fiery surprise. This twist is perfect if you’re craving a bit of heat in your life!
-
Nutritional Boost: Mix in some fresh spinach or bell peppers to the beef mixture for an extra dose of veggies. This makes your burrito not only tastier but also healthier!
-
Baked Version: Instead of grilling, wrap your assembled burritos in foil and bake them in the oven at 375°F (190°C) for 15-20 minutes. This technique results in a wonderfully crispy exterior!
-
Sour Cream Swap: Replace sour cream with a dollop of guacamole for a creamy, fresh alternative. It adds a zesty taste while keeping things light and flavorful!
-
Savory Rice Swap: Consider using quinoa or cauliflower rice instead of fried rice for a lighter, gluten-free option. It maintains a lovely texture while offering fantastic taste.
-
Garnish It Up: Top the burritos with fresh cilantro or crunchy tortilla strips for added flavor and texture. A sprinkling of green brings everything to life!
Now that you’ve got these exciting variations to choose from, why not try pairing your Grilled Cheese Burrito with a fresh salad or crispy tortilla chips served with salsa? It will turn your meal into an even more gratifying experience! Happy cooking!
What to Serve with Perfectly Cheesy Grilled Cheese Burrito
Elevate your dining experience by curating sides that harmonize with the melty, savory goodness of this delightful creation.
-
Fresh Salad: A light, crisp salad brings refreshing notes, cutting through the burrito’s richness. Toss in cherry tomatoes and zesty dressing for an added punch.
-
Crispy Tortilla Chips with Salsa: Add a fun crunch and a little spice with crispy tortilla chips dipped in zesty salsa. This combo offers texture and flavor contrast that delights the palate.
-
Creamy Guacamole: The cool, creamy essence of guacamole complements the warmth of the burrito beautifully. It enhances each bite, making it a heavenly pairing for avocado lovers.
-
Sweet Corn on the Cob: Grilled or boiled, sweet corn adds a touch of sweetness to your meal, balancing the savory flavors. It’s an inviting side that your family will adore.
-
Refreshing Lemonade: Pair your meal with a chilled glass of homemade lemonade. Its citrusy brightness will refresh your palate and give a burst of sunshine to your dining table.
-
Savory Mexican Street Corn (Elote): This tasty treat is packed with flavor. The creamy cheese and spices make for a spicy, cheesy side that perfectly complements the burrito.
These pairings not only enhance the flavors of your Grilled Cheese Burrito but also create a well-rounded meal that your loved ones will cherish.
Expert Tips for the Best Grilled Cheese Burrito
- Warm Tortillas: Ensure your tortillas are warm and pliable to prevent cracking during assembly; this step is crucial for a perfect Grilled Cheese Burrito.
- Don’t Overcrowd: When grilling, avoid overcrowding the skillet. Working in batches ensures even cooking and a crispy finish for each burrito.
- Watch Your Heat: Adjust your cooking times based on your stove’s heating capabilities to avoid burning the tortillas while achieving a golden brown hue.
- Prep Ahead: Consider preparing your filling ahead of time. It can speed up the assembly process on busy weeknights without sacrificing flavor.
- Mix It Up: Experiment with different cheeses, spices, and fillings for added complexity in flavor. This adaptability makes the Grilled Cheese Burrito truly your own!
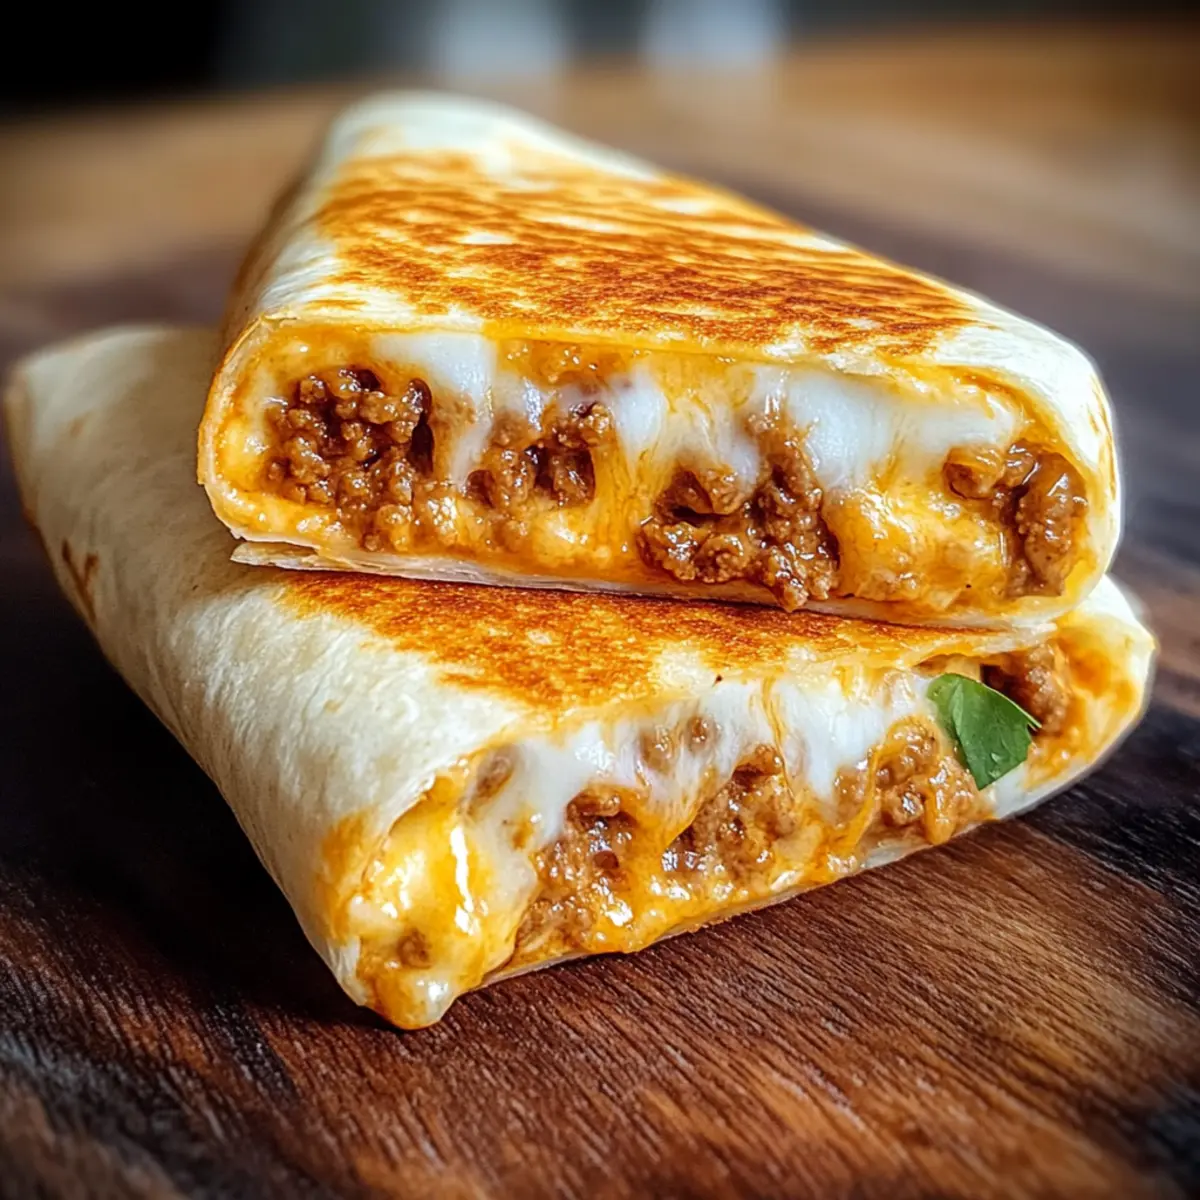
Grilled Cheese Burrito Recipe FAQs
How do I choose the right ground beef for my filling?
Absolutely! When selecting ground beef, look for meat that is 80% lean and 20% fat for the richest flavor and best texture. If you’re looking for a healthier alternative, you can opt for leaner cuts or substitute with grilled chicken or black beans for a delightful twist.
What are the best storage methods for leftover burritos?
Very! Allow your Grilled Cheese Burrito to cool completely before storing. For room temperature, consume it within 2 hours. If refrigerating, wrap tightly in plastic wrap or foil, and store in an airtight container for up to 3 days. This helps maintain its freshness and flavor.
Can I freeze the Grilled Cheese Burrito, and if so, how?
Of course! To freeze your delicious burritos, first, let them cool down completely. Wrap each burrito tightly in plastic wrap and then again in aluminum foil. Place them in a freezer-safe bag, and they can be stored for up to 2 months. When you’re ready to enjoy, simply reheat in the oven at 350°F (175°C) for 25-30 minutes or microwave for quicker results, though the oven keeps that lovely crispy texture.
What if my filling is too dry or too wet?
Great question! If your burrito filling turns out too dry, consider adding a splash more tomato sauce or a bit of broth to help moisten it up. If it’s too wet, let it simmer longer on low heat, stirring occasionally, until the liquid reduces. This will achieve the perfect consistency for stuffing your burrito.
Is there a vegetarian option for this recipe?
Absolutely! To create a vegetarian-friendly Grilled Cheese Burrito, you can substitute the ground beef with lentils or diced mushrooms that are sautéed to add depth of flavor. Additionally, feel free to incorporate more veggies, such as bell peppers or spinach, which make for a nutritious and satisfying filling.
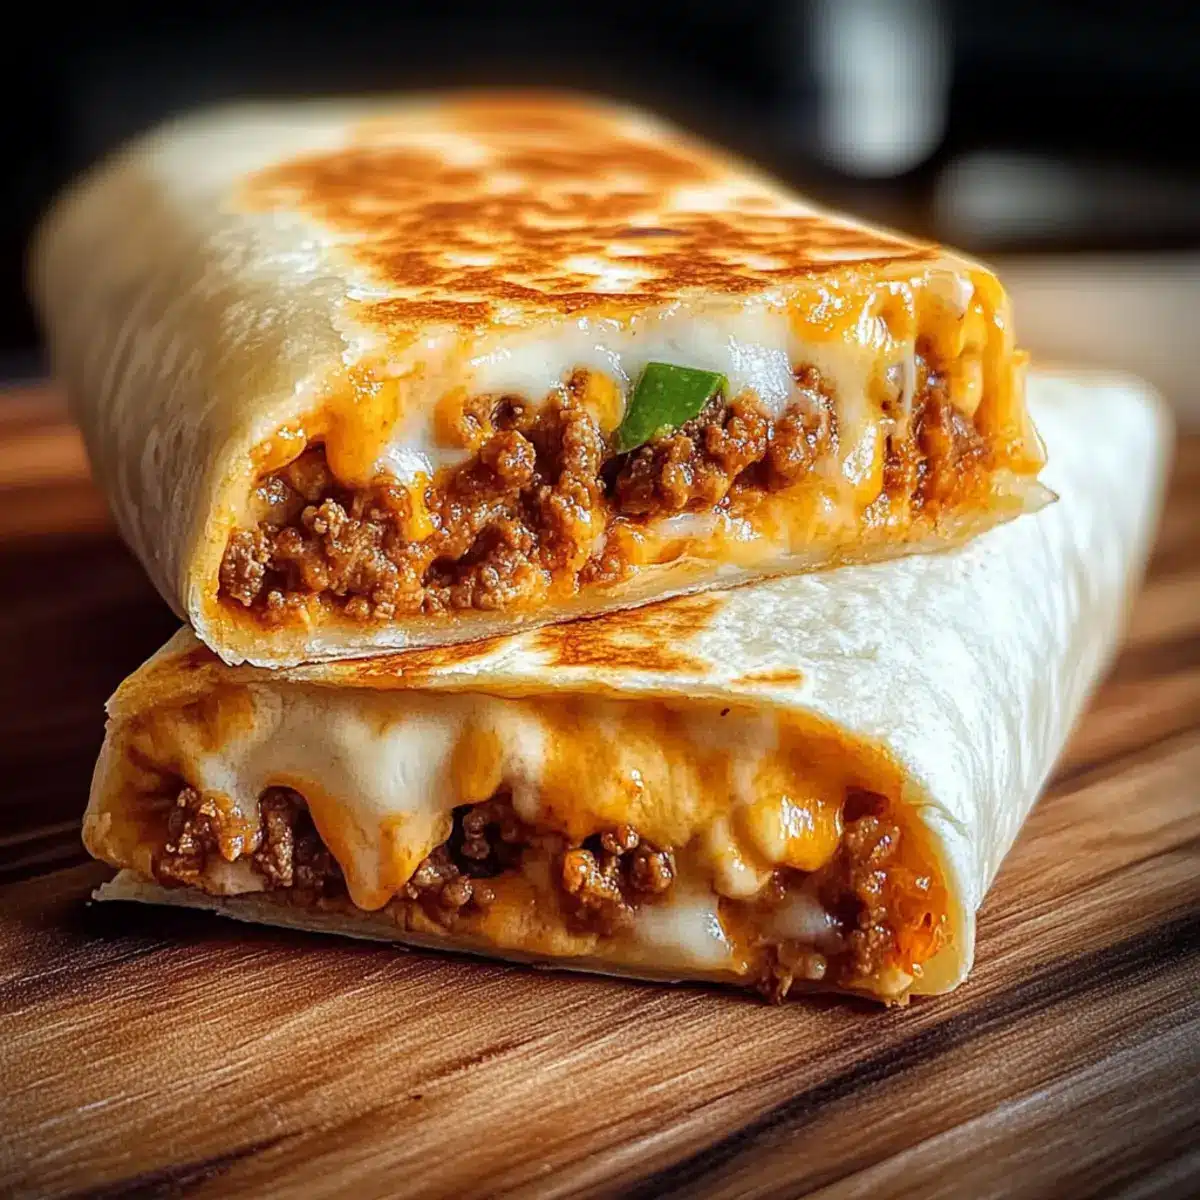
Irresistible Grilled Cheese Burrito for Ultimate Comfort Food
Ingredients
Equipment
Method
- Heat 2 tablespoons of olive oil in a large skillet over medium-high heat. Add 1 diced onion and sauté for 5-7 minutes until soft and translucent.
- Add 1 pound of ground beef to the skillet with the sautéed onions. Cook for 8-10 minutes, breaking the meat apart until browned.
- Stir in 1 teaspoon each of salt, black pepper, smoked paprika, and dried oregano into the beef mixture. Add 1 cup of tomato sauce, simmer for 5 minutes.
- Warm the large flour tortillas in a dry skillet over medium heat for about 30 seconds on each side, or until pliable.
- Spread a layer of spicy mayo onto each warmed tortilla, followed by the seasoned beef mixture, cooked fried rice, nacho cheese sauce, sour cream, and crushed tortilla chips.
- Fold the tortillas over the filling and grill each burrito in a lightly greased skillet for 3-5 minutes per side until golden brown.
- Remove the burritos from the skillet, let cool briefly, and slice in half to serve with salsa or salad.
Leave a Reply