
As I stood in my kitchen, I felt a wave of nostalgia wash over me with the scent of warm oats and chocolate wafting through the air. It reminded me of cozy afternoons spent baking with loved ones. Today, I’m excited to share my go-to recipe for 4-Ingredient Crispy Chocolate Oat Cookies that are perfect for satisfying those sweet cravings without the fuss of complex baking. These cookies are not only quick to whip up but also gluten-free, making them a delightful snack for everyone at the table. Imagine indulging in a crispy exterior paired with a chewy center that melts in your mouth, all made simple with just four wholesome ingredients. Are you ready to elevate your snack game and reclaim your kitchen? Let’s dive in!

Why are these cookies a must-try?
Simplicity at its finest: With just four ingredients, you can whip up these delightful cookies in no time, perfect for busy weekday snacking. Crispy and chewy: The unique texture, combining a crispy exterior with a soft center, offers a satisfying bite that you’ll crave again and again. Customizable options: Not only are these cookies gluten-free, but they can also be easily adapted with nut or vegan alternatives to suit your dietary needs. Quick preparation: In under 30 minutes from start to finish, you can enjoy a delicious homemade treat without the hassle of complex recipes. Crowd pleaser: These cookies are great for family gatherings or simply treating yourself, making them a snack everyone will love. Don’t forget to try them alongside my Gordon Ramsay Beef for a delightful meal pairing!
Chocolate Oat Cookie Ingredients
Here’s what you need for a decadent treat that’s easy to whip up!
For the Cookies
• Oats – The base ingredient providing structure and chewiness; opt for gluten-free oats for a gluten-free version.
• Peanut Butter – Adds creaminess and natural sweetness; almond butter works well for a nut-free alternative.
• Honey – Serves as both a binder and sweetener; you can replace it with maple syrup for a vegan-friendly choice.
• Chocolate Chips – Introduces rich flavor and delightful texture; try dairy-free chocolate for a vegan cookie.
Now, you’re ready to create some delightful 4-Ingredient Crispy Chocolate Oat Cookies that will melt in your mouth!
Step-by-Step Instructions for 4-Ingredient Crispy Chocolate Oat Cookies
Step 1: Preheat the Oven
Begin by preheating your oven to 350°F (175°C). This is an essential step as it ensures that the cookies bake evenly and gain that lovely golden crispness. While the oven warms up, gather your baking sheet and line it with parchment paper to prevent any sticking during the baking process.
Step 2: Mix Oats and Peanut Butter
In a large mixing bowl, combine the oats and creamy peanut butter. Stir vigorously until both ingredients are well incorporated, creating a sticky mixture that will serve as the base for your 4-Ingredient Crispy Chocolate Oat Cookies. This should take about 2-3 minutes, and you’ll know it’s ready when there are no dry oats left.
Step 3: Add Honey
Next, pour in the honey and mix thoroughly with the oat and peanut butter blend. You want the honey to be fully integrated, so stir for another 2 minutes until the mixture is cohesive. The honey acts as a binder and sweetener, bringing everything together with a delightful gloss.
Step 4: Incorporate Chocolate Chips
Now it’s time to fold in the chocolate chips! Gently add them to the mixture, ensuring they are evenly distributed throughout. This adds that rich flavor and delightful texture to each cookie. Fold for about 1-2 minutes, taking care not to over-mix, as we want to maintain that lovely chewy center.
Step 5: Scoop Out Cookie Portions
Using a tablespoon, scoop out generous portions of the dough and place them on your prepared baking sheet. Make sure to leave enough space between each scoop as they will spread slightly while baking. Flatten each scoop gently with the back of the spoon to form cookie shapes, ensuring they bake uniformly.
Step 6: Bake the Cookies
Slide the baking sheet into your preheated oven and bake for 10-12 minutes. You’ll know your cookies are ready when the edges turn a beautiful golden brown while the centers remain soft. It’s crucial not to overbake them, as we want that perfect crispy yet chewy texture.
Step 7: Cool Before Serving
After baking, allow the cookies to cool on the sheet for about 5 minutes to set. Then, carefully transfer them to a wire rack to cool completely. This cooling period helps maintain their structure and allows those flavors to meld beautifully. Enjoy your homemade 4-Ingredient Crispy Chocolate Oat Cookies!

Make Ahead Options
These 4-Ingredient Crispy Chocolate Oat Cookies are perfect for busy home cooks looking to save time without sacrificing flavor! You can prep the dough up to 24 hours in advance by mixing the oats, peanut butter, honey, and chocolate chips, then storing the mixture in an airtight container in the refrigerator. When you’re ready to bake, simply scoop the chilled dough onto a baking sheet and proceed with the baking instructions. To maintain that delightful crispy texture, let the cookies cool fully before storing them in an airtight container at room temperature for up to a week. This way, you’ll have fresh, homemade cookies ready to enjoy whenever those sweet cravings hit!
What to Serve with 4-Ingredient Crispy Chocolate Oat Cookies
Imagine a tempting afternoon spread, where your chocolate oat cookies are accompanied by delightful pairings that enhance every bite.
-
Fresh Fruit Salad: A medley of seasonal fruits adds a refreshing contrast, balancing the rich sweetness of the cookies. Juicy berries and crisp apples bring vibrant colors and a burst of flavor.
-
Creamy Greek Yogurt: Serve a dollop of Greek yogurt on the side for a creamy element. This adds a tangy twist that cuts through the cookie’s sweetness while providing protein for a more filling snack.
-
Homemade Whipped Cream: A light swirl of whipped cream creates a delightful indulgence. The fluffy texture pairs beautifully with the crunchy cookie, elevating your dessert experience.
-
Iced Coffee: The bold flavors of iced coffee perfectly complement the chocolate in the cookies. Pairing them gives you a satisfying and delicious afternoon pick-me-up, ideal for those cozy moments.
-
Nutty Granola: Adding a spoonful of nutty granola creates a delightful crunch that enhances the chewy texture of the cookies. The nuts provide an extra layer of flavor and nutrition, making each bite even more satisfying.
-
Chocolate Milk: For the ultimate nostalgic treat, serve your cookies with a glass of chocolate milk. The rich chocolate notes resonate beautifully and create a sweet reminder of childhood snacks.
-
Almond Milk Latte: A warm almond milk latte offers an elegant touch. The creamy nuttiness enriches the experience, making it a comforting choice for any time of the day.
-
Dessert Wine: For a lovely dessert pairing, consider a light dessert wine. The sweetness and fruity notes will harmonize with the cookies, creating a sophisticated treat all can enjoy.
Enjoy experimenting with these delightful pairings to create unforgettable moments around your delicious chocolate oat cookies!
Storage Tips for Chocolate Oat Cookies
- Room Temperature: Keep your cookies in an airtight container at room temperature for up to 7 days to maintain their crispy exterior and chewy center.
- Fridge: For slightly longer freshness, you can store the cookies in the fridge for up to 2 weeks. Just ensure they are in an airtight container to prevent drying out.
- Freezer: Freeze cookies in a single layer on a baking sheet, then transfer to a freezer-safe bag for up to 3 months. Let them thaw at room temperature before enjoying.
- Reheating: To refresh a cookie, pop it in the microwave for 10-15 seconds. This will bring back the delightful softness, making them taste freshly baked again!
Tips for the Best Chocolate Oat Cookies
-
Peanut Butter Consistency: Ensure your peanut butter is well-stirred before measuring. This allows for an even mix and prevents clumping, enhancing your cookie’s overall texture.
-
Perfect Baking Sheet: Use parchment paper or a non-stick baking sheet to prevent the cookies from sticking and to achieve that ideal crispy edge without hassle.
-
Cooling Time Matters: Allow the cookies to cool completely before storing them. This step is crucial to preserve their crispy texture and delightful chewiness.
-
Avoid Overbaking: Keep a close eye on the cookies as they bake. Overbaking can lead to a dry texture; they should be golden brown on the edges while remaining soft in the center.
-
Mix-in Variations: Don’t hesitate to add other ingredients like nuts or dried fruits. These can enhance the flavor and texture without complicating the original 4-ingredient focus.
-
Storage Tips: Store cookies in an airtight container at room temperature for up to a week, or freeze for longer freshness, ensuring you can enjoy these delectable Chocolate Oat Cookies anytime!
Variations & Substitutions for Chocolate Oat Cookies
Feel free to explore these tasty variations and make this recipe your own!
- Gluten-Free: Use certified gluten-free oats to ensure everyone can enjoy a delicious treat without worry.
- Nut-Free: Substitute peanut butter with sunflower seed butter for a nut-free version that’s equally tasty.
- Vegan-Friendly: Replace honey with maple syrup and use dairy-free chocolate chips to create a completely vegan cookie.
- Added Flavor: Stir in a teaspoon of vanilla extract for an extra depth of flavor that enhances the chocolatey goodness.
- Fruitiness: Incorporate dried cranberries or raisins for a sweet burst of flavor and chewy texture in every bite. Think of how juicy fruits pair beautifully with the rich chocolate.
- Nutty Twist: Toss in some chopped walnuts or pecans to elevate the crunch and add nutritious benefits—perfect for nut lovers!
- Spicy Kick: For those who enjoy a little heat, sprinkle in a dash of cayenne or chili powder for a unique flavor twist that surprises the palate.
- No-Bake Option: Shape the mixture into bars and refrigerate instead of baking for a quick, cooling treat perfect for warmer days.
For a delightful contrast, consider serving these cookies with my High Protein Beef recipe, balancing savory with sweet in your meal rotation!

Chocolate Oat Cookies Recipe FAQs
How do I choose the right oats for this recipe?
Absolutely! For the best texture, opt for rolled oats or quick oats. If you need a gluten-free option, make sure to choose certified gluten-free oats. Look for oats that are whole and free from any dark spots, as this indicates freshness and quality.
How should I store the cookies to keep them fresh?
To maintain their delightful crispiness, store your cookies in an airtight container at room temperature for up to 7 days. If you live in a humid environment, consider keeping them in the fridge for an additional week or two. Just ensure they are sealed properly to avoid drying out.
Can I freeze the Chocolate Oat Cookies?
Yes, you can! To freeze, place the cookies in a single layer on a baking sheet and pop them in the freezer for about 2-3 hours until solid. Then transfer them to a freezer-safe bag, where they’ll stay fresh for up to 3 months. When you’re ready to enjoy, let them thaw at room temperature or microwave for 10-15 seconds for that just-baked taste.
What if my cookie dough seems too dry?
Very! If your dough appears too dry, it could be due to the type of peanut butter. I recommend adding a splash of warm water or an extra tablespoon of honey to loosen it. Mix thoroughly until you achieve a sticky consistency. This will ensure your cookies maintain that lovely chewy texture once baked.
Are there any allergy considerations for these cookies?
Absolutely! If you or your loved ones have nut allergies, replace peanut butter with sunflower seed butter or tahini for a nut-free alternative. Additionally, ensure that your chocolate chips are dairy-free if you’re catering to a vegan audience or those with dairy allergies. Always read ingredient labels carefully for any hidden allergens.
What should I do if my cookies spread too much while baking?
Very! If you notice excessive spreading, it might be due to the consistency of the peanut butter or the temperature of your baking sheet. Allow the dough to cool in the fridge for about 30 minutes before scooping, which helps firm it up. Also, ensure that your baking sheet is not too hot before you place your dough on it. This will help your cookies maintain their shape while baking.
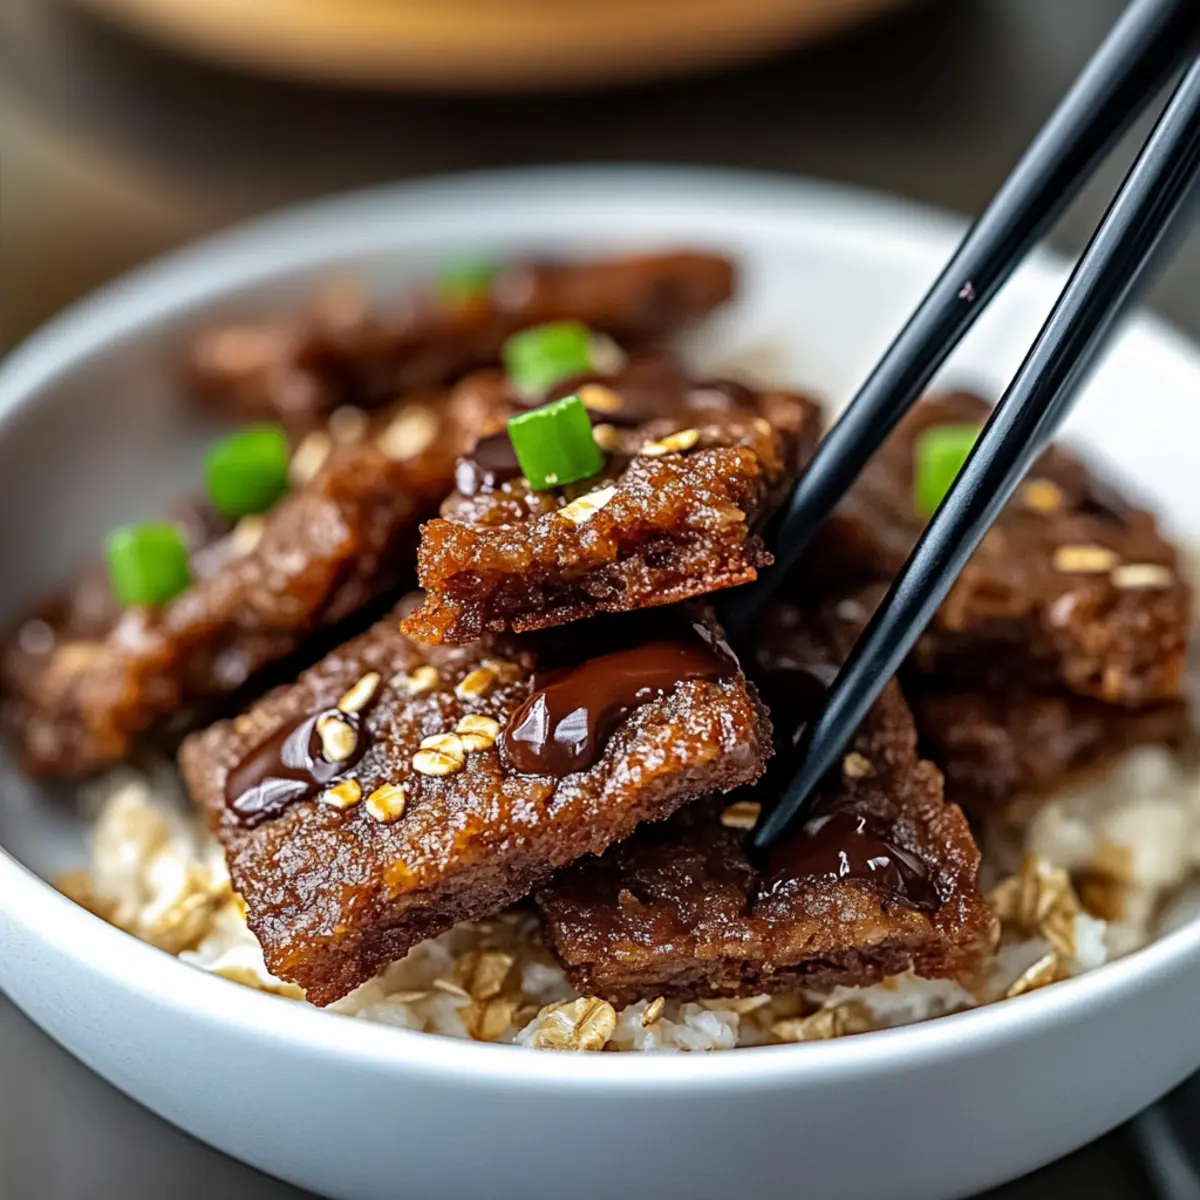
Savory Korean Beef Bulgogi That Melts in Your Mouth
Ingredients
Equipment
Method
- In a mixing bowl, combine the soy sauce, brown sugar, sesame oil, minced garlic, ginger, and black pepper.
- Add the sliced beef to the marinade, ensuring each slice is well coated. Cover and marinate for at least 30 minutes.
- Preheat a skillet or grill over medium-high heat.
- Cook the marinated beef for about 5-7 minutes until cooked through, stirring frequently.
- Garnish with chopped green onions and sesame seeds before serving.
Leave a Reply