
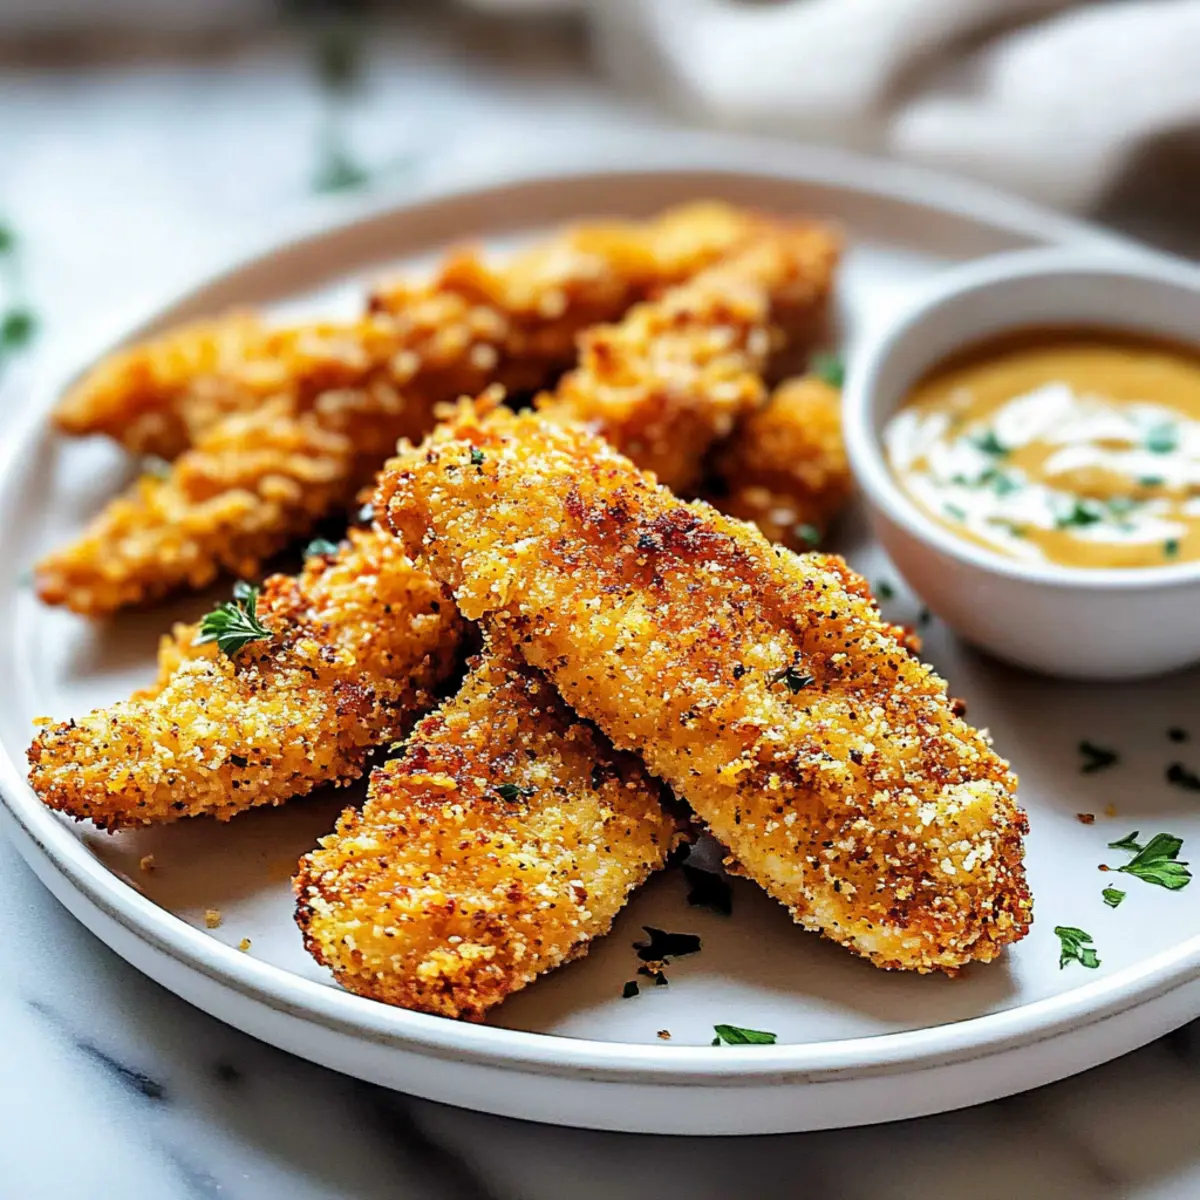
As I watched my kids dive into their dinner with pure delight, I couldn’t help but feel a wave of satisfaction wash over me. Today, I’m sharing my go-to recipe for Crispy Oven Baked Chicken Tenders, a healthy alternative that ensures everyone at the table is smiling. These tenders come out golden and crunchy, offering the same comfort you love from fried favorites without the guilt. Not only are they quick to whip up in just 30 minutes, but they’re also packed with protein and perfect for dipping, making them a versatile option for meals or snacks. So, what dipping sauce will you choose to elevate your crispy experience?
Why Are These Chicken Tenders a Must-Try?
Flavorful Crunch: The crispy coating is achieved without frying, providing a guilt-free crunch that everyone loves.
Kid-Friendly Appeal: Perfectly seasoned, these tenders are ideal for picky eaters and can even introduce healthy eating habits.
Quick & Easy: With just 30 minutes from prep to plate, busy weeknights won’t feel overwhelming.
Versatile Serving Options: Pair them with honey mustard, BBQ, or ranch for added fun; why not try them alongside Baked Garlic Parmesan for a complete meal?
Healthier Alternative: These oven-baked beauties are a nourishing choice, delivering protein-packed satisfaction without excess oil.
Meal Prep Friendly: Leftovers can be stored for up to three days, making them great for quick lunches or snacks.
Crispy Oven Baked Chicken Tenders Ingredients
For the Chicken
• Chicken Breast – The main protein source, ensuring tenderness and juiciness. Substitution: Can use chicken tenders for convenience.
For the Breading
• All-Purpose Flour – Helps the egg wash adhere to the chicken for proper coating. Substitution: Gluten-free flour can be used for a gluten-free version.
• Eggs – Serves as a binding agent to help breadcrumbs stick. No substitution suggested for optimal results.
• Milk – Thins the eggs for better coating application. Substitution: Can use dairy-free milk for a lactose-free option.
• Breadcrumbs (Panko or Regular) – Provides the crispy outer layer. Substitution: Crushed cornflakes or crushed crackers can replace breadcrumbs for a different texture.
• Garlic Powder – Adds flavor. Substitution: Fresh minced garlic can be used for a more intense flavor.
• Paprika – Enhances color and adds a mild spiciness. No substitution necessary unless replacing for dietary needs.
• Salt – Essential for enhancing flavors. Can adjust to taste preferences.
• Black Pepper – Offers a hint of heat and flavor. Adjust quantity based on spice preference.
• Cooking Spray – Used to achieve crispiness without added oil. No specific substitution suggested; any cooking spray works.
Enjoy crafting these Crispy Oven Baked Chicken Tenders that are sure to become a family favorite!
Step‑by‑Step Instructions for Crispy Oven Baked Chicken Tenders
Step 1: Preheat the Oven
Begin by preheating your oven to 400°F (200°C). While it warms up, prepare a baking sheet by lining it with parchment paper or spraying it lightly with cooking spray. This will ensure your Crispy Oven Baked Chicken Tenders don’t stick and will have a lovely golden exterior.
Step 2: Prepare Breading Stations
Create your breading stations to make the process smooth. In one bowl, add all-purpose flour for dredging. In a second bowl, whisk together eggs and a splash of milk until well blended. Finally, in a third bowl, combine breadcrumbs with garlic powder, paprika, salt, and black pepper, mixing thoroughly for an even coating.
Step 3: Bread the Chicken
Take each chicken tender and start the breading process. Dredge the chicken in the flour, ensuring it’s completely coated. Next, dip it into the egg mixture, allowing the excess to drip off, and then coat it well in the breadcrumb mixture. This three-step process creates a delightful crunch for your Crispy Oven Baked Chicken Tenders.
Step 4: Arrange on Baking Sheet
Carefully place your breaded chicken tenders onto the prepared baking sheet, arranging them in a single layer for even cooking. Once they’re all laid out, give the tops a light spray with cooking spray. This additional moisture will help achieve that irresistible crispy finish.
Step 5: Bake
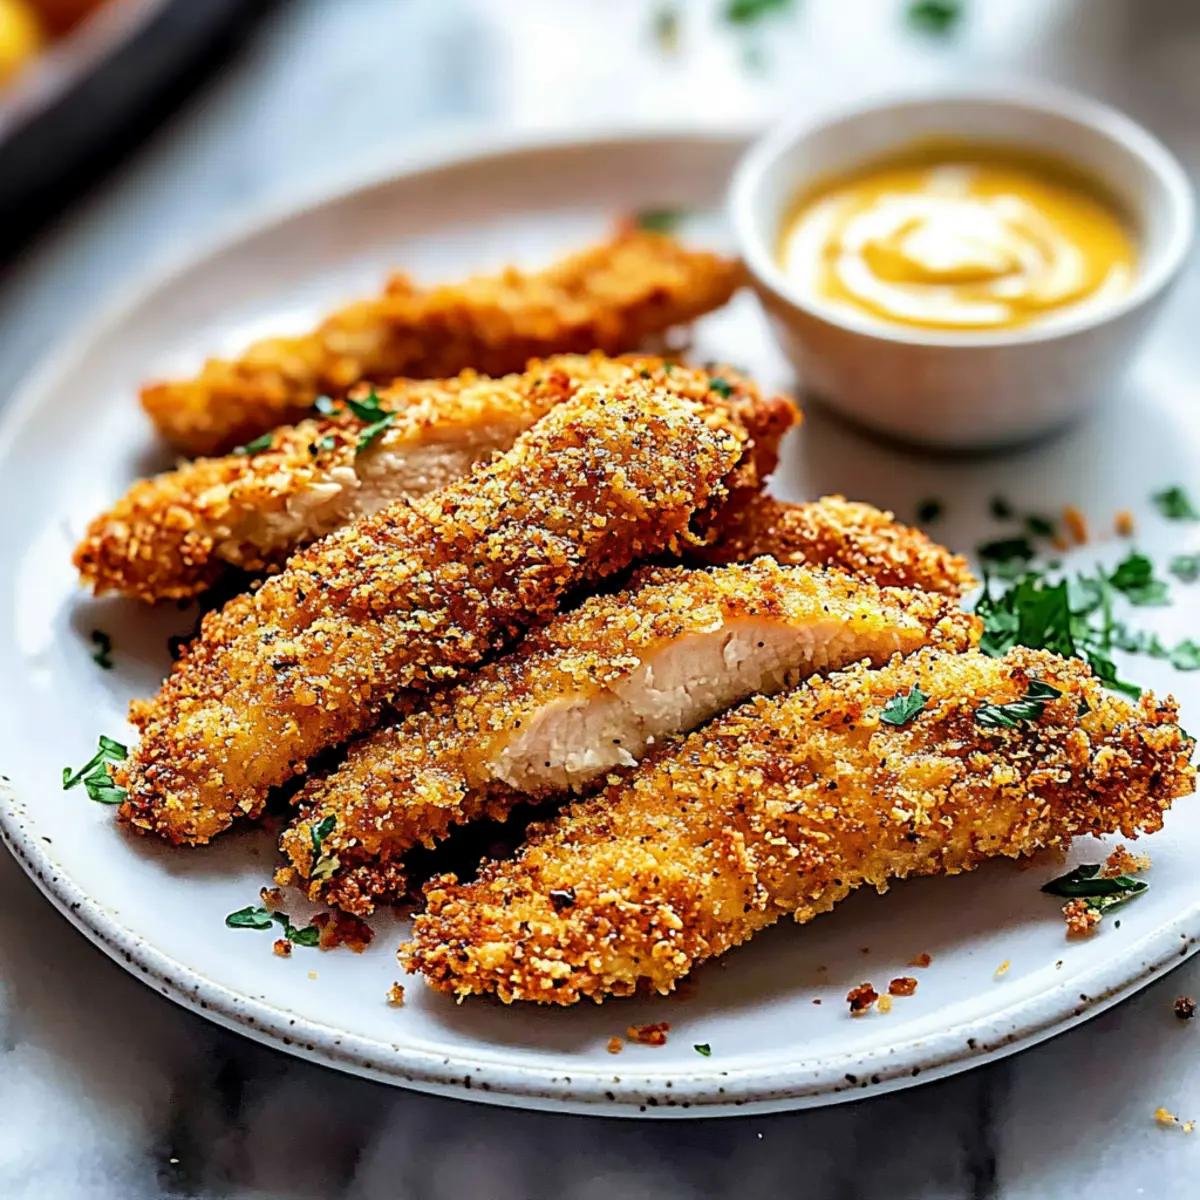
Slide the baking sheet into your preheated oven and bake for 18-20 minutes. Halfway through cooking, flip each tender to ensure they bake evenly on both sides. Look for a gorgeous golden-brown hue and a crispy texture when they are done.
Step 6: Serve
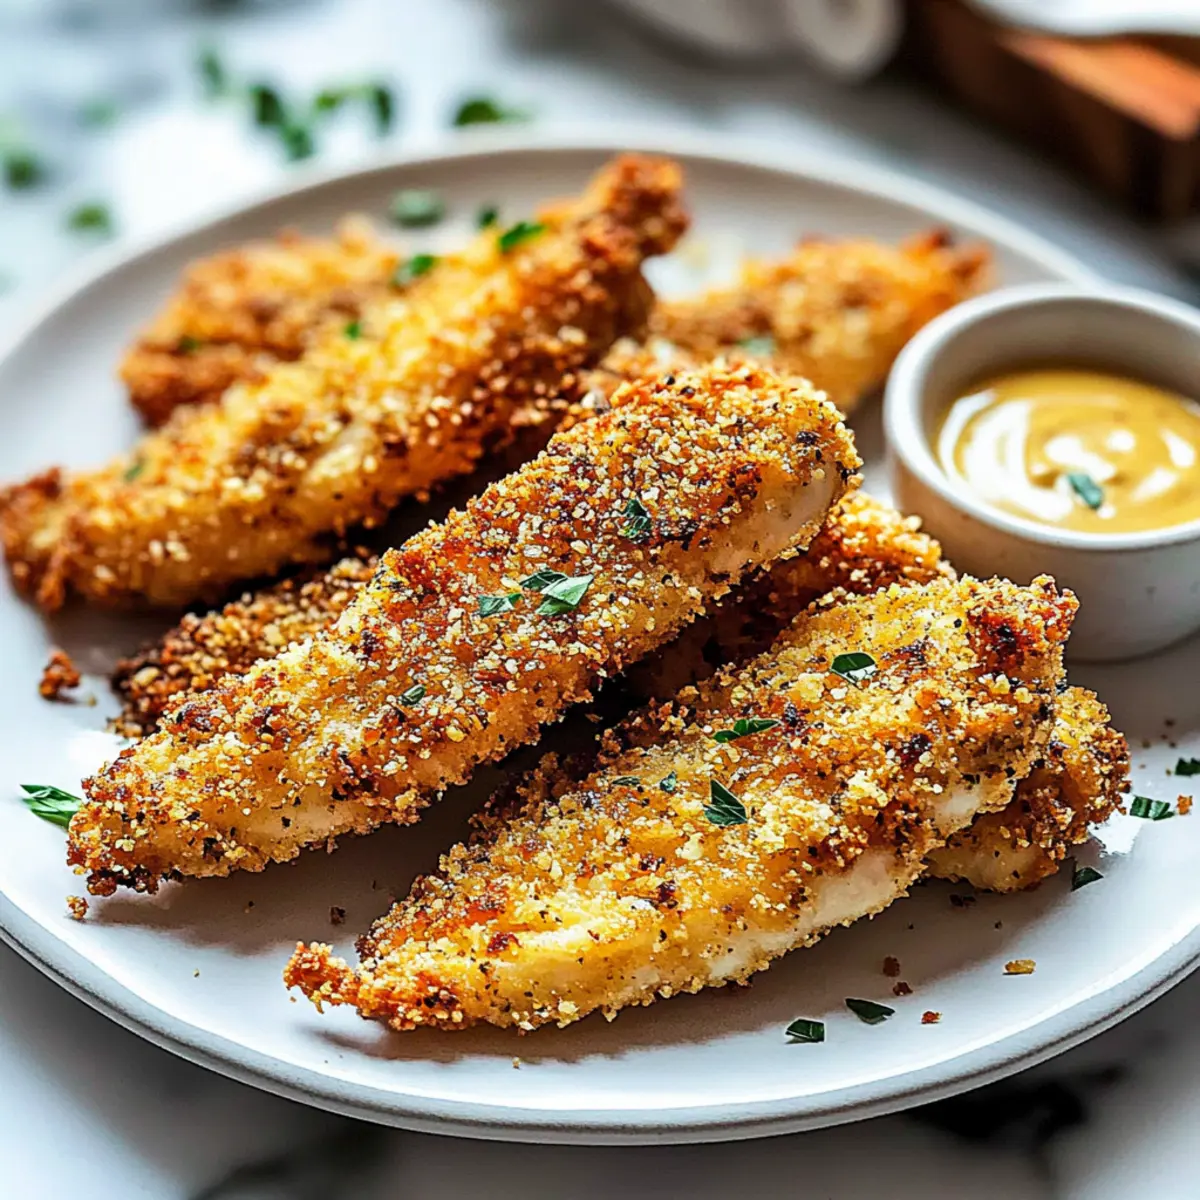
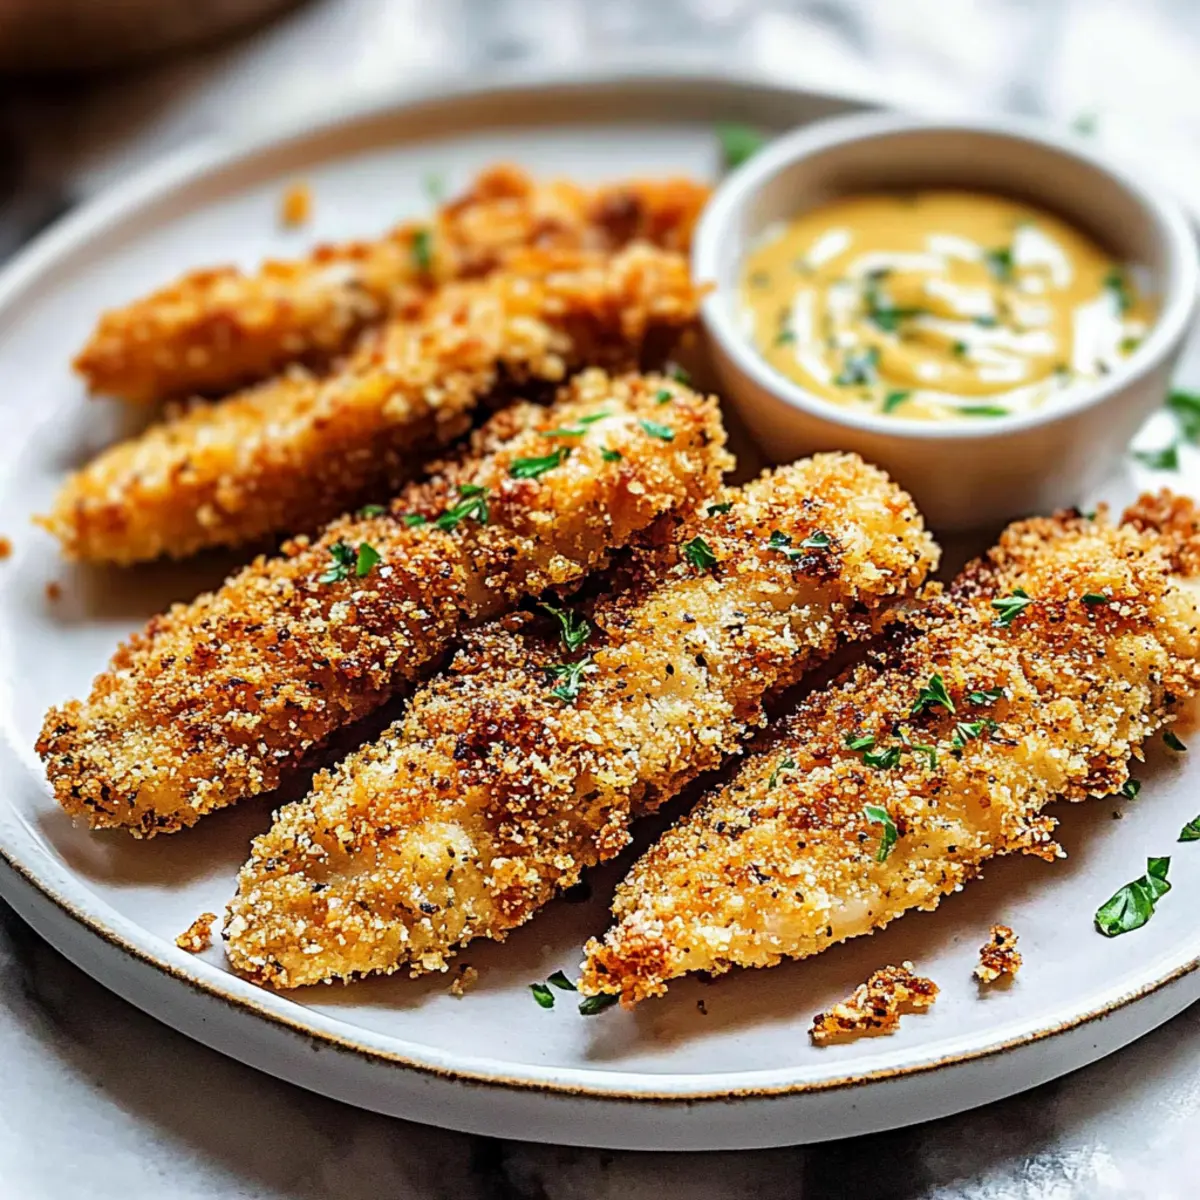
Once baked to perfection, remove your Crispy Oven Baked Chicken Tenders from the oven and let them cool slightly. Serve hot with your favorite dipping sauces, such as honey mustard or ranch, to enhance the flavor. Enjoy these crowd-pleasing tenders as a delightful appetizer or main dish!
What to Serve with Crispy Oven Baked Chicken Tenders
Elevate your dinner with these tasty pairing suggestions that beautifully complement the delightful crunch and flavor of your tenders.
-
Creamy Mashed Potatoes: Their velvety texture balances the crispy chicken, making every bite a comforting delight.
-
Fresh Garden Salad: Crisp greens, tomatoes, and cucumbers provide a refreshing contrast, drizzled with a light vinaigrette for a burst of flavor.
-
Sweet Potato Fries: The sweetness pairs wonderfully with the savory tenders, creating a mouthwatering combination that’s hard to resist.
-
Coleslaw: This crunchy side adds a tangy crunch, enhancing the overall meal experience with its creamy dressing.
-
Honey Mustard Dipping Sauce: Blend honey and mustard for a sticky-sweet sauce that amplifies the tenders’ crunch while delighting your taste buds.
-
Garlic Breadsticks: Soft and buttery, these add heft to your dinner while complementing the chicken’s crispy texture.
-
Chocolate Chip Cookies: Finish with a sweet note that contrasts the savory chicken tenders, delighting those with a sweet tooth.
-
Sparkling Lemonade: A refreshing drink that cuts through the richness of the tenders, making each bite just as enjoyable as the last.
Expert Tips for Crispy Oven Baked Chicken Tenders
• Pat Dry First: Ensure chicken is patted dry before breading to help the coating stick better during baking.
• Rest the Coating: Let the breaded tenders rest for a few minutes before baking to enhance adherence and crispiness.
• Flip for Crispiness: Don’t forget to flip the tenders halfway through baking; this step is essential for achieving evenly crispy Crispy Oven Baked Chicken Tenders.
• Use Parchment Paper: Lining your baking sheet with parchment paper not only prevents sticking but also makes cleanup a breeze!
• Watch the Time: Keep an eye on the baking time, as ovens may vary. Look for a golden-brown color for the perfect finish.
Storage Tips for Crispy Oven Baked Chicken Tenders
Fridge: Store leftovers in an airtight container for up to 3 days. This keeps your Crispy Oven Baked Chicken Tenders fresh and prevents them from drying out.
Freezer: Freeze the tenders in a single layer on a baking sheet for 1-2 hours, then transfer to a freezer-safe bag for up to 1 month. This method helps retain their texture.
Reheating: For the best results, reheat in the oven at 375°F (190°C) for about 10-12 minutes, until heated through and crispy again. This ensures they stay deliciously crunchy.
Crispy Oven Baked Chicken Tenders Variations
Feel free to get creative and customize these delightful chicken tenders to suit your taste buds!
-
Spicy Kick: Add cayenne pepper to the breadcrumb mixture for an extra layer of heat. The spice brings a whole new dimension that will challenge your palate in the most exciting way!
-
Gluten-Free: Swap all-purpose flour for a gluten-free blend and use gluten-free breadcrumbs. Your tender chicken will remain just as crispy without the gluten!
-
Dairy-Free Delight: Use your favorite plant-based milk instead of regular milk for a dairy-free option. This swap keeps things creamy without the dairy, perfect for anyone with lactose intolerance.
-
Texture Twist: Replace breadcrumbs with crushed cornflakes or crackers for a delightful change in texture. It can bring a unique crunch that pairs beautifully with the tender chicken.
-
Herb Infusion: Sprinkle dried herbs like oregano or thyme into the breadcrumb mixture for a burst of fresh flavor. Your kitchen will smell heavenly as these herby notes blend with the chicken!
-
Chicken Alternatives: Substitute chicken breasts with turkey cutlets or even pork tenderloin for a tasty new protein option. Each choice brings its own flavor profile and texture, making this recipe wonderfully versatile.
-
Asian Flair: Incorporate a touch of sesame seeds or a splash of soy sauce in the egg mixture. This infusion creates a lovely fusion with a hint of nuttiness and depth.
For more delightful recipes, why not try pairing these tenders with Greek Chicken Meatballs or serve them alongside Korean Baked Cauliflower for lunch or dinner? Enjoy the journey of flavor exploration!
Make Ahead Options
These Crispy Oven Baked Chicken Tenders are a fantastic meal prep solution for busy weeknights! You can bread the chicken up to 24 hours in advance; just refrigerate the breaded tenders on a baking sheet covered with plastic wrap to keep them fresh. For best results, let them sit for a few minutes after coating to ensure the breading adheres fully. When you’re ready to serve, simply preheat the oven and bake the tenders for their usual 18-20 minutes. This prep-ahead technique allows for a quick weeknight meal without compromising on the delicious, crunchy texture everyone loves. Enjoy the convenience of having a healthy, kid-friendly meal ready with minimal effort!
Crispy Oven Baked Chicken Tenders Recipe FAQs
How do I select the best chicken for this recipe?
Absolutely! When choosing chicken, look for breasts that are firm and have a pinkish hue without any dark spots or discoloration. If you’re in a pinch, you can also use chicken tenders for convenience, which are pre-cut and save you some prep time.
What is the best way to store leftover chicken tenders?
Very! Store your leftover Crispy Oven Baked Chicken Tenders in an airtight container in the refrigerator. They can last up to 3 days. Just make sure to allow them to cool completely before sealing the container to preserve their texture.
Can I freeze these chicken tenders?
Definitely! To freeze, line a baking sheet with parchment paper, arrange the tenders in a single layer, and freeze for 1-2 hours. Once frozen, transfer them to a freezer-safe bag. They’ll keep well for up to 1 month. Just make sure to label the bag with the date for reference.
What should I do if the breading isn’t sticking to the chicken?
I recommend ensuring the chicken is well-patted dry before breading. This helps the coating adhere better. If you find the breading still falling off, try letting the breaded tenders rest for a few minutes before placing them in the oven. This resting time allows the coating to slightly set, enhancing adhesion during baking.
Are there any allergy considerations with this recipe?
Absolutely! If you’re cooking for someone with gluten intolerance, you can substitute all-purpose flour and breadcrumbs with gluten-free alternatives. Additionally, if dairy is a concern, feel free to use dairy-free milk instead. Always double-check labels on pre-packaged ingredients for allergens.
How can I reheat the chicken tenders to keep them crispy?
For the best reheating results, preheat your oven to 375°F (190°C). Place the tenders on a baking sheet and bake for about 10-12 minutes or until they’re heated through and the coating is crisp. Avoid microwaving, as that can make them soggy!
Crispy Oven Baked Chicken Tenders: Healthy & Deliciously Fun
Ingredients
Equipment
Method
- Preheat your oven to 400°F (200°C) and prepare a baking sheet with parchment paper or cooking spray.
- In one bowl, add all-purpose flour. In a second bowl, whisk together eggs and a splash of milk. In a third bowl, mix breadcrumbs with garlic powder, paprika, salt, and black pepper.
- Dredge the chicken in flour, dip it in the egg mixture, and finally coat it well in the breadcrumb mixture.
- Arrange the breaded chicken tenders on the prepared baking sheet and lightly spray the tops with cooking spray.
- Bake for 18-20 minutes, flipping halfway, until golden brown and crispy.
- Remove from the oven and let cool slightly before serving with your favorite dipping sauces.
Leave a Reply