
As the sizzling sun beckons us outdoors, nothing says summer like a delightful treat in hand. Enter the No-Bake Cheesecake Ice Cream Cones—your ultimate companion for festive 4th of July gatherings! This easy dessert marries the creamy richness of cheesecake with the playful crunch of an ice cream cone, making it a hit among guests of all ages. Best of all, there’s no need for an oven—the whole thing can be whipped up in just 30 minutes! These cones are not only a fun and whimsical way to serve dessert, but they’re also a refreshing escape from traditional sweets. Intrigued? Let’s dive into this deliciously simple recipe that’s perfect for celebrating summer in style!
Why are these cones a must-try?
Unbeatable Convenience: Whip up these No-Bake Cheesecake Ice Cream Cones in just 30 minutes—perfect for last-minute summer gatherings.
Delightfully Creamy: The smooth cheesecake filling paired with a crunchy cone creates an unforgettable taste sensation.
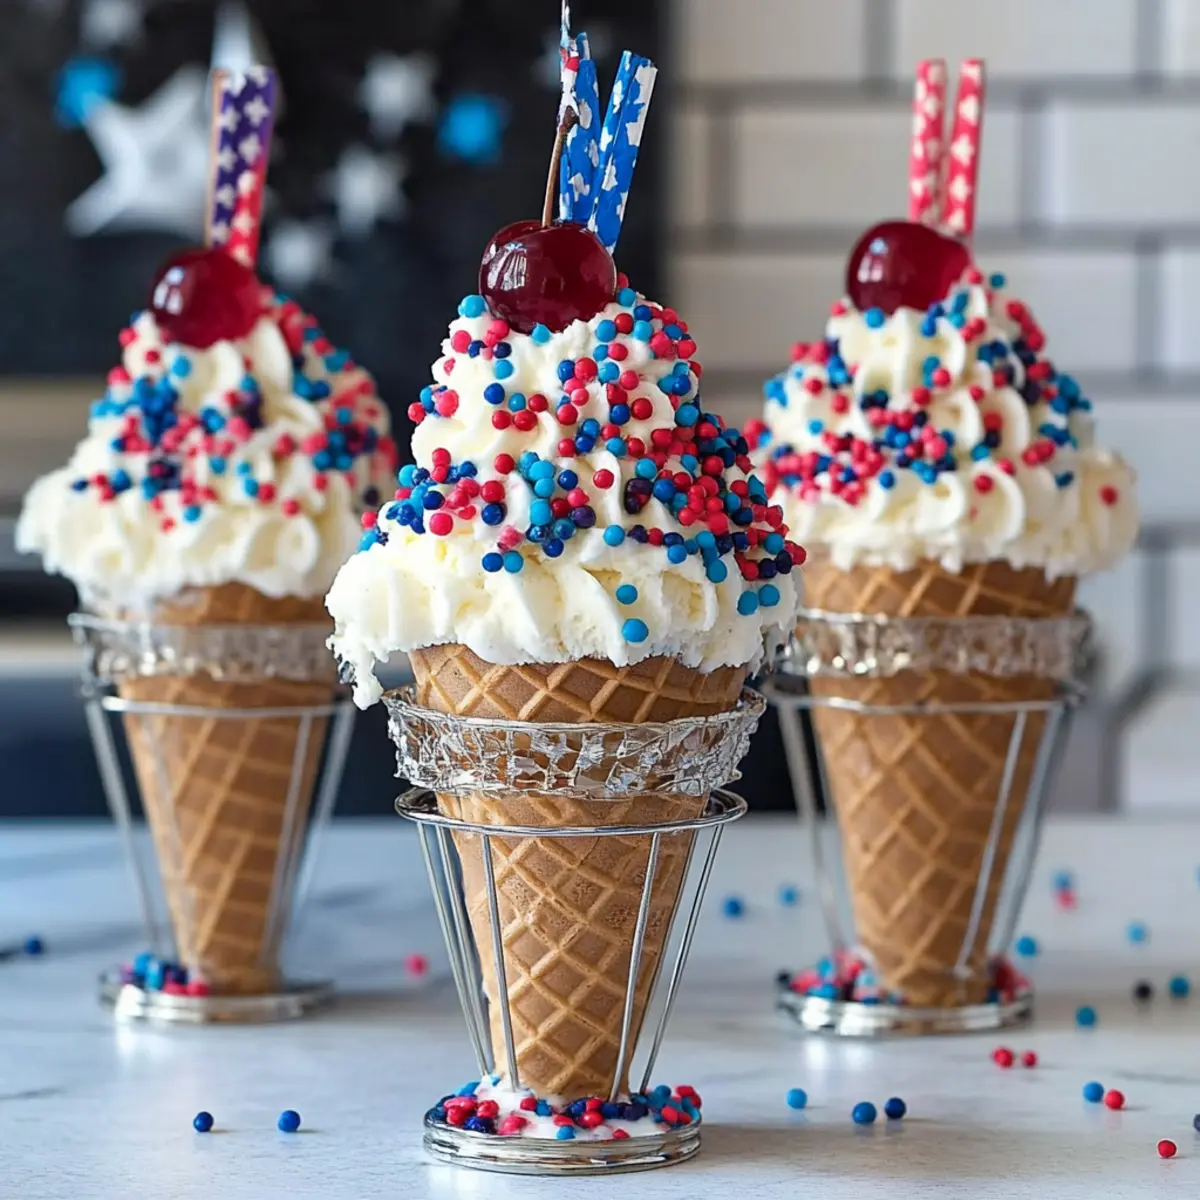
Festive Presentation: With sprinkles and cherries, they’re not just tasty but also a fun centerpiece for your 4th of July celebrations!
Healthy Twist: Consider swapping out sugary toppings for fresh fruit or lighter options, maintaining a balance for the health-conscious.
Versatile Flavors: Easily customize the cheesecake filling with different flavorings, like lemon or chocolate, ensuring everyone finds something to love! Grab some fresh fruit to serve alongside or try your hand at Apple Crumble Cheesecake for an alternative sweet treat.
4th of July Cheesecake Ice Cream Cone Ingredients
• Get ready to create a festive delight with these simple ingredients!
For the Cheesecake Filling
- Cream Cheese – This gives a rich, creamy base; make sure it’s softened for smooth mixing.
- Sugar – Sweetens the filling to balance the cream cheese’s tang; brown sugar can add a deeper flavor.
- Cool Whip – Lightens the texture; feel free to use whipped heavy cream for a homemade touch.
- Vanilla Extract – Enhances the overall flavor; consider almond extract for a unique twist.
For the Cones
- Ice Cream Cones – The crispy vessel that holds your cream; opt for fresh cones to avoid sogginess.
- White Chocolate Candy Melts or Vanilla Candiquik – Coats the cones for a sweet touch; dark chocolate offers a richer experience.
- Vegetable Shortening – Helps smooth the chocolate for coating; you can leave this out if needed.
For Decoration
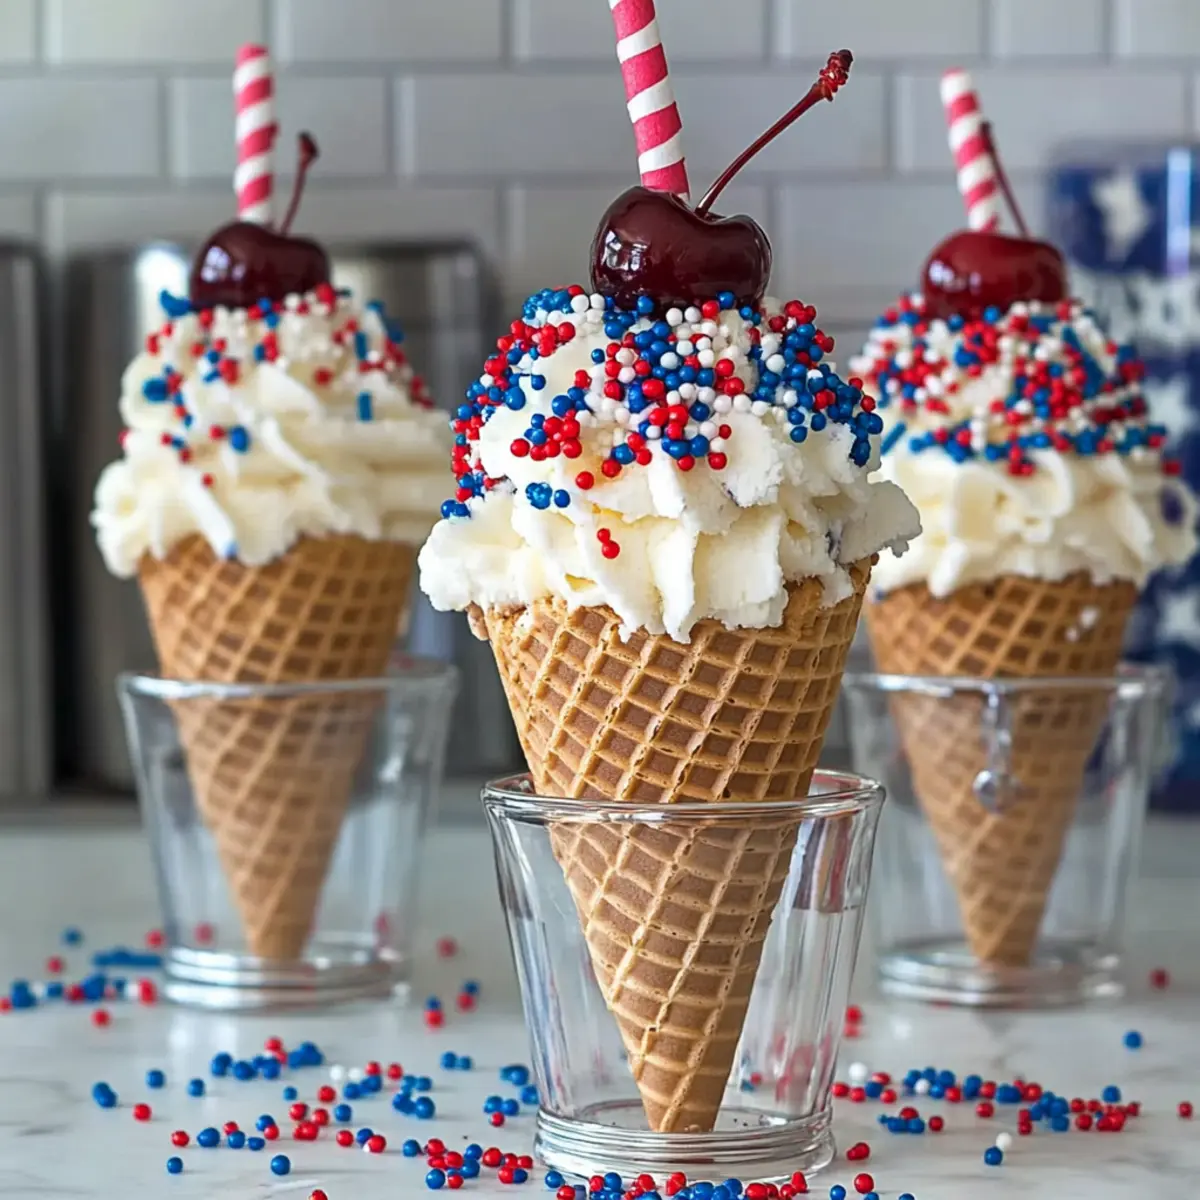
- 4th of July Sprinkles – Provides a festive flair; any themed sprinkles will work beautifully!
- Maraschino Cherries & Blueberry Sauce – Adds color and a burst of flavor; swap for fresh berries for a healthier option.
These 4th of July Cheesecake Ice Cream Cones are sure to steal the show at your summer gatherings!
Step‑by‑Step Instructions for 4th of July Cheesecake Ice Cream Cones
Step 1: Prepare the Cones
Begin by melting white chocolate candy melts or vanilla Candiquik in a microwave-safe bowl for about 1-2 minutes, stirring every 30 seconds until smooth. Take your ice cream cones and dip the tops into the melted chocolate, ensuring an even coat. Next, roll the chocolate-coated tops in 4th of July sprinkles for a festive touch and set them aside on a parchment-lined tray to harden for about 15 minutes.
Step 2: Mix the Cheesecake Filling
In a large mixing bowl, beat together softened cream cheese, sugar, and vanilla extract using an electric mixer on medium speed for about 2-3 minutes until fully smooth. Gently fold in the Cool Whip until it’s well combined, creating a light and airy cheesecake mixture. If your mixture seems too loose, refrigerate it for about 15-30 minutes to help it firm up for easier piping.
Step 3: Pipe the Cheesecake Mixture
Transfer the cheesecake filling into a piping bag fitted with a star tip for a classic look. Carefully fill each hardened cone with the cheesecake mixture, making sure to leave a little room at the top for decoration. Pipe the filling from the bottom to the top, creating a swirl effect. Continue this process until all your cones are filled, creating a delightful treat with every layer.
Step 4: Garnish and Serve
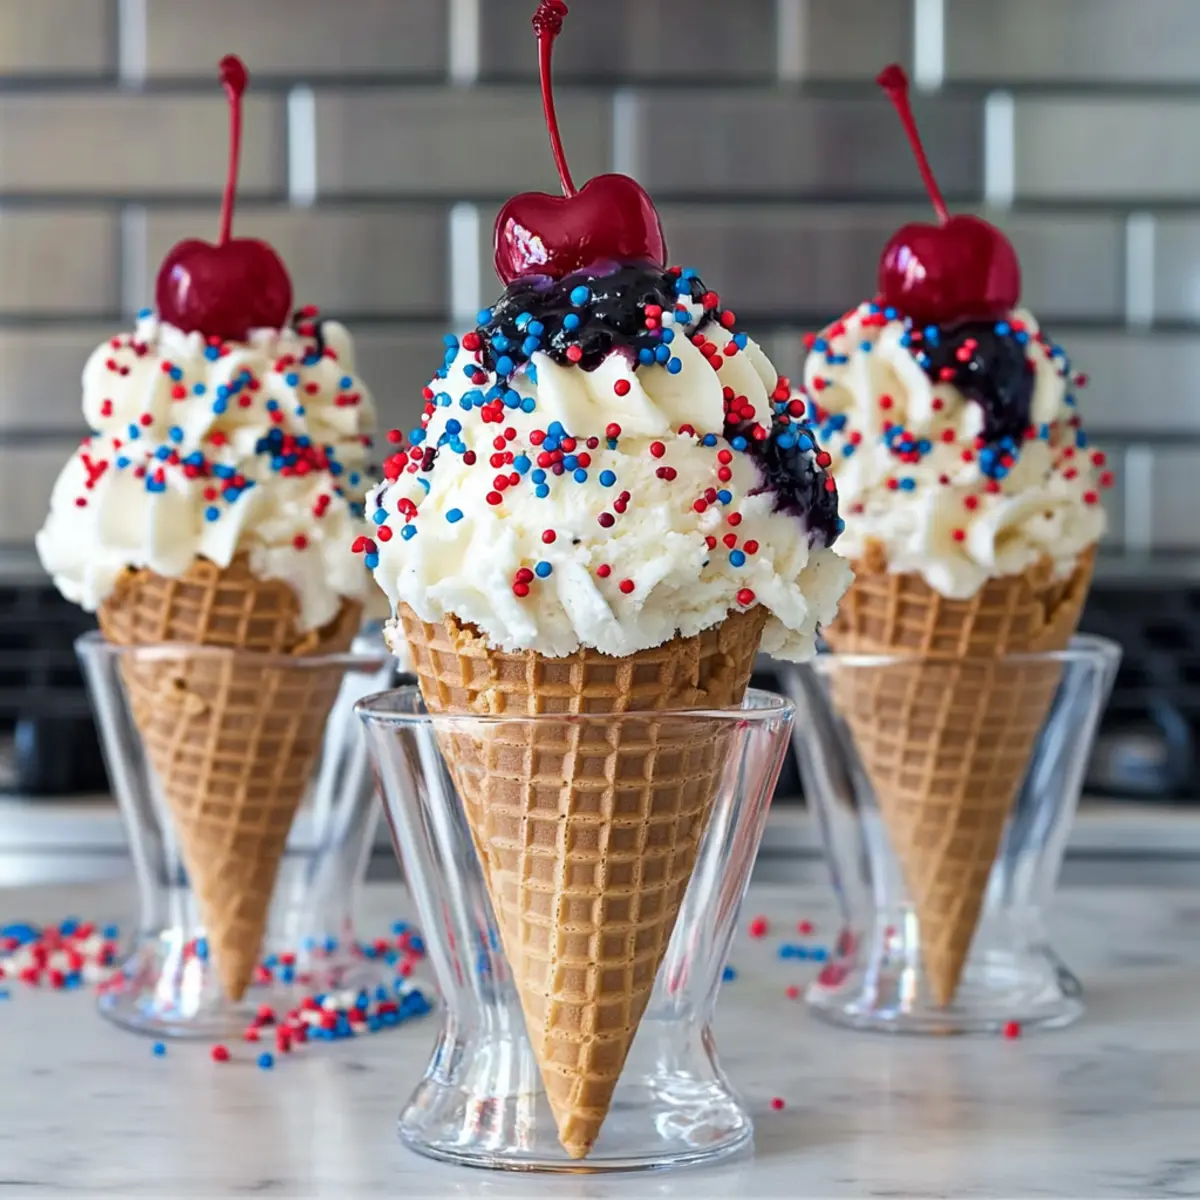
To finish off your 4th of July Cheesecake Ice Cream Cones, top each one with a generous drizzle of blueberry sauce and a maraschino cherry for a burst of color. Serve these delightful cones immediately for the best texture and flavor, inviting everyone to dive into the festive celebration of summer’s sweetness.
What to Serve with No-Bake Cheesecake Ice Cream Cones?
As the sun shines bright, complete your festive gathering with delightful accompaniments that enhance the sweetness of these creamy cones.
- Fresh Berries: A mix of strawberries, raspberries, and blueberries adds a burst of freshness that perfectly balances the rich cheesecake.
- Lemon Sorbet: This light, icy treat complements the creamy texture of the cones, providing a refreshing contrast for hot summer days.
- Grilled Peaches: Sweet, caramelized peaches drizzled with honey echo the summer vibe and offer a fruit-forward addition to your dessert spread.
- Sparkling Water: Serve this fizzy drink with lemon slices for a light, bubbly beverage that cleanses the palate between rich bites.
- Chocolate Dipped Pretzels: The sweet and salty crunch of these pretzels makes for a fun treat that pairs beautifully with the smooth cheesecake filling.
- Watermelon Salad: A light, flavorful salad with mint and feta adds a refreshing element and highlights summer’s vibrant produce.
These pairings not only elevate the experience but create a fanfare of flavors to enjoy alongside your No-Bake Cheesecake Ice Cream Cones!
4th of July Cheesecake Ice Cream Cones Variations
Feel free to explore these delicious twists that can elevate your No-Bake Cheesecake Ice Cream Cones, making them truly unique!
-
Flavor Twist: Add lemon zest or cocoa powder to the cheesecake filling for a refreshing zing or a rich chocolate flavor. The texture stays creamy while the flavors pop!
-
Fruit-Infused: Incorporate pureed strawberries or raspberries into the cheesecake mixture for a fruity surprise with every bite. This not only adds color but also a refreshing taste that’s perfect for summer!
-
Nutty Addition: Sprinkle in crushed nuts like almonds or walnuts into the filling for a delightful crunch. This adds a whole new dimension, creating an exciting contrast with the creamy cheesecake.
-
** Gluten-Free Option:** Swap regular cones for gluten-free ice cream cones to cater to dietary needs without compromising on taste. Everyone can enjoy this festive treat!
-
Dairy-Free Delight: Use vegan cream cheese and coconut whipped cream for a dairy-free twist. The result is an equally creamy and satisfying cone that everyone can enjoy.
-
Whimsical Toppings: Instead of the usual sprinkles, try topping your cones with toasted coconut flakes or mini chocolate chips for extra flair. They not only look festive but also add wonderful textures!
-
Spicy Kick: Mix in a pinch of cinnamon or pumpkin spice for a warm flavor twist that’s perfect for fall-themed gatherings. It’s a comforting surprise amidst the summer festivity.
Check out more delicious recipes like Sugar Cookie Cheesecake or try whipping up a creamy version of Chicken Tortilla Soup for delightful meal options post-dessert!
Storage Tips for 4th of July Cheesecake Ice Cream Cones
Fridge: Store filled cones in the refrigerator for up to 2 hours. This keeps them fresh while avoiding the unappealing sogginess of the cones.
Freezer: If needed, you can freeze unfilled cones for up to 2 months. Keep them in an airtight container to prevent freezer burn.
Reheating: There’s no need to reheat these cones. Serve them chilled for the best texture and flavor!
Best Enjoyed Fresh: For the ultimate experience, enjoy your 4th of July Cheesecake Ice Cream Cones shortly after assembly, as they are best eaten fresh!
Expert Tips for 4th of July Cheesecake Ice Cream Cones
-
Soften Cream Cheese: Ensure your cream cheese is fully softened for easy mixing. If it’s cold, the mixture will be lumpy rather than creamy.
-
Avoid Soggy Cones: Prepare the ice cream cones shortly before serving to keep them crispy. Filling them too early might result in sogginess.
-
Chill Filling: If your cheesecake mixture appears loose, refrigerate it briefly before piping. This creates a sturdier filling for your 4th of July Cheesecake Ice Cream Cones.
-
Master the Piping: Use a piping bag with a star tip for visually appealing swirls. This makes your cones look professional and festive!
-
Garnish Carefully: Add toppings like blueberry sauce and cherries just before serving to maintain the fresh look and taste of your cones.
Make Ahead Options
These 4th of July Cheesecake Ice Cream Cones are perfect for meal prep enthusiasts! You can prepare the cheesecake filling up to 24 hours in advance by mixing the softened cream cheese, sugar, and vanilla, then folding in the Cool Whip. Refrigerate the mixture in an airtight container to maintain its creamy texture. The cones can also be prepped ahead: dip them in melted white chocolate and sprinkles, then allow them to harden (about 15 minutes) before storing them separately. When you’re ready to serve, simply pipe the cheesecake filling into the cones and garnish with blueberry sauce and cherries. Enjoy the time-saving benefits and delight your guests with this festive treat!

4th of July Cheesecake Ice Cream Cones Recipe FAQs
How do I choose the right cream cheese for the filling?
Absolutely! When selecting cream cheese, opt for full-fat versions since they yield a creamier and richer texture. Ensure it’s softened to room temperature (about 30 minutes sitting out) for smoother mixing, avoiding any lumps in your cheesecake filling.
How should I store leftover cones?
For optimal freshness, store filled cones in the refrigerator for up to 2 hours. If you have unfilled cones, place them in an airtight container in the fridge for up to 3 days or freeze them for up to 2 months without filling.
Can I freeze the 4th of July Cheesecake Ice Cream Cones?
The best way to freeze these cones is to keep the cones unfilled. Place them in an airtight container for up to 2 months. When you’re ready to enjoy, just make the cheesecake filling fresh and assemble; this way, you’ll maintain that perfect crunchy texture!
What if my cheesecake filling is too loose?
Very! If you notice your cheesecake filling is too loose, don’t worry! Simply refrigerate it for 15 to 30 minutes until it firms up. This will make it much easier to pipe into the cones. You can also consider folding in a bit more Cool Whip for additional stability.
Are there any allergy considerations with the ingredients?
Yes, please be mindful! For those with dairy allergies, you might want to use dairy-free cream cheese alternatives. Additionally, check any chocolate products for potential allergens like nuts. If you’re serving to children or pets, keep the cherries and sweet toppings out of reach, as they can be choking hazards.
Can I customize the toppings for the cones?
Absolutely! The more the merrier! You can swap the blueberry sauce for other fruit toppings like strawberry or raspberry sauces. Fresh fruit is a delightful and healthier alternative to sugary toppings. Get creative with your favorite flavors, and make it your own!
Chill Out with 4th of July Cheesecake Ice Cream Cones
Ingredients
Equipment
Method
- Begin by melting white chocolate candy melts or vanilla Candiquik in a microwave-safe bowl for about 1-2 minutes, stirring every 30 seconds until smooth. Take your ice cream cones and dip the tops into the melted chocolate, ensuring an even coat. Next, roll the chocolate-coated tops in 4th of July sprinkles and set them aside on a parchment-lined tray to harden for about 15 minutes.
- In a large mixing bowl, beat together softened cream cheese, sugar, and vanilla extract using an electric mixer on medium speed for about 2-3 minutes until fully smooth. Gently fold in the Cool Whip until well combined. If the mixture seems too loose, refrigerate it for about 15-30 minutes to help it firm up for easier piping.
- Transfer the cheesecake filling into a piping bag fitted with a star tip. Carefully fill each hardened cone with the cheesecake mixture, making sure to leave a little room at the top for decoration. Pipe the filling from the bottom to the top, creating a swirl effect until all cones are filled.
- Top each cone with a generous drizzle of blueberry sauce and a maraschino cherry. Serve these delightful cones immediately for the best texture and flavor.
Leave a Reply