
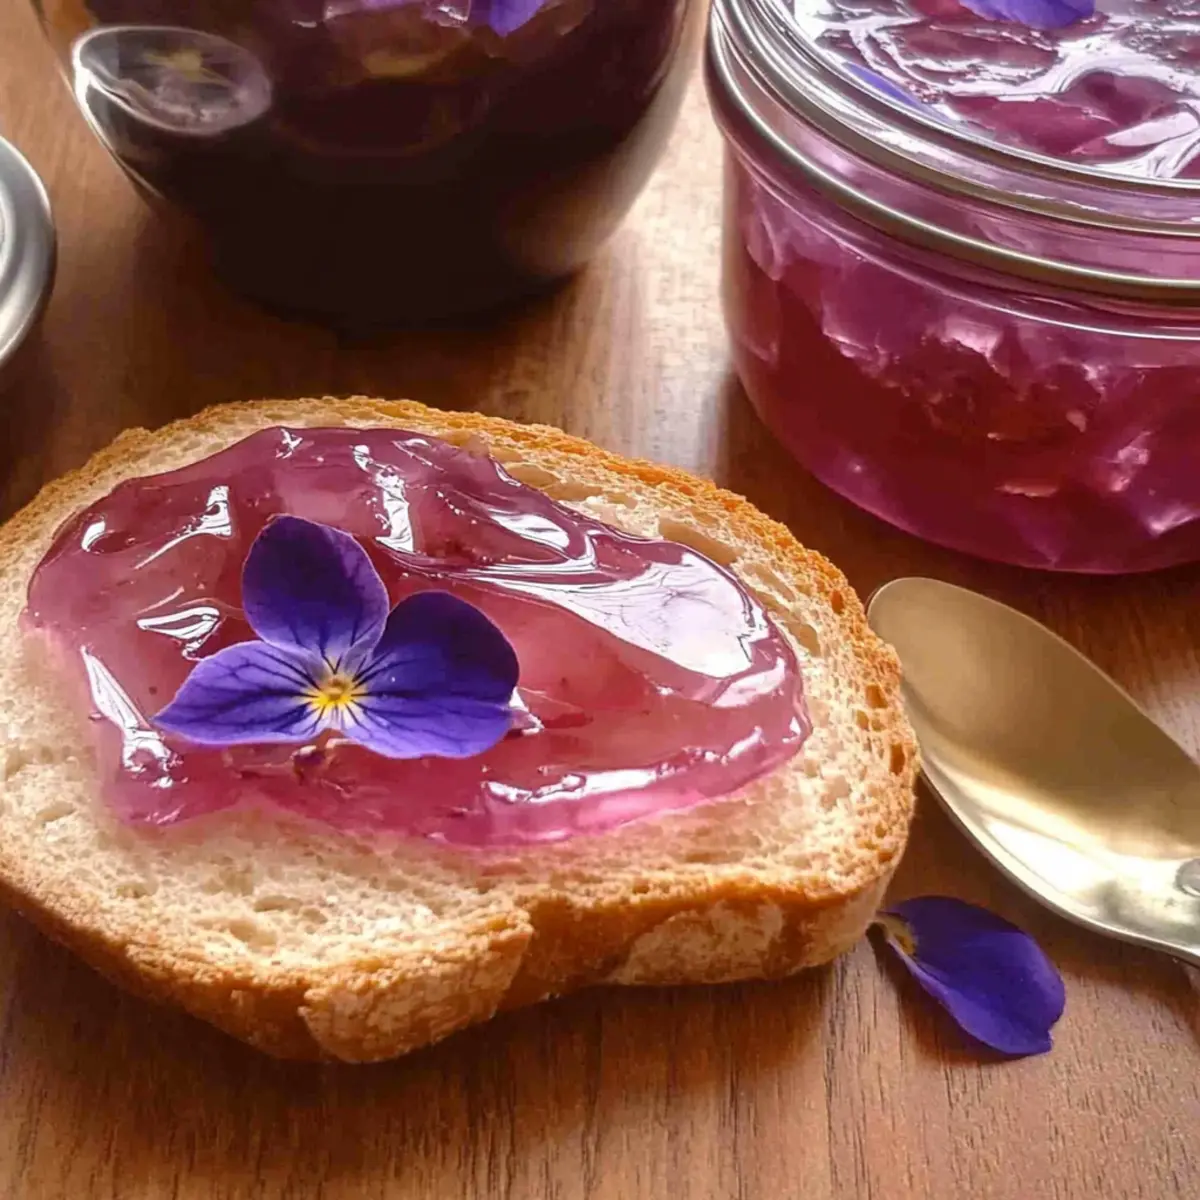
As I wandered through a sunlit meadow, the sweet scent of violets enveloped me, whisking me back to childhood days spent foraging with family. It’s this vivid memory that inspired me to create Wild Violet Jelly: Springtime in a Jar, a delightful homemade jelly capturing the very essence of spring. Not only does this floral jelly add a pop of stunning amethyst color to your breakfast table, but it’s also a fantastic way to bring your loved ones together foraging for those vibrant violet blossoms. What’s more, this quick and easy recipe doubles as a wonderful gift, making it perfect for spring celebrations or simply to brighten someone’s day. Are you ready to fill your kitchen with the sweet aroma of violets and create a taste of spring? Let’s dive into this enchanting endeavor!
Why is Wild Violet Jelly Special?
Uniqueness: This jelly isn’t just a treat; it’s a unique way to incorporate foraged ingredients, making each jar a little piece of nature’s magic.
Ease of Preparation: With just a few simple steps, you can whip up this delightfully floral jelly in no time. Perfect for both novice cooks and seasoned chefs alike.
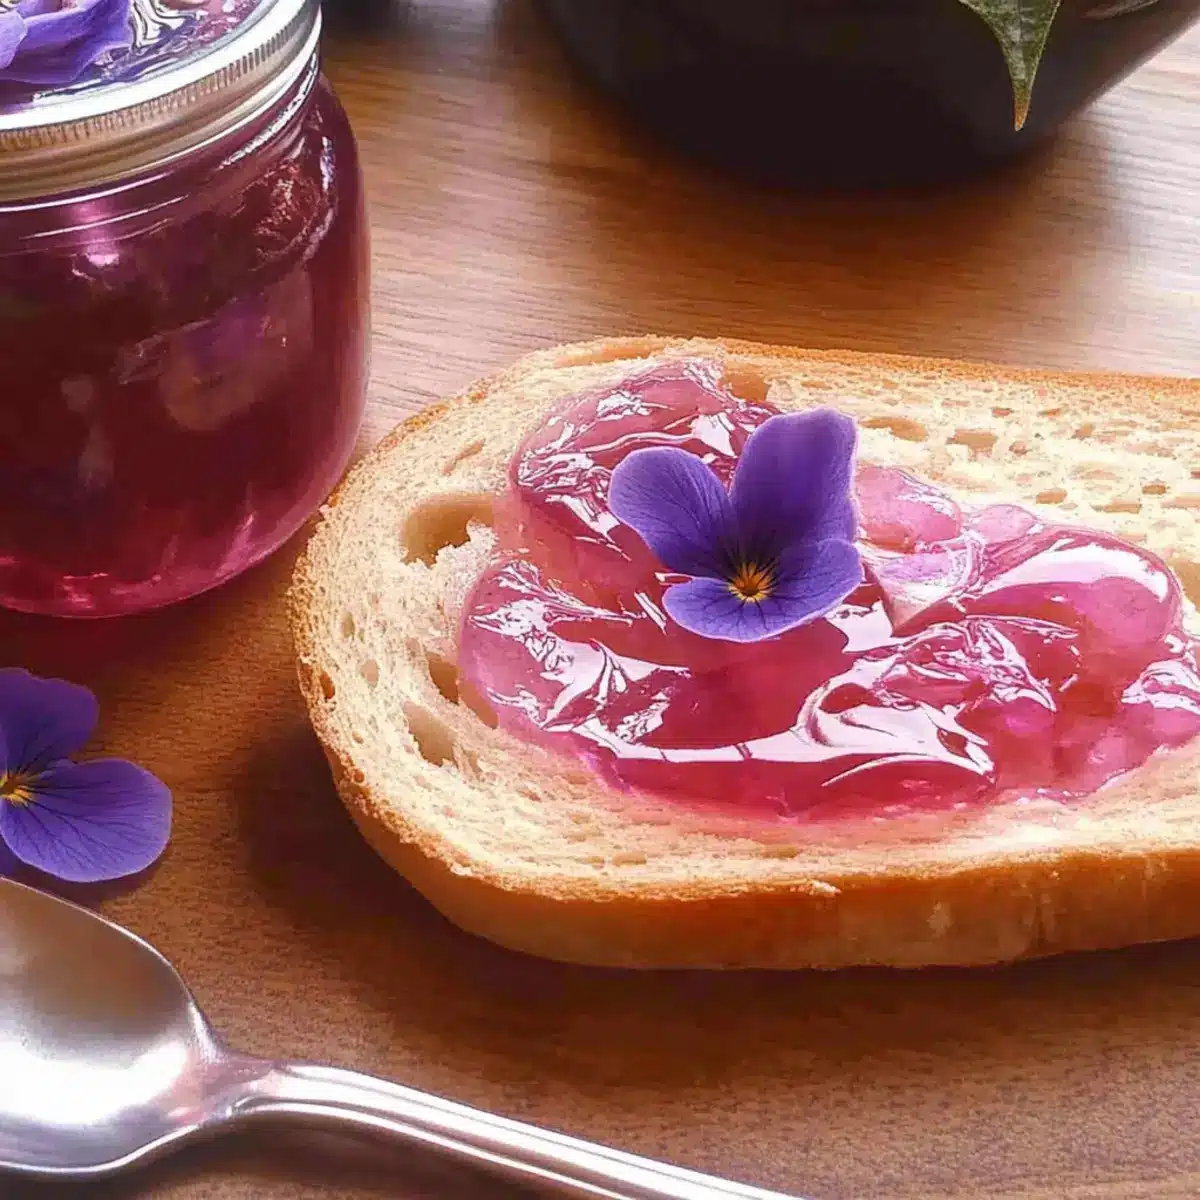
Visual Appeal: Its stunning amethyst hue adds charm to any meal, making it not just delicious but also visually stunning—ideal for impressing guests or celebrating spring!
Versatility: Use it as a topping for classic breakfast items or mix it into desserts; this jelly complements a range of flavors beautifully. Whether you’re pairing it with scones or incorporating it into yogurt, the possibilities are endless.
Crowd-Pleasing Gift: Packaged in jars, this homemade gift is a thoughtful gesture that brings joy to friends and family, perfect for special occasions or just because!
Storage Friendly: Once sealed, this jelly can last up to a year, allowing you to relive those sweet spring memories long after the season ends. Plus, don’t forget to check out how to serve it right with ideas for delightful pairings!
Wild Violet Jelly Ingredients
For the Jelly
• Sweet Violet Blossoms – Gather two loose cups or one packed cup (stems removed) to provide the primary floral flavor and color in your Wild Violet Jelly.
• Water – Used to create a vibrant tea from the violet blossoms, essential for extracting their delicate sweetness.
• Powdered Pectin – You’ll need 1.75 to 2 ounces (about one package) to help the jelly set perfectly.
• Granulated Sugar – Use 4 cups to enhance sweetness and act as a preservative; this is the heart of creating a delightful jelly.
• Lemon Juice – Balance the sweetness and provide the necessary acidity for pectin to gel; make sure to include the specified amount in your recipe for the best results.
Note: When you gather sweet violets for this recipe, you’re not just foraging; you’re capturing a moment of spring in a jar with this homemade jelly!
Step‑by‑Step Instructions for Wild Violet Jelly: Springtime in a Jar
Step 1: Gather the Violets
Collect two loose cups or one packed cup of sweet violet blossoms from a safe, pesticide-free area. Ensure to remove the stems, leaving only the delicate flowers. This foraging step is not only enjoyable but sets the stage for your Wild Violet Jelly, capturing the essence of spring in each bloom.
Step 2: Steep the Blossoms
In a pot, bring 4 cups of water to a gentle boil, then remove it from heat. Add the violet blossoms and allow them to steep for about 30 minutes. You’ll notice the water transforming into a beautiful violet-hued tea, which is essential for the jelly’s lovely color and floral flavor.
Step 3: Prepare the Pectin
While the blossoms are steeping, measure out 1.75 to 2 ounces of powdered pectin, following the package instructions for any pre-mixing needed. Make sure you have all equipment ready, including a ladle, measuring cups, and a whisk. This step is crucial for ensuring your Wild Violet Jelly gels perfectly.
Step 4: Combine and Boil
Strain the steeped violet tea into a large pot, discarding the flowers. Mix in the powdered pectin as you stir, and bring the mixture to a full rolling boil over medium-high heat. Keep stirring continuously to prevent sticking and ensure an even consistency as the pectin dissolves completely.
Step 5: Add Sugar and Return to Boil
Once boiling, carefully stir in 4 cups of granulated sugar. Return the mixture to a full rolling boil, and maintain this boil for exactly 1 minute while stirring constantly. This duration is key to activating the pectin and achieving that perfect gel texture in your Wild Violet Jelly.
Step 6: Test for Set
To check if your Wild Violet Jelly is set, place a small amount on a cold plate and let it sit for a few moments. Run your finger through it — if it wrinkles and holds its shape, you’re ready to jar the jelly. If not, boil for another minute and test again, ensuring you achieve the desired consistency.
Step 7: Jar the Jelly
Once set, immediately ladle the hot jelly into sterilized jars, filling each one to within a quarter-inch of the top. Wipe the rims clean with a damp cloth to ensure a good seal before placing the lids on. This process is vital for preserving your Wild Violet Jelly properly.
Step 8: Cool and Store
Allow the jars to cool at room temperature until they reach full seal status, usually indicated by a pop sound from the lids. Store your sealed jars in a cool, dark pantry or refrigerator. This homemade jelly will last up to a year, letting you savor a taste of spring anytime you wish!
What to Serve with Wild Violet Jelly
Wild Violet Jelly perfectly captures the essence of spring, and it deserves delightful companions to build a beautiful meal together.
- Fluffy Buttermilk Pancakes: These light and airy pancakes provide a perfect canvas for the floral notes of the jelly.
- Fresh Scones: Flaky, buttery scones pair wonderfully, soaking up the delicious sweetness of the jelly.
- Cream Cheese Spread: A rich cream cheese spread creates a contrast, balancing the sweetness of the jelly with a creamy, tangy flavor.
- Grilled Cheese Sandwich: The gooey melted cheese and crispy bread are transformed with a hint of jelly, offering a sweet-savory delight for the palate.
- Herbal Tea: Choose chamomile or mint tea to refresh and cleanse the palate, enhancing the unique floral experience.
- Aged Cheese Platter: Hard cheeses, like aged gouda or parmesan, complement the jelly’s sweetness while adding a complex flavor profile to your meal.
- Mini Fruit Tarts: These pastries filled with seasonal fruit brighten up any table and harmonize beautifully with the floral jelly.
- Sparkling Wine: A chilled glass of bubbly will elevate your springtime brunch setting, making each bite of jelly even more delightful.
- Peanut Butter Toast: A classic and comforting pairing where the nutty flavor perfectly mingles with the sweet, floral notes of the jelly.
- Lemon Sorbet: A refreshing dessert that cuts through the sweetness and leaves a light, zesty finish to your meal.
Wild Violet Jelly: Creative Twists
Feel free to unleash your culinary creativity and explore delightful variations for your homemade jelly!
-
Citrus Burst: Add zest from oranges or lemons while cooking for a zesty zing that beautifully complements the violets. The tang will elevate your jelly, making each bite a little brighter.
-
Spicy Kick: Mix in a pinch of cayenne or a few crushed red pepper flakes for a sweet heat that’ll surprise your taste buds. This variation adds an unexpected depth and warmth, especially delightful over savory dishes.
-
Lavender Infusion: Combine a teaspoon of dried lavender with the violet blossoms for an aromatic twist that blends beautifully. The floral notes will elevate your jelly experience, creating a symphony of scents and tastes.
-
Berry Blend: Incorporate a cup of crushed strawberries or raspberries during the boiling phase. This twist adds a fruity base note that complements the floral sweetness while deepening the flavor profile.
-
Honeyed Violets: Substitute half of the granulated sugar with honey for a richer taste that enhances the jelly’s natural sweetness. Not only does it amplify the flavor, but it also brings a lovely floral undertone.
-
Herbal Notes: Infuse the violet tea with fresh mint or basil for a refreshing herbal flair. This enticing combination will take your jelly to new heights, offering a burst of spring in every spoonful.
-
Sparkling Finish: Just before jarring, mix in a splash of sparkling water or club soda for a light, effervescent quality. This playful touch creates a delightful jelly that’s refreshing and unique!
-
Foraging Adventure: Switch out the violets for other edible flowers, like dandelions or elderflowers, to create an entirely new twist. Just remember, each flower will bring a different flavor and color to your homemade jelly, making every jar a surprise.
As you experiment with these variations, you might find inspiration for delicious new recipes, just like with pizza ideas or homemade salads! Transform the way you think about jelly and make each jar a masterpiece bursting with flavors of spring!
How to Store and Freeze Wild Violet Jelly
Fridge: Store opened jars of Wild Violet Jelly in the refrigerator, where it will keep for up to 3 weeks. Ensure the lid is sealed tightly to maintain freshness.
Pantry: Unopened jars can be stored in a cool, dark pantry for up to a year. Always check the seal before tasting to ensure proper preservation.
Freezer: If you want to extend its shelf life, pour the jelly into freezer-safe containers. It can last up to a year in the freezer, but make sure to leave some space for expansion.
Reheating: When ready to use frozen jelly, let it thaw in the fridge overnight or at room temperature. If desired, gently warm in a saucepan over low heat to return it to its spreadable state.
Expert Tips for Wild Violet Jelly
-
Perfectly Measure Ingredients: Accurate measurements of pectin and sugar are crucial; too little sugar may prevent your homemade jelly from jelling properly.
-
Cold Plate Test: Always perform a set test using a cold plate before jarring; when the jelly wrinkles, it’s ready. This ensures your Wild Violet Jelly will have the right texture.
-
Finishing Boil: Don’t skip the specified boiling time after adding sugar; boiling for one minute activates the pectin to achieve that desirable gel-like consistency.
-
Storage Tips: Ensure jars are sterilized before filling to prevent spoilage. Properly sealed jars can last up to a year, preserving your spring flavors.
-
Adapting Flavors: Feel free to experiment with different edible flowers or mix in citrus juices for unique flavor variations; just adjust the pectin for consistency.
Make Ahead Options
Preparing Wild Violet Jelly in advance is a breeze! You can gather and steep the sweet violet blossoms, then refrigerate the violet tea for up to 24 hours. Simply store it in an airtight container to maintain its vibrant color and flavor. When you’re ready to finish the jelly, just mix the chilled tea with the powdered pectin and bring it to a boil, following the same steps to add sugar and test for set as normal. By prepping the tea ahead of time, you save precious moments on busy days, making this lovely homemade jelly a delightful and quick endeavor to enjoy later!
Wild Violet Jelly Recipe FAQs
What type of sweet violet blossoms should I gather?
Absolutely! When foraging for sweet violet blossoms, it’s best to look for vibrant, fresh flowers with no dark spots or signs of wilting. You’ll need two loose cups or one packed cup, and remember to remove the stems before using them in your jelly. Avoid collecting violets from areas that may have been treated with pesticides, to ensure you have safe, edible blossoms for your recipe.
How should I store Wild Violet Jelly once it’s made?
Once you’ve jarred your Wild Violet Jelly, store sealed jars in a cool, dark pantry or cupboard. Properly sealed, the jelly will last for up to a year! If you have any unsealed jars, keep them in the refrigerator for about 3 weeks. Make sure to check the seal before tasting and enjoy the sweet memories of spring!
Can I freeze Wild Violet Jelly for later use?
Yes, indeed! To freeze your Wild Violet Jelly, simply pour it into freezer-safe containers, leaving some space at the top for expansion. It can last up to a year in the freezer. When you’re ready to enjoy it again, thaw the jelly in the refrigerator overnight or at room temperature. For a warm, spreadable texture, you can gently heat it in a saucepan over low heat.
What should I do if my jelly doesn’t set properly?
Very good question! If your Wild Violet Jelly doesn’t reach the desired gel-like consistency, don’t worry. Before jarring, perform a set test by placing a small amount on a cold plate to see if it firms up and wrinkles. If not, try boiling for another minute. If it still doesn’t set, consider using it as a syrup; you can also thicken it by mixing in a small amount of cornstarch diluted in water, returning it to a boil briefly.
Are there any dietary considerations I should be aware of?
Yes! While Wild Violet Jelly is generally safe for most people, it’s always wise to check for allergies related to floral ingredients. If you’re making this jelly for someone with dietary restrictions, ensure that all ingredients, particularly the granulated sugar and any citrus juices, are suitable. If you’re sharing with pets, be cautious, as some flowers can be harmful to animals, so keep the jelly out of their reach.
Wild Violet Jelly: Springtime in a Jar for Sweet Memories
Ingredients
Equipment
Method
- Gather the Violets: Collect two loose cups or one packed cup of sweet violet blossoms from a safe, pesticide-free area. Ensure to remove the stems, leaving only the delicate flowers.
- Steep the Blossoms: In a pot, bring 4 cups of water to a gentle boil, then remove it from heat. Add the violet blossoms and allow them to steep for about 30 minutes.
- Prepare the Pectin: Measure out 1.75 to 2 ounces of powdered pectin, following the package instructions for any pre-mixing needed.
- Combine and Boil: Strain the steeped violet tea into a large pot, discarding the flowers. Mix in the powdered pectin and bring the mixture to a full rolling boil.
- Add Sugar and Return to Boil: Once boiling, stir in the 4 cups of granulated sugar. Return the mixture to a boil for exactly 1 minute.
- Test for Set: Place a small amount of jelly on a cold plate to see if it wrinkles. If not set, boil for another minute and test again.
- Jar the Jelly: Ladle the hot jelly into sterilized jars, filling to within a quarter-inch of the top. Wipe rims clean before sealing.
- Cool and Store: Allow jars to cool until sealed, then store in a cool, dark pantry or refrigerator.
Leave a Reply