
As the sizzling sound of panko breadcrumbs hitting hot oil fills the kitchen, I can’t help but feel excited about making Japanese Katsu Bowls with Tonkatsu Sauce. This delightful dish is more than just another quick dinner; it’s a comforting hug on a plate, perfect for busy weeknights or those special evenings when you want to treat yourself. With customizable options for chicken or pork, you can enjoy the rich crunch and savory depth of this meal, tailored to your taste. Plus, it’s a total crowd-pleaser that even your pickiest eaters will love. Ready to dive into the satisfying world of home-cooked comfort food? Let’s get started on crafting your own delicious Katsu Bowl!
Why Are Katsu Bowls So Irresistible?
Crispy Texture: The golden-brown panko coating gives each cutlet a satisfying crunch that pairs perfectly with the tender rice.
Savory Sauce: Drizzled with homemade tonkatsu sauce, this dish is packed with umami flavor that elevates every bite.
Customizable: Whether you prefer chicken, pork, or even tofu, you can easily adapt this recipe to suit your tastes. Check out my Savory Breakfast Muffins for more delicious options!
Quick and Easy: With simple steps, you can whip up this hearty meal in under 30 minutes, making it perfect for busy weeknights.
Comfort Food Delight: Enjoy the warmth and satisfaction of this classic Japanese dish that brings a smile to everyone’s face!
Japanese Katsu Bowl Ingredients
For the Cutlets
• Chicken or Pork Cutlets – Choose chicken for a lighter option or pork for a classic taste in your Japanese Katsu Bowls.
• Panko Breadcrumbs – These give the dish its signature crunch; swap with gluten-free breadcrumbs for a gluten-free delight.
• Flour – Essential for dredging; whole wheat or gluten-free flour can be used for a healthier twist.
• Eggs – Helps the panko adhere; a flax egg can be used for a vegan alternative.
For Seasoning
• Salt and Pepper – Vital for enhancing flavors; feel free to adjust to your personal taste preferences.
• Oil – Necessary for frying, choose vegetable or canola oil to achieve crispy cutlets.
For the Base
• Steamed White Rice – Serves as a comforting base; you can also opt for brown rice or cauliflower rice for a healthier substitute.
For the Tonkatsu Sauce
• Ketchup – Provides a touch of sweetness that complements the cutlets beautifully.
• Worcestershire Sauce – Adds a depth of flavor that makes this sauce irresistible.
• Soy Sauce – Imparts essential umami; use tamari to make your dish gluten-free.
• Sugar – Balances the tanginess of the sauce; adjust according to your taste for the perfect blend.
The delightful combination of these ingredients is what makes your Japanese Katsu Bowls with Tonkatsu Sauce an unbeatable comfort food choice!
Step‑by‑Step Instructions for Japanese Katsu Bowls with Tonkatsu Sauce
Step 1: Prepare the Cutlets
Start by flattening your chicken or pork cutlets to a ½-inch thickness using a meat mallet. This ensures even cooking and tenderness. Season both sides generously with salt and pepper to enhance the flavors of your Japanese Katsu Bowls. Set your seasoned cutlets aside while you prepare the breading station.
Step 2: Set Up the Breading Station
Create a breading station by placing three shallow bowls in a line. Fill the first bowl with flour, the second with beaten eggs, and the third with panko breadcrumbs. Dredge each cutlet in flour, ensuring an even coat, then dip it into the egg mixture, allowing any excess to drip off. Finally, coat the cutlet thoroughly with panko breadcrumbs to achieve that signature crispy texture.
Step 3: Heat the Oil
In a large frying pan, pour enough vegetable or canola oil to cover the bottom generously, about ¼ inch deep. Heat the oil over medium-high heat until it reaches around 350°F (175°C). To check the temperature, drop a few panko breadcrumbs into the oil; they should sizzle immediately. This hot oil is key to achieving golden-brown cutlets in your Japanese Katsu Bowls.
Step 4: Fry the Cutlets
Carefully add the breaded cutlets to the hot oil, ensuring not to overcrowd the pan. Fry the cutlets for about 3-4 minutes on each side, or until they are golden brown and crisp. For chicken, ensure the internal temperature reaches 165°F; for pork, it should be 145°F. Once cooked, transfer the cutlets to a plate lined with paper towels to drain excess oil.
Step 5: Prepare the Tonkatsu Sauce
While the cutlets are frying, mix your tonkatsu sauce in a small bowl. Combine equal parts ketchup and Worcestershire sauce with a splash of soy sauce and a touch of sugar, adjusting the sweetness to your liking. This sauce adds the perfect balance of tang and sweetness to your Japanese Katsu Bowls, enhancing the flavor of the crispy cutlets.
Step 6: Assemble the Bowls
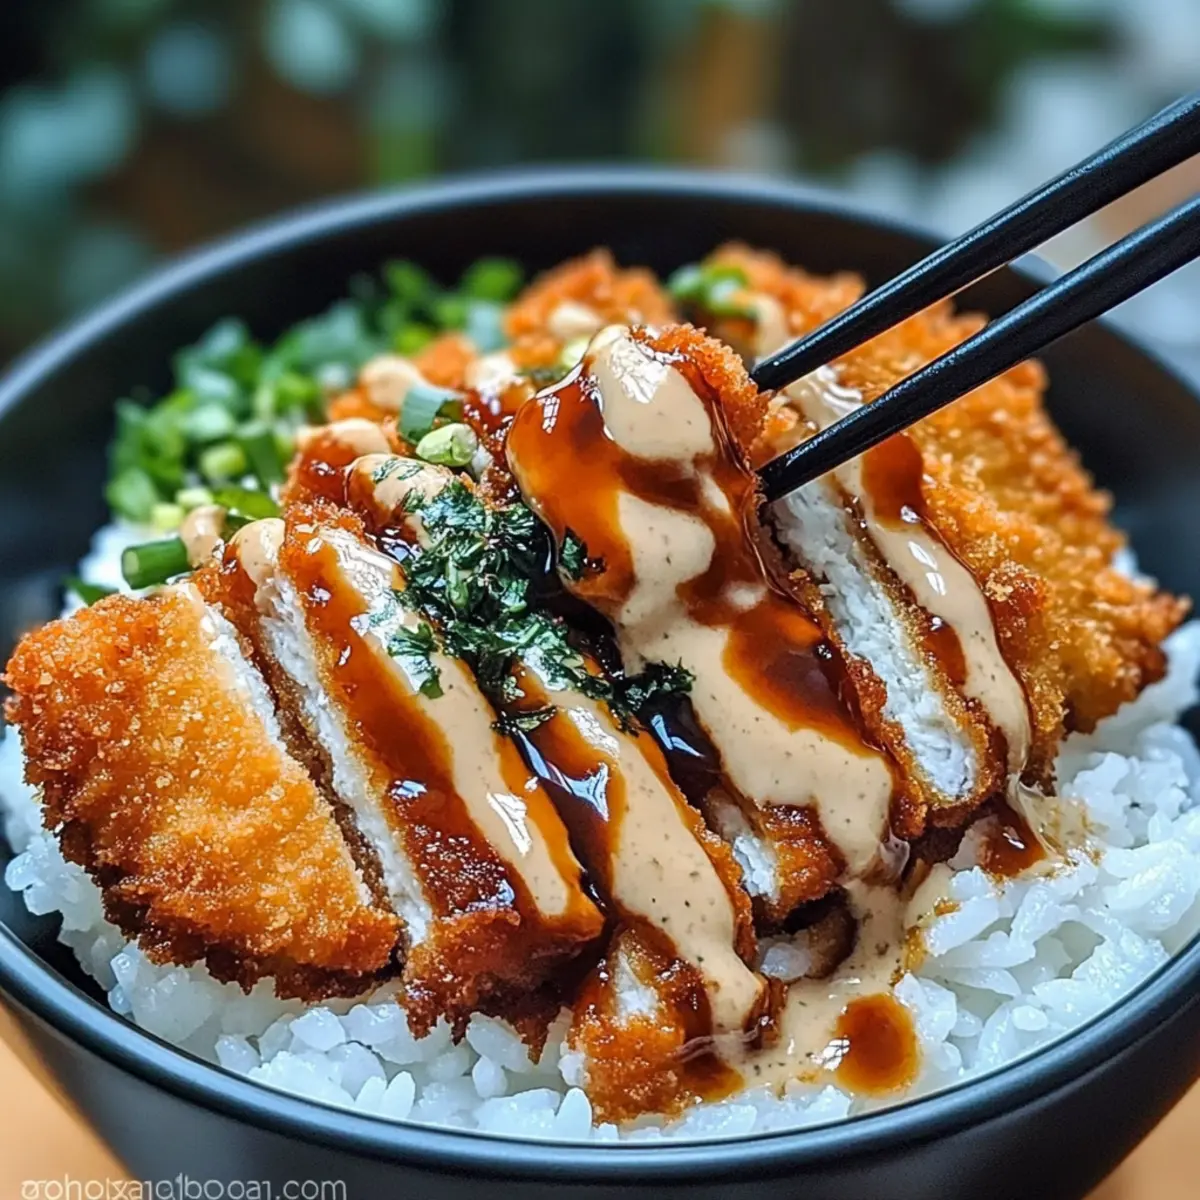
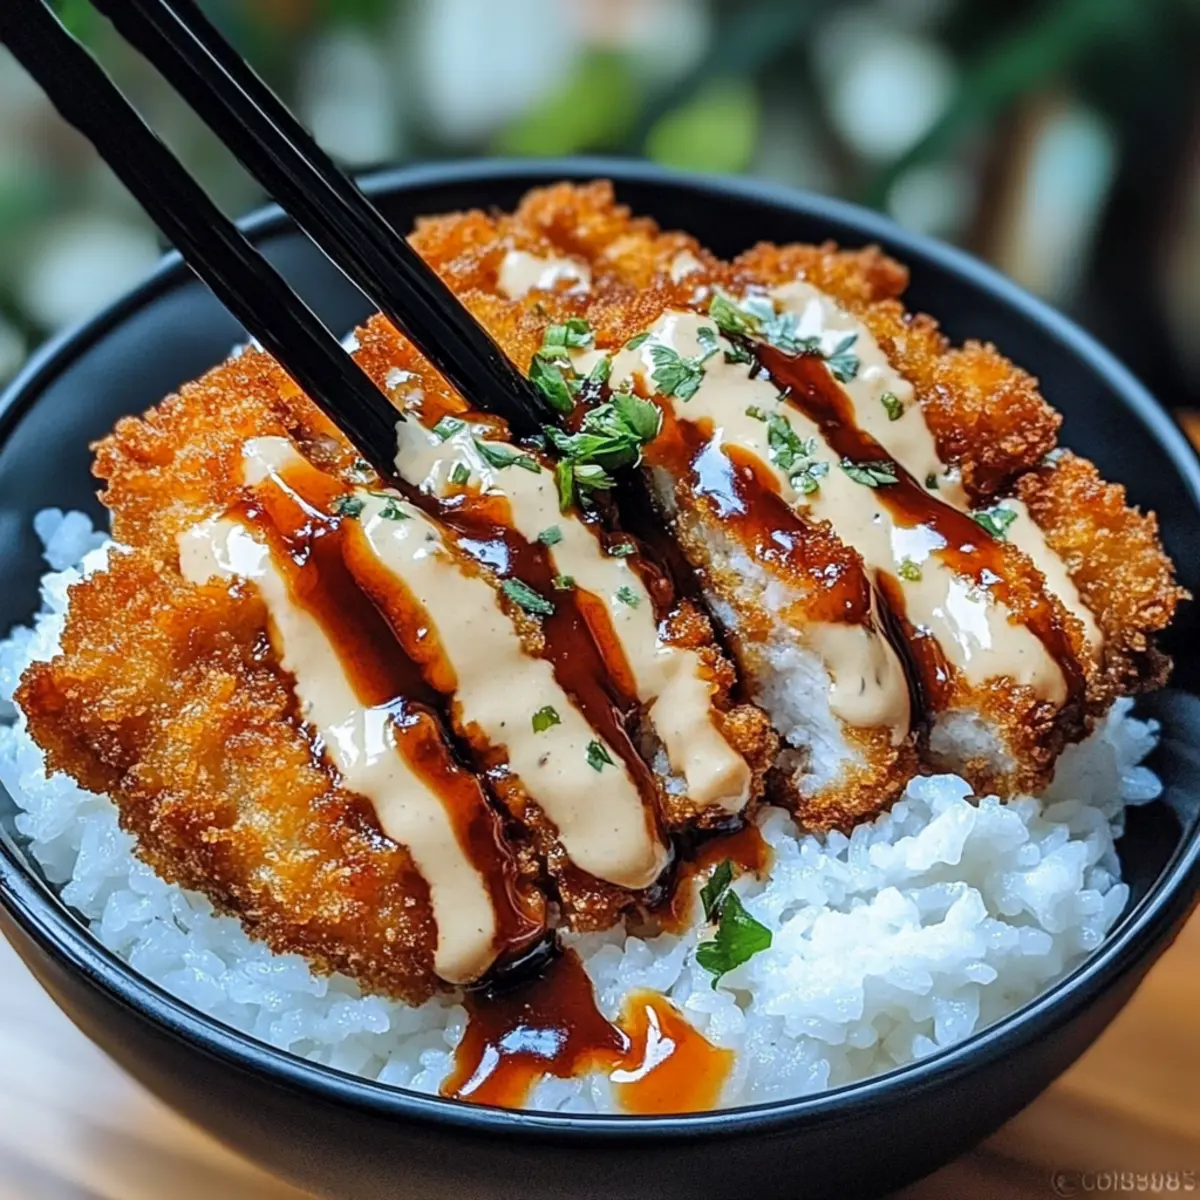
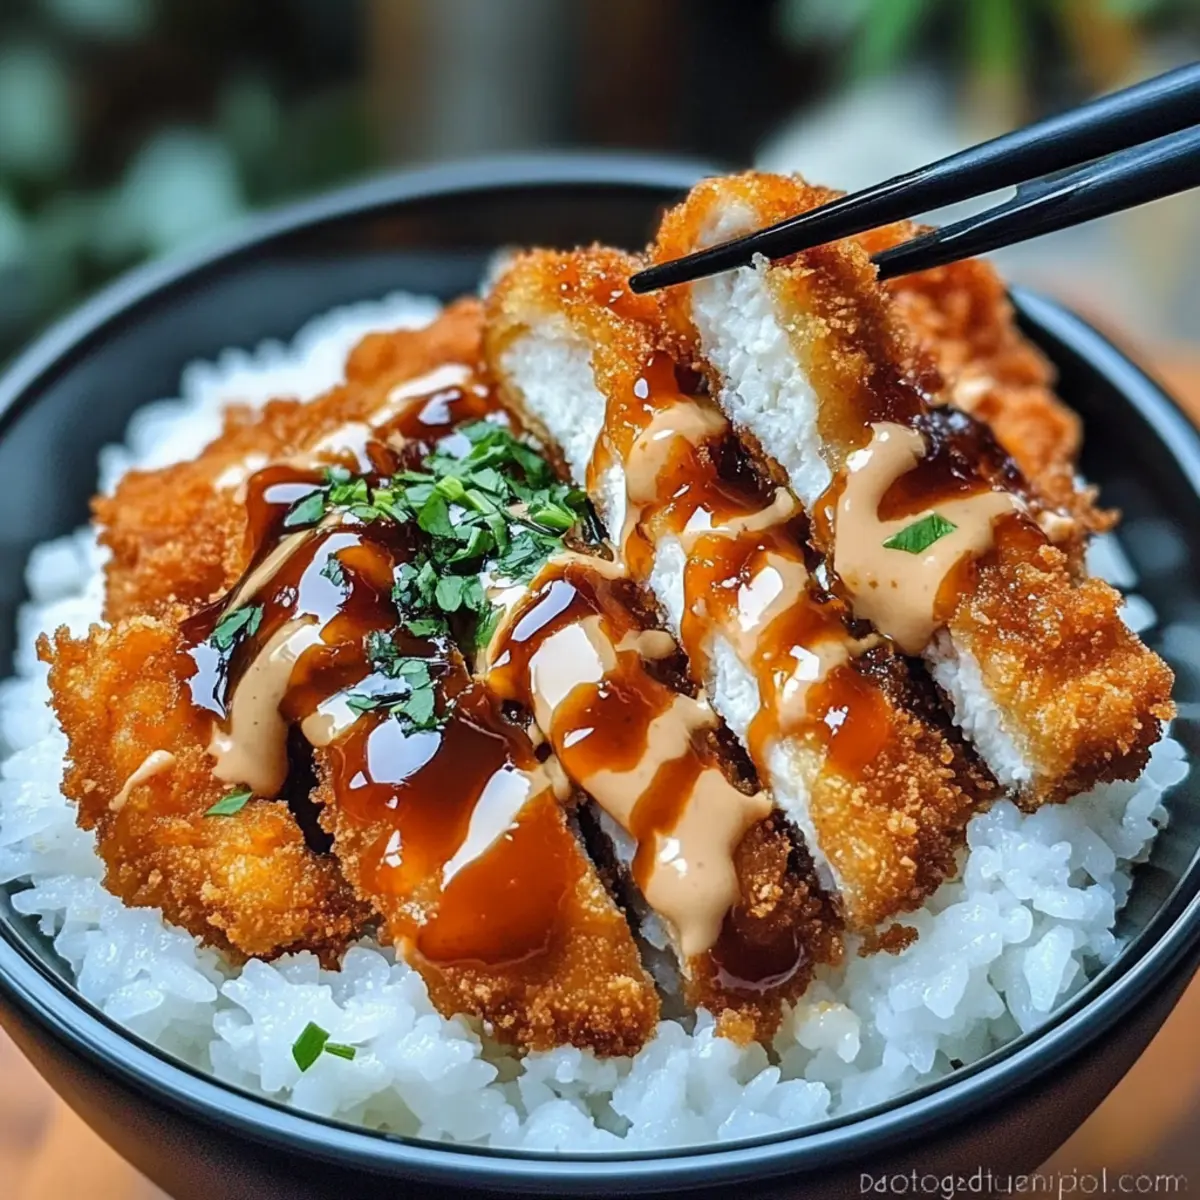
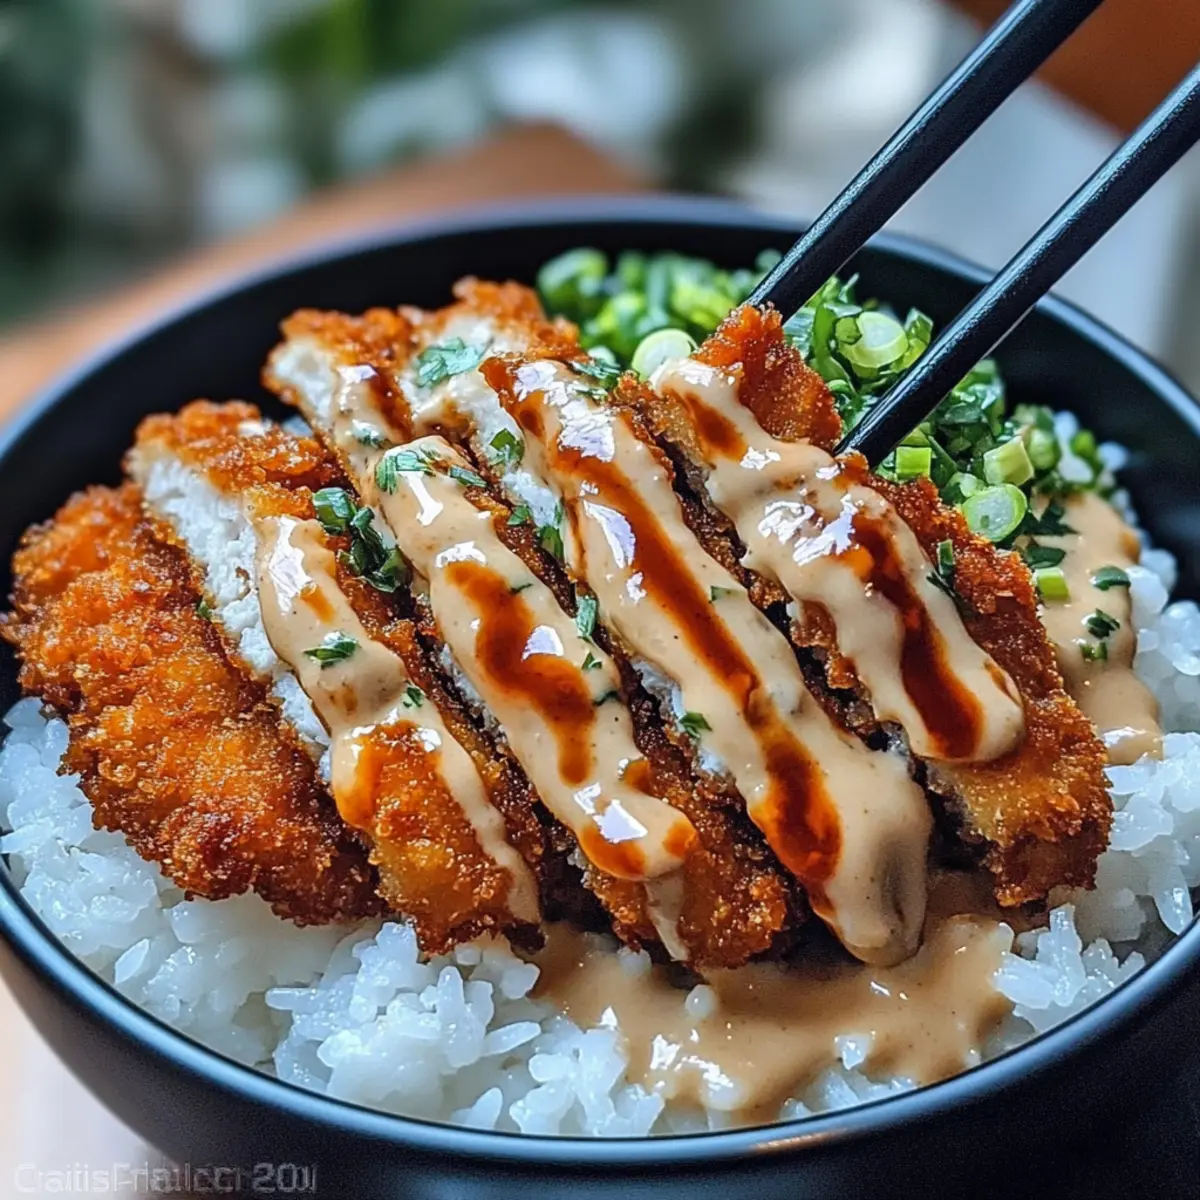
Begin assembling your Japanese Katsu Bowls by placing a generous scoop of steaming white rice at the bottom of each bowl. Slice the crispy cutlets into strips and lay them atop the rice. Drizzle your homemade tonkatsu sauce over the cutlets, allowing it to seep into the rice below. Optionally, garnish with fresh parsley or finely chopped green onions for a pop of color and flavor.
Step 7: Serve Immediately
Your Japanese Katsu Bowls with Tonkatsu Sauce are now ready to be enjoyed! Serve them hot, allowing everyone to dig in while the cutlets are still crispy and the rice warm. This dish is best enjoyed fresh, ensuring all the delightful textures and flavors shine through in every bite.
Expert Tips for Japanese Katsu Bowls
- Oil Temperature: Ensure your oil reaches 350°F (175°C) before frying to avoid soggy cutlets; test with breadcrumbs first for the perfect temperature.
- Breading Method: Keep one hand for wet ingredients (egg) and the other for dry (flour and panko) to avoid mess and make coating easier.
- Serving Fresh: Serve the Japanese Katsu Bowls immediately after assembly for maximum crunch and flavor—crispiness fades if left too long.
- Storage Tips: Store leftover cutlets and rice separately; when reheating, add a splash of water to retain moisture and freshness.
- Sauce Adjustments: Feel free to tweak the tonkatsu sauce to your liking; add more ketchup for sweetness or soy sauce for a deeper umami flavor.
Japanese Katsu Bowls Variations & Substitutions
Feel free to get creative and tailor these Japanese Katsu Bowls to fit your family’s taste buds!
-
Dairy-Free: Use a flax egg instead of a regular egg for a plant-based alternative that binds your panko without the dairy!
-
Gluten-Free: Substitute regular panko with gluten-free breadcrumbs, and use tamari instead of soy sauce for your tonkatsu sauce.
-
Vegetarian: Swap out chicken or pork with crispy tofu slices, giving you a hearty, satisfying option that everyone will love.
-
Healthier Grain Base: Instead of white rice, try brown rice or even cauliflower rice for a lighter and healthier twist.
-
Flavor Boost: Add garlic powder or smoked paprika to the flour for an extra kick of flavor before breading your cutlets.
-
Sautéed Veggies: Top your Katsu Bowls with sautéed seasonal veggies, such as bell peppers or zoodles, to add texture and nutritional variety.
-
Spicy Kick: Mix a dash of sriracha or chili oil into your tonkatsu sauce for a delightful spicy variation that will awaken your taste buds.
-
Asian Fusion: Serve with a side of kimchi or pickled radish to lend a refreshing crunch and a delightful twist to this traditional dish.
These variations and substitutions allow you to customize your Japanese Katsu Bowls with Tonkatsu Sauce in ways that suit your taste and dietary needs. For more ideas on delicious comfort food, don’t forget to explore my recipe for Savory Breakfast Muffins and see how you can make breakfast exciting too!
Make Ahead Options
These Japanese Katsu Bowls with Tonkatsu Sauce are fantastic for busy home cooks looking to streamline meal prep! You can bread the cutlets up to 24 hours in advance—just cover them tightly and refrigerate to keep them fresh and crunchy. Additionally, the cooked katsu can be stored in an airtight container for up to 3 days in the fridge. When you’re ready to enjoy your delicious Katsu Bowls, simply reheat the cutlets in a hot pan for a few minutes until crispy again, then serve over freshly steamed rice and drizzle with your homemade tonkatsu sauce. This way, you’ll have a comforting meal ready with minimal effort, just as scrumptious as if you made it fresh!
What to Serve with Crispy Japanese Katsu Bowl with Homemade Tonkatsu Sauce
Looking to transform your delightful Katsu Bowl into a complete meal that tantalizes every palate?
- Miso Soup: A warm, savory broth to start your meal, enhancing the comforting vibes that accompany the crispy cutlets.
- Cucumber Salad: Light and refreshing, it adds a crunchy, vinegary contrast that balances the richness of the tonkatsu sauce beautifully.
- Steamed Broccoli: This vibrant green vegetable brings a fresh, tender texture, acting as a nutritious companion to the hearty Katsu Bowl.
- Pickled Radish: A tangy bite that cuts through the richness while providing a delightful crunch, making each mouthful exciting!
- Japanese Pickles (Tsukemono): A colorful array of pickled vegetables that add a zesty kick and elevate the entire meal’s experience.
- Gyoza or Dumplings: Soft, savory dumplings pair wonderfully with the Katsu Bowl, making for a delightful flavor mix that both kids and adults will adore.
Serve with your favorite green tea for a complete dining experience.
Storage Tips for Japanese Katsu Bowls with Tonkatsu Sauce
Fridge: Store leftover cutlets and rice separately in airtight containers for up to 3 days. Ensure both are cooled before sealing to avoid moisture buildup.
Freezer: Freeze unassembled cutlets (breaded but uncooked) in a single layer on a baking sheet. Once frozen, transfer to zip-top bags for up to 3 months.
Reheating: Reheat cutlets in an air fryer or oven at 350°F (175°C) for about 10 minutes to retain crispiness. Add a splash of water when reheating rice to maintain moisture.
Make-Ahead: Pre-breaded cutlets can be refrigerated for up to 24 hours before frying, saving time on busy nights. Enjoy these delicious Japanese Katsu Bowls with Tonkatsu Sauce for a satisfying meal!
Japanese Katsu Bowls with Tonkatsu Sauce Recipe FAQs
How do I choose the best cutlets for my Katsu Bowl?
Absolutely! When selecting cutlets, aim for boneless, skinless chicken breasts or pork loin for the best results. Look for cutlets that are firm, with a nice pink hue for chicken or a light pink for pork. Avoid any that have dark spots or an off smell; freshness is key in achieving that delicious flavor!
What’s the best way to store leftover Katsu Bowls?
Very! Store leftover cutlets and rice separately in airtight containers in the refrigerator for up to 3 days. Make sure they cool completely before sealing to prevent moisture buildup. To reheat, add a splash of water to the rice and use an air fryer or oven for the cutlets to maintain their crispy texture.
Can I freeze cooked Katsu Bowls?
Absolutely! You can freeze cooked cutlets; however, it’s best to keep the rice separate. Allow cutlets to cool, then place them in a single layer on a baking sheet to freeze. Once they’re firm, transfer them to zip-top bags and store for up to 3 months. When ready to eat, reheat in an oven or air fryer to return the crunchiness.
What if my cutlets turn out soggy?
Oh no! If your cutlets end up soggy, it could be due to the oil not being hot enough when frying. Make sure to preheat the oil to 350°F (175°C) and test it with a breadcrumb. If they sizzle immediately, you’re good to go! Also, drain cutlets on paper towels after frying to remove excess oil and retain their crunch.
Are there any dietary considerations I should be aware of?
Certainly! This recipe is highly customizable. If you’re cooking for someone with gluten intolerance, use gluten-free breadcrumbs and tamari instead of soy sauce. For a vegan alternative, substitute the cutlets with firm tofu and replace the egg with a flax egg. Always check labels for additives that may trigger allergies.
How long can I keep pre-breaded cutlets in the fridge before frying?
Very! Pre-breaded cutlets can be stored in the refrigerator for up to 24 hours before frying. This makes meal prep simple! Just make sure to cover them tightly with plastic wrap or store them in an airtight container to prevent them from drying out.
Crispy Japanese Katsu Bowls with Homemade Tonkatsu Sauce
Ingredients
Equipment
Method
- Flatten chicken or pork cutlets to ½-inch thickness and season with salt and pepper.
- Create a breading station with three shallow bowls (flour, beaten eggs, panko breadcrumbs).
- Heat oil in a frying pan to 350°F (175°C).
- Fry the cutlets for 3-4 minutes on each side until golden brown.
- Mix tonkatsu sauce ingredients in a small bowl, adjusting sweetness to liking.
- Assemble bowls with rice, sliced cutlets, and drizzle with tonkatsu sauce.
- Serve immediately for best flavor and crunch.
Leave a Reply