
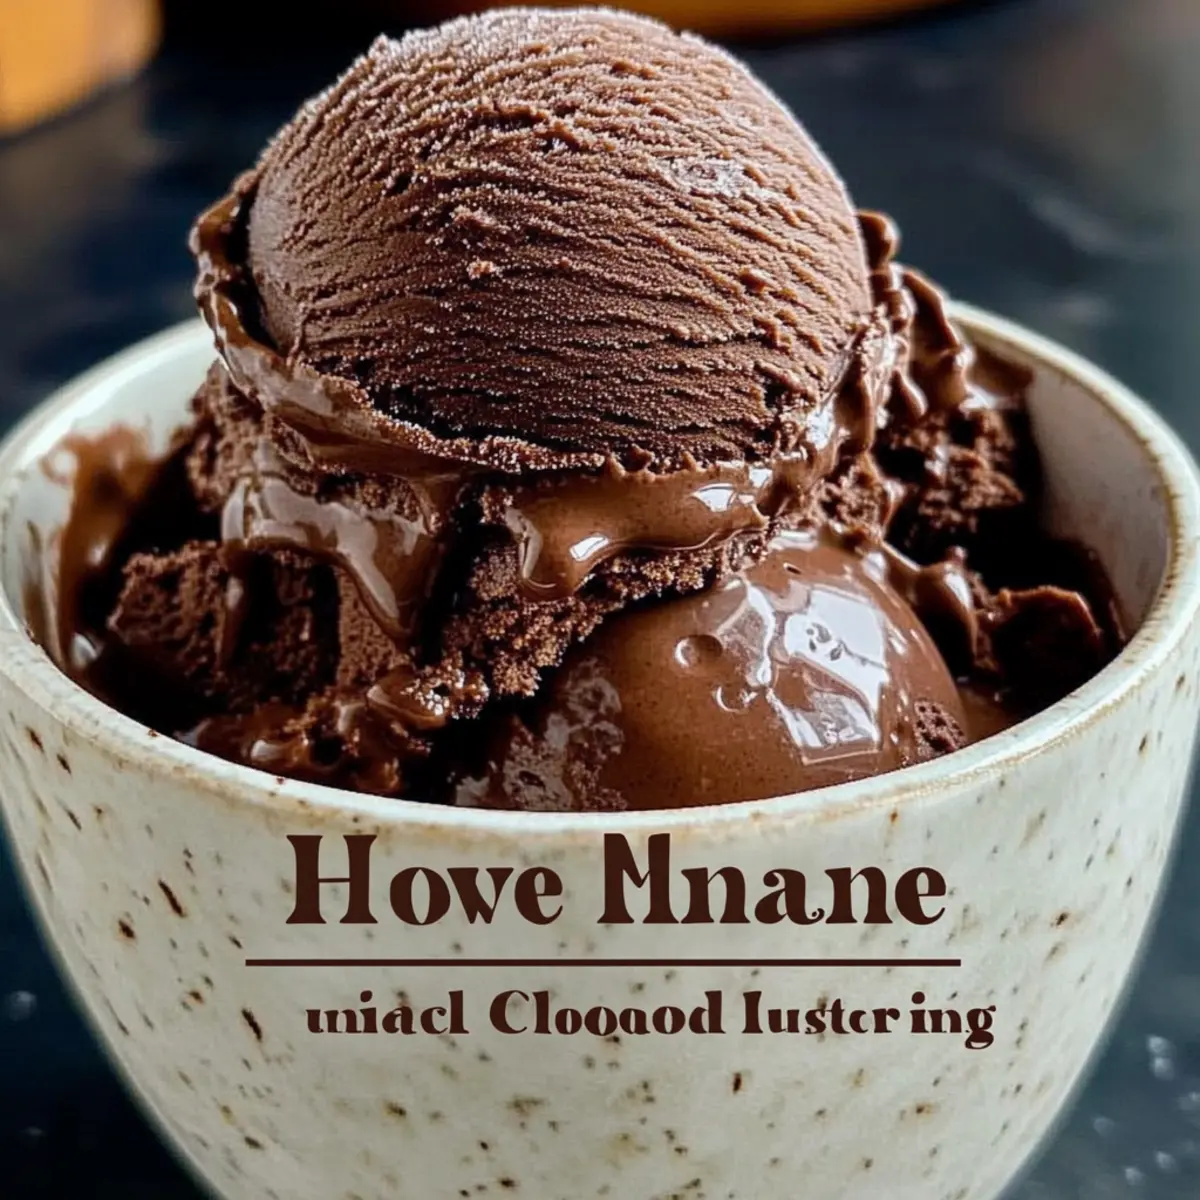
As I scanned my kitchen, the cozy warmth wrapped around me, a craving for something rich and indulgent took hold. That’s when I knew it was time to whip up my Homemade Rich Chocolate Ice Cream. This creamy delight transports me back to carefree summers spent at the ice cream parlor, where every scoop felt like a mini celebration. What’s wonderful about this chocolate ice cream is not only its intensely deep cocoa flavor but also how quick and simple it is to make at home—it’s perfect for satisfying your sweet tooth without the fuss! With just a handful of ingredients, you can create something that’s not only a crowd-pleaser but also a delightful way to add a personal touch to your dessert table. Ready to dive into the decadence of this homemade treat?

Why Make Chocolate Ice Cream at Home?
Creaminess that rivals the best shops: This ice cream boasts an indulgent texture that feels luxurious on your tongue, elevating your dessert experience.
Deep cocoa flavor: The rich chocolate notes are enhanced by high-quality cocoa powder and dark chocolate, making every bite intensely satisfying.
Quick and simple: With just a few ingredients, you can whip up this delightful treat without the need for complicated steps, perfect for even novice chefs.
Customizable: Feel free to add your favorite mix-ins, whether it’s chocolate chips, nuts, or crushed cookies, ensuring every cone can be unique.
Nostalgic delight: This recipe is a trip down memory lane—perfect for family gatherings or cozy nights in. Pair it with fresh berries for a lovely twist!
Chocolate Ice Cream Ingredients
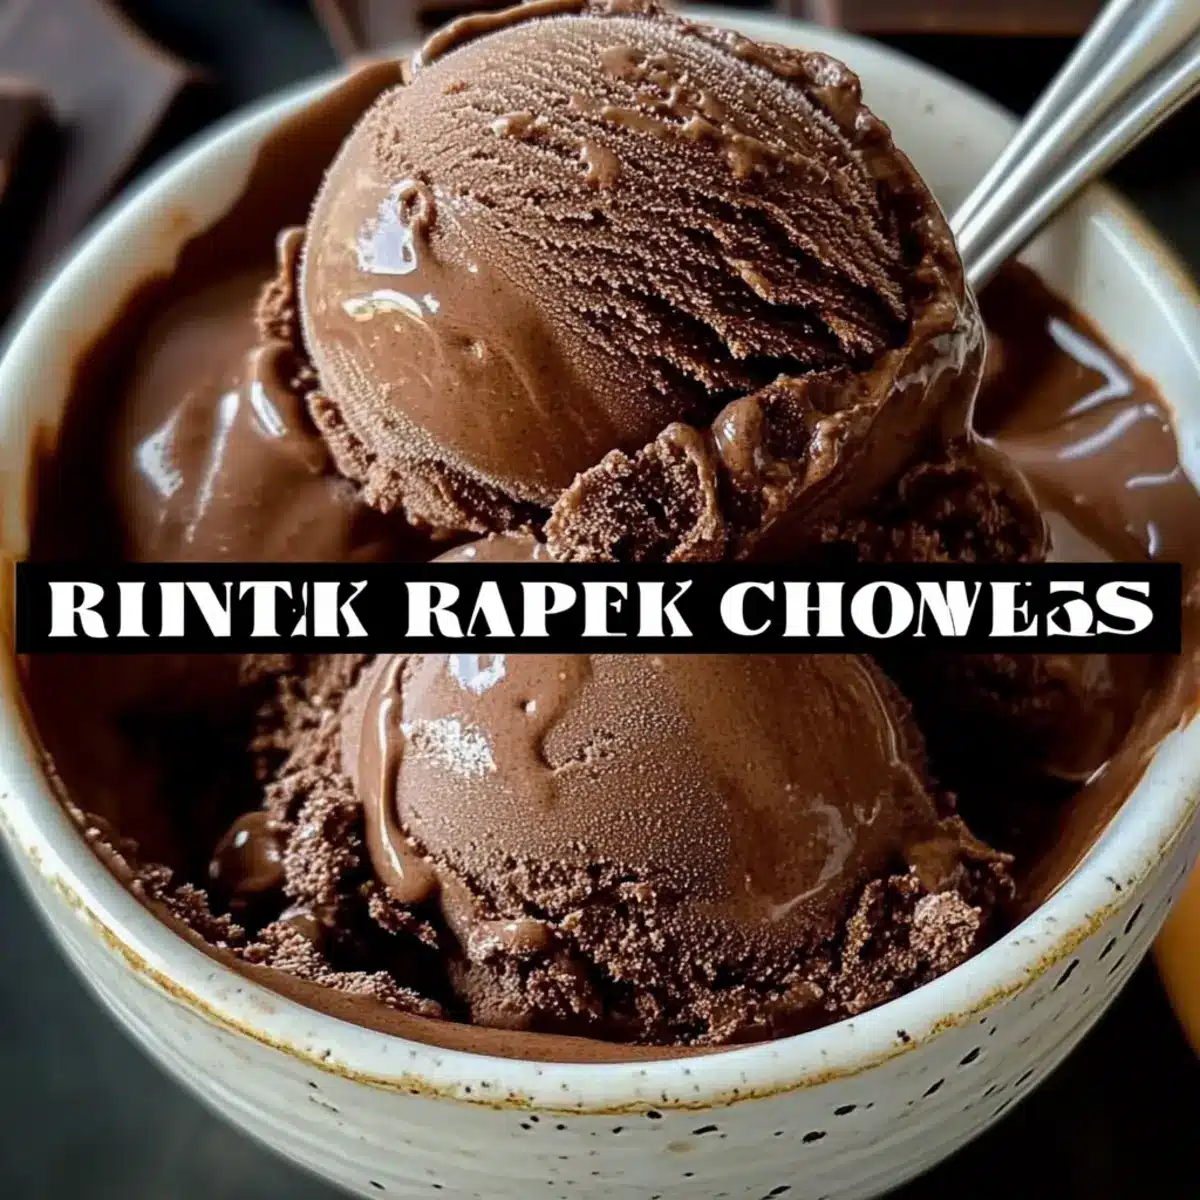
Experience the magic of making Chocolate Ice Cream right in your own kitchen!
For the Base
• Heavy Cream – Adds richness and creaminess; substitute with half and half for a lighter option.
• Cocoa Powder – Provides that deep chocolate flavor; make sure to use unsweetened for the best results.
• Chopped Chocolate – Enhances the chocolate intensity; dark chocolate is perfect for a more robust taste.
• Milk – Balances the creaminess; whole milk delivers that luxurious texture, while skim milk can make it less creamy.
• Sugar – Sweetens the ice cream nicely; feel free to use honey or maple syrup as a natural alternative.
For the Custard
• Egg Yolks – Creates a custard base for a silky smooth texture; for a vegan version, cornstarch can be used as a thickening agent.
• Sea Salt – Intensifies the flavors; just a pinch will do wonders!
• Vanilla Extract – Adds warmth and depth; use pure vanilla extract for the best flavor quality.
Creating your own Chocolate Ice Cream at home not only promises indulgence but also wraps you in the warmth of delightful memories. Enjoy every creamy bite!
Step‑by‑Step Instructions for Homemade Rich Chocolate Ice Cream
Step 1: Whisk the Base
In a medium saucepan, combine 1 cup of heavy cream with cocoa powder. Heat over medium flame, whisking constantly until it reaches a gentle boil. Once boiling, simmer for about 30 seconds while continuing to whisk, allowing the mixture to thicken slightly before removing it from the heat.
Step 2: Melt the Chocolate
Next, stir in the chopped chocolate into the cocoa mixture, gently combining until fully melted and smooth. Afterward, add the remaining cup of heavy cream, whisking thoroughly to blend. Place a fine mesh strainer over a bowl and transfer the chocolaty mixture through it, ensuring a velvety texture free of lumps.
Step 3: Prepare the Custard
In another saucepan, warm 1 cup of milk, sugar, and sea salt over low heat, ensuring it doesn’t boil. Stir occasionally until the sugar dissolves completely, and the mixture is warmed but not bubbling. This step is crucial for developing the creamy base of your chocolate ice cream.
Step 4: Temper the Egg Yolks
While the milk mixture is heating, whisk 4 egg yolks in a separate small bowl. To temper the yolks and avoid scrambling, gradually add about ½ cup of the warm milk mixture while whisking constantly. This helps bring the yolks up to temperature without cooking them too quickly.
Step 5: Combine and Thicken
Pour the tempered egg yolk mixture back into the saucepan with the remaining warm milk. Cook over medium heat while stirring frequently until the custard thickens and reaches 170°F, appearing creamy and slightly coating the back of a spoon. Be attentive to prevent it from boiling.
Step 6: Blend the Mixtures
Strain the warm custard into the chocolate base, using the fine mesh strainer to catch any lumps. Stir the mixture gently until fully combined and smooth. Add in 1 teaspoon of vanilla extract, infusing your chocolate ice cream with warmth and depth, and mix until uniform.
Step 7: Chill the Mixture
Cover the bowl with plastic wrap and refrigerate the chocolate ice cream mixture for at least 6 hours, or overnight if possible, until well chilled. This resting period is essential for developing rich flavors and ensuring the mixture is cold enough for churning.
Step 8: Churn the Ice Cream
Once chilled, pour the mixture into your ice cream maker. Churn according to the manufacturer’s instructions for about 30-40 minutes until thick and creamy. If you do not have an ice cream maker, use a dish and freeze, stirring vigorously every 30 minutes to break up ice crystals.
Step 9: Freeze for Firmness
Transfer the churned chocolate ice cream into a lidded container, smoothing the top with a spatula. Freeze for at least 6 hours to solidify the texture before serving. For easier scooping, let it soften at room temperature for about 5 minutes before digging in.
Make Ahead Options
These indulgent Homemade Chocolate Ice Cream treats are perfect for busy home cooks looking to save time! You can prepare the chocolate custard base up to 24 hours in advance: simply complete Steps 1 through 6, then cover and refrigerate the mixture until you’re ready to churn. If you want to take it a step further, the churned ice cream can be stored in the freezer for up to 3 days. Just be sure to keep it in a tightly lidded container to prevent ice crystals from forming. When it’s time to enjoy, let the ice cream soften for about 5 minutes before serving, ensuring that every scoop is just as creamy and rich as the day you made it!
Expert Tips for Making Chocolate Ice Cream
- Whisk Continuously: Always whisk the egg yolks while tempering to prevent them from scrambling, ensuring a perfectly creamy chocolate ice cream texture.
- Chill Thoroughly: Let the mixture chill for at least 6 hours before churning; this step is crucial for developing flavor and achieving the best consistency.
- Avoid Ice Crystals: If you’re using the freezer method, stir the mixture vigorously every 30 minutes to break up ice crystals and maintain a smooth finish.
- Use Quality Chocolate: Opt for high-quality dark chocolate to intensify the flavor and richness of your homemade chocolate ice cream.
- Experiment with Flavors: Don’t hesitate to add mix-ins or variations, like espresso powder or nuts, to customize your chocolate ice cream experience.
Chocolate Ice Cream Variations & Substitutions
Feel free to get creative with your chocolate ice cream; here are some delightful tweaks to make it your own!
- Dairy-Free: Substitute coconut milk or almond milk to make this treat suitable for a dairy-free diet without sacrificing creaminess.
- Vegan: Replace egg yolks with cornstarch to create a custard texture and still enjoy this indulgent dessert!
- Sweetness Swap: Use agave syrup or maple syrup in place of sugar for a natural sweetener that adds its own unique flavor.
- Nutty Twist: Add a handful of toasted nuts or almond butter during churning for a delightful crunch and nutty flavor.
- Flavor Infusion: A splash of espresso or coffee can elevate the chocolate flavor, making your ice cream even more indulgent.
- Minty Delight: Incorporate a few drops of peppermint extract for a refreshing mint chocolate experience—perfect for summer!
- Cookie Crunch: Mix in crushed Oreo cookies in the last few minutes of churning for a fun and delicious cookies and cream chocolate ice cream.
- Berry Boost: Fold in fresh raspberries or strawberries before freezing for a fruity contrast to the rich chocolate flavor.
For more delightful ideas, why not pair your ice cream with a slice of Chocolate Bake Layered or use it in a sundae with a drizzle of Blueberry Cream Cheese sauce? The possibilities are endless, each scoop promising warmth and nostalgia!
How to Store and Freeze Chocolate Ice Cream
- Fridge: Keep any leftover chocolate ice cream in an airtight container in the fridge for up to 3 days, but note that its creamy texture may diminish.
- Freezer: Store the chocolate ice cream in a lidded container to prevent ice crystals. It can be frozen for up to 2 weeks for optimal flavor and texture.
- Serving Tips: Always let the chocolate ice cream soften at room temperature for about 5 minutes before scooping, ensuring every bowl is as delightful as the first.
- Avoid Freezer Burn: For the best results, cover the surface with plastic wrap before sealing the container, as this helps maintain the richness of your homemade chocolate ice cream.
What to Serve with Homemade Rich Chocolate Ice Cream
There’s nothing quite like savoring a creamy dessert that tempts your taste buds; let’s elevate your indulgence experience together!
-
Sweet Waffles: Golden, fluffy waffles act as a beautiful canvas for your chocolate ice cream, creating a delightful contrast in textures. Drizzle with maple syrup for that ultimate comfort food experience.
-
Fresh Berries: Juicy strawberries or raspberries complement the richness of the chocolate beautifully. Their tartness cuts through the creaminess, adding a refreshing burst of flavor.
-
Chocolate Syrup: A drizzle of rich chocolate syrup takes the indulgence to another level! This extra layer of chocolate goodness makes every bite even more decadent.
-
Salted Caramel Sauce: The sweet and salty notes of caramel pair exceptionally well with chocolate. Each spoonful will feel like a little celebration in your mouth, enhancing the overall experience.
-
Creamy Cheesecake: A slice of rich cheesecake offers a delightful tang to offset the richness of the chocolate ice cream. This pairing is perfect for gatherings where you want to impress your guests.
-
Espresso or Coffee: A warm cup of espresso balances the sweetness perfectly. Its bitter notes highlight the deep cocoa flavor of the ice cream, creating a sophisticated dessert experience.
-
Pecans or Almonds: Adding crunchy nuts provides a wonderful texture contrast with each creamy bite. The nuttiness complements the chocolate in a charmingly rustic fashion.
-
Chocolate Chip Cookies: Nothing says nostalgic dessert quite like a warm cookie. Enjoy a perfect scoop of chocolate ice cream sandwiched between two cookies for a playful twist on classic ice cream sandwiches.
Chocolate Ice Cream Recipe FAQs
What is the best way to select ripe and flavorful ingredients for my chocolate ice cream?
Choosing high-quality ingredients is key to making flavorful chocolate ice cream. For the cocoa powder, ensure it’s unsweetened; I often reach for brands known for their deep, rich flavor. When selecting chocolate for chopping, opt for dark chocolate with at least 70% cocoa for a robust taste. Fresh heavy cream should have a thick, luscious texture; check the expiration date to ensure you’re using the freshest ingredients for the best results.
How should I store leftover chocolate ice cream, and how long does it last?
To store your homemade chocolate ice cream, use an airtight container and keep it in the freezer. For optimal flavor and texture, consume it within 2-3 weeks. Always let the ice cream soften at room temperature for about 5 minutes before scooping, as this helps restore its creamy consistency. For even better preservation, place a sheet of plastic wrap directly against the surface of the ice cream before sealing the container to avoid freezer burn.
Can I freeze chocolate ice cream for longer-term storage?
Absolutely! Your chocolate ice cream can be stored in the freezer for up to 3 months without losing its deliciousness. Just ensure that it’s in a well-sealed container. If you decide to make it in advance, remember to let it sit at room temperature for about 5-10 minutes before scooping again to achieve the perfect creamy texture after long storage.
What are some common issues that may arise when making chocolate ice cream, and how can I fix them?
If your ice cream feels icy or has large ice crystals, it might be due to insufficient churning or not stirring enough if you used the manual method. I recommend stirring vigorously every 30 minutes if you’re freezing it in a dish. If the chocolate base separates or looks grainy, it may have been overheated. Stir gently and heat slightly while whisking to re-emulsify the mixture.
Are there any dietary considerations I should keep in mind when making chocolate ice cream?
Yes! If you’re concerned about allergies, watch out for the chocolate, as some brands may contain allergens like nuts. For vegetarian or vegan options, substitute egg yolks with cornstarch to create the custard base. You can also replace heavy cream with coconut cream for a dairy-free alternative. Remember to always check labels to cater to specific dietary needs!
How can I add a unique twist to my chocolate ice cream?
Feel free to unleash your creativity when making chocolate ice cream! Try mixing in a tablespoon of espresso powder to enhance the chocolate flavor or swirl in some caramel or peanut butter during the last few minutes of churning for a delightful surprise. You can also fold in crushed cookies or nuts just as you’re finishing to make every scoop an exciting adventure!

Creamy Chocolate Ice Cream You'll Want to Make Again and Again
Ingredients
Equipment
Method
- Whisk together 1 cup of heavy cream with cocoa powder in a medium saucepan over medium heat until it boils, then simmer for 30 seconds.
- Stir in chopped chocolate until melted and smooth, then add remaining heavy cream and strain through a fine mesh strainer.
- Warm 1 cup of milk, sugar, and sea salt in another saucepan until sugar dissolves without boiling.
- Whisk 4 egg yolks in a small bowl and temper by adding ½ cup of warm milk mixture gradually.
- Pour tempered yolks back into saucepan, cook on medium heat until thickens to 170°F.
- Strain custard into the chocolate base, add vanilla extract, and stir until combined.
- Cover and refrigerate chocolate mixture for at least 6 hours.
- Churn in an ice cream maker for 30-40 minutes until thick and creamy.
- Transfer to a container, smooth top, and freeze for at least 6 hours before serving.
Leave a Reply