
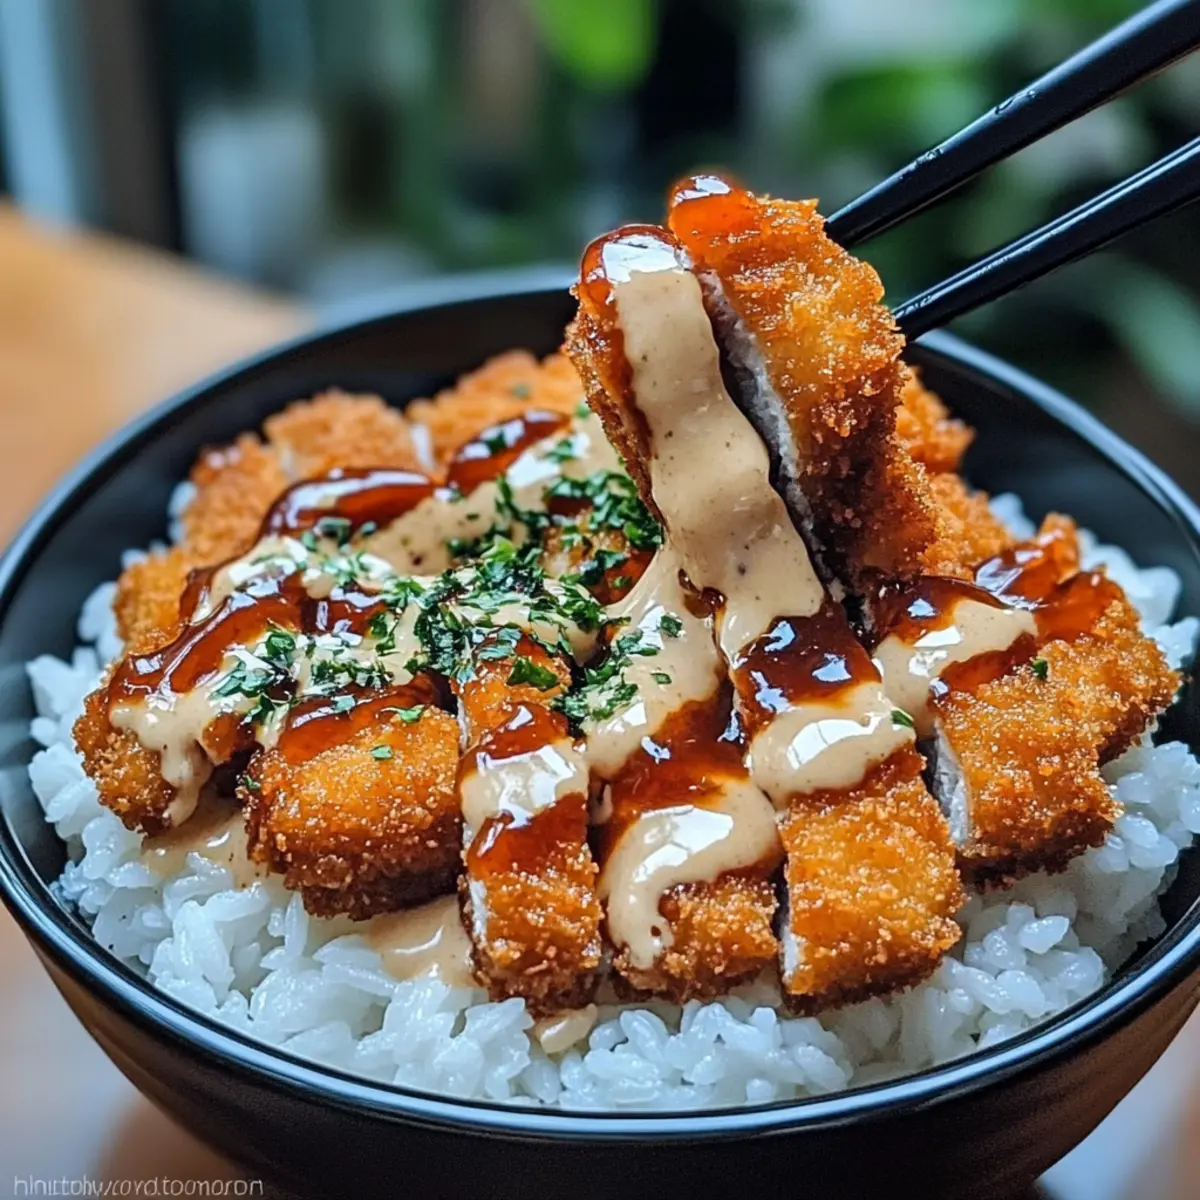
As the sun dips below the horizon, I find myself yearning for the comforting embrace of food that feels like a warm hug. There’s something truly special about Japanese Katsu Bowls with Tonkatsu Sauce—a cozy fusion of crispy, panko-breaded cutlets nestled atop fluffy rice, bursting with flavor and heart. This dish is perfect for a quick dinner when time is tight, yet it elevates your table for special occasions with its vibrant presentation and customizable options (hello, gluten-free alternatives!). Whether you prefer classic pork or opt for lighter chicken, this Katsu Bowl promises to satisfy your cravings and introduce a delightful twist to your meal routine. Who could resist the lure of such a deliciously fulfilling dish? Join me as we dive into the irresistible world of homemade Katsu Bowls!
Why are Katsu Bowls so beloved?
Comforting, nothing beats the cozy feeling of a homemade Katsu Bowl that warms your soul after a long day. Customizable, you can easily swap in chicken, pork, or even tofu, catering to various tastes and dietary needs. Quick prep, with simple ingredients and short cooking time, it’s a perfect match for busy weeknights. Crowd-pleaser, serve it at gatherings, and watch everyone enjoy the crunch and rich flavors. Looking for something to pair it with? Try these delicious Savory Breakfast Muffins for a complete treat!
Japanese Katsu Bowl Ingredients
For the Cutlets
• Chicken or Pork Cutlets – Choose chicken for a lighter option or go with pork for traditional richness.
• Panko Breadcrumbs – These create the signature crunch; gluten-free breadcrumbs work perfectly as a substitute.
• Flour – Aids in the breading process; substitute with whole wheat or gluten-free flour if needed.
• Eggs – Helps bind the breading; consider using a flax egg for a vegan alternative.
• Salt and Pepper – Essential for flavor; adjust according to your taste preferences.
For Frying
• Oil – Necessary for frying, choose vegetable or canola oil to achieve golden, crispy cutlets.
For the Rice Base
• Steamed White Rice – This fluffy base complements the Katsu; swap in brown rice or cauliflower rice for a healthier take.
For the Tonkatsu Sauce
• Ketchup – Adds sweetness and acts as a flavor base.
• Worcestershire Sauce – Provides depth and a complex flavor profile.
• Soy Sauce – Adds umami; use tamari for a gluten-free version.
• Sugar – Balances the sauce’s tanginess; feel free to adjust to your liking.
This beautifully assembled Japanese Katsu Bowl with Tonkatsu Sauce is bound to become a beloved meal in your home!
Step‑by‑Step Instructions for Japanese Katsu Bowls with Tonkatsu Sauce
Step 1: Prepare the Cutlets
Start by flattening the chicken or pork cutlets to about ½-inch thickness, ensuring even cooking. Season both sides generously with salt and pepper, coating perfectly to enhance the flavor of your Japanese Katsu Bowls. Set aside while you prepare the breading station so the seasonings can start to infuse.
Step 2: Set Up the Breading Station
Create a simple breading station with three bowls: one filled with flour, another with beaten eggs, and the final bowl with panko breadcrumbs. Dredge each cutlet in the flour, shaking off any excess before dipping it in the egg mixture, and finally coat it thoroughly with the crispy panko. This layering will ensure that every bite of your katsu bowls is perfectly crunchy.
Step 3: Heat the Oil
In a large frying pan, pour enough vegetable or canola oil to cover the bottom, about ½ inch deep. Heat the oil over medium-high heat until it reaches around 350°F (175°C); you can test it by dropping in a breadcrumb—it should sizzle immediately. This step is crucial to achieve the golden, crispy exterior of your Katsu in the bowl.
Step 4: Fry the Cutlets
Carefully lower the breaded cutlets into the hot oil, frying for about 3-4 minutes on each side. You want them to turn a deep golden brown, so keep an eye on them! Once their internal temperature reaches 165°F for chicken and 145°F for pork, remove the cutlets and let them drain on paper towels to remove excess oil.
Step 5: Mix the Tonkatsu Sauce
While your cutlets are frying, prepare the refreshing tonkatsu sauce. In a bowl, mix together ketchup, Worcestershire sauce, soy sauce, and a sprinkle of sugar, whisking until well combined. Taste and adjust the sweetness or tanginess to your preference. This rich sauce is the perfect complement to your crispy cutlets and will tie the whole Japanese Katsu Bowl together.
Step 6: Assemble the Bowls
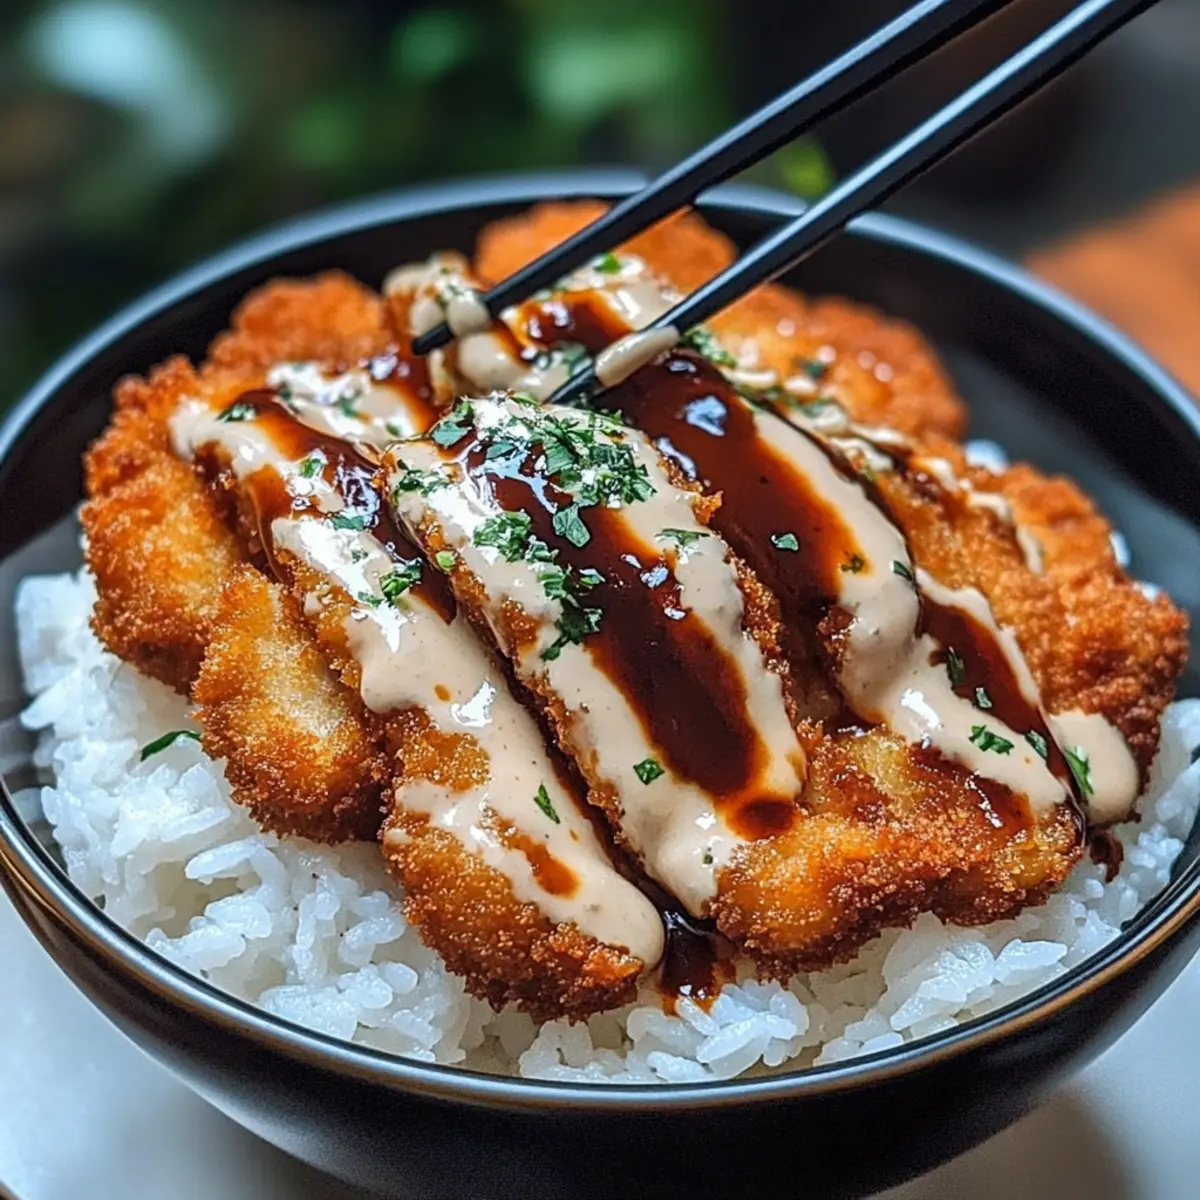
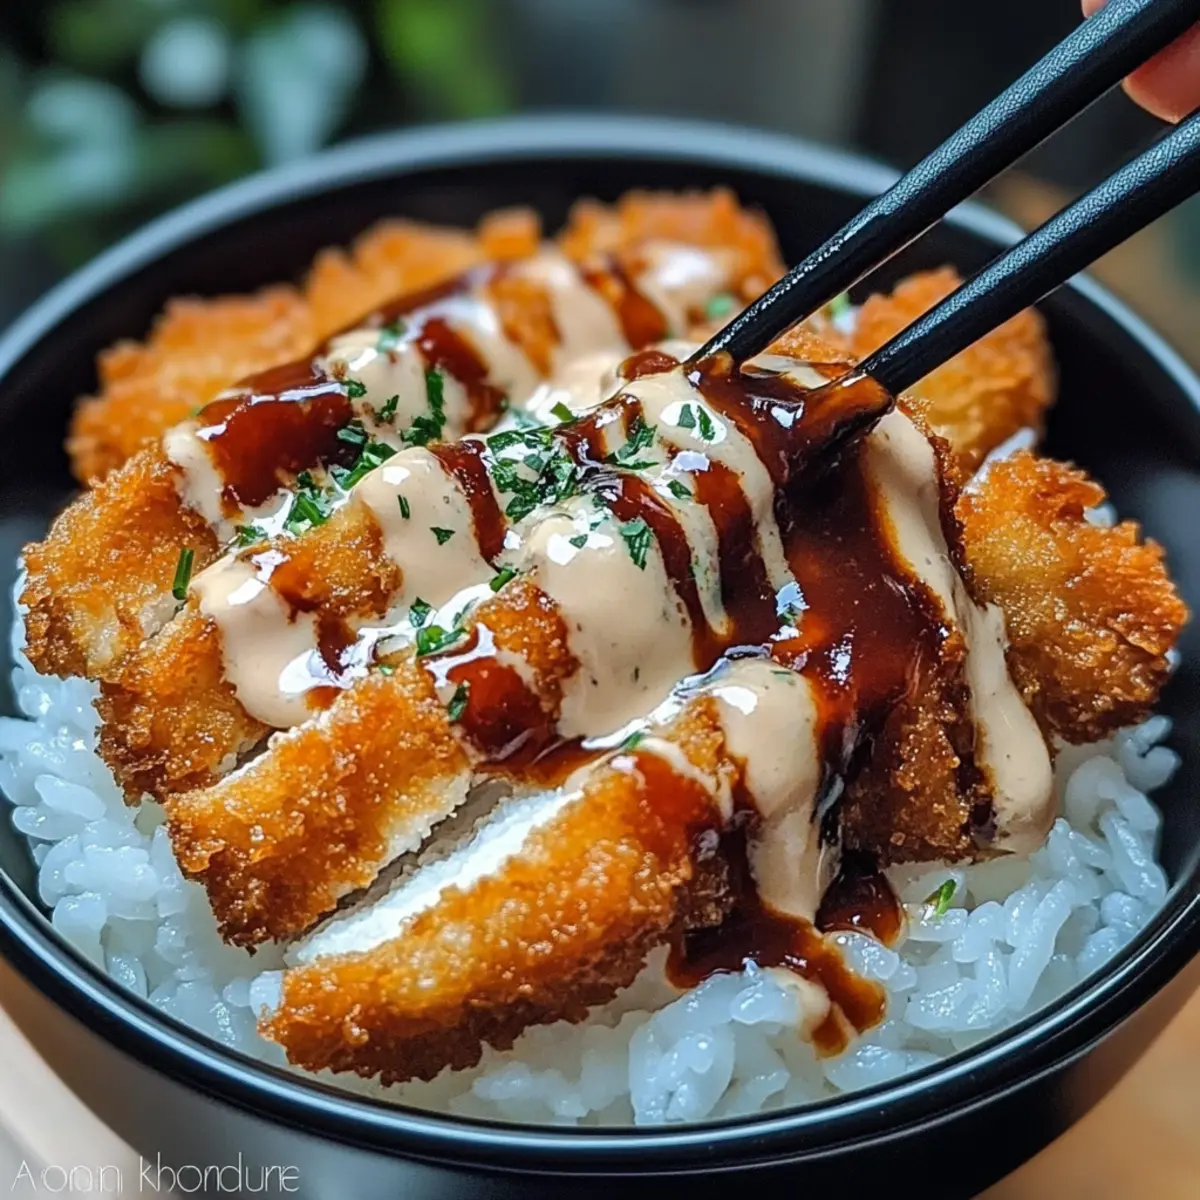
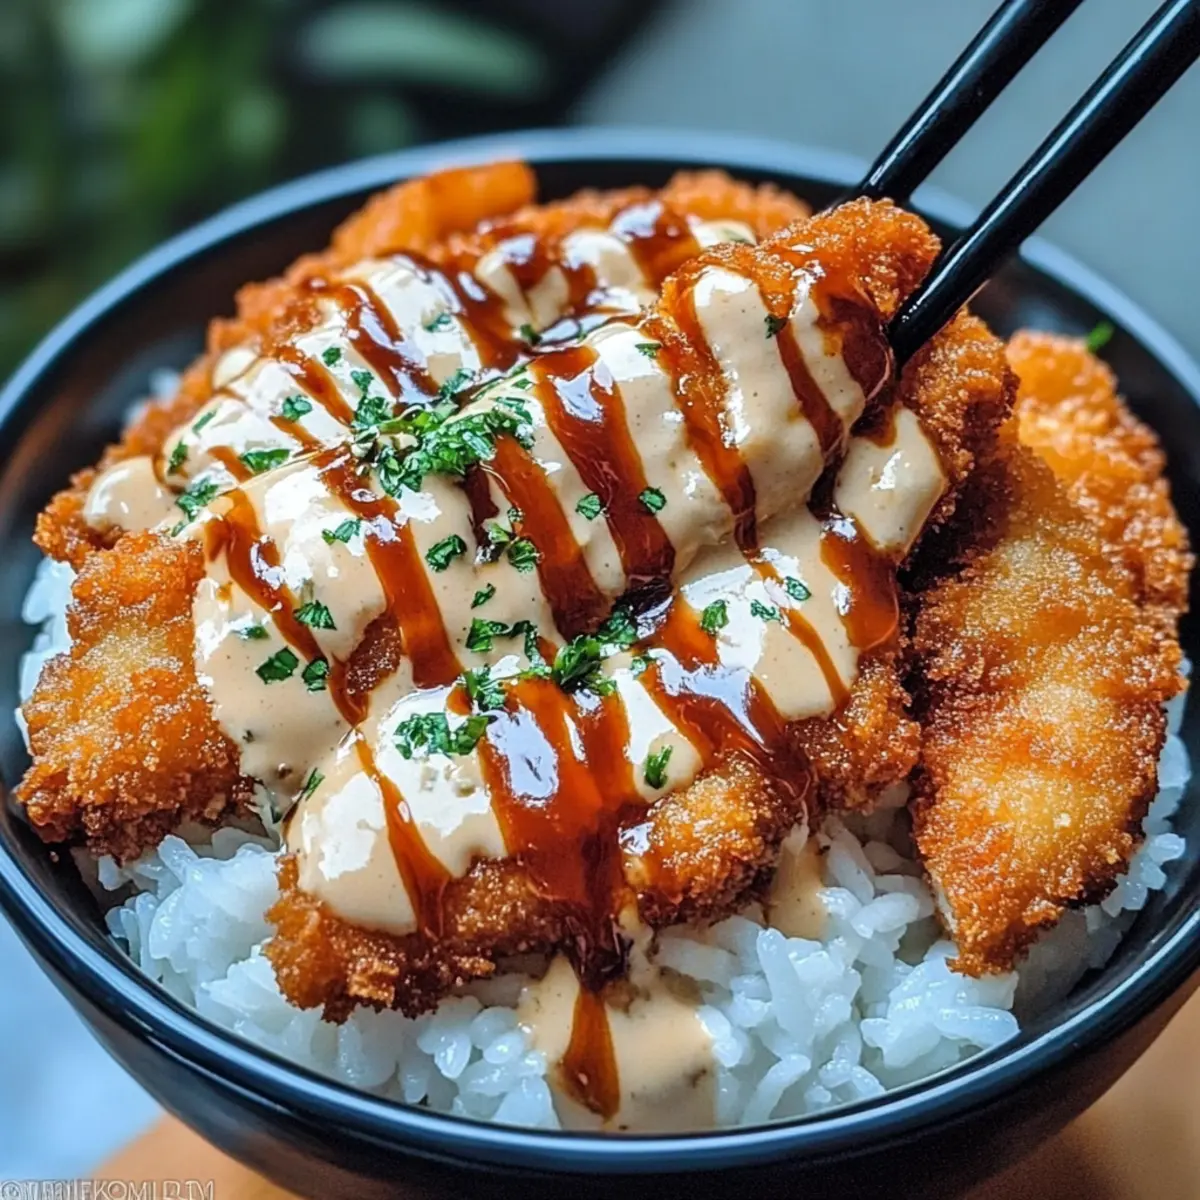
Now it’s time to put it all together! Start by placing a generous scoop of steamed white rice as the base in each bowl. Slice the hot, crispy cutlets into strips and arrange them artfully on top of the rice. Drizzle a luscious amount of tonkatsu sauce over the cutlets, allowing it to cascade down, making each bite a flavorful delight.
Step 7: Garnish and Serve
For an extra touch, garnish your Japanese Katsu Bowls with chopped parsley or green onions for a pop of color and freshness. Serve immediately while everything is hot and comforting, allowing the delectable crunch and savory flavors to fill your home with warmth. Enjoy your comforting meal!
Make Ahead Options
These Japanese Katsu Bowls with Tonkatsu Sauce are ideal for meal prep, saving you precious time on busy weeknights! You can prepare the cutlets by breading them and storing in the refrigerator up to 24 hours in advance; this ensures they stay crunchy when fried. Additionally, you can prepare the tonkatsu sauce up to 3 days ahead—just mix all the sauce ingredients and keep it in an airtight container. When you’re ready to serve, simply fry the cutlets directly from the fridge and cook the rice fresh. This way, your meal will be just as delightful and satisfying, all with minimal effort!
Expert Tips for Japanese Katsu Bowls
-
Oil Temperature: Ensure your oil reaches 350°F (175°C) before frying. This prevents soggy cutlets and achieves the perfect golden crisp in your Japanese Katsu Bowls.
-
Breading Technique: Dredge your cutlets fully in each station—flour, egg, panko—to secure a seamless texture. Don’t rush this step for the ideal crunch!
-
Cooking Time: Monitor cooking times closely; cutlets should fry for 3-4 minutes per side. Overcooking can lead to dryness, while undercooking leaves them unsafe.
-
Sauce Perfection: Adjust your tonkatsu sauce to personal taste. A touch more sugar can balance tanginess if desired. Experiment until it’s just right!
-
Storing Leftovers: Refrigerate leftovers separately. Store katsu and rice in airtight containers to maintain texture; reheat gently with moisture to restore crunch.
How to Store and Freeze Japanese Katsu Bowls
Room Temperature: Keep cooked Katsu Bowls at room temperature for no more than 2 hours. After that, refrigerate to maintain freshness and avoid spoilage.
Fridge: Store leftover Japanese Katsu Bowls in airtight containers for up to 3 days. Stack cutlets and rice separately to preserve texture and crispiness.
Freezer: Freeze cooked cutlets and rice individually in airtight bags for up to 3 months. Thaw overnight in the fridge before reheating to ensure even warming and crunch.
Reheating: To reheat, place cutlets back in a preheated oven at 350°F (175°C) for about 10 minutes or until heated through. Add a splash of water to rice when microwaving to retain moisture.
Japanese Katsu Bowls Customization Ideas
Feel free to get creative with your Japanese Katsu Bowls and tailor them to your taste!
- Pork or Chicken: Choose your favorite protein; both options offer delicious crunch.
- Tofu Delight: For a vegan twist, substitute chicken or pork with firm tofu, breading and frying just the same.
- Whole Wheat Flour: Swap all-purpose flour for whole wheat for a heartier base that adds fiber.
- Gluten-Free Panko: Use gluten-free breadcrumbs and flour to make this recipe gluten-free without sacrificing crunch.
- Cauliflower Rice: Replace the white rice with cauliflower rice for a low-carb alternative that still satisfies.
- Crispy Veggies: Add sliced eggplant or zucchini to the mix; they become wonderfully crispy and delicious when fried!
- Warm Heat: Drizzle in some sriracha or chili oil to add a spicy kick to your tonkatsu sauce for those who love heat.
- Fresh Herbs: Enhance the flavor with fresh cilantro or basil before serving, creating a vibrant and aromatic finish.
Whichever variation you choose, you might also enjoy pairing your Katsu Bowl with a side of Savory Breakfast Muffins for an unexpected twist, or perhaps a light cucumber salad that complements its richness.
What to Serve with Japanese Katsu Bowls with Tonkatsu Sauce?
Enhance your dining experience with delightful pairings that complement the crispy, savory goodness of your Katsu Bowl.
- Miso Soup: This traditional Japanese soup’s umami flavors soften the boldness of the Katsu, making each bite feel like a warm embrace.
- Cucumber Salad: A refreshing side with a zingy dressing counters the richness of the tonkatsu, offering a perfect textural contrast. Crisp, cool cucumbers are a delightful palate cleanser.
- Steamed Broccoli: The vibrant green and tender crunch of steamed broccoli adds a nutrient-rich element, elevating the meal while balancing flavors.
- Pickled Ginger: A small serving of pickled ginger brightens your meal with its tangy, sharp taste, cutting through the richness and enhancing each flavor experience.
- Sushi Rolls: Pair Katsu Bowls with sushi rolls like California rolls for added variety on your plate, creating a beautiful fusion of flavors and visuals.
- Green Tea: A warm cup of green tea cleanses the palate and complements the savory notes of the Katsu, making it a soothing beverage choice.
- Chocolate Mochi: For dessert, indulge in sweet mochi filled with chocolate; it’s a delightful and chewy ending to your Japanese feast that leaves everyone satisfied.
Japanese Katsu Bowls with Tonkatsu Sauce Recipe FAQs
Which cutlets should I choose for my Katsu Bowl?
Absolutely! You can use either chicken or pork cutlets, depending on your preference. Chicken is lighter and quicker to cook, while pork offers a traditional flavor. If you’re looking for a vegetarian option, tofu can also be used and is equally delicious when prepared correctly!
How should I store leftover Katsu Bowls?
To keep your leftover Katsu Bowls fresh, store the cutlets and rice in separate airtight containers. This way, the cutlets maintain their crispiness. They can last in the fridge for up to 3 days. Always remember to cool them completely before refrigerating to prevent condensation!
Can I freeze Katsu Bowls? If so, how?
Yes, you can freeze the cutlets! Wrap the cooked cutlets tightly in plastic wrap, then in foil, and store them in the freezer for up to 2 months. For best results, reheat them straight from frozen in the oven at 375°F (190°C) for about 15 minutes. You might want to add a splash of water to the rice before reheating to keep it fluffy.
What if my cutlets are soggy after frying?
Very often, sogginess is caused by the oil not being hot enough. Always ensure your oil reaches 350°F (175°C) before adding the cutlets. Fry them in batches to avoid overcrowding the pan, which can drop the oil temperature. If they are already soggy, you can place them on a wire rack in the oven at a low temperature to crisp them back up a bit.
Can I modify the tonkatsu sauce for dietary restrictions?
Yes! If you need a gluten-free option, simply substitute soy sauce with tamari and ensure the Worcestershire sauce is gluten-free as well. For a lower-sugar version, reduce the amount of sugar in the sauce or try using a natural sweetener like honey or agave syrup. Customize it to fit your dietary needs!
How long will cutlets stay fresh in the fridge?
Cooked cutlets can be stored safely in the fridge for about 3 days. Ensure that they are in an airtight container to maintain their quality, and when reheating, adding a splash of water or broth can help restore some moisture and crunch to the cutlets.
Irresistible Japanese Katsu Bowls with Tonkatsu Sauce Recipe
Ingredients
Equipment
Method
- Flatten the pork or chicken cutlets to a uniform ½-inch thickness using a meat mallet or rolling pin. Season with salt and pepper, then set aside.
- Set up three bowls in a row for breading: one with flour, one with beaten eggs, and the last with panko breadcrumbs. Dredge each cutlet in flour, then dip in egg, and coat with panko.
- In a frying pan, heat oil to 350°F (175°C).
- Carefully add the breaded cutlets to the hot oil and fry for 3-4 minutes on each side until golden brown. Ensure they reach an internal temperature of 165°F for chicken or 145°F for pork.
- Drain the cutlets on paper towels to absorb excess oil and let them rest.
- In a bowl, mix together ketchup, Worcestershire sauce, soy sauce, and sugar until well combined.
- Spoon white rice into bowls, slice cooked cutlets, and arrange on the rice. Drizzle with tonkatsu sauce and garnish with parsley or green onions.
- Serve immediately while hot.
Leave a Reply