
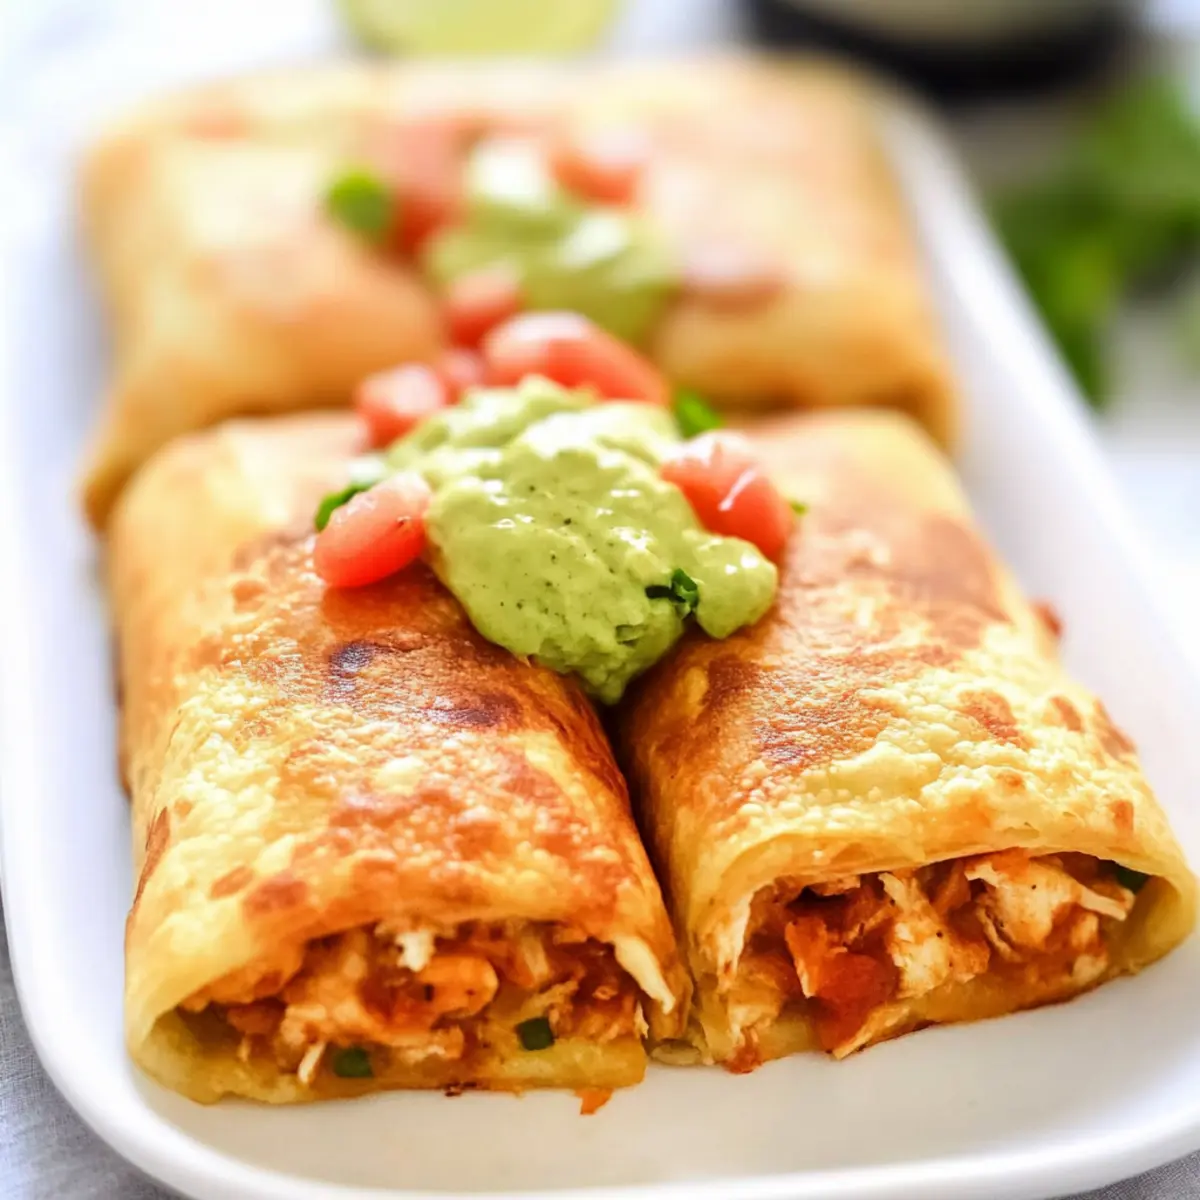
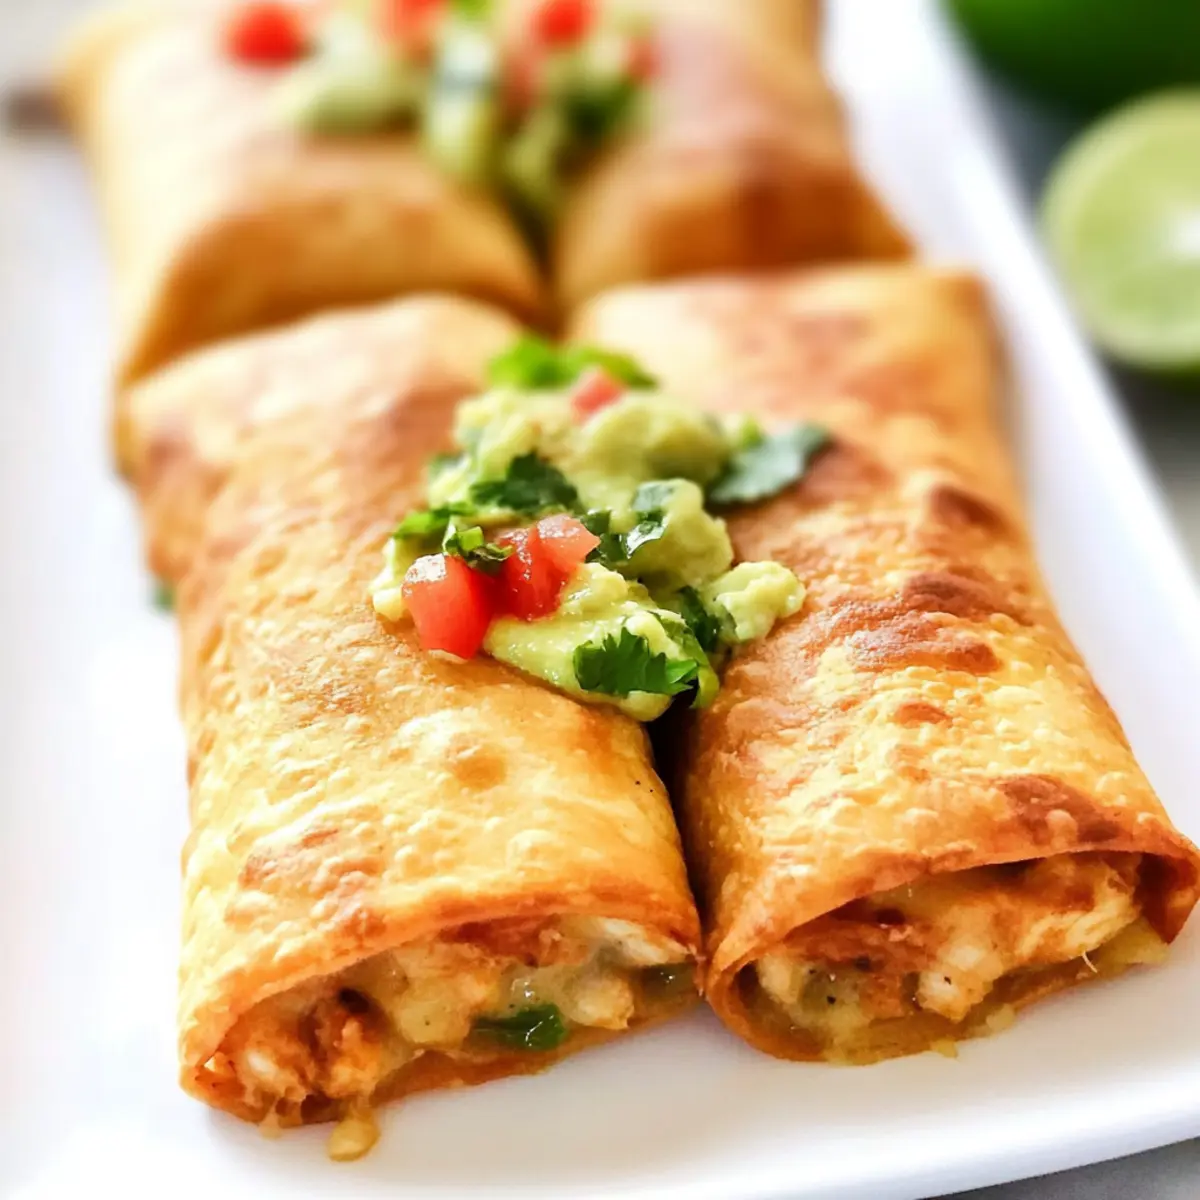
“Why is it that some foods become instant comfort classics?” I pondered while digging into a plate full of homemade Chicken Chimichangas. These delightful bundles, stuffed with tender shredded chicken and creamy Monterey jack cheese, have been a staple in my kitchen for years. Whether you’re frying them to achieve that irresistible crunch or opting for the healthier baked version, they promise a satisfyingly tasty experience without the fuss. Plus, they’re incredibly versatile—great for using up leftover rotisserie chicken or customizing with your favorite ingredients. Each bite is like a warm hug, perfect for gatherings or cozy nights in. Are you ready to whip up some deliciousness in your own kitchen?
Why Are These Chimichangas Irresistible?
Comforting Delight: Each bite of these Chicken Chimichangas is packed with a flavorful, cheesy filling that warms your heart.
Crispy vs. Healthy: You can enjoy them fried for that crunchy exterior or baked for a lighter option—without losing any deliciousness.
Customizable: Whether you stick to the classic rotisserie chicken or get creative with beef or black beans, there’s a perfect option for every palate.
Time-Saving Option: Quick to prepare and perfect for busy weeknights, you’ll whip these up in no time!
Crowd-Pleaser: Serve them at your next gathering and watch as guests dive in; they’re sure to become a family favorite!
For a flavorful twist, try pairing these with Cheesy Garlic Chicken or enjoy them alongside refreshing Mexican rice.
Chicken Chimichangas Ingredients
For the Filling
• Cooked Shredded Chicken – The star ingredient; rotisserie chicken simplifies prep time.
• Diced White Onion – Adds a mild sweetness and texture; shallots can be a great substitute.
• Minced Garlic – Infuses the filling with depth and aroma.
• Chili Powder – Brings heat to the mix; try smoked paprika for a unique flavor twist.
• Ground Cumin – Delivers warmth and authenticity; consider coriander as an experimental substitute.
• Diced Green Chilies – Adds a touch of spice; swap for jalapeños for extra heat.
• Salt – Enhances all the flavors; use according to your taste.
• Pepper – Offers mild heat; cayenne is a spicier alternative.
For the Tortillas
• Flour Tortillas – Burrito-size works best, warm them for easy rolling.
For the Cheese
• Shredded Monterey Jack Cheese – Provides creaminess; cheddar works well for a sharper profile.
For Frying
• Vegetable Oil – Essential for frying; use enough to fill your skillet 2 inches deep.
Toppings
• Salsa – Use your favorite variety for added zest.
• Sour Cream – A creamy contrast that complements the flavors perfectly.
• Guacamole – Adds richness; homemade is always a hit!
• Pico de Gallo – Fresh and vibrant, it brightens up every bite.
• Lettuce – Adds crunch and freshness on the side.
Dive into these Chicken Chimichangas and savor every delicious moment!
Step‑by‑Step Instructions for Chicken Chimichangas
Step 1: Heat the Oil or Preheat the Oven
For the fried version of Chicken Chimichangas, pour 1 to 2 cups of vegetable oil into a heavy-bottomed skillet, and heat it over medium heat until it reaches 375°F. If you prefer the baked option, preheat your oven to 375°F and lightly grease a large baking sheet to prepare for the chimichangas.
Step 2: Sauté the Vegetables
In a skillet, heat 2 tablespoons of vegetable oil over medium heat, then add the diced white onion. Sauté the onions for about 3–5 minutes until they become soft and translucent, releasing their sweet aroma. This foundation will enhance the flavors of your Chicken Chimichangas beautifully.
Step 3: Add Seasoning and Aromatics
Once the onions are softened, add the minced garlic, chili powder, oregano, and ground cumin to the skillet. Stir together, cooking for another 1–2 minutes until fragrant and the spices bloom, creating a deliciously aromatic base for your filling.
Step 4: Incorporate the Chicken
Mix in the cooked shredded chicken along with salt, pepper, and diced green chilies. Stir until the chicken is heated through, which should take about 3–4 minutes. This mixture is what makes your Chicken Chimichangas tempting and flavorful.
Step 5: Prepare the Tortillas
Warm the flour tortillas in the microwave for about 20 seconds, making them pliable for easy rolling. Carefully take them out, ensure they are warm, and set them ready to hold the delicious filling.
Step 6: Assemble the Chimichangas
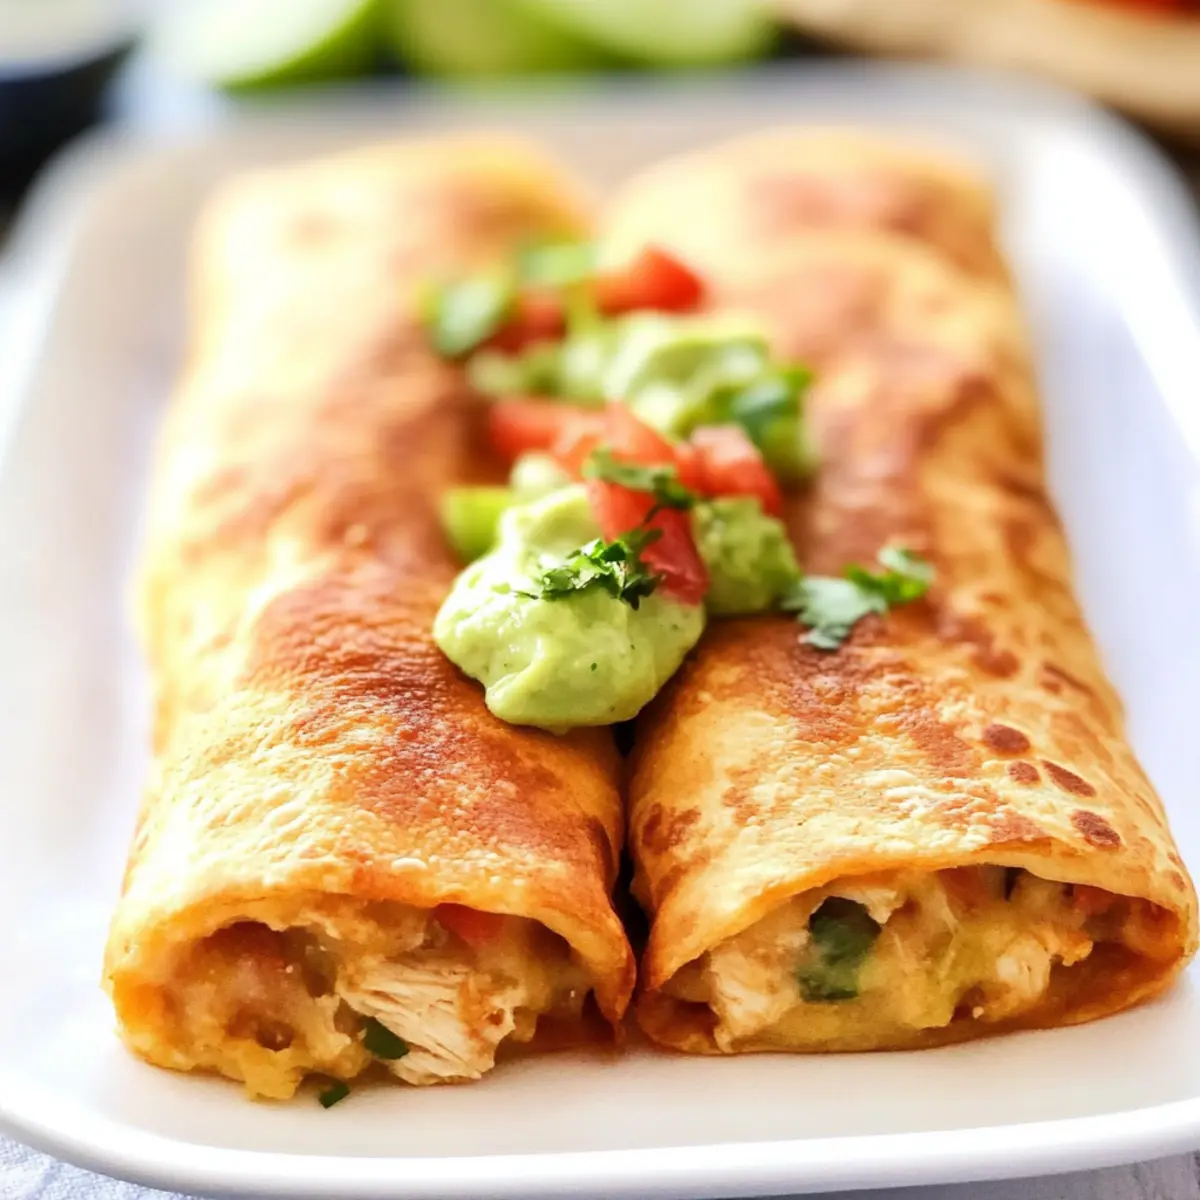
Spoon a generous amount of the chicken mixture onto the center of each tortilla, followed by a sprinkle of shredded Monterey Jack cheese. Roll each tortilla tightly, tucking in the sides to prevent any filling from escaping, and you’re on your way to delightful Chicken Chimichangas!
Step 7: Fry the Chimichangas
For the frying method, carefully lower the rolled chimichangas into the hot oil, frying in batches if needed to avoid overcrowding. Cook for about 1–2 minutes on each side until golden brown and crispy. Transfer them to paper towels to drain any excess oil.
Step 8: Bake the Chimichangas
If you’re opting for the baking method, place the rolled chimichangas seam-side down on the greased baking sheet. Give them a light spray with nonstick cooking spray and bake for 20–30 minutes or until they’re golden and crisp, ensuring you achieve that delightful texture.
Step 9: Serve with Your Favorite Toppings
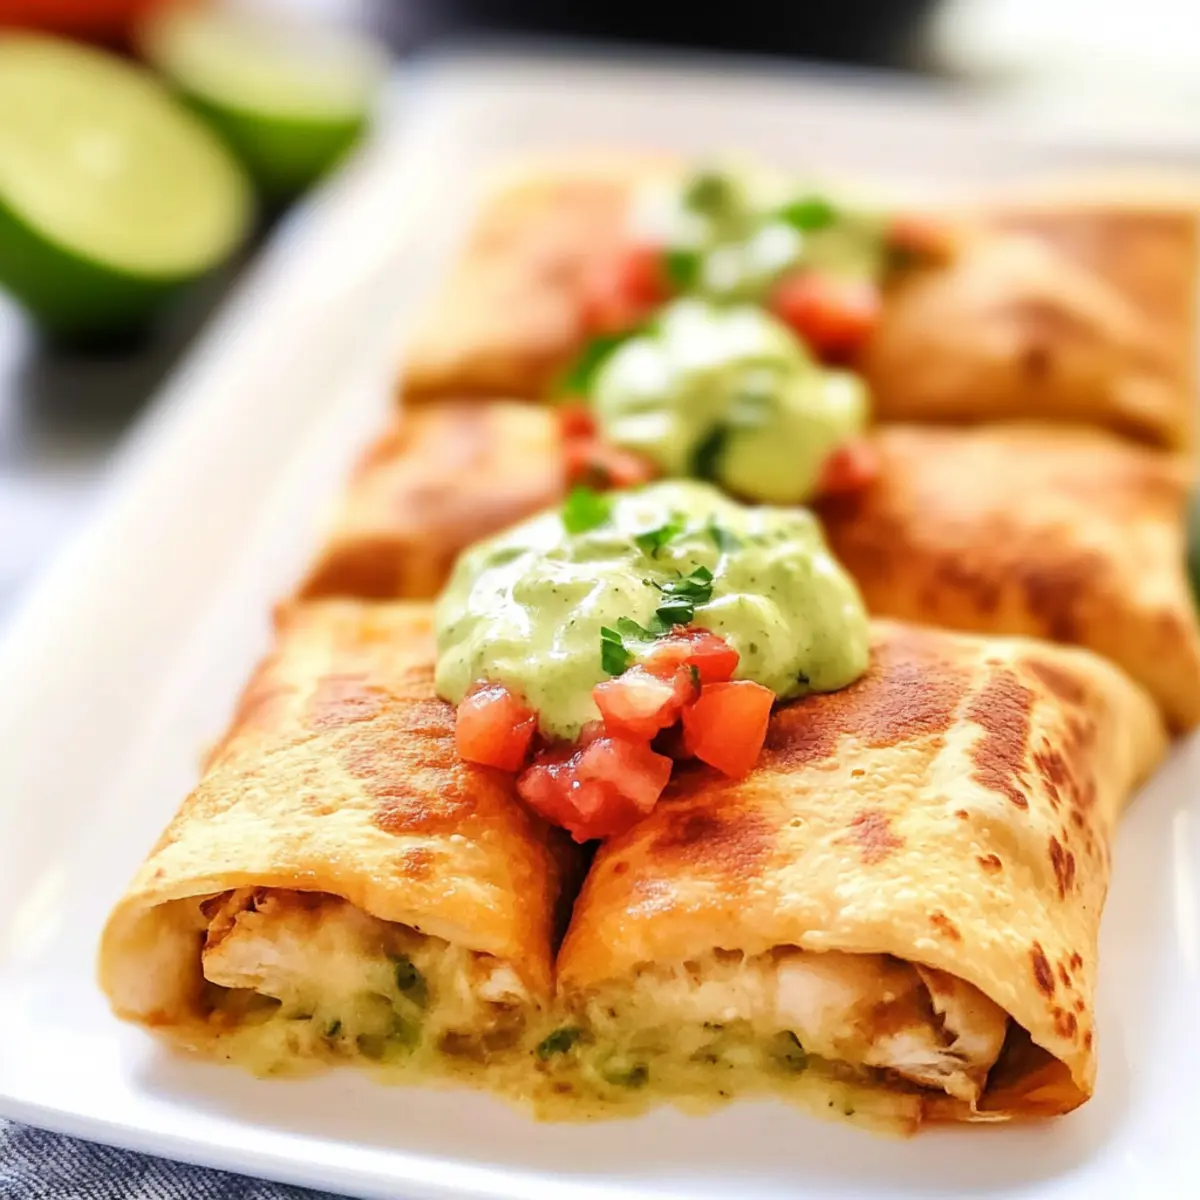
Once your Chicken Chimichangas are ready, serve them warm with a selection of toppings such as salsa, sour cream, guacamole, pico de gallo, or fresh lettuce. Feel free to customize based on your preferences for an even more satisfying meal!
What to Serve with Chicken Chimichangas
There’s nothing quite like a plate of warm, crispy chimichangas complemented by vibrant side dishes that elevate the entire meal experience.
-
Mexican Rice: This classic side is fluffy and flavorful, a perfect match for the cheesy filling of the chimichangas. The spices in the rice harmonize beautifully with the dish, creating a delightful pairing that satisfies every craving.
-
Refried Beans: Creamy and rich, refried beans provide a hearty contrast to the crunch of the chimichangas, making for a comforting combination that will leave you wanting more.
-
Fresh Pico de Gallo: Bringing brightness to your plate, this fresh salsa is vibrant, zesty, and adds a refreshing crunch that cuts through the richness of the chimichangas.
-
Guacamole: Silky and creamy, guacamole is a must for dipping, enriching your bite with its smooth texture and hint of lime. It’s the perfect luxurious addition to your meal.
-
Sour Cream: A dollop of sour cream adds tanginess and creaminess, balancing the flavors of the chimichangas while enhancing that comforting experience.
-
Chilled Mexican Corn Salad: Sweet and crunchy, this salad’s combination of fresh corn, lime, and chilies complements the flavors of the chimichangas while adding a festive touch.
-
Classic Margarita: Unwind with this refreshing drink that offers a citrusy zing, providing a delightful contrast that helps cleanse your palate between bites.
-
Flan or Tres Leches Cake: End your meal on a sweet note with a slice of flan or tres leches cake; their creamy textures and light sweetness are a delightful way to round out a satisfying dinner.
How to Store and Freeze Chicken Chimichangas
Fridge: After cooking, store leftover chicken chimichangas in an airtight container. They will stay fresh for up to 3 days, perfect for quick reheating!
Freezer: To freeze uncooked chimichangas, wrap them tightly in plastic wrap, then place in a freezer-safe bag. They can be frozen for up to 2 months for later enjoyment.
Reheating: For best results, reheat baked chimichangas in the oven at 350°F until warmed through, about 15-20 minutes. Fried ones are best reheated in a skillet to restore crispiness.
Prep Ahead: You can prepare the fillings in advance and assemble the chicken chimichangas when ready to cook, ensuring quick weeknight dinners when life gets busy.
Chicken Chimichangas Variations & Substitutions
Feel free to get creative with these Chicken Chimichangas! Each delicious twist will elevate your meal and make it uniquely yours.
-
Beef or Pork: Swap out shredded chicken for flavorful shredded beef or pork for a hearty alternative. It’s a delightful twist that brings new richness to the dish.
-
Vegetables: Add black beans or corn to the filling for a nutrient boost. These additions will enhance the flavors and provide extra texture that makes every bite satisfying.
-
Spice it Up: For a kick, use diced jalapeños instead of green chilies. The added heat will tantalize your taste buds and bring a lively punch to your chimichangas.
-
Cheese Options: Experiment with different cheeses like pepper jack for a spicy flair or even creamy feta for a tangy twist. Each cheese brings its own character, making your dish even more inviting.
-
Flour Tortilla Alternatives: Try whole wheat or corn tortillas for a different taste and texture. This can cater to dietary preferences while still delivering a yummy bite.
-
Baking Variation: Instead of frying, bake them with a light drizzle of olive oil for a healthier option and get that comforting crunch without the extra calories. Your family won’t even miss the frying!
-
Flavor Boost: Incorporate fresh herbs like cilantro or a squeeze of lime juice into the filling for an additional layer of freshness. These small tweaks can make a big difference in taste!
Explore these variations for your next family meal! And if you’re looking for more chicken inspiration, don’t forget to check out Zesty Lemon Chicken or enjoy the comforting flavors of Creamy Chicken Tortilla Soup.
Make Ahead Options
These Chicken Chimichangas are a fantastic meal prep option for busy weeknights! You can prepare the filling (chicken, onion, garlic, and spices) and store it in an airtight container in the refrigerator for up to 3 days. Just remember to let it cool completely before refrigerating to maintain its texture. Additionally, you can roll the chimichangas and keep them wrapped in plastic wrap in the fridge for up to 24 hours before frying or baking. When ready to enjoy, simply cook them as directed straight from the refrigerator for crisp, delicious results. This makes it easier to have a homemade meal that feels fresh and satisfying, even on the busiest of nights!
Expert Tips for Chicken Chimichangas
-
Oil Temperature: Ensure your frying oil reaches 375°F before adding chimichangas; this helps achieve a crisp texture and prevents sogginess.
-
Avoid Overfilling: Be mindful not to overstuff your tortillas, as this can make rolling them tightly difficult and lead to spillage during cooking.
-
Roll Tightly: When wrapping, tuck in the sides of the tortillas firmly; this keeps the filling contained during frying or baking, ensuring you’ll enjoy every bite of your Chicken Chimichangas.
-
Batch Cooking: Fry or bake chimichangas in small batches to avoid steaming. Crowding the pan can prevent proper crisping.
-
Light Oil Spray for Baking: If you choose to bake, give the tops a light spray of oil before placing them in the oven; this encourages browning and adds a little extra flavor.
Chicken Chimichangas Recipe FAQs
What type of chicken should I use for my chimichangas?
Absolutely! I recommend using cooked shredded chicken, and a rotisserie chicken is perfect for convenience. It saves you time and adds great flavor! You can also use leftover grilled chicken or even turkey if you have it on hand.
How should I store leftover chicken chimichangas?
After cooking, store any leftover chicken chimichangas in an airtight container in the fridge. They will stay fresh for up to 3 days. Gently reheat them in the oven to maintain that crispy texture, approximately 15-20 minutes at 350°F.
Can I freeze chicken chimichangas?
Very! To freeze uncooked chimichangas, wrap each tightly in plastic wrap and place them in a freezer-safe bag. They can be frozen for up to 2 months! When you’re ready to enjoy, bake them straight from the freezer for about 25-35 minutes at 375°F, adding a few extra minutes as needed.
What if my chimichangas are soggy after frying?
If your chimichangas turn out soggy, it could be due to the oil not being hot enough. Ensure the oil reaches 375°F before adding them, as this ensures a good crisp. Additionally, avoid overcrowding the pan, as too many in the oil can bring the temperature down.
Can I adapt the ingredients for dietary restrictions?
Of course! You can easily adapt this chicken chimichangas recipe to meet various dietary preferences. To make it gluten-free, use corn tortillas instead of flour. Also, you can replace Monterey Jack cheese with a dairy-free alternative if you want a dairy-free option. Just be mindful of the fillings you use to keep things safe for allergies.
Crispy Chicken Chimichangas You’ll Crave Every Time
Ingredients
Equipment
Method
- Heat the oil in a skillet or preheat the oven to 375°F.
- Sauté the diced white onion in vegetable oil until soft.
- Add minced garlic, chili powder, and ground cumin to the skillet.
- Incorporate cooked shredded chicken, salt, pepper, and diced green chilies.
- Warm the flour tortillas in the microwave for easy rolling.
- Assemble chimichangas by placing filling and cheese in each tortilla.
- Fry chimichangas in hot oil until golden brown.
- Alternatively, bake chimichangas in the oven until crisp.
- Serve warm with toppings like salsa, sour cream, and guacamole.
Leave a Reply