
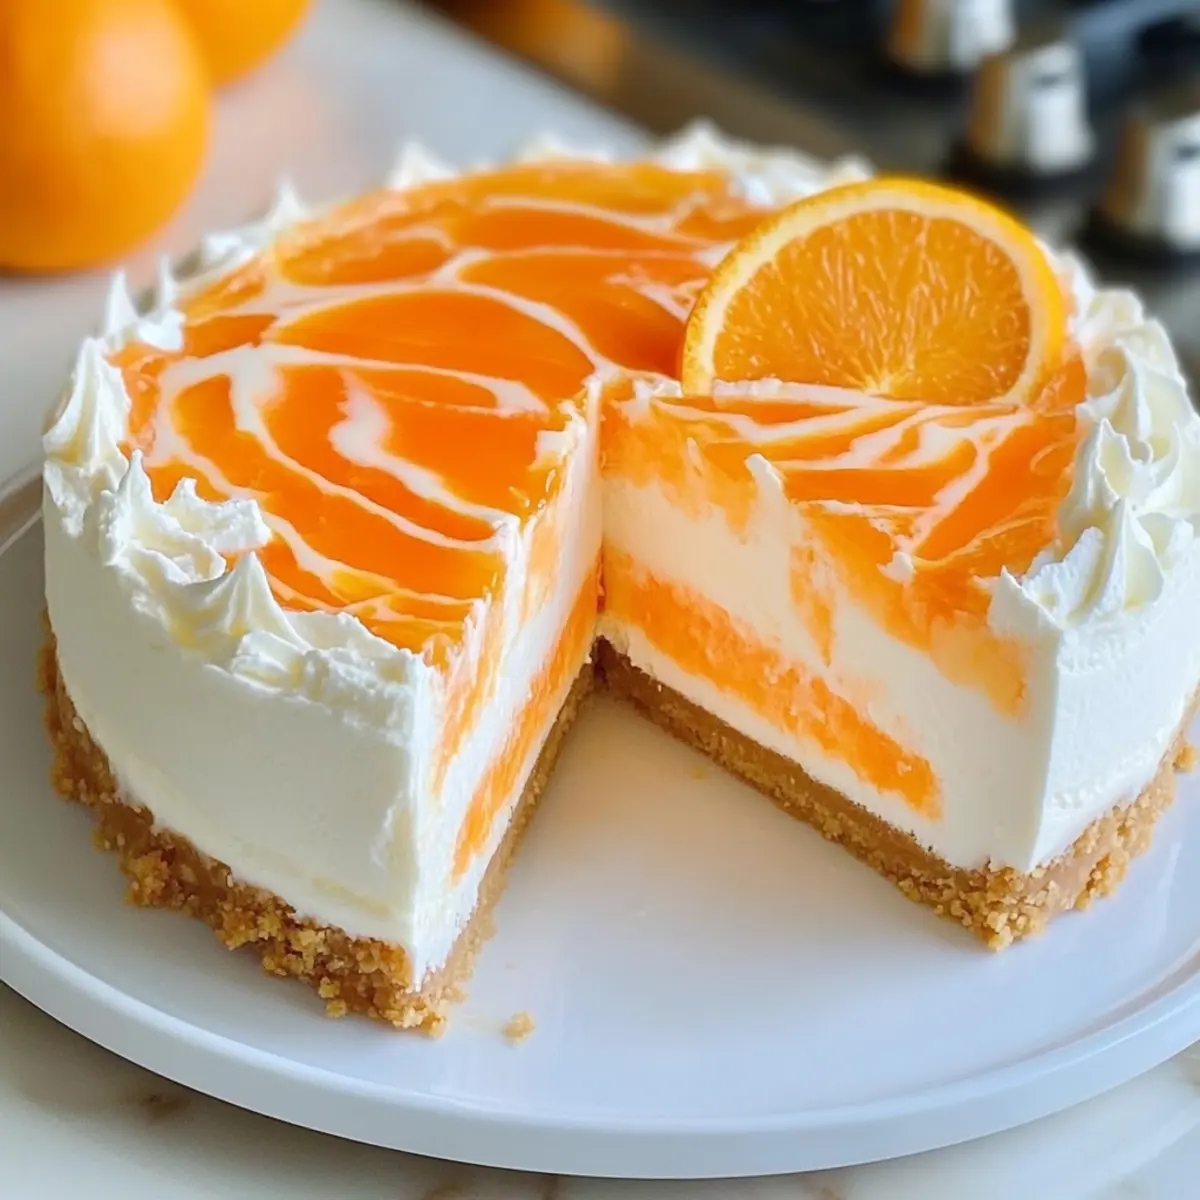
As I was lounging on my sun-drenched patio, the thought struck me: nothing says summer quite like a refreshing dessert that requires zero baking. Enter the No-Bake Orange Creamsicle Cheesecake, a creamy delight that will transport your taste buds straight to a sunny afternoon. Perfect for those warm evenings when the last thing you want to do is heat up the kitchen, this recipe combines a zesty orange layer with a velvety cheesecake that practically melts in your mouth. Not only is it incredibly easy to prepare, but it also brings a crowd-pleasing charm that’s bound to impress your family and friends. Are you ready to dive into a slice of summer bliss?
Why Is This Cheesecake So Special?
Effortless Preparation: Creating this No-Bake Orange Creamsicle Cheesecake requires minimal effort, making it the ideal dish for those looking to relax and enjoy summer without the stress of baking.
Vibrant Flavor: The combination of zesty orange and creamy vanilla creates a refreshing taste that perfectly captures the essence of sunny days.
Crowd Favorite: This cheesecake is sure to impress at any gathering, from summer barbecues to casual get-togethers, making it a must-try for entertaining.
Versatility: Feel free to experiment! Swap the orange jello for flavors like strawberry or lemon, or even try a chocolate twist by adding cocoa powder—endless possibilities await!
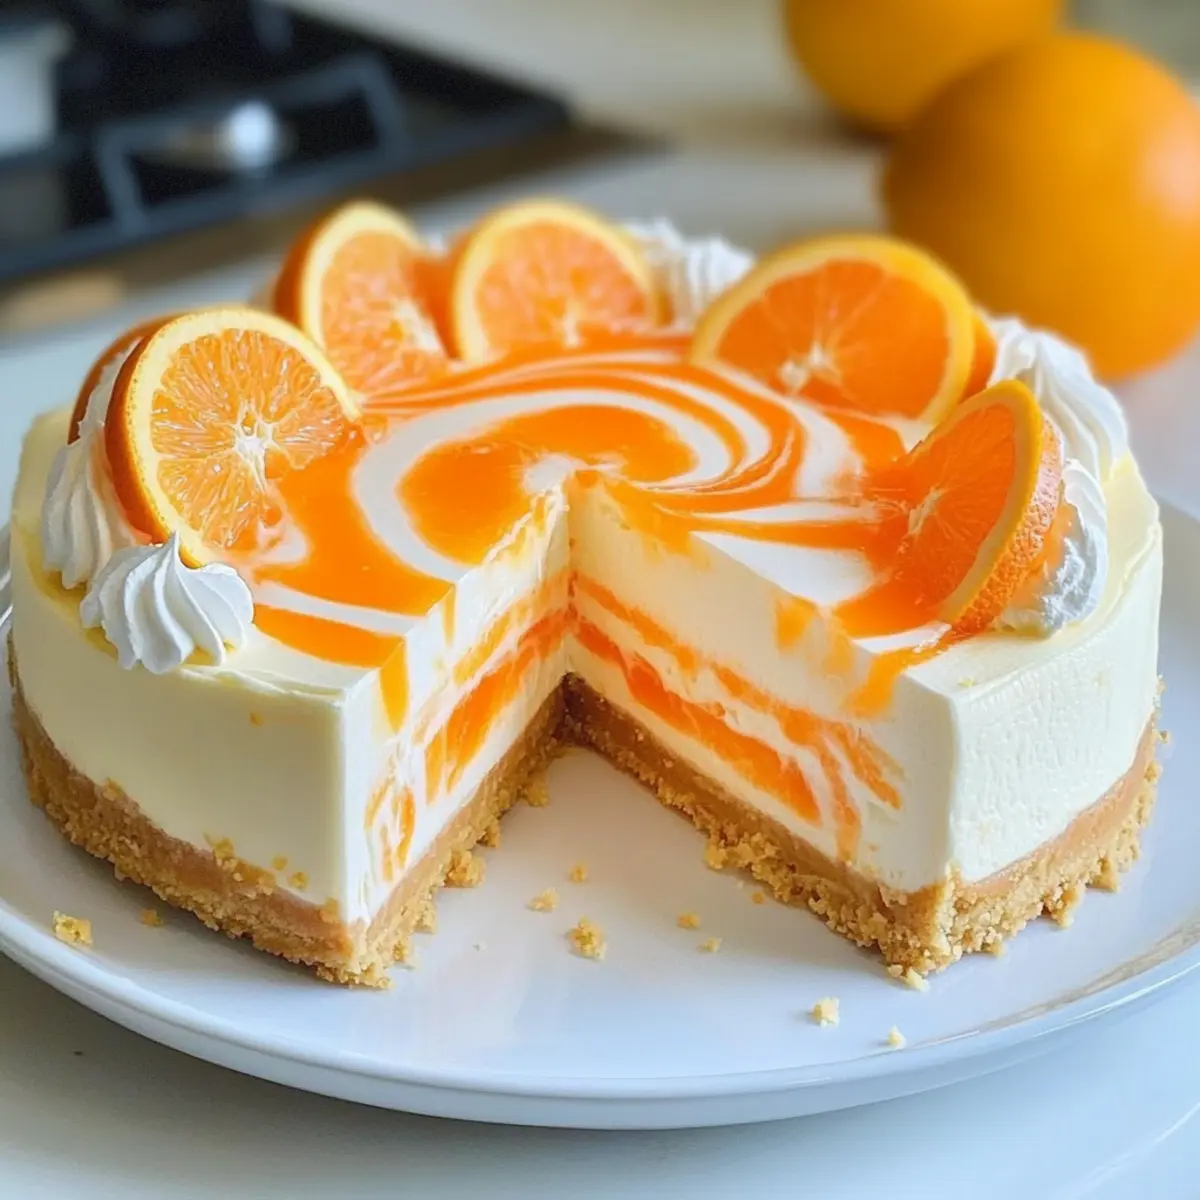
Chill Factor: There’s nothing quite like a chilled dessert on a hot day! Serve it with fresh orange slices or a dollop of whipped cream for that extra touch.
For another delicious dessert, check out my Apple Crumble Cheesecake or these delightful Chocolate Oat Cookies. You won’t regret trying them!
No-Bake Orange Creamsicle Cheesecake Ingredients
• Gather your pantry staples for this easy treat!
For the Crust
- Graham Cracker Crumbs – Creates a deliciously crunchy base; gluten-free crumbs can be used for a gluten-free version.
- Unsalted Butter – Binds the crumbs together for a perfect crust; coconut oil can replace it for a dairy-free option.
For the Cheesecake Filling
- Cream Cheese – Adds that creamy texture; full-fat cream cheese delivers the best flavor.
- Powdered Sugar – Sweetens the cheesecake; consider a sugar alternative for a less sweet option.
- Heavy Whipping Cream – Whipped to create airiness that makes the cheesecake light; Cool Whip is a handy substitute.
- Vanilla Extract – Enhances the flavor profile; feel free to skip if you’re allergic.
- Orange Zest – Gives a burst of citrus zing; can be omitted if you don’t have it on hand.
For the Orange Layer
- Orange Jello – Infuses fruity flavor and vibrant color into the cheesecake; feel free to try different flavors for a unique spin.
- Boiling Water – Activates the jello for the best results; make sure it’s boiling hot for maximum effectiveness.
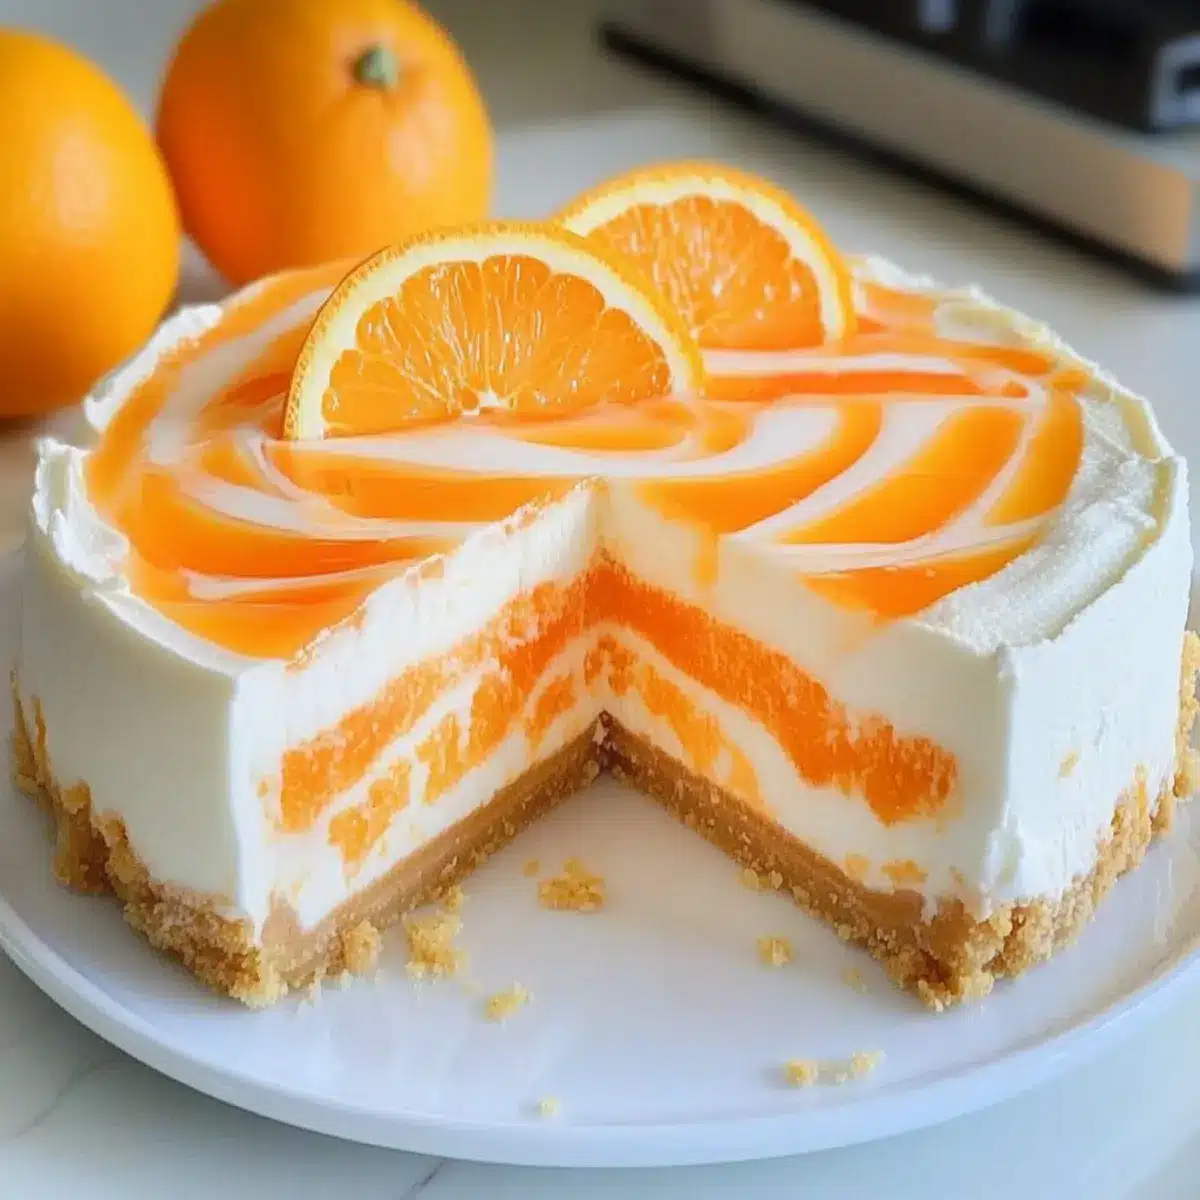
This delightful No-Bake Orange Creamsicle Cheesecake is not only a feast for the taste buds but also a visual delight, perfect for any summer gathering!
Step‑by‑Step Instructions for No-Bake Orange Creamsicle Cheesecake
Step 1: Prepare Jello
Start by whisking 1 package of orange jello powder with 1 cup of boiling water in a medium bowl. Stir until the jello is fully dissolved, then allow it to cool at room temperature for about 30 minutes. This cooling process is crucial; if it’s too hot, it may melt your whipped cream later.
Step 2: Prep Pan
While the jello cools, prepare your 9-inch springform pan. Lightly spray the bottom and sides with cooking spray, then line the bottom with parchment paper for easy removal. The springform pan will give your No-Bake Orange Creamsicle Cheesecake a beautiful, clean edge once it’s finished and chilled.
Step 3: Make Crust
In a mixing bowl, combine the graham cracker crumbs with melted unsalted butter and a pinch of salt. Mix well until the crumbs resemble wet sand. Press this mixture firmly into the bottom of the prepared pan using the back of a measuring cup or your fingers. Freeze the crust for at least 30 minutes to set.
Step 4: Beat Cheese
Once your crust is ready, take a large mixing bowl and add the softened cream cheese and powdered sugar. Using an electric mixer, beat on medium speed until the mixture is completely smooth and creamy, which should take around 2-3 minutes. This step creates a luscious base for your cheesecake filling.
Step 5: Whip Cream
Next, in another bowl, pour in the heavy whipping cream. Add ½ cup of powdered sugar, vanilla extract, and orange zest, then whip the cream with an electric mixer until stiff peaks form, which usually takes about 3-4 minutes. This fluffy whipped cream will make your No-Bake Orange Creamsicle Cheesecake light and airy.
Step 6: Fold Filling
Gently fold one half of the whipped cream into the cream cheese mixture, using a spatula to combine without deflating it too much. Then, repeat the process with the cooled orange jello mixture, ensuring that everything is well-integrated. The zest and flavor of the orange will shine through, creating a vibrant cheesecake.
Step 7: Assemble
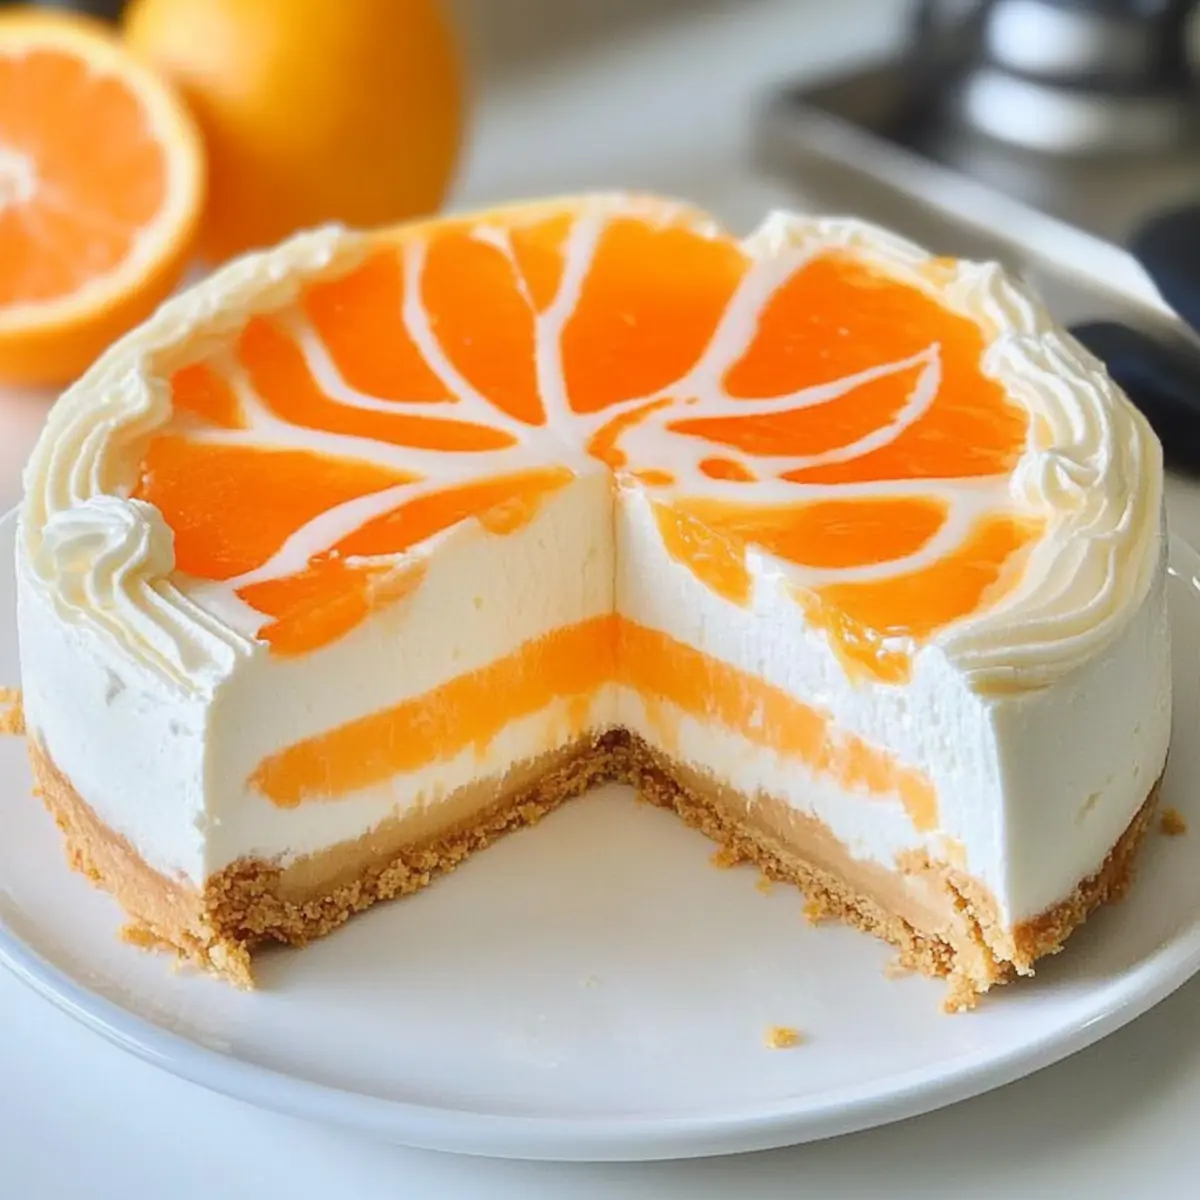
With the filling prepared, spoon half of the cream cheese mixture into the crust, smoothing it out evenly. Then, add the remaining filling and the jello mixture on top, swirling gently with a knife to create a marbled appearance. This technique not only looks delightful but also blends the flavors beautifully in each slice.
Step 8: Chill
Cover the cheesecake with plastic wrap and refrigerate for a minimum of 6 hours, though overnight is preferred for the best texture. The chilling process is essential for this No-Bake Orange Creamsicle Cheesecake to set properly. Once firm, carefully remove it from the springform pan for serving.
What to Serve with No-Bake Orange Creamsicle Cheesecake
This delightful dessert is perfect for creating a memorable summer meal, charming both the eyes and the taste buds.
- Fresh Fruit Salad: A colorful mix of berries and melons adds a refreshing and light counterpart to the creamy cheesecake, enhancing its vibrant flavors.
- Grilled Peaches: The warm, caramelized sweetness of grilled peaches pairs beautifully with the cold, creamy cheesecake, creating a delightful contrast in temperatures.
- Coconut Whipped Cream: Light and fluffy, this alternative topping adds a tropical twist that complements the orange flavors, making each bite even more indulgent.
- Mint Iced Tea: A cool, homemade mint iced tea refreshes the palate, offering a light herbal note that balances the dessert’s sweetness.
- Savory Shrimp Skewers: Seasoned and grilled shrimp provide a savory balance to your meal, making the dessert feel even more special after a burst of flavor from the seafood.
- Chocolate-Dipped Strawberries: For an elegant touch, the rich chocolate paired with tart strawberries creates an irresistible combination that guests will adore.
- Pineapple Sorbet: This icy treat shares a similar fruitiness with the cheesecake and offers a palate-cleansing effect between bites, enhancing the overall dining experience.
- Lemonade Spritzer: The bubbly citrus spritzer is not only refreshing but also brings a zesty brightness, harmonizing perfectly with the orange creamsicle theme.
- Pavlova: This meringue-based dessert adds a light, crispy texture, creating a beautiful contrast while still maintaining a festive summer vibe.
Storage Tips for No-Bake Orange Creamsicle Cheesecake
-
Fridge: Store tightly wrapped in plastic wrap or an airtight container for up to 5 days, but it’s best enjoyed within 3 days for optimal freshness and creamy texture.
-
Freezer: If you want to keep it longer, wrap it in plastic wrap and then aluminum foil, and freeze for 2-3 months. Thaw overnight in the fridge before serving.
-
Reheating: Since this is a no-bake cheesecake, there’s no need to reheat it. Serve it chilled directly from the fridge for the best taste and texture.
-
Presentation: Freshen up your slices with a garnish of whipped cream or a sprinkle of orange zest just before serving for that extra touch of summer charm!
Make Ahead Options
These No-Bake Orange Creamsicle Cheesecakes are perfect for busy home cooks looking to save time during warm summer days! You can prepare the crust and filling up to 24 hours in advance. Start by making the graham cracker crust and freezing it; just wrap the pan tightly in plastic. You can also mix the cream cheese and jello filling, refrigerating it separately until you’re ready to assemble. When you’re ready to enjoy, simply layer the filling into the crust and refrigerate for at least 6 hours or overnight to ensure it sets properly. This way, you’ll have a delightful, creamy dessert that’s just as delicious, waiting for you to slice and serve!
No-Bake Orange Creamsicle Cheesecake Variations
Feel free to unleash your creativity and make this delightful cheesecake your own with these exciting twists!
-
Flavor Twist: Experiment with strawberry jello for a berry-infused summer treat. This substitution brings a new fruity vibe that still captures that refreshing essence.
-
Chocolate Delight: For all the chocolate lovers out there, mix in cocoa powder into the cream cheese mixture. It pairs surprisingly well with orange, creating a dreamy chocolate-orange combination.
-
Dairy-Free Option: Swap heavy whipping cream with coconut cream for a rich, dairy-free alternative. The coconut flavor beautifully complements the orange and adds an exotic twist.
-
Gluten-Free Crust: Use almond flour instead of graham cracker crumbs for a gluten-free crust option. It gives a nutty flavor that’s perfect with the creamy orange filling.
-
Zesty Variation: Boost the orange zest! Love that citrus flavor? Add more to the filling for a vibrant, zesty punch that will sing on your palate.
-
Lemon Layer: Replace the orange jello with lemon jello for a tart and tangy twist. The lightness of lemon will brighten your cheesecake, making it perfect for warm days.
-
Spicy Kick: For a bit of spice, mix in a pinch of cayenne pepper or ginger to the filling. This will create a surprising warmth that plays beautifully with the orange flavor.
If you’re looking for more delightful desserts, consider pairing this orange creamsicle delight with my Sugar Cookie Cheesecake for an additional sweet treat!
Expert Tips for No-Bake Orange Creamsicle Cheesecake
-
Cool Jello Completely: Allow your orange jello to cool fully before mixing; this prevents melting the whipped cream, ensuring a lighter texture.
-
Stiff Peaks Required: When whipping the cream, ensure it reaches stiff peaks for ideal structure—under whipped cream can lead to a flimsy cheesecake.
-
Gentle Folding: Fold in mixtures carefully to maintain volume; vigorous mixing can deflate the creamy goodness of your no-bake cheesecake.
-
Optimal Chilling Time: For the best results, chill the cheesecake overnight. This allows flavors to meld and ensures a firm, sliceable treat.
-
Garnish With Care: Top with fresh orange slices or a dollop of whipped cream right before serving for an impressive presentation that enhances the summery vibe.
No-Bake Orange Creamsicle Cheesecake Recipe FAQs
How do I select the right oranges for zesting?
Absolutely! Opt for firm, unblemished oranges that feel heavy for their size, as they typically have more juice and flavor. Look for oranges without dark spots or wrinkles. Wash the oranges thoroughly before zesting to ensure a clean zest free from any pesticide residues.
What’s the best way to store leftovers?
Very! Store your No-Bake Orange Creamsicle Cheesecake tightly wrapped in plastic wrap or an airtight container in the refrigerator for up to 5 days. For the best taste and texture, it’s ideal to consume it within 3 days. Keeping it covered prevents it from absorbing odors from other refrigerator items.
Can I freeze this cheesecake for later?
Absolutely! To freeze your cheesecake, wrap it carefully in plastic wrap and then in aluminum foil to prevent freezer burn. It can be stored this way for up to 2-3 months. When you’re ready to enjoy it, simply move it to the refrigerator and allow it to thaw overnight. This keeps the cake deliciously creamy for your enjoyment.
What should I do if the cream cheese mixture is too thick?
Not to worry! If your cream cheese mixture seems too thick, add a splash of milk (about 1-2 tablespoons) and beat again until smooth and creamy. Make sure your cream cheese is at room temperature to ensure it blends well—this also helps incorporate air, giving your cheesecake a light texture.
Can I make this cheesecake dairy-free?
For sure! To make a dairy-free version of the No-Bake Orange Creamsicle Cheesecake, substitute the cream cheese with a dairy-free cream cheese alternative and use coconut cream in place of heavy whipping cream. Opt for coconut oil instead of butter for the crust, and ensure that your gelatin is vegan-friendly if necessary, such as using agar-agar instead of traditional gelatin.
What if I have allergies to gelatin or want a vegetarian option?
Absolutely! Instead of using traditional gelatin, you can substitute with agar-agar, which is derived from seaweed. This will still help your No-Bake Orange Creamsicle Cheesecake set nicely while making it suitable for vegetarians. Just follow the usage instructions on the package, as it may vary slightly from gelatin.
No-Bake Orange Creamsicle Cheesecake for Effortless Summer Joy
Ingredients
Equipment
Method
- In a medium bowl, whisk 1 package of orange jello powder with 1 cup of boiling water until fully dissolved. Allow to cool at room temperature for about 30 minutes.
- Prepare a 9-inch springform pan by lightly spraying the bottom and sides with cooking spray and lining with parchment paper.
- Combine graham cracker crumbs with melted unsalted butter and a pinch of salt. Press the mixture firmly into the bottom of the prepared pan. Freeze for at least 30 minutes to set.
- In a mixing bowl, beat softened cream cheese and powdered sugar with an electric mixer until smooth and creamy, about 2-3 minutes.
- In another bowl, whip heavy whipping cream with ½ cup of powdered sugar, vanilla extract, and orange zest until stiff peaks form, about 3-4 minutes.
- Gently fold half of the whipped cream into the cream cheese mixture, then fold in the cooled orange jello mixture until well combined.
- Spoon half of the filling into the crust, smooth it out, then add the remaining filling and jello mixture on top, swirling gently with a knife.
- Cover with plastic wrap and refrigerate for a minimum of 6 hours, preferably overnight, before carefully removing from the springform pan for serving.
Leave a Reply