
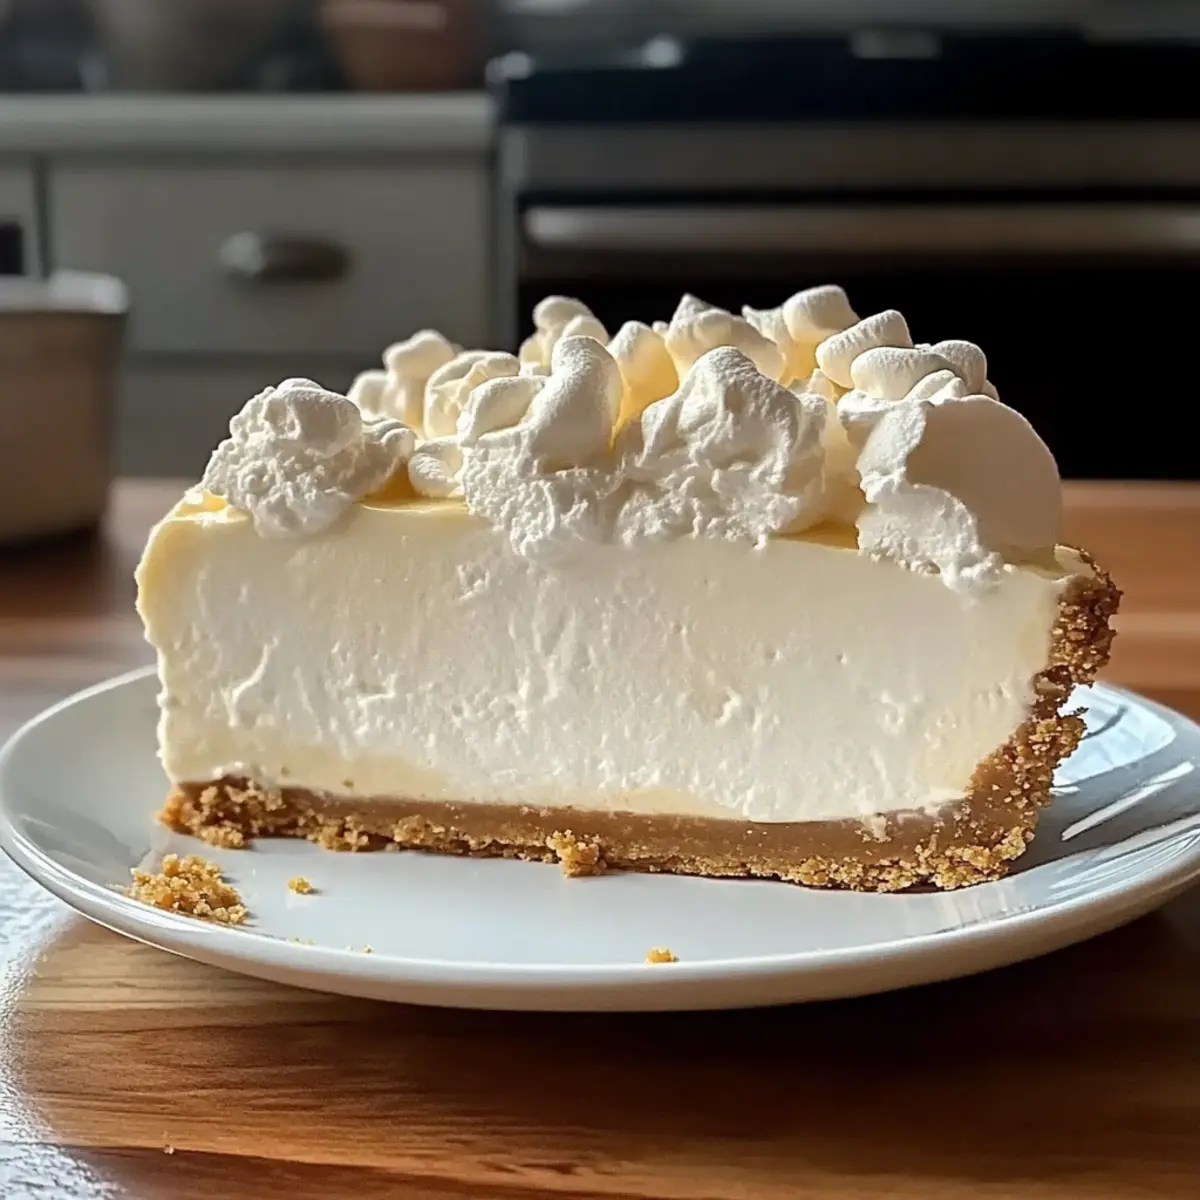
As I gazed out at the summer sunset, my mind drifted to the light, airy dessert waiting in my fridge—a No-Bake Marshmallow Whip Cheesecake. This creamy delight embraces lazy afternoons and vibrant gatherings, bringing smiles with every cloud-like bite. The beauty of this cheesecake lies not only in its luscious flavors but also in its effortless nature; there’s no oven required! Imagine whipping this up in mere minutes, all while making it your own with customizable toppings. Perfect for busy hosts and dessert enthusiasts alike, this make-ahead treat is the ultimate answer to the warmer months’ sweet cravings. What toppings will you choose to elevate your cheesecake to the next level?

Why is this cheesecake a must-try?
Effortless Preparation: This No-Bake Marshmallow Whip Cheesecake can be whipped up in mere minutes, making it the perfect solution for busy days.
Irresistibly Light Texture: Experience a delightfully airy filling that melts in your mouth, reminiscent of fluffy marshmallows.
Customizable Toppings: Elevate it with fresh berries or a drizzle of chocolate for a personal touch! The possibilities are endless.
Make-Ahead Convenience: Prepare this dreamy dessert a day in advance, freeing up your time for other party preparations.
Crowd-Pleasing Flavor: This cheesecake is a hit at any gathering, offering a delightful balance of sweetness and richness that everyone will enjoy. If you’re a fan of inventive desserts, you might also love trying my Sugar Cookie Cheesecake or the classic Chocolate Bake Layered!
Marshmallow Whip Cheesecake Ingredients
• Everything you need for this dreamy dessert!
For the Crust
- Graham Cracker Crumbs – Provides a sweet, crunchy base; substitute with chocolate wafer cookies or crushed Oreos for a different flavor.
- Sugar – Enhances sweetness in the crust; adjust to taste if using sweetened graham cracker crumbs.
- Butter (melted) – Binds the crust ingredients together, adding richness; use margarine as a dairy-free option.
For the Filling
- Cream Cheese – Adds a creamy texture and tangy flavor; make sure it’s room temperature for easy mixing; you can substitute with a vegan cream cheese.
- Marshmallow Fluff – Sweetens and lightens the filling; can replace with 2½ cups of homemade whipped cream for a fresher alternative.
- Vanilla Extract – Adds depth of flavor; using pure vanilla extract gives the best taste.
- Whipped Topping – Contributes to the light, airy texture; substitute with homemade whipped cream if desired.
Step‑by‑Step Instructions for Marshmallow Whip Cheesecake: No-Bake Dream Dessert
Step 1: Prepare the Crust
In a mixing bowl, combine graham cracker crumbs and sugar until uniform. Pour in melted butter and stir until the mixture resembles wet sand. Firmly press this crust mixture into the bottom of a 9-inch springform pan, ensuring an even layer. Chill the crust in the refrigerator for about 20 minutes while you prepare the filling to firm it up.
Step 2: Make the Filling
In a large mixing bowl, beat the room-temperature cream cheese with an electric mixer until smooth and creamy, usually about 2-3 minutes. Gradually add in the marshmallow fluff and vanilla extract, continuing to blend until fully incorporated and fluffy. This creamy mixture should be thick and luscious, perfectly suited for your Marshmallow Whip Cheesecake.
Step 3: Fold in Whipped Topping
Once the cream cheese mixture is ready, gently fold in the whipped topping using a spatula. Be careful not to overmix, as you want to maintain that light, airy texture. This is the magic that makes your Marshmallow Whip Cheesecake so dreamy and delightful, so take your time and blend until just combined.
Step 4: Combine Layers
Remove the chilled crust from the refrigerator and spread the cheesecake filling evenly over the top. Use a spatula to smooth out the surface for an attractive finish. This step is crucial for a refined look, ensuring each slice reveals the beautiful layers of your cheesecake.
Step 5: Chill the Cheesecake
Cover the springform pan with plastic wrap and place it in the refrigerator. Allow the cheesecake to chill for at least 4 hours, preferably overnight. This time helps the flavors meld beautifully and gives your Marshmallow Whip Cheesecake the perfect structure for slicing.
Step 6: Serve
Once chilled, carefully remove the cheesecake from the springform pan. Before slicing, add your favorite toppings, such as fresh berries or a drizzle of chocolate. With each slice, you’ll reveal the fluffy filling and buttery crust, making this no-bake dessert as appealing as it is delicious.
Make Ahead Options
These Marshmallow Whip Cheesecakes are perfect for those who love to prep ahead! You can make the crust up to 24 hours in advance, simply combine the ingredients and press them into the pan, then refrigerate. For the filling, whip it up a day in advance; just store it in an airtight container in the fridge. When you’re ready to serve, layer the filling over the crust, smooth it out, and let it chill for a minimum of 4 hours or overnight for best results. Covering it tightly ensures the cheesecake stays just as delicious and fluffy, ready to impress your guests with ease!
Marshmallow Whip Cheesecake: Customization Galore
Feel free to explore delightful ways to personalize your Marshmallow Whip Cheesecake for every occasion!
- Crust Swaps: Try using chocolate wafer cookies or crushed Oreos for a rich chocolate base that complements the cheesecake beautifully.
- Flavor Twists: Add lemon zest for a citrusy hint that brightens the dessert, or swirl in raspberry jam for a fruity burst of flavor.
- Mini Cheesecakes: Use a muffin tin with cupcake liners to create single-serving cheesecakes, perfect for gatherings or a fun twist on presentation.
- Nutty Crunch: Sprinkle some crushed nuts like almonds or pecans on top for added texture and a satisfying crunch.
- Fruity Layers: Layer the filling with fresh fruit between the crust and topping for a refreshing twist; think strawberries, blueberries, or peaches!
- Chocolate Indulgence: Drizzle melted chocolate all over the top or mix in chocolate chips directly into the filling for an extra rich experience.
- Creamy Alternatives: For a lighter version, substitute half the cream cheese with Greek yogurt, maintaining the creaminess while adding a healthy touch.
- Spicy Kick: Add a pinch of cinnamon or nutmeg to the filling for a warm spice that elevates the overall flavor profile, especially in cooler months.
And if you’re in the mood for more cheesecakes, don’t forget to try my delightful Apple Crumble Cheesecake or the classic Sugar Cookie Cheesecake for even more variations! Your kitchen is a canvas—let your creativity soar!
What to Serve with Marshmallow Whip Cheesecake
Indulging in a slice of this delightful dessert opens the door to a world of delicious pairings that will elevate your dining experience.
-
Fresh Berries: The natural sweetness and tartness of strawberries, raspberries, or blueberries beautifully complement the creamy, dreamy filling, adding a refreshing burst of flavor.
-
Chocolate Drizzle: A rich drizzle of chocolate sauce creates a perfect contrast to the lightness of the cheesecake, enhancing the overall decadence of each bite.
-
Whipped Cream: A cloud of freshly whipped cream adds an extra layer of creaminess. It’s classic and enhances the lightness, making each mouthful a little more luxurious.
-
Mint Leaves: Adding a touch of fresh mint brightens the palate. Their cool flavor is an unexpected yet delightful accent alongside the rich cheesecake.
-
Coffee or Espresso: Sip a cup of coffee or a shot of espresso to balance the dessert’s sweetness. The bitterness of coffee complements the creamy texture, creating a delightful contrast.
-
Lemon Sorbet: A scoop of lemon sorbet acts as a palate cleanser and adds a refreshing citrus note, enhancing the cheesecake’s sweetness with its zesty charm.
-
Toasted Coconut Flakes: For a tropical twist, sprinkle toasted coconut on top. Its crunchy texture adds dimension, while the sweet, nutty flavor beautifully pairs with the cheesecake’s fluffiness.
-
Brownie Bites: For chocolate lovers, serving mini brownie bites alongside your cheesecake brings a rich, fudgy experience that perfectly balances the lightness of the dessert.
Pairing these delightful options with your Marshmallow Whip Cheesecake will not only enhance the flavors but also create an unforgettable dining experience that delights every guest!
Expert Tips for Marshmallow Whip Cheesecake
• Room Temperature Cream Cheese: Ensure cream cheese is at room temperature for a smooth, easy mixing process, avoiding lumps in your Marshmallow Whip Cheesecake.
• Chill Time Matters: Don’t skip the chilling step; allowing the cheesecake to rest overnight enhances flavor and texture—patience pays off!
• Gently Fold: When incorporating whipped topping, gently fold it in to maintain the airy texture that characterizes this no-bake dessert—overmixing can lead to a dense filling.
• Customize Wisely: Embrace customization with toppings, but remember to think about flavor balance—fruits or flavored syrups work beautifully but be careful not to overwhelm the cheesecake’s lightness!
• Individual Servings: For a fun twist, create mini cheesecakes using muffin tins and cupcake liners—perfect for parties and easier to serve.
How to Store and Freeze Marshmallow Whip Cheesecake
Fridge: Store any leftovers tightly wrapped in plastic wrap in the refrigerator for up to 3 days, preserving its fluffy texture and decadent flavors.
Freezer: This no-bake cheesecake can be frozen for up to 1 month. Wrap it well in plastic wrap and aluminum foil to prevent freezer burn, and thaw in the refrigerator overnight before serving.
Serving after Storage: When ready to serve, simply slice the chilled cheesecake and add your favorite toppings like berries or chocolate drizzle for an enticing presentation.
Marshmallow Whip Cheesecake Recipe FAQs
What type of marshmallows should I use for the cheesecake?
Absolutely use marshmallow fluff for this cheesecake. It creates that delightful lightness and sweetness desired in the filling; you can also try making your own fluff for a fresher taste.
How can I tell if my cream cheese is at the right temperature?
Your cream cheese should be soft enough to leave an indentation when pressed with a finger, usually around room temperature, which makes it easier to mix smoothly into your filling. Avoiding lumps in your cheesecake is key to its creamy texture!
How do I store leftovers of the Marshmallow Whip Cheesecake?
Store any leftovers tightly wrapped in plastic wrap in the refrigerator for up to 3 days. This keeps the cheesecake fresh, preserving its fluffy texture and rich flavors, ready for your next dessert craving.
Can I freeze the Marshmallow Whip Cheesecake?
Yes! This no-bake cheesecake can be frozen for up to 1 month. Wrap it tightly in plastic wrap and then in aluminum foil to prevent freezer burn. When you’re ready to enjoy, simply thaw it in the refrigerator overnight before serving for the best taste and texture.
What could cause my cheesecake to be too dense?
Overmixing after folding in the whipped topping can lead to a dense filling. It’s important to gently fold to maintain the airy essence of this Marshmallow Whip Cheesecake. If your cream cheese isn’t at room temperature, it may also create lumps and alter the texture, so be sure to let it warm up before mixing!
Are there any dietary considerations I should keep in mind?
Absolutely! If anyone has dairy allergies, you can use dairy-free cream cheese and margarine for the crust. Feel free to get creative with toppings to suit various preferences—there’s a great chance everyone will find a combination they love with this customizable recipe!
Marshmallow Whip Cheesecake: Your No-Bake Dream Dessert
Ingredients
Equipment
Method
- In a mixing bowl, combine graham cracker crumbs and sugar until uniform. Pour in melted butter and stir until the mixture resembles wet sand. Firmly press this crust mixture into the bottom of a 9-inch springform pan, ensuring an even layer. Chill the crust in the refrigerator for about 20 minutes while you prepare the filling to firm it up.
- In a large mixing bowl, beat the room-temperature cream cheese with an electric mixer until smooth and creamy, usually about 2-3 minutes. Gradually add in the marshmallow fluff and vanilla extract, continuing to blend until fully incorporated and fluffy.
- Once the cream cheese mixture is ready, gently fold in the whipped topping using a spatula. Be careful not to overmix, as you want to maintain that light, airy texture.
- Remove the chilled crust from the refrigerator and spread the cheesecake filling evenly over the top. Use a spatula to smooth out the surface for an attractive finish.
- Cover the springform pan with plastic wrap and place it in the refrigerator. Allow the cheesecake to chill for at least 4 hours, preferably overnight.
- Once chilled, carefully remove the cheesecake from the springform pan. Before slicing, add your favorite toppings, such as fresh berries or a drizzle of chocolate.
Leave a Reply